
White Label Portal Setup Guide for Reseller Partners
This guide walks you through the complete process of setting up your white label portal in FastBots. You’ll learn how to connect your custom domain, configure email sending, and apply your branding so your clients can access and manage their chatbots through your own branded platform. Follow each step to ensure your portal is fully configured and ready for use.
Go to https://app.fastbots.ai/ and log in to your account.
Click on your name in the top-right corner to open the dropdown menu.

From the dropdown, select “Account” to access your settings.
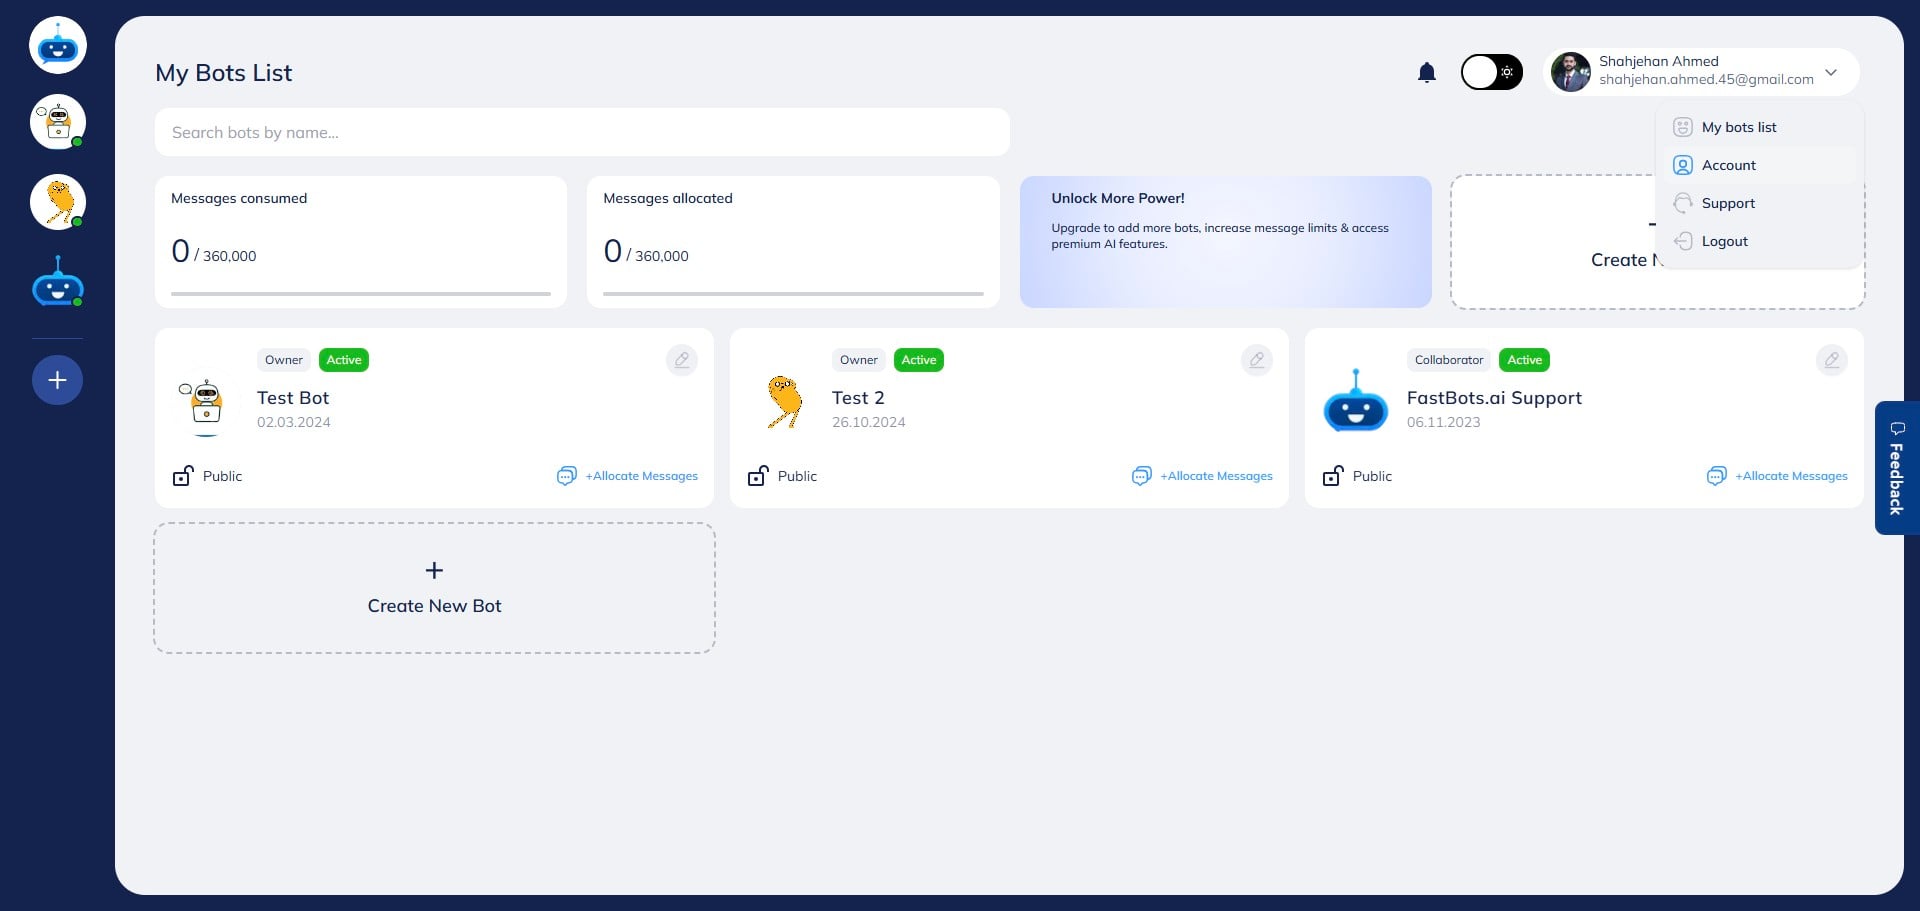
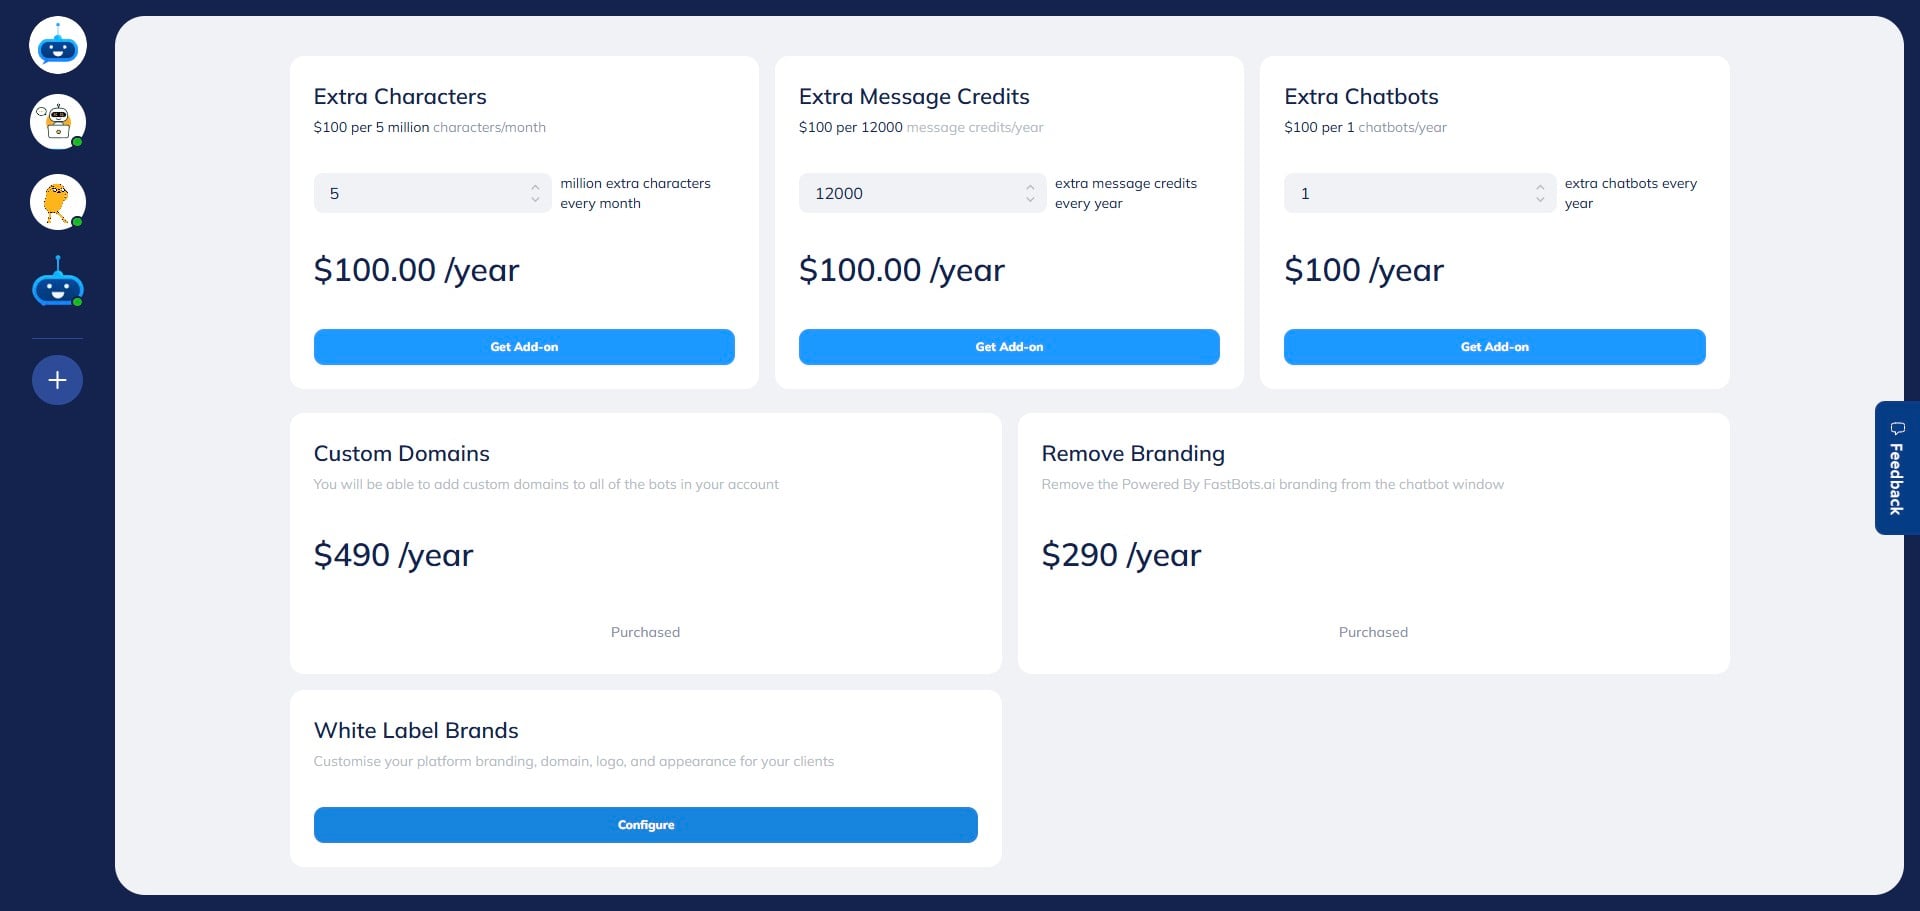
Scroll down to locate the “White Label Brand” section.

Click “Configure” to open the setup page.
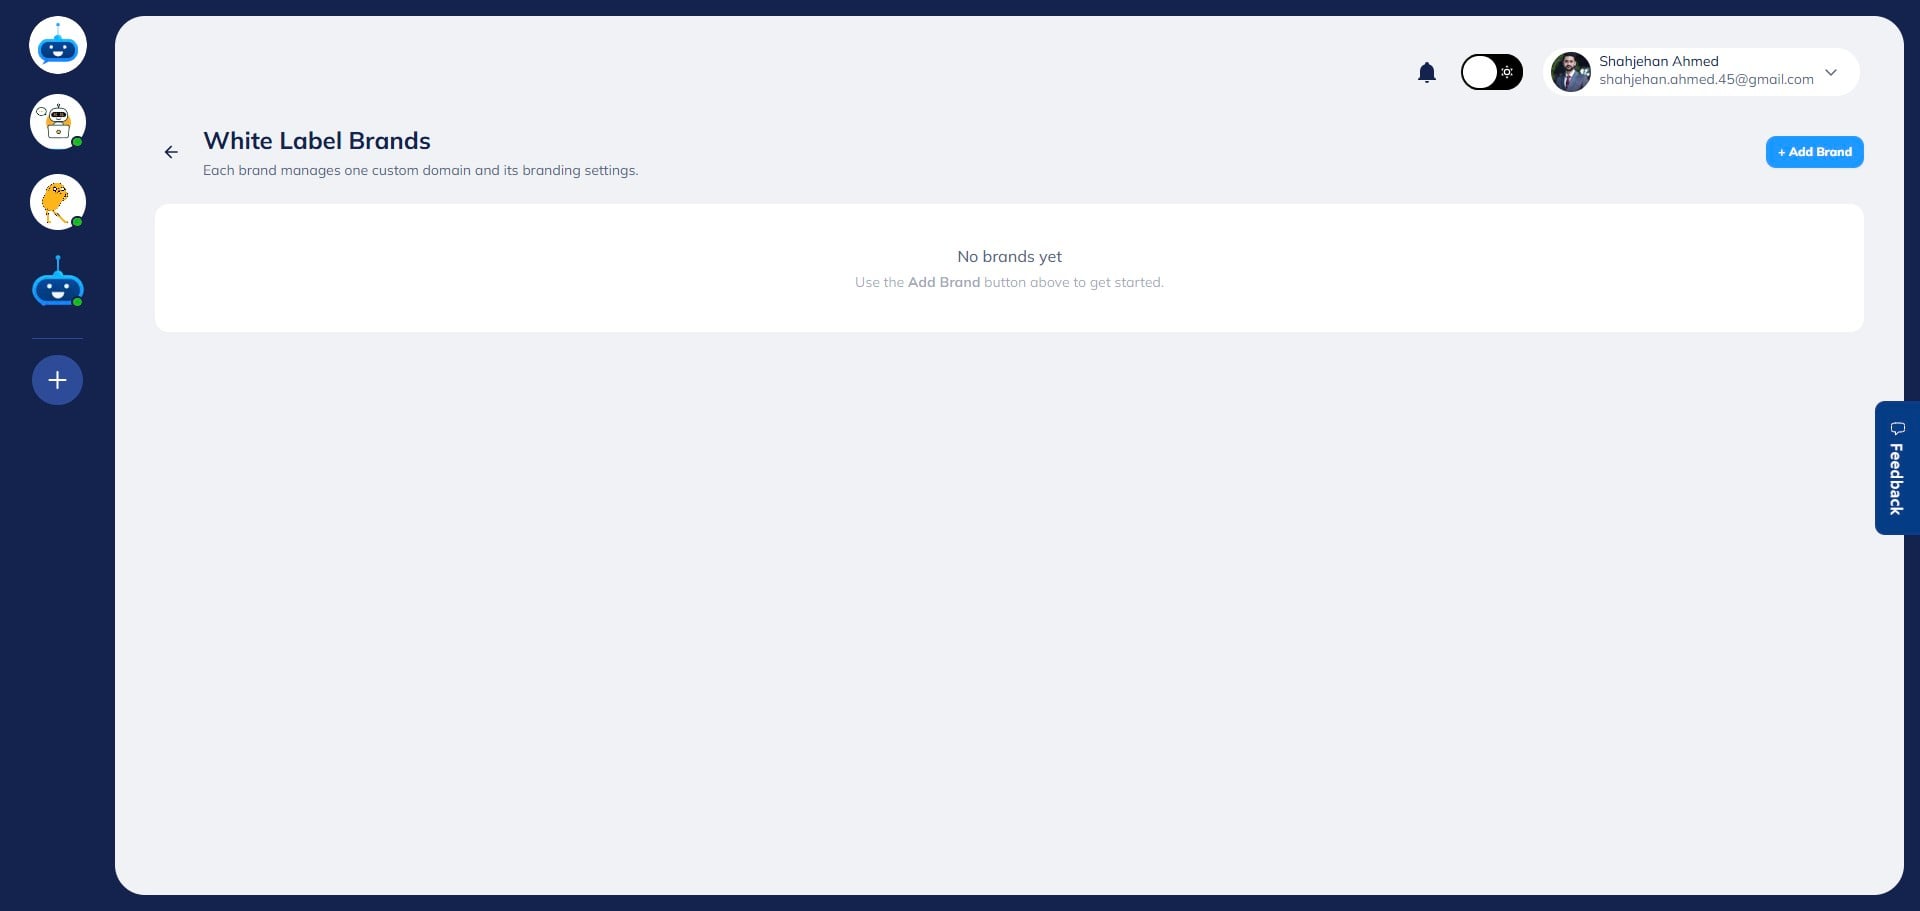
As a white label partner, you can create up to 5 brands within a single account. Each brand can be connected to a separate domain. To begin, click “Add Brand.”
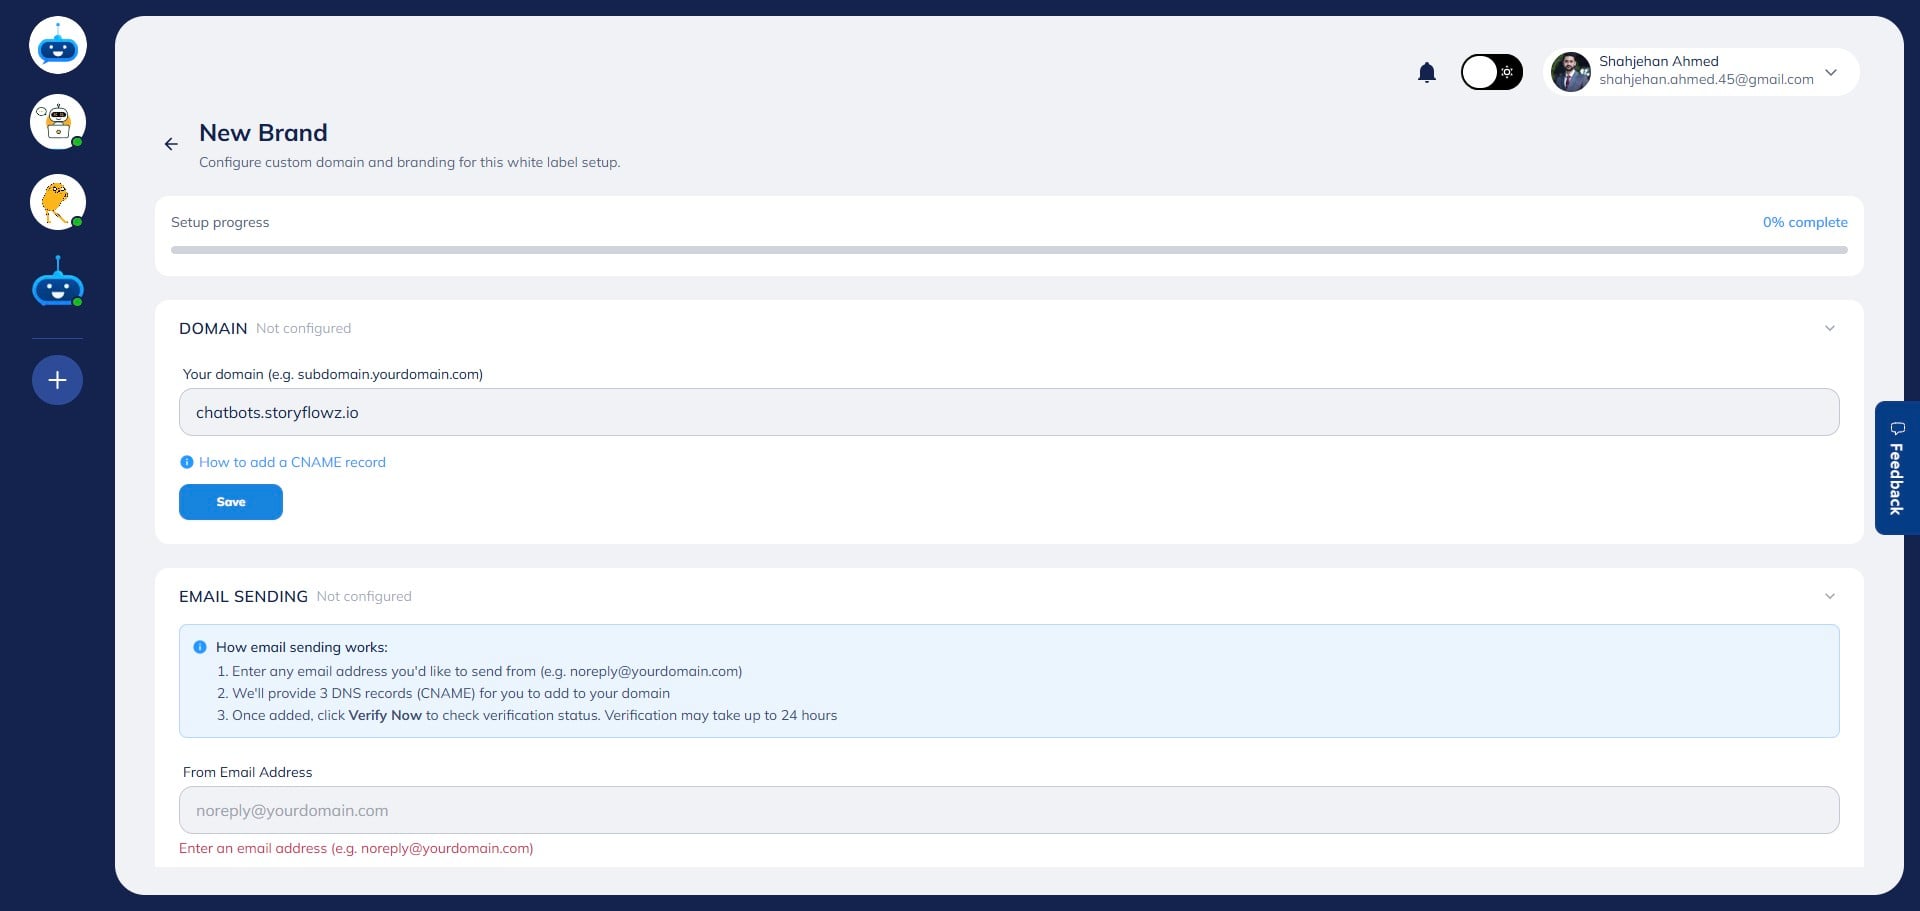
A progress bar will appear, showing the setup status and completion percentage for your brand configuration.
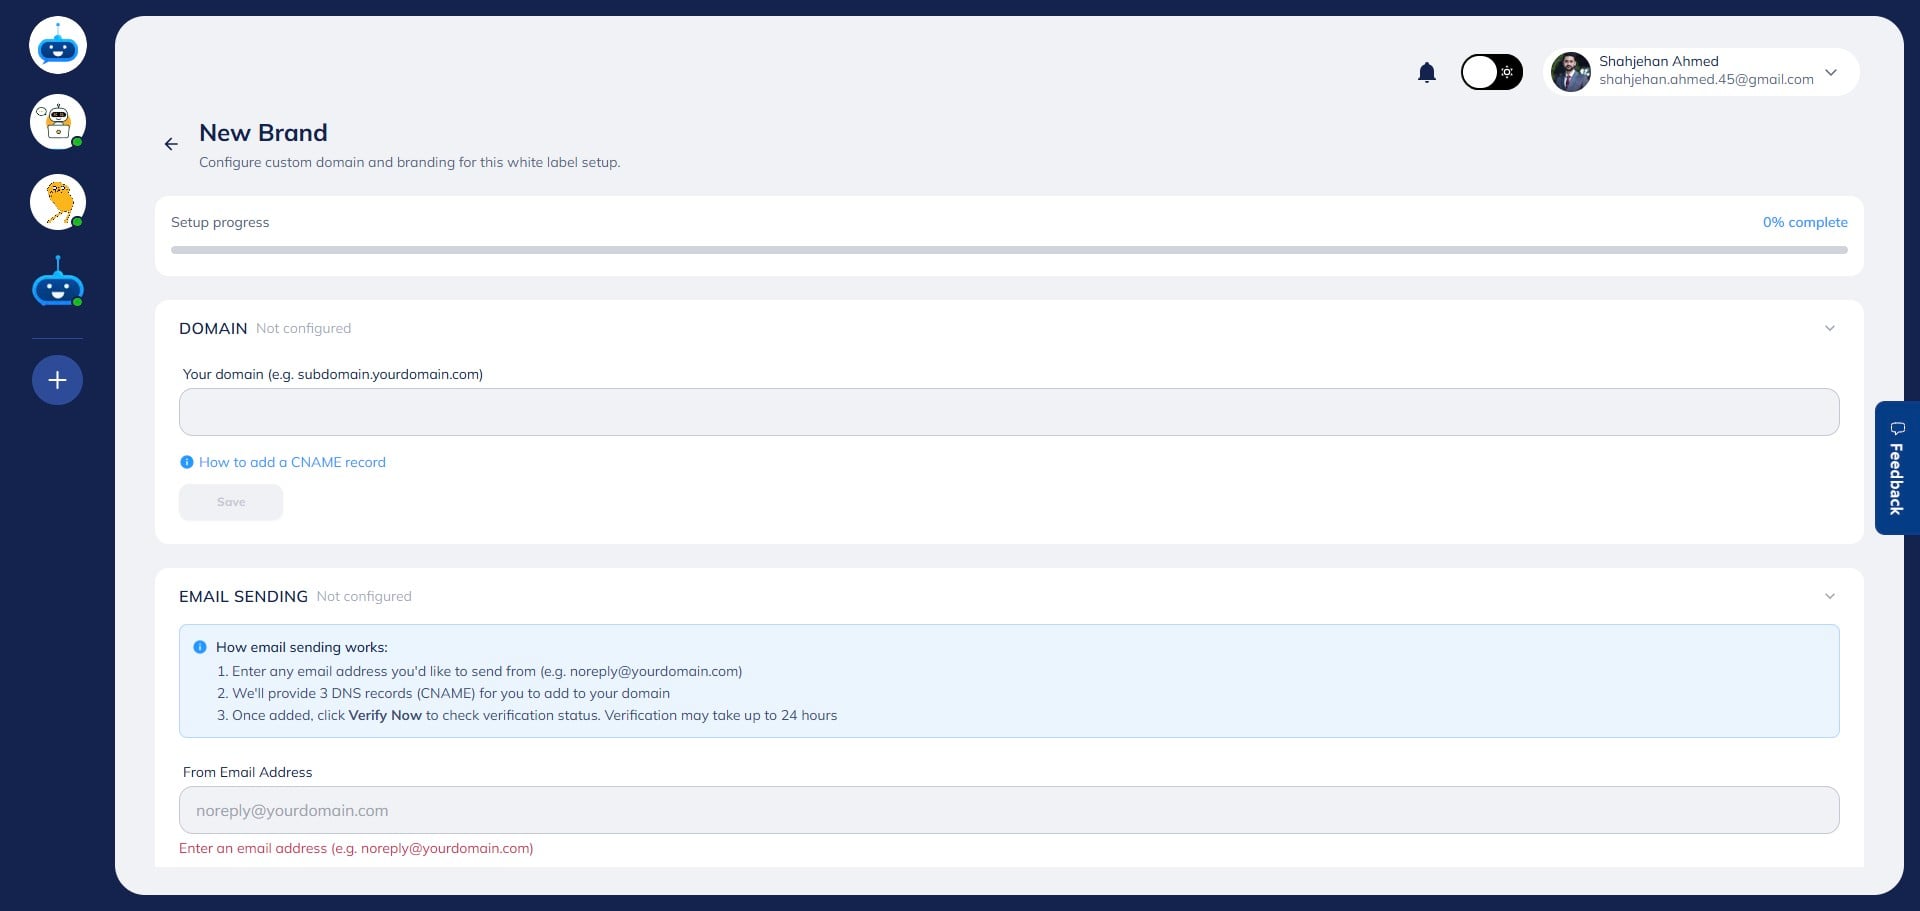
In the “Domain” field, enter your domain in the following format: subdomain.yourdomain.com
For example, if your main domain is abc.com, you can enter test.abc.com.
, you can enter [**test.abc.com**](http://test.abc.com).](https://assets.guidejar.com/uploads/0d28aff2-b05a-48bc-9a38-f956a7a9f094/EWaUlLbQzcRPZ6mZqBZ6GyhoWZy2/434911eb-ac41-4ac7-9167-f8bd5d3ed4ae/1776382539706.jpeg)
After entering your domain, click “Save.”
Once saved, CNAME records will be generated. Log in to your domain provider, copy the provided CNAME records, and add them to your DNS settings. You will need to create two CNAME records.
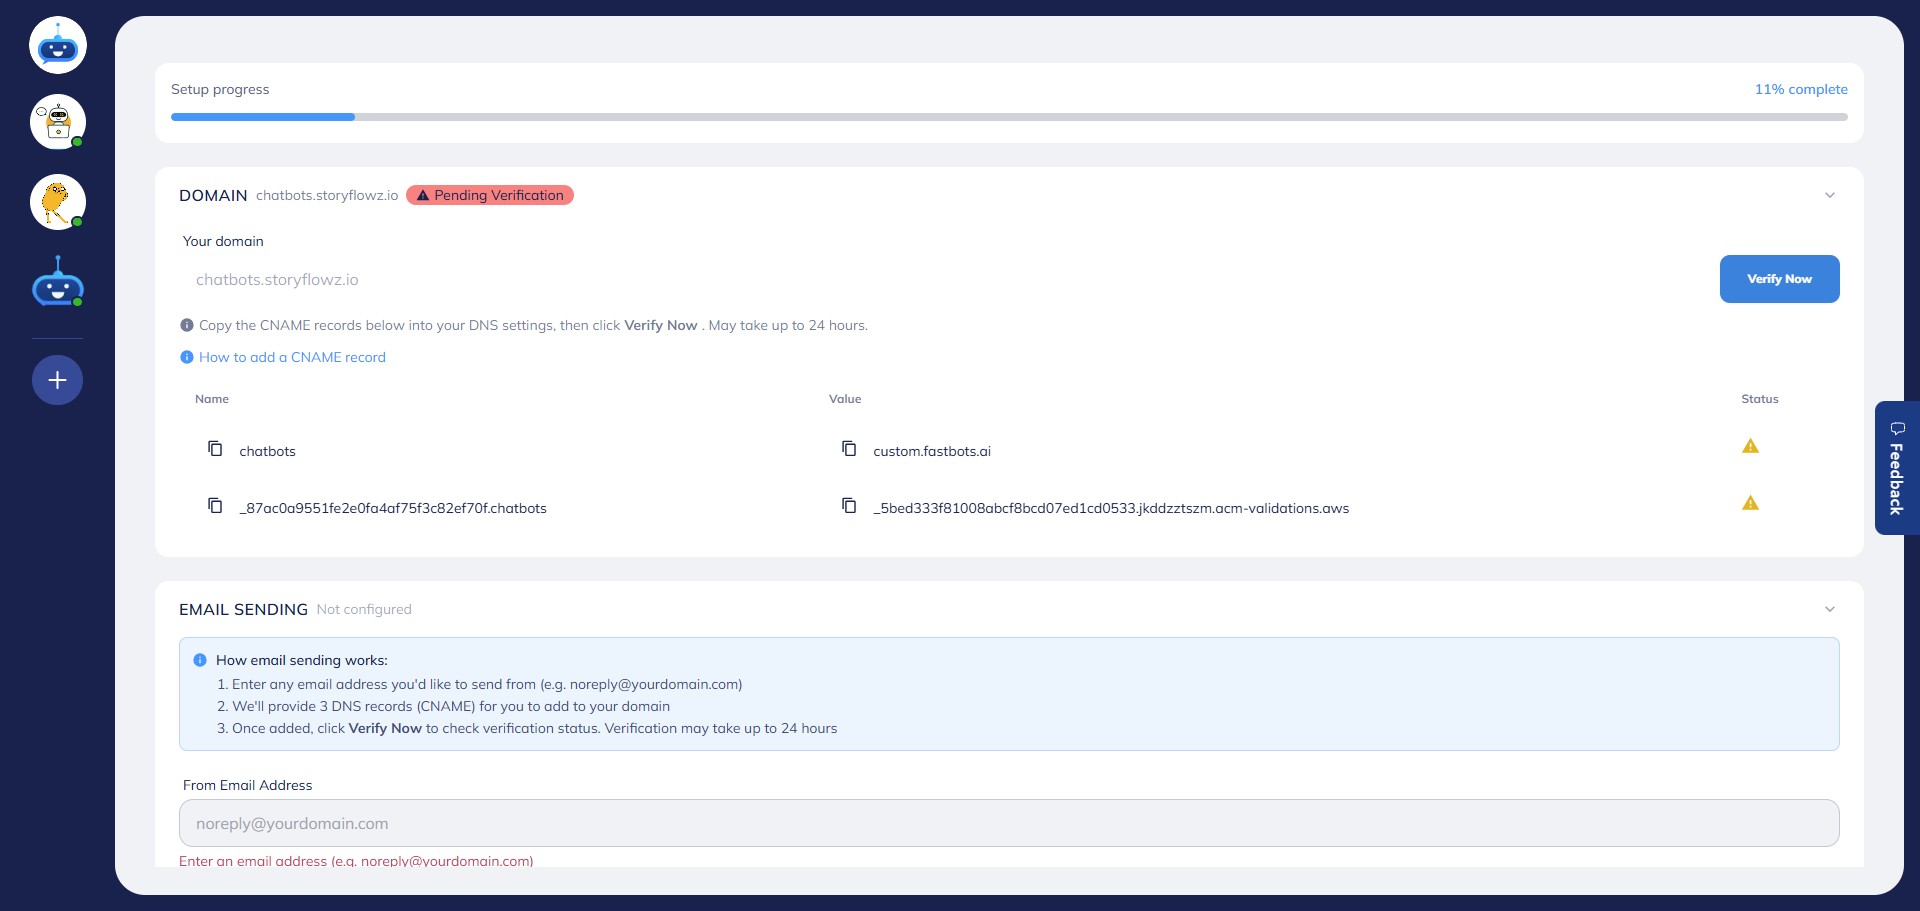
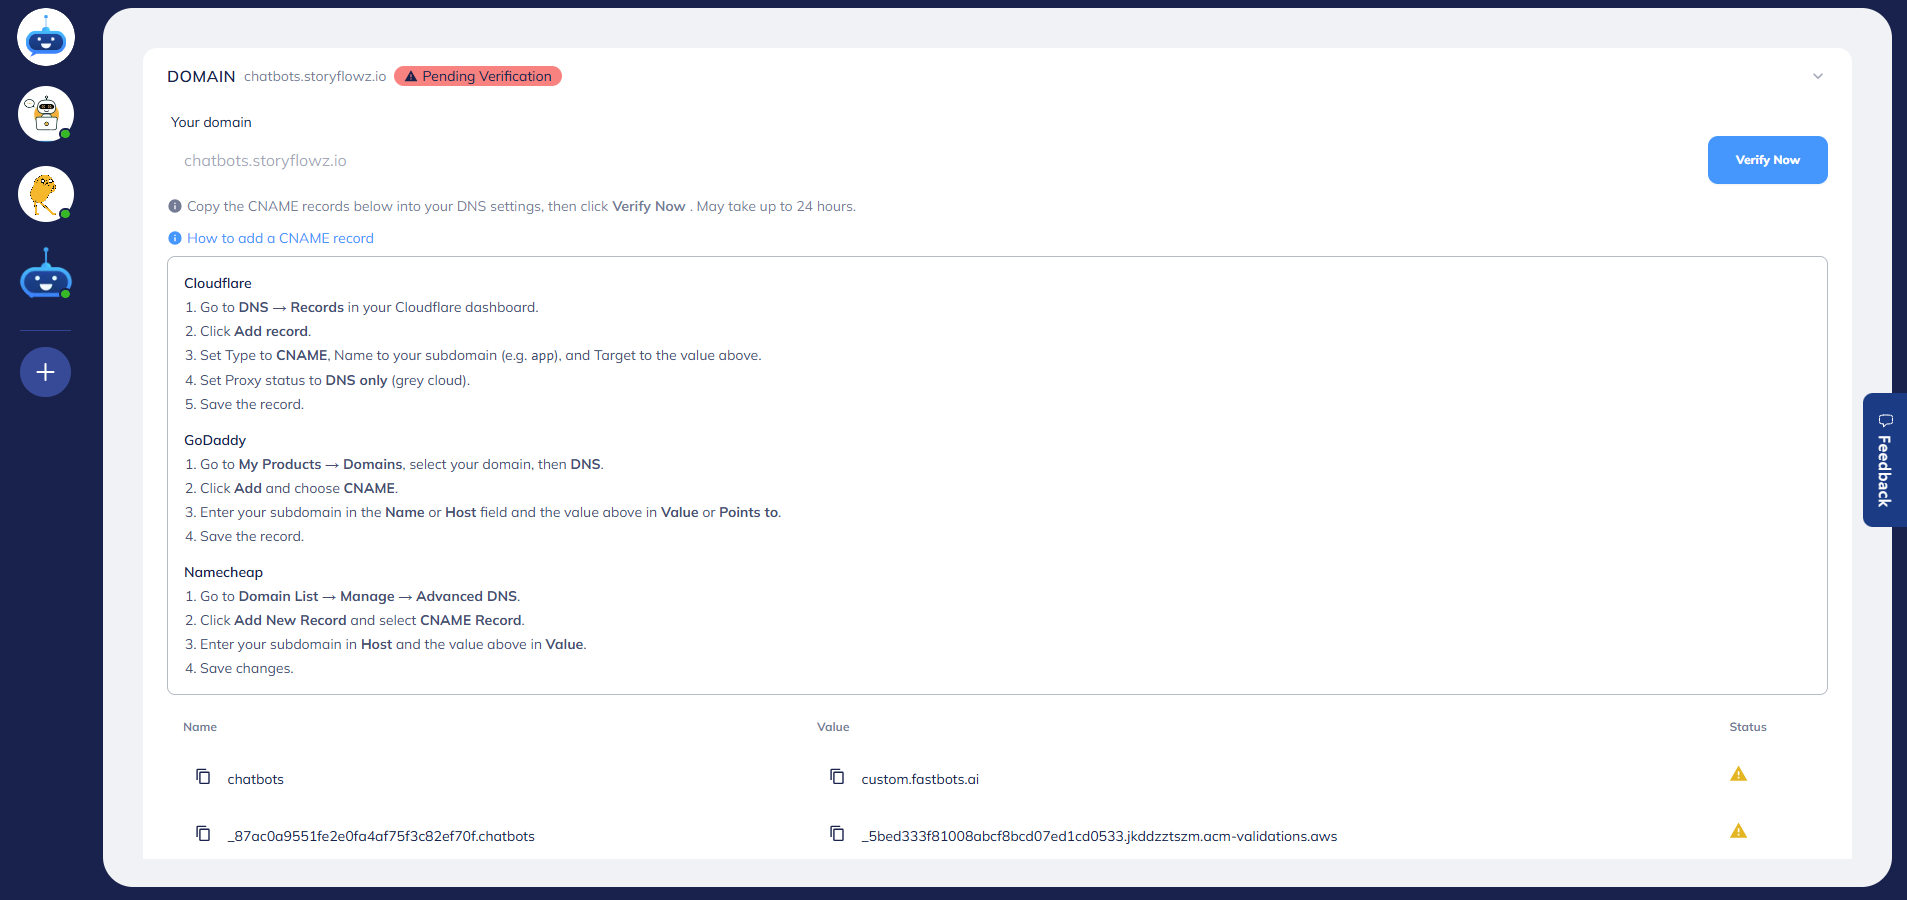
You can click “How to add a CNAME record” for a step-by-step guide specific to different domain providers.
After adding the CNAME records, click “Verify Now” to connect your domain. Note: DNS changes can take 30 minutes to 24 hours to propagate, so you may need to retry verification.
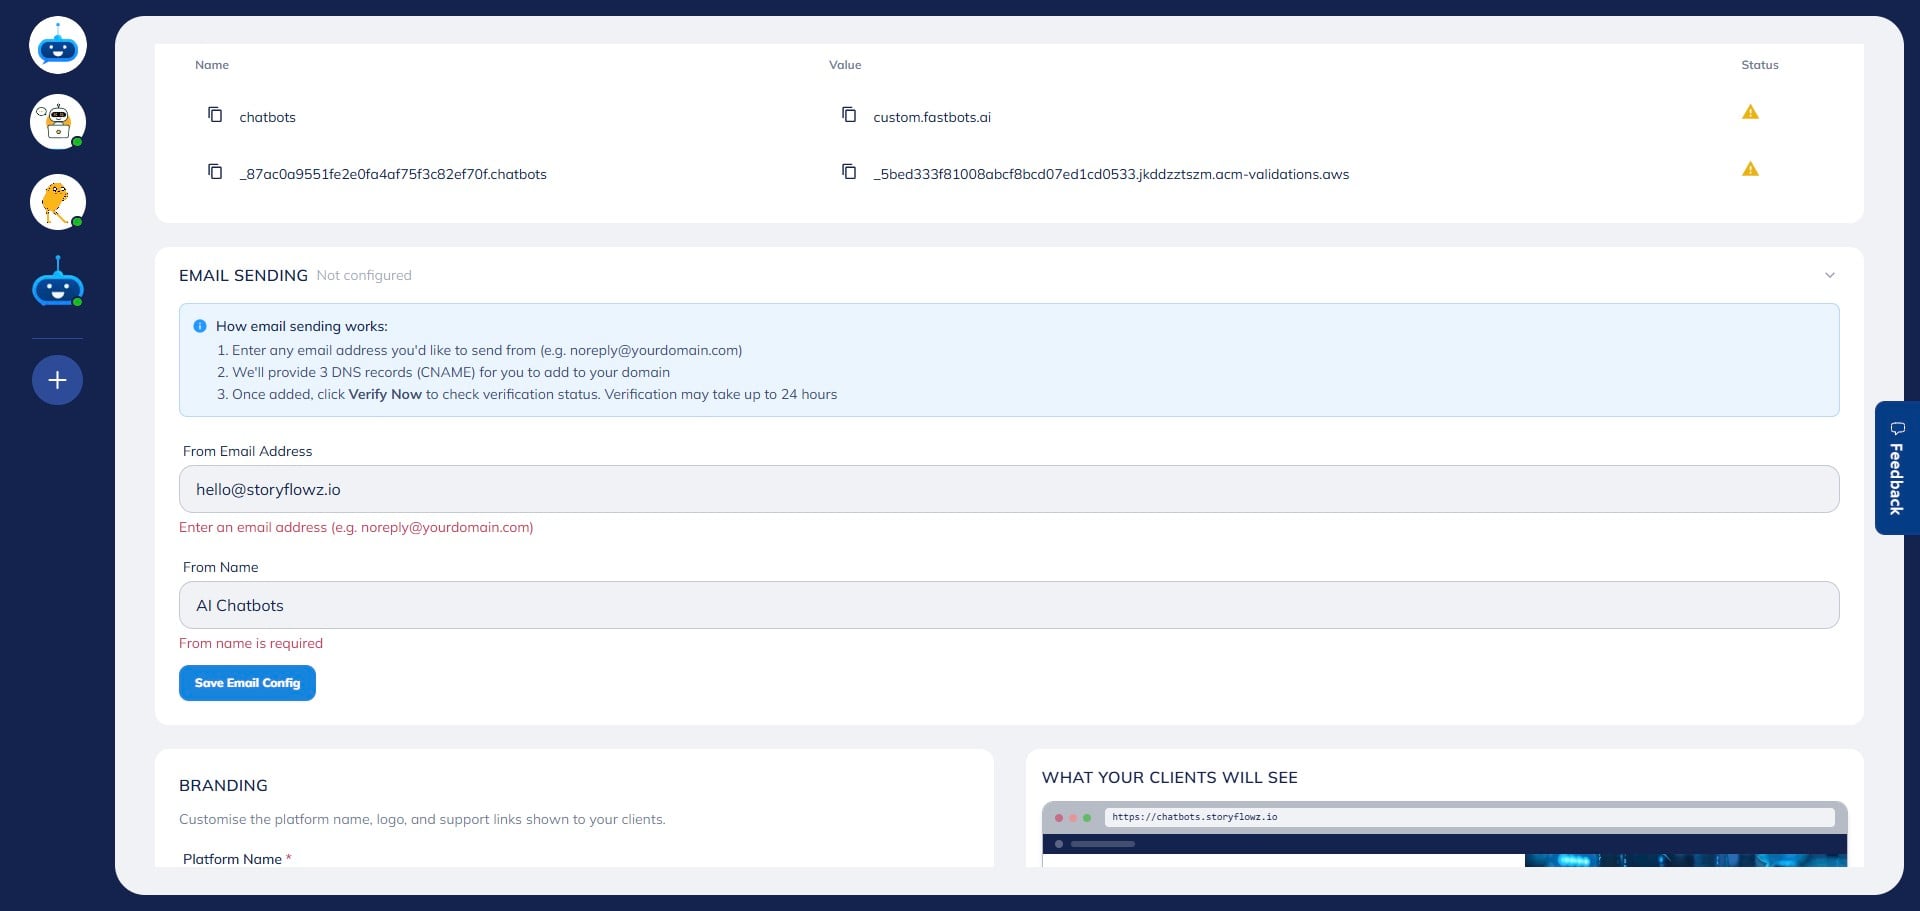
To configure your custom domain for email, go to the “Email Sending” section.

Enter the email address you want to use for sending notifications (such as chats and leads) in the “From Email Address” field.
Make sure this email belongs to the same domain you configured earlier.
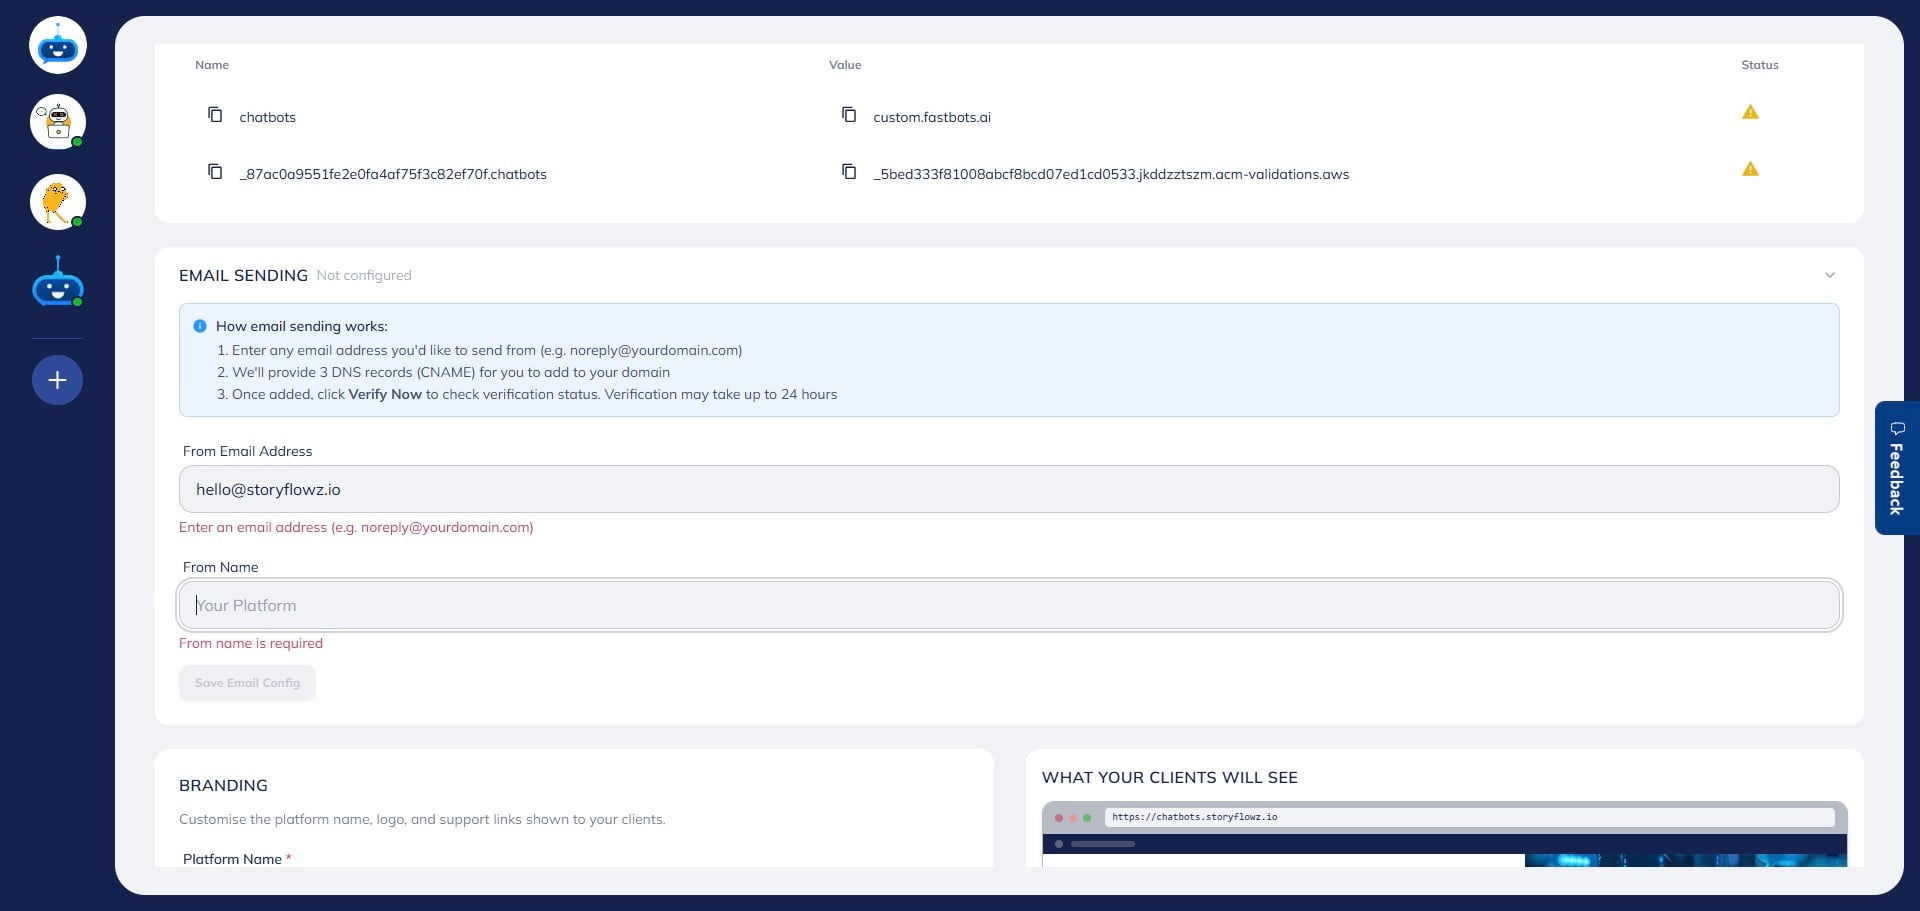
Click “Save Email Config” after entering the required details.
CNAME records for email configuration will be generated. Add these to your DNS settings.
You will need to create three CNAME records for this step.
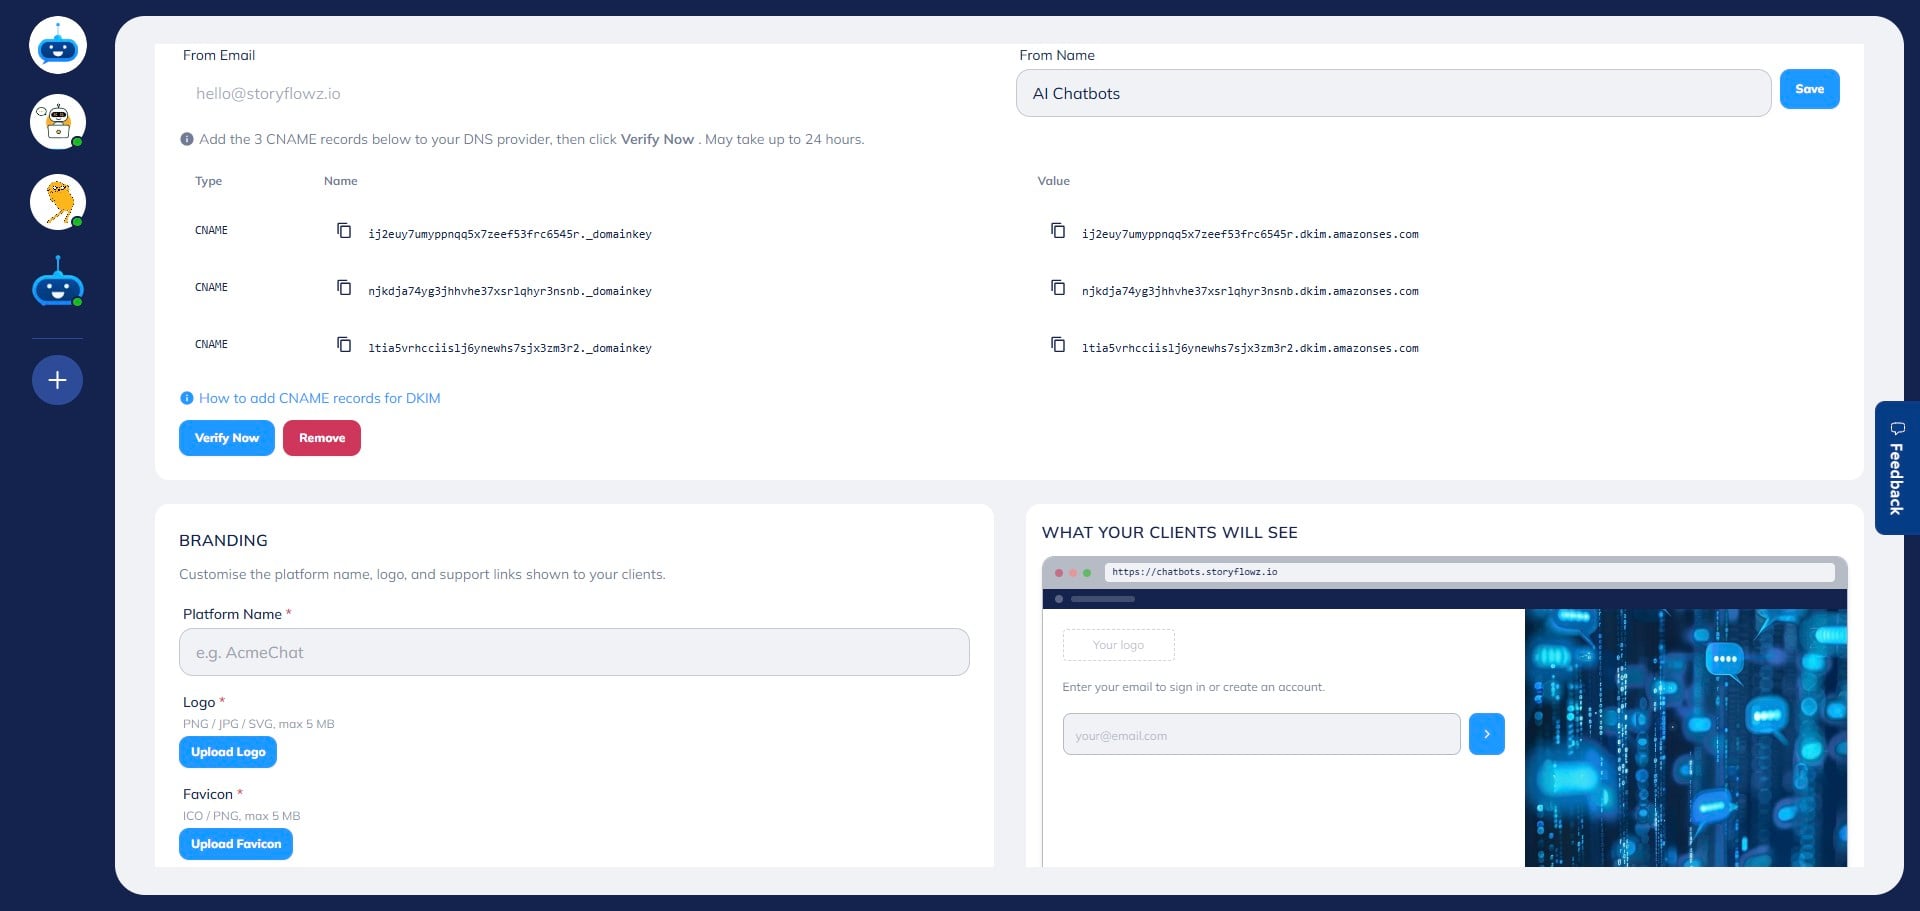
After adding the records, click “Verify Now” to connect your email.
Note: Verification may take 30 minutes to 24 hours, depending on DNS propagation.

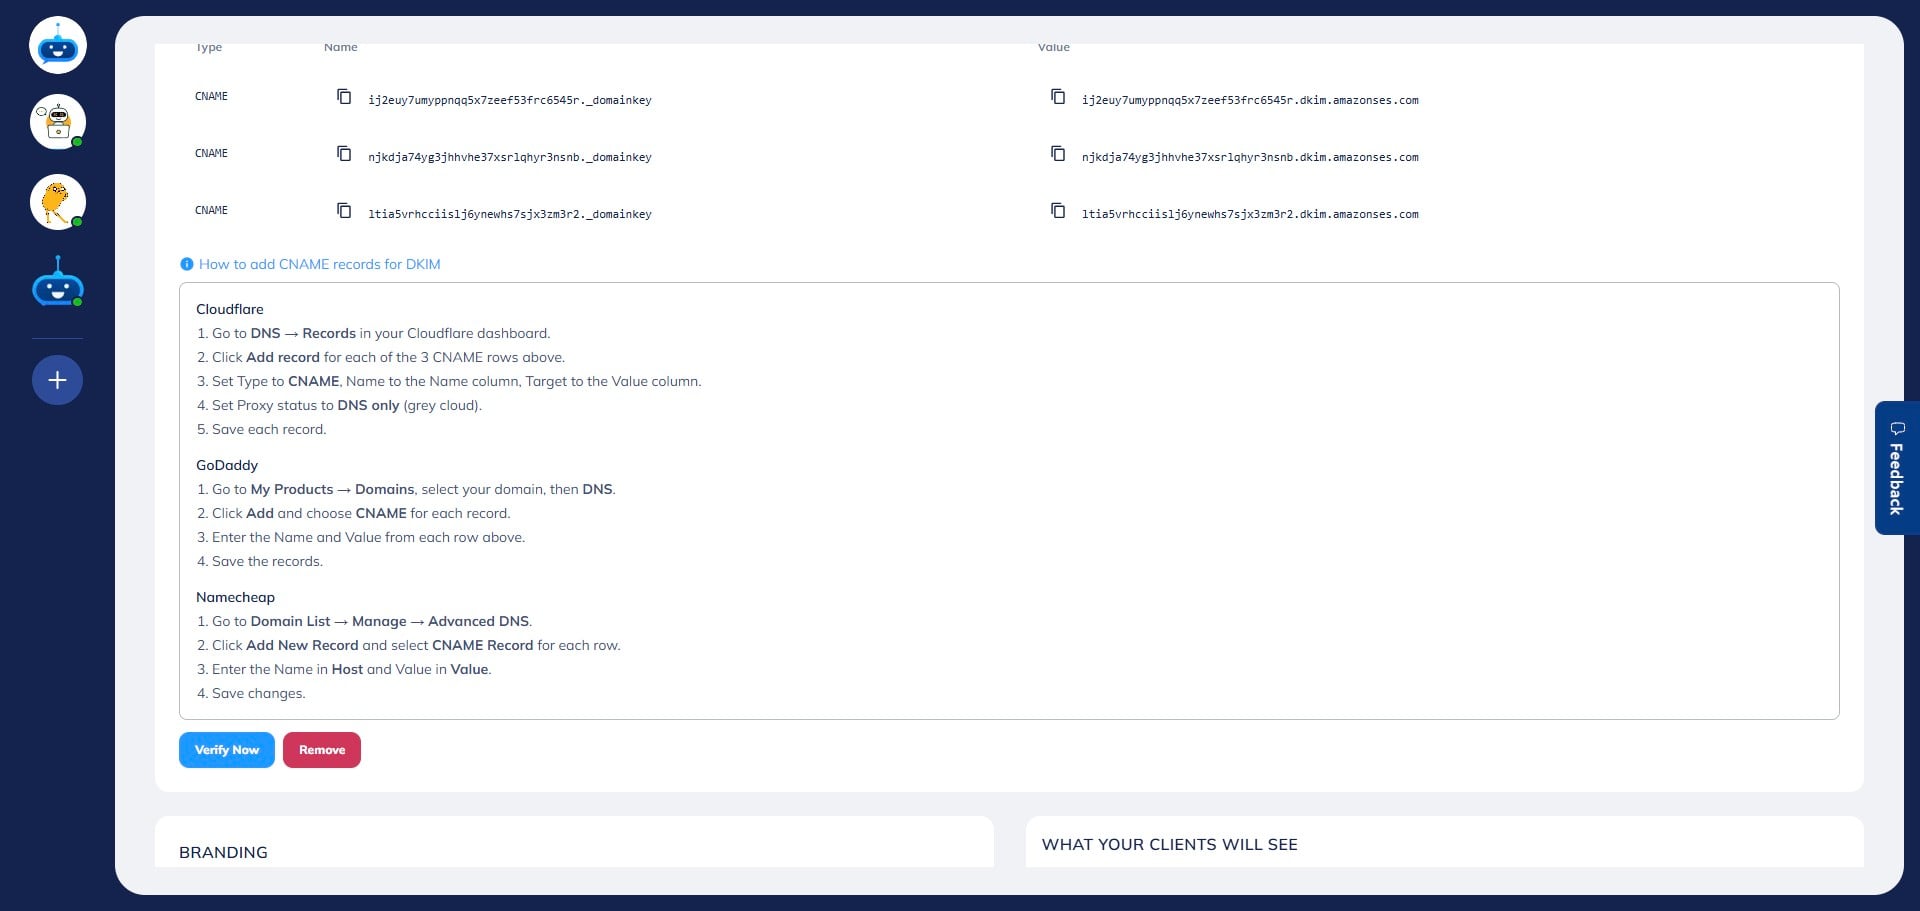
You can also click “How to add CNAME records for DKIM” for detailed instructions on configuring email authentication.
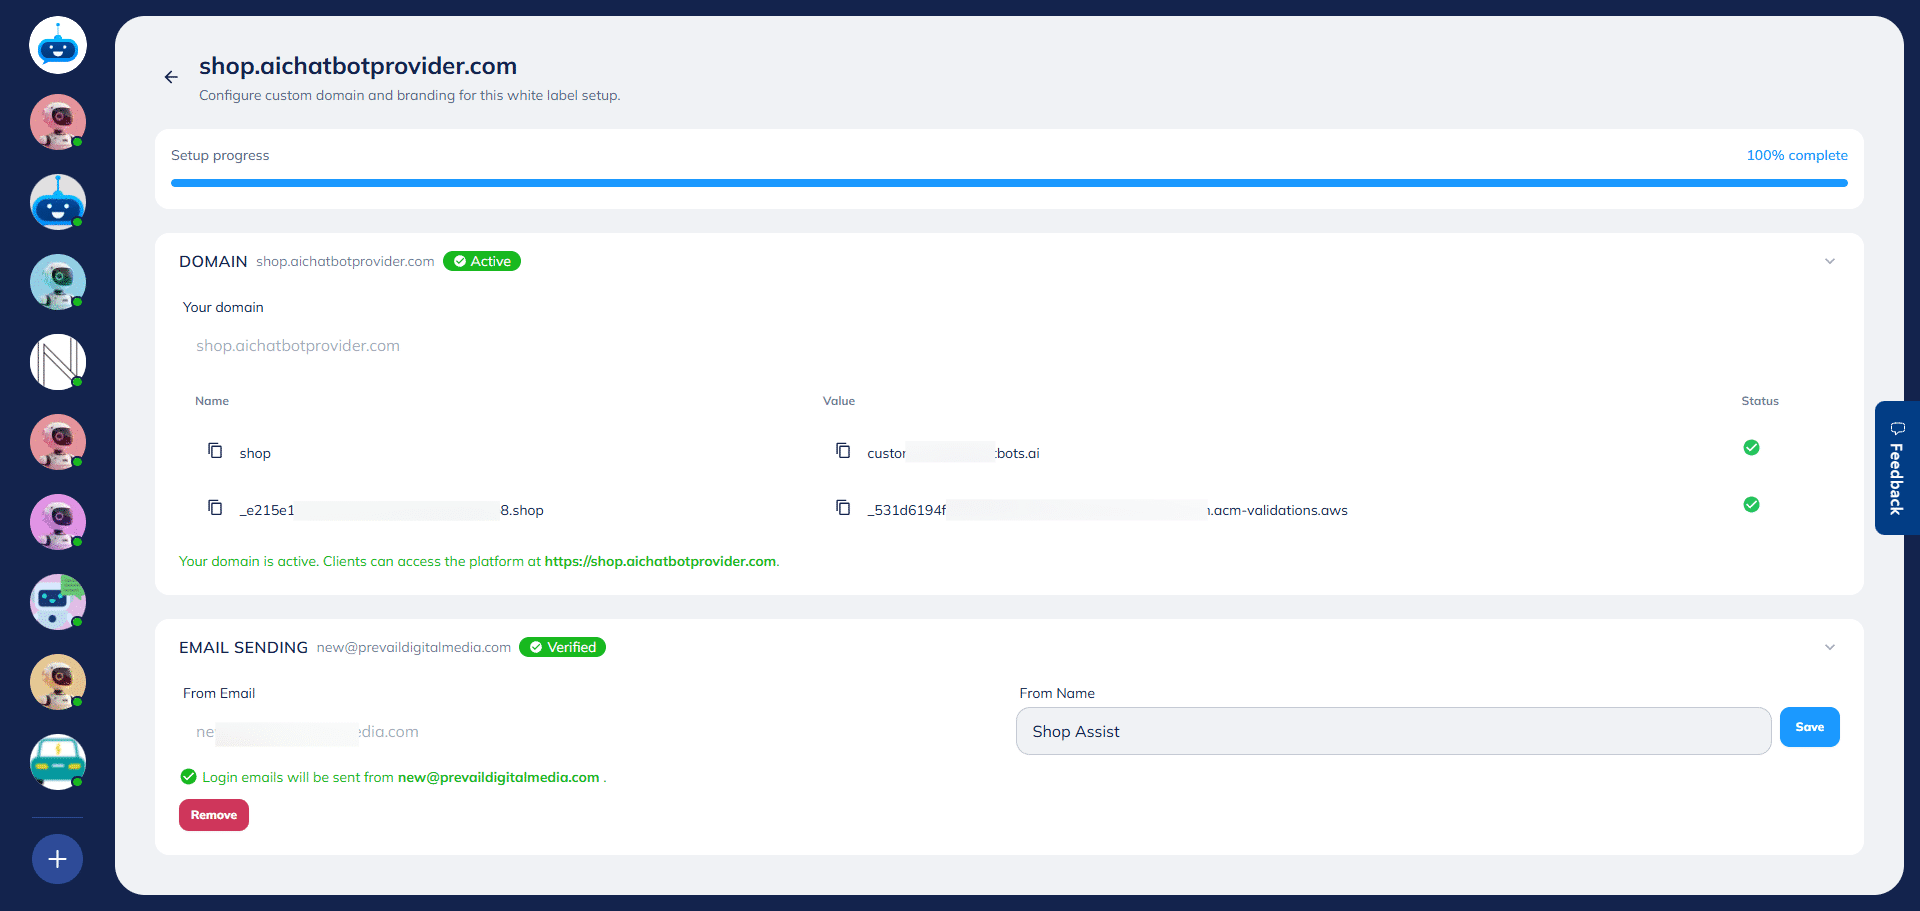
Once both domain and email are verified, the status will show as “Active” in green, along with a message confirming that your domain is ready and accessible to clients.
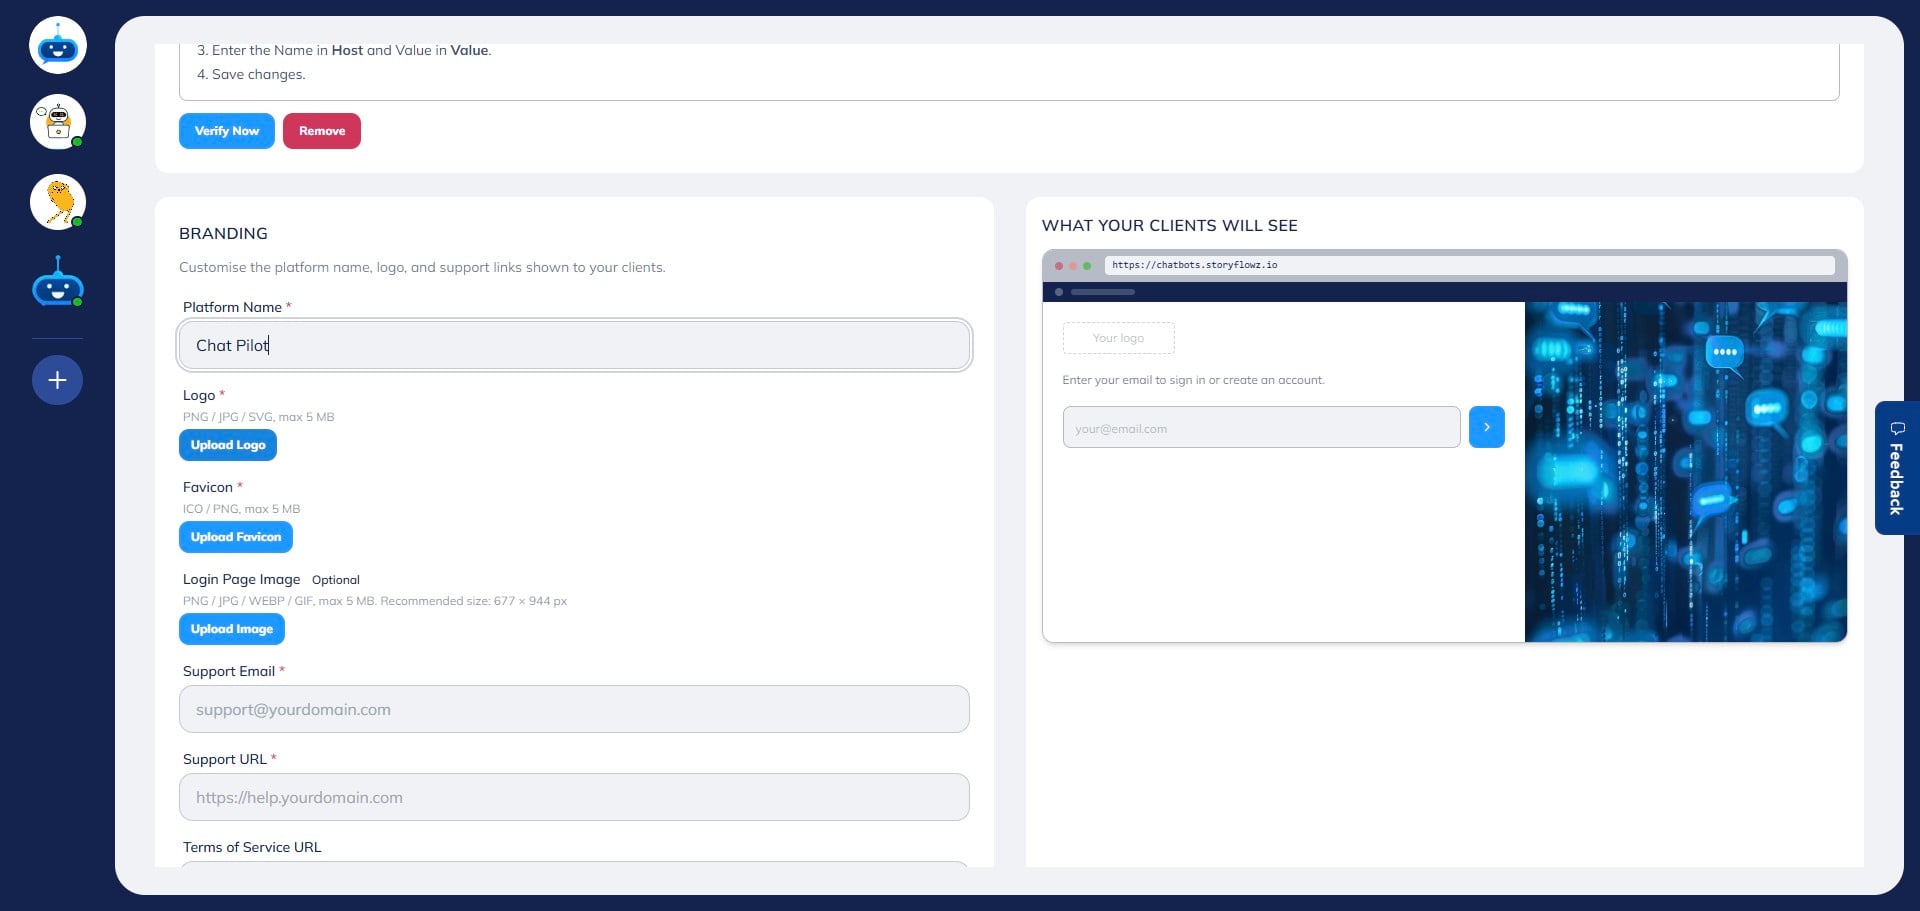
In the Branding section, enter your Platform Name.
This name will appear as your company name on the white label portal for your clients.

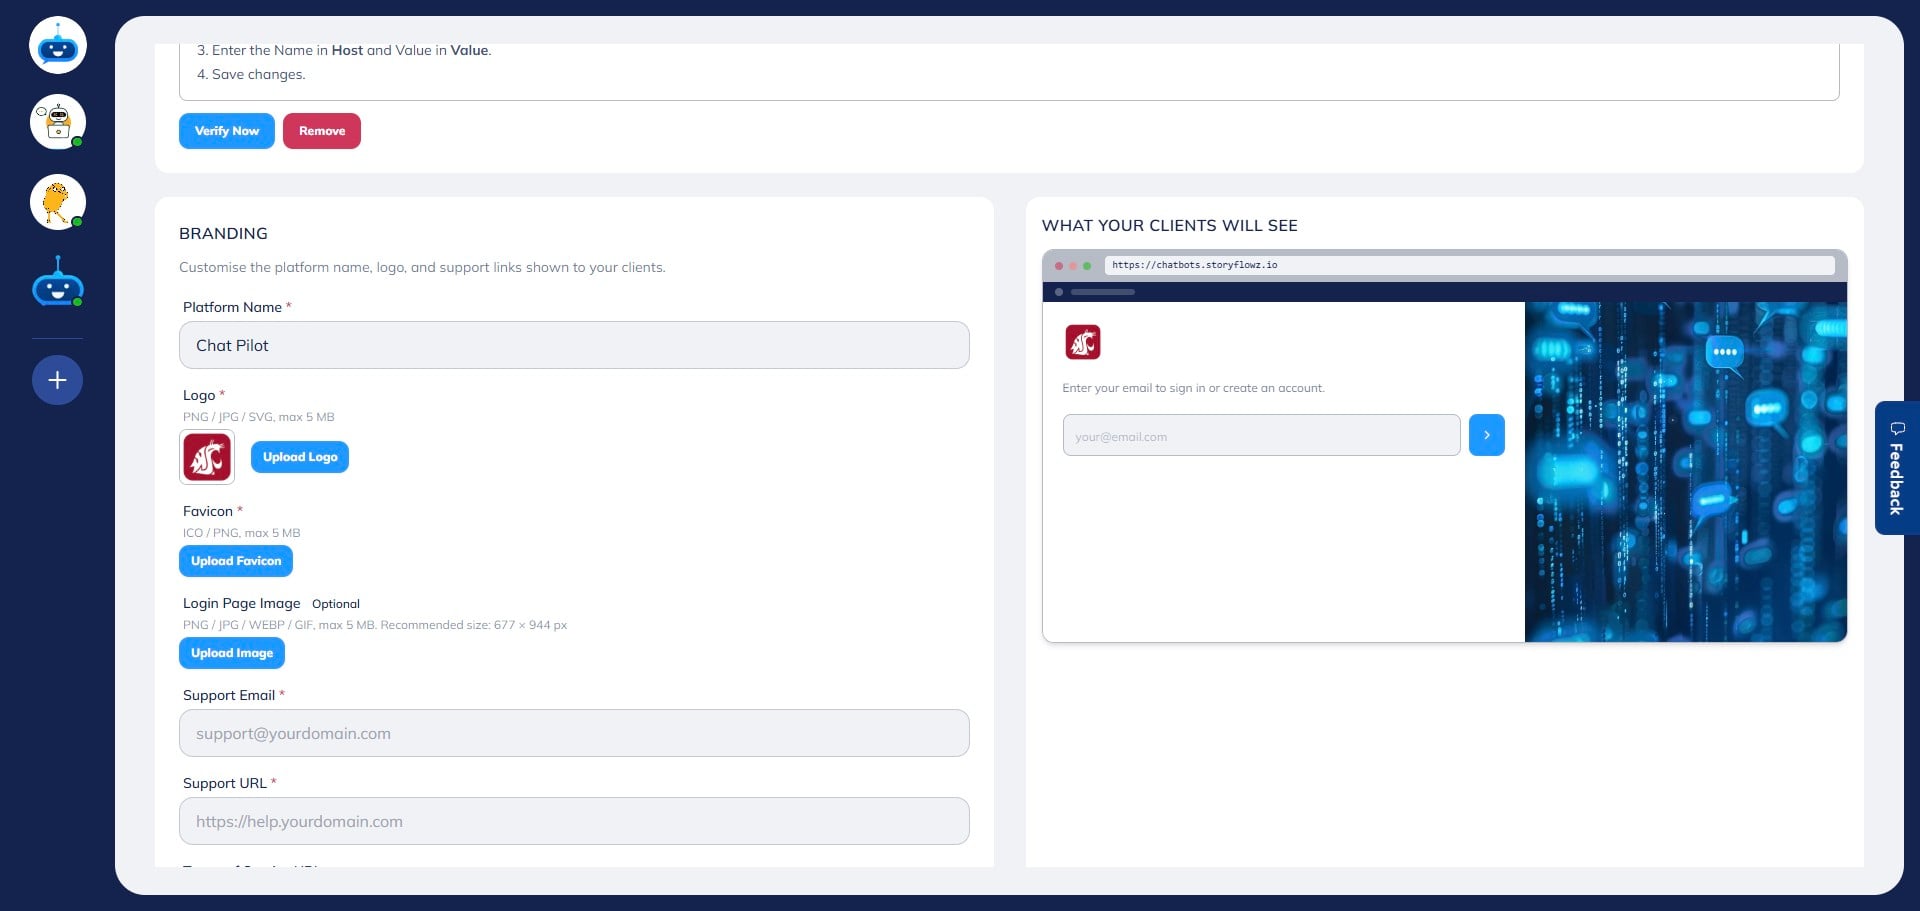
Click “Upload Logo” to add your brand logo. This logo will show on your portal.
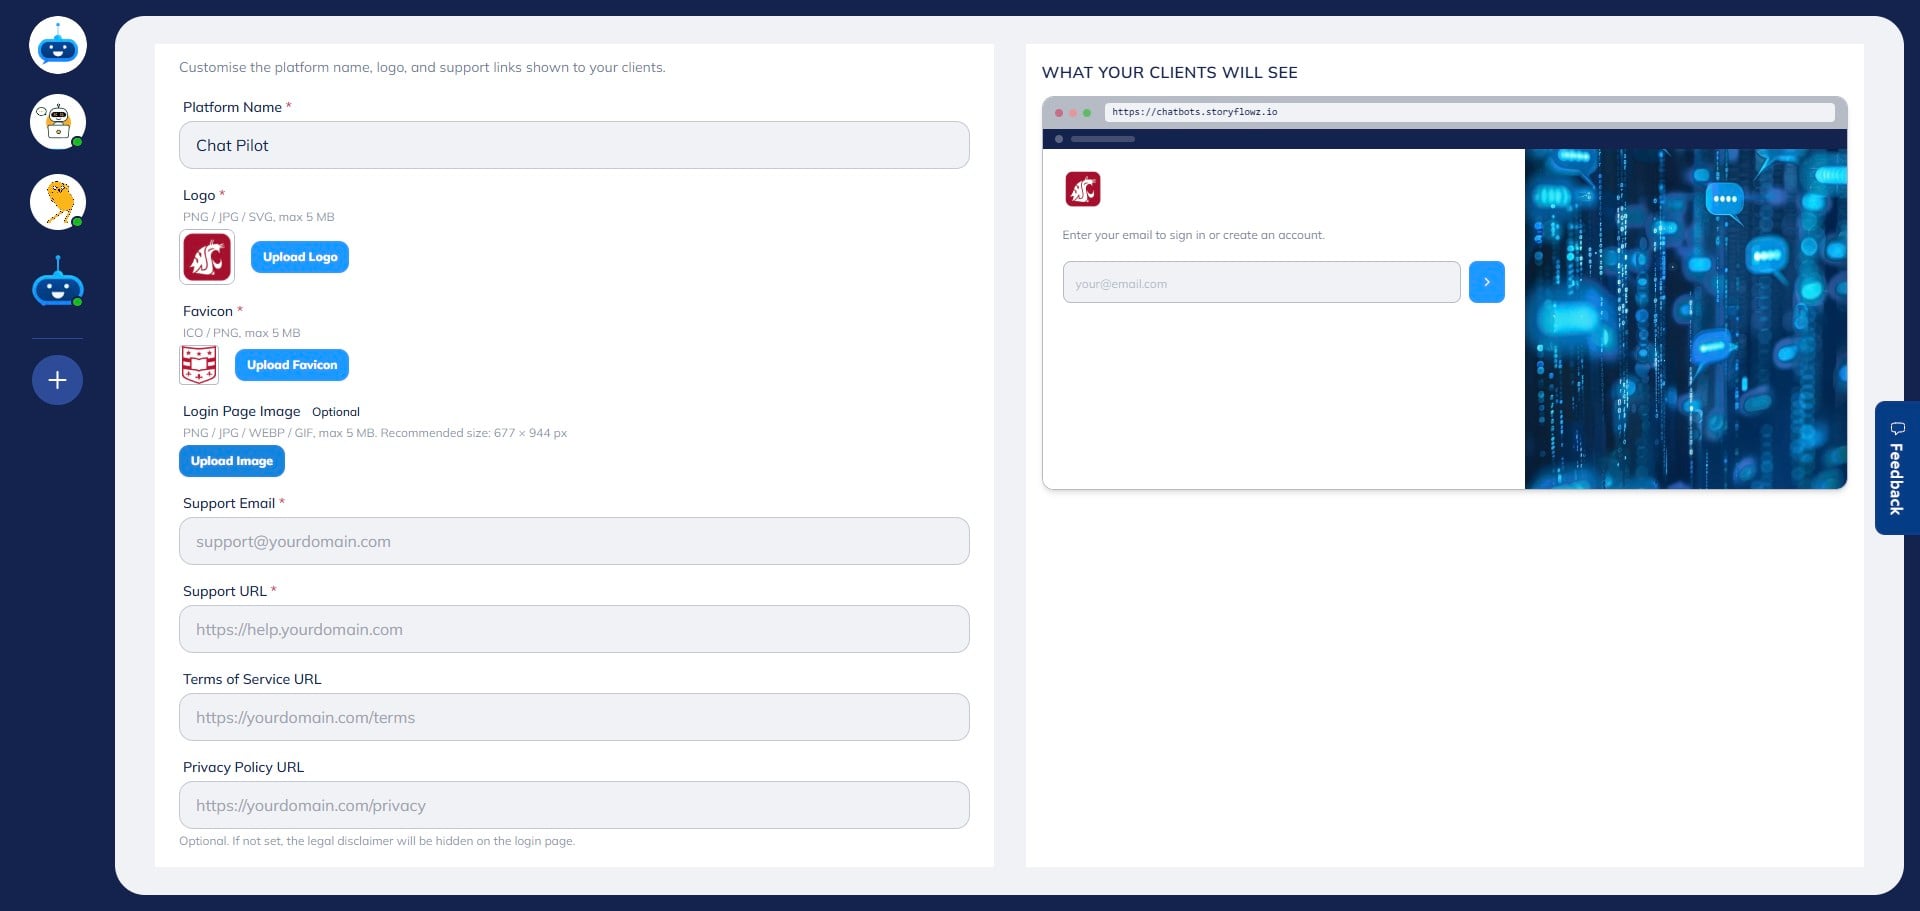
Click “Upload Favicon” to upload a favicon.
This is the small icon displayed in the browser tab.
Click “Upload Image” to add a custom image for your login page.\ This image will be displayed where clients enter their login details.
As you make changes, you can preview them in real time on the right-hand side of the screen.
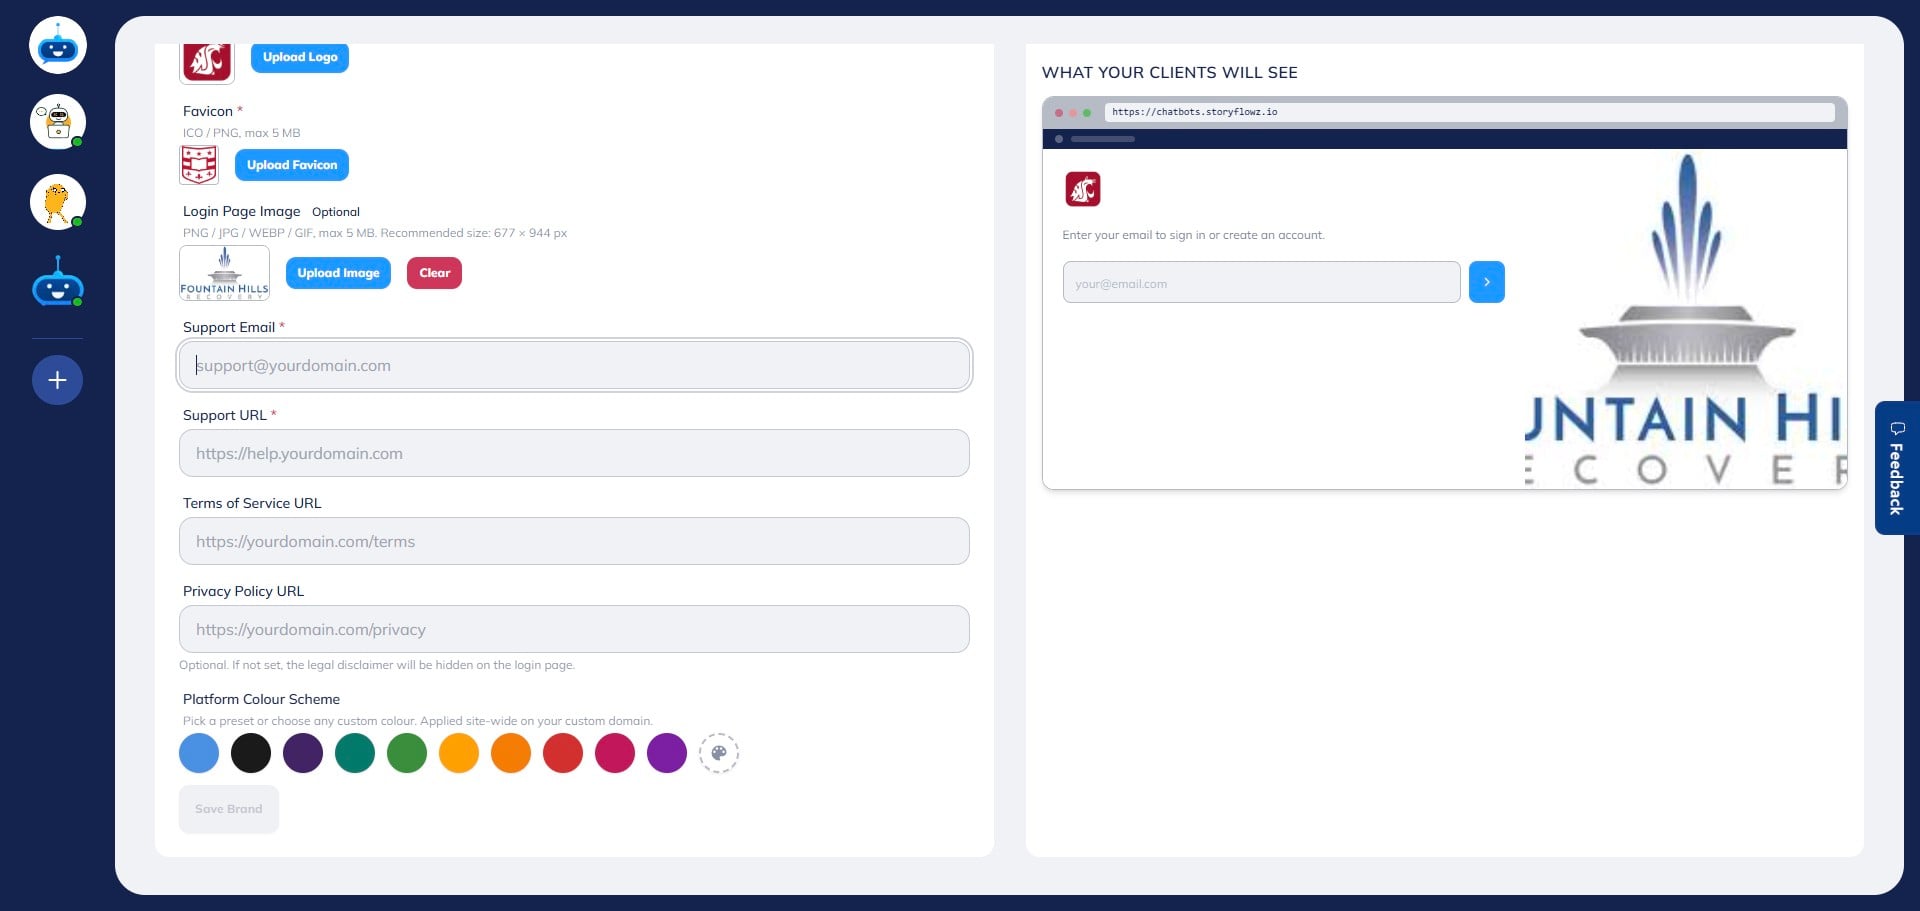
Enter your support email address in the “Support Email” field.
This is where client inquiries and support requests will be sent.
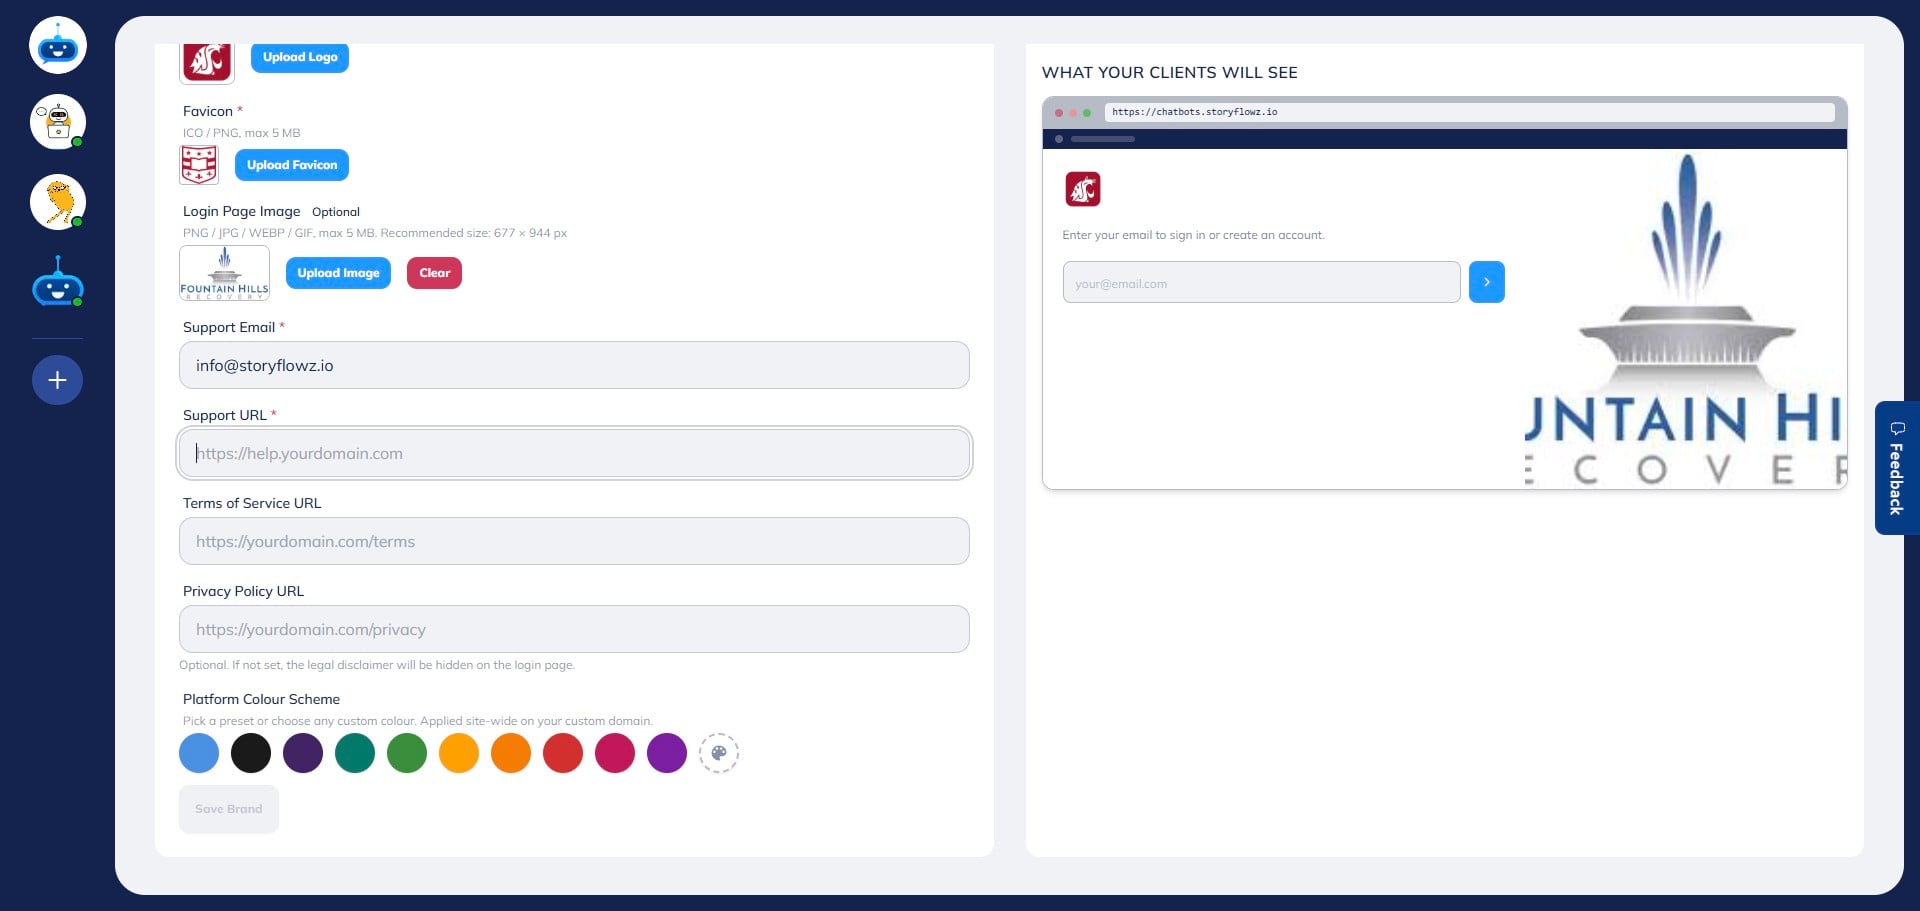
In the “Support URL” field, add a link to your support or contact page where clients can submit tickets or find help.

Enter the link to your Terms of Service page in the “Terms of Service URL” field.
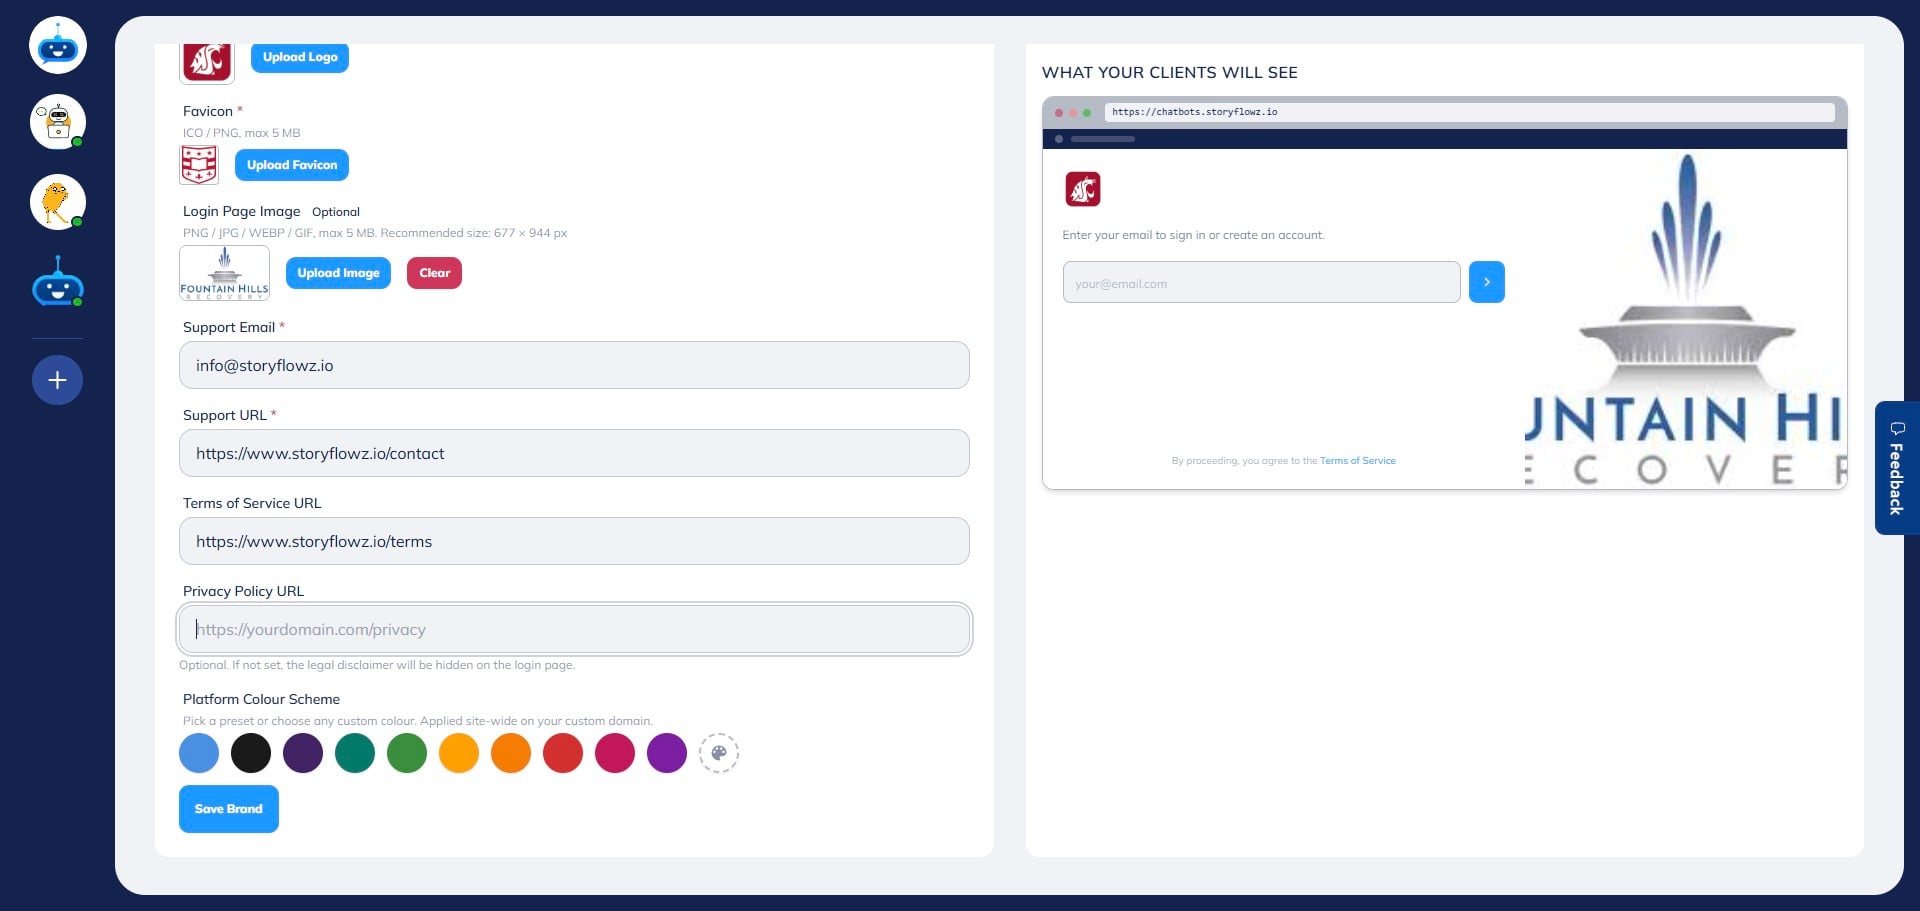
Enter the link to your Privacy Policy page in the “Privacy Policy URL” field.
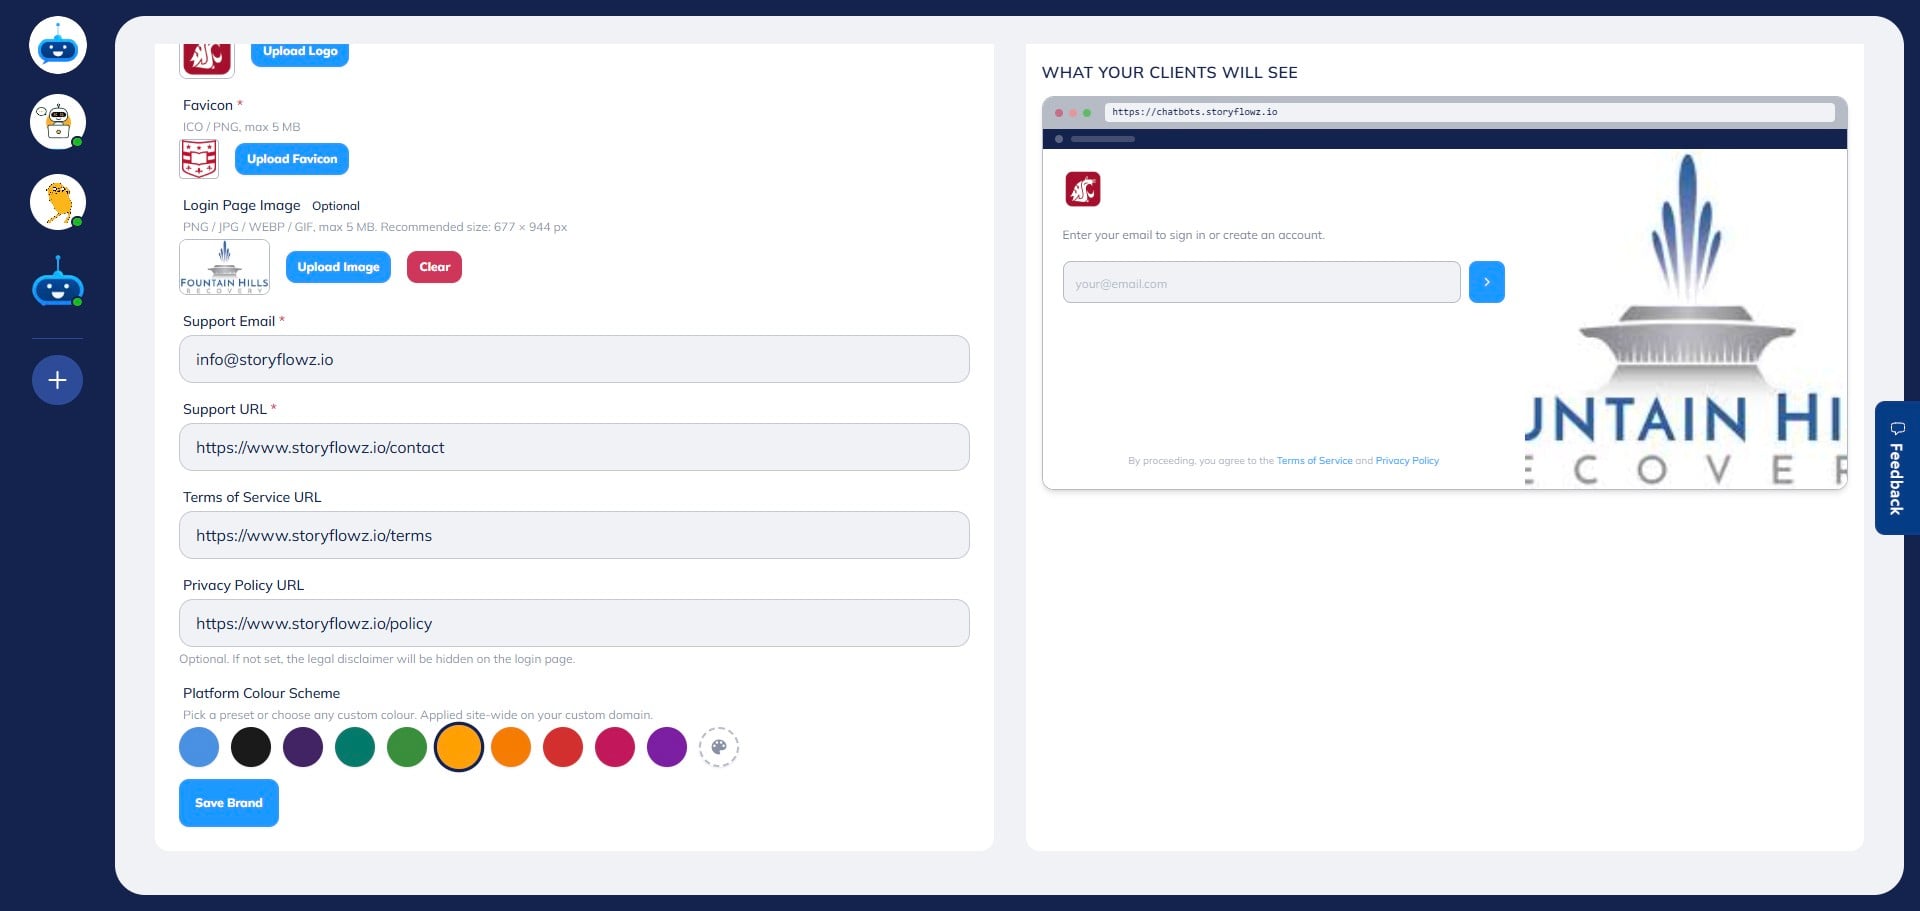
Select your preferred color scheme under “Platform Color Scheme.”
You can preview the changes instantly on the right-hand side.
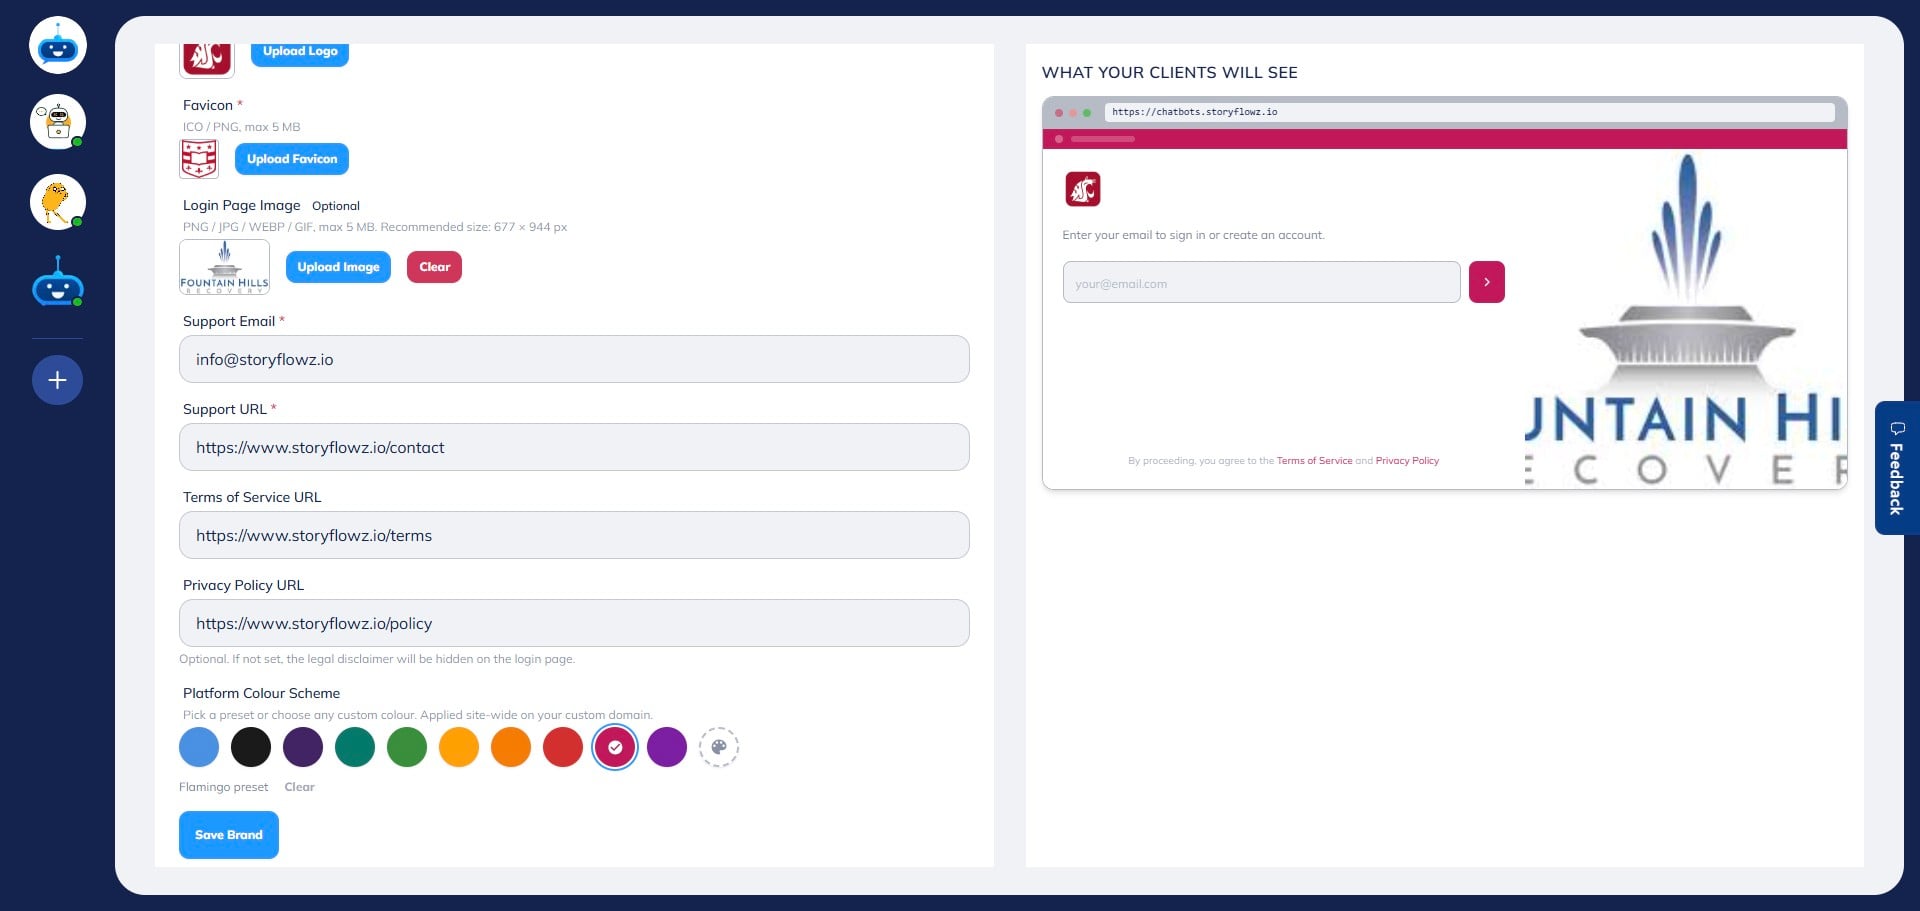
Once everything is configured, click “Save Brand” to apply your settings.

Done 🚀 Your white label portal is now set up and ready for your clients.