How To Create and Configure Custom Buttons
Custom Buttons enable your chatbot to present clickable actions during conversations, such as booking appointments, visiting websites, sending emails, or accessing specific resources. In this guide, you'll learn how to create, customize, and preview a custom button before making it available to your users.
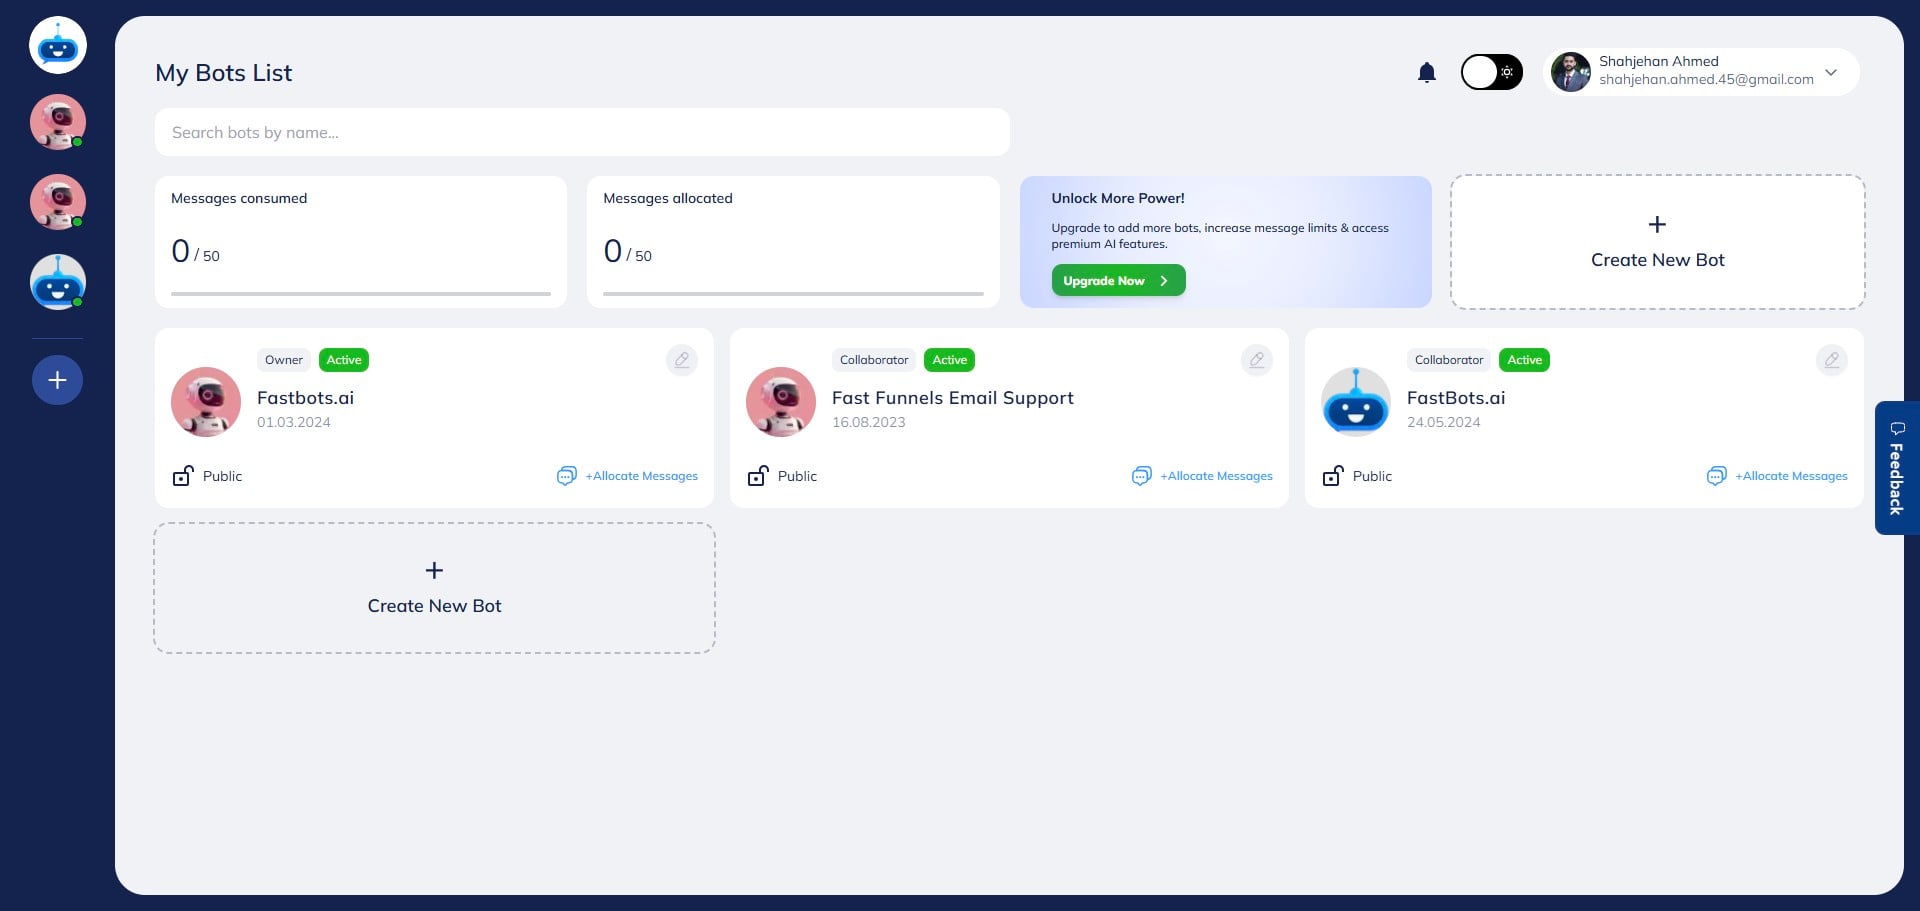
Navigate to https://app.fastbots.ai/
Select the chatbot you want to configure.
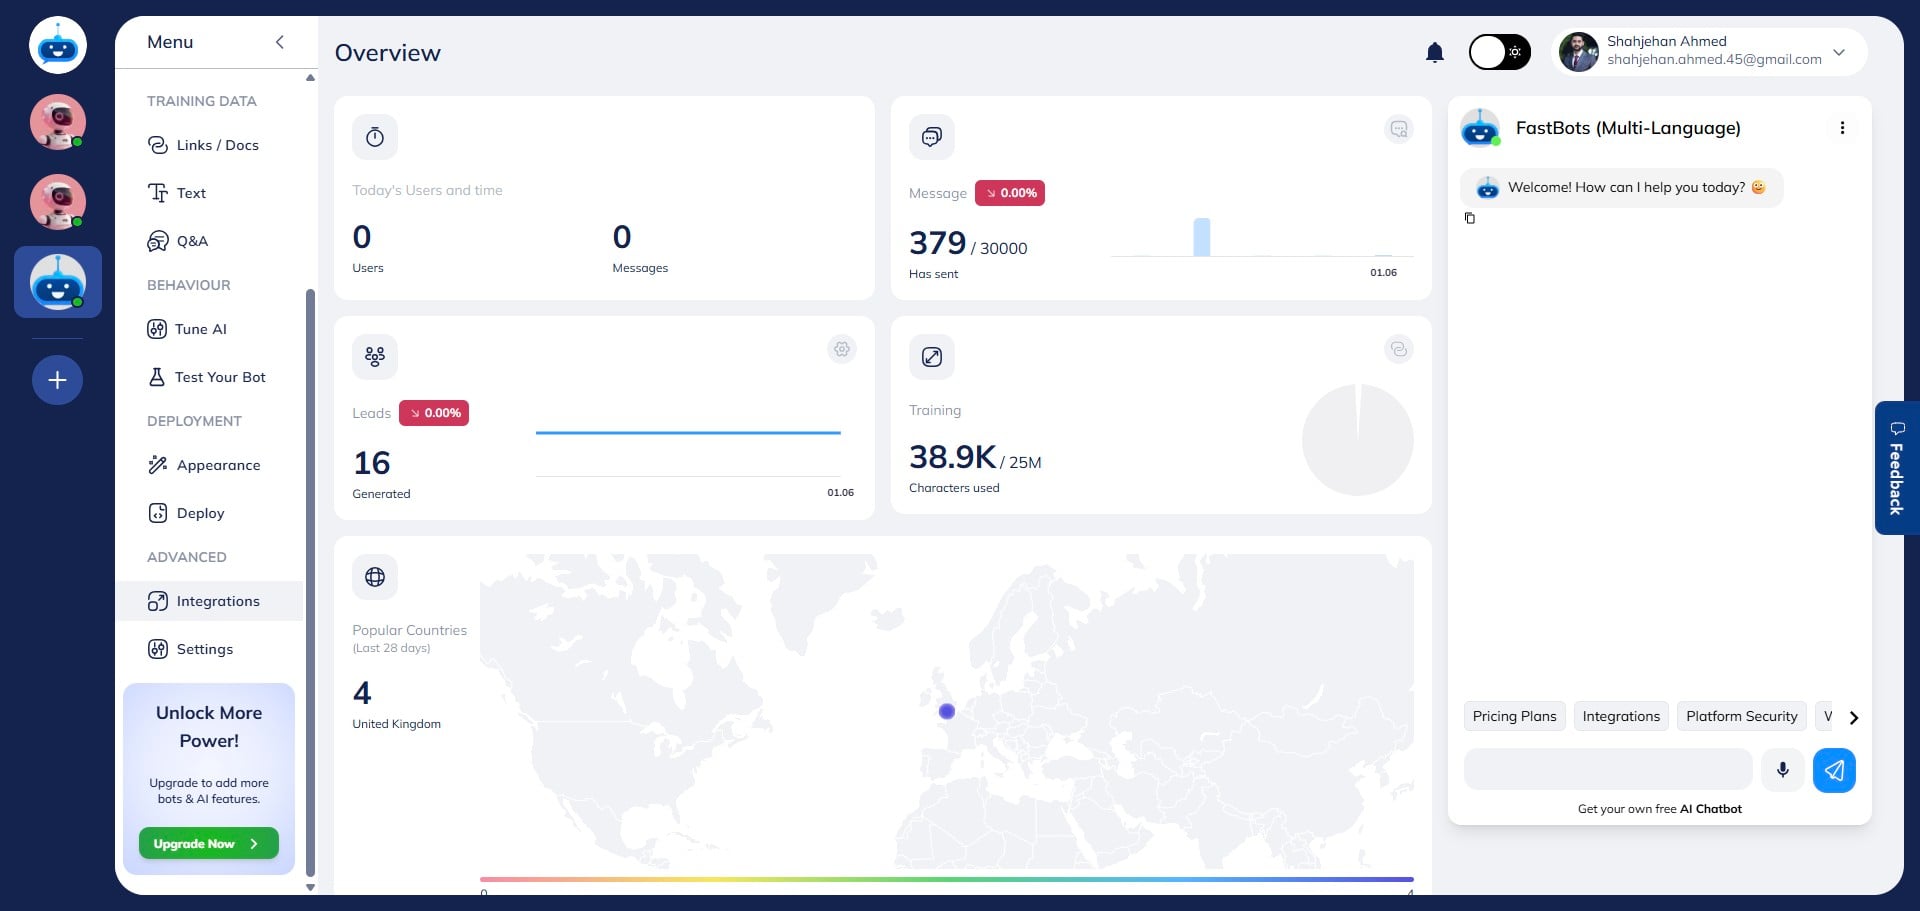
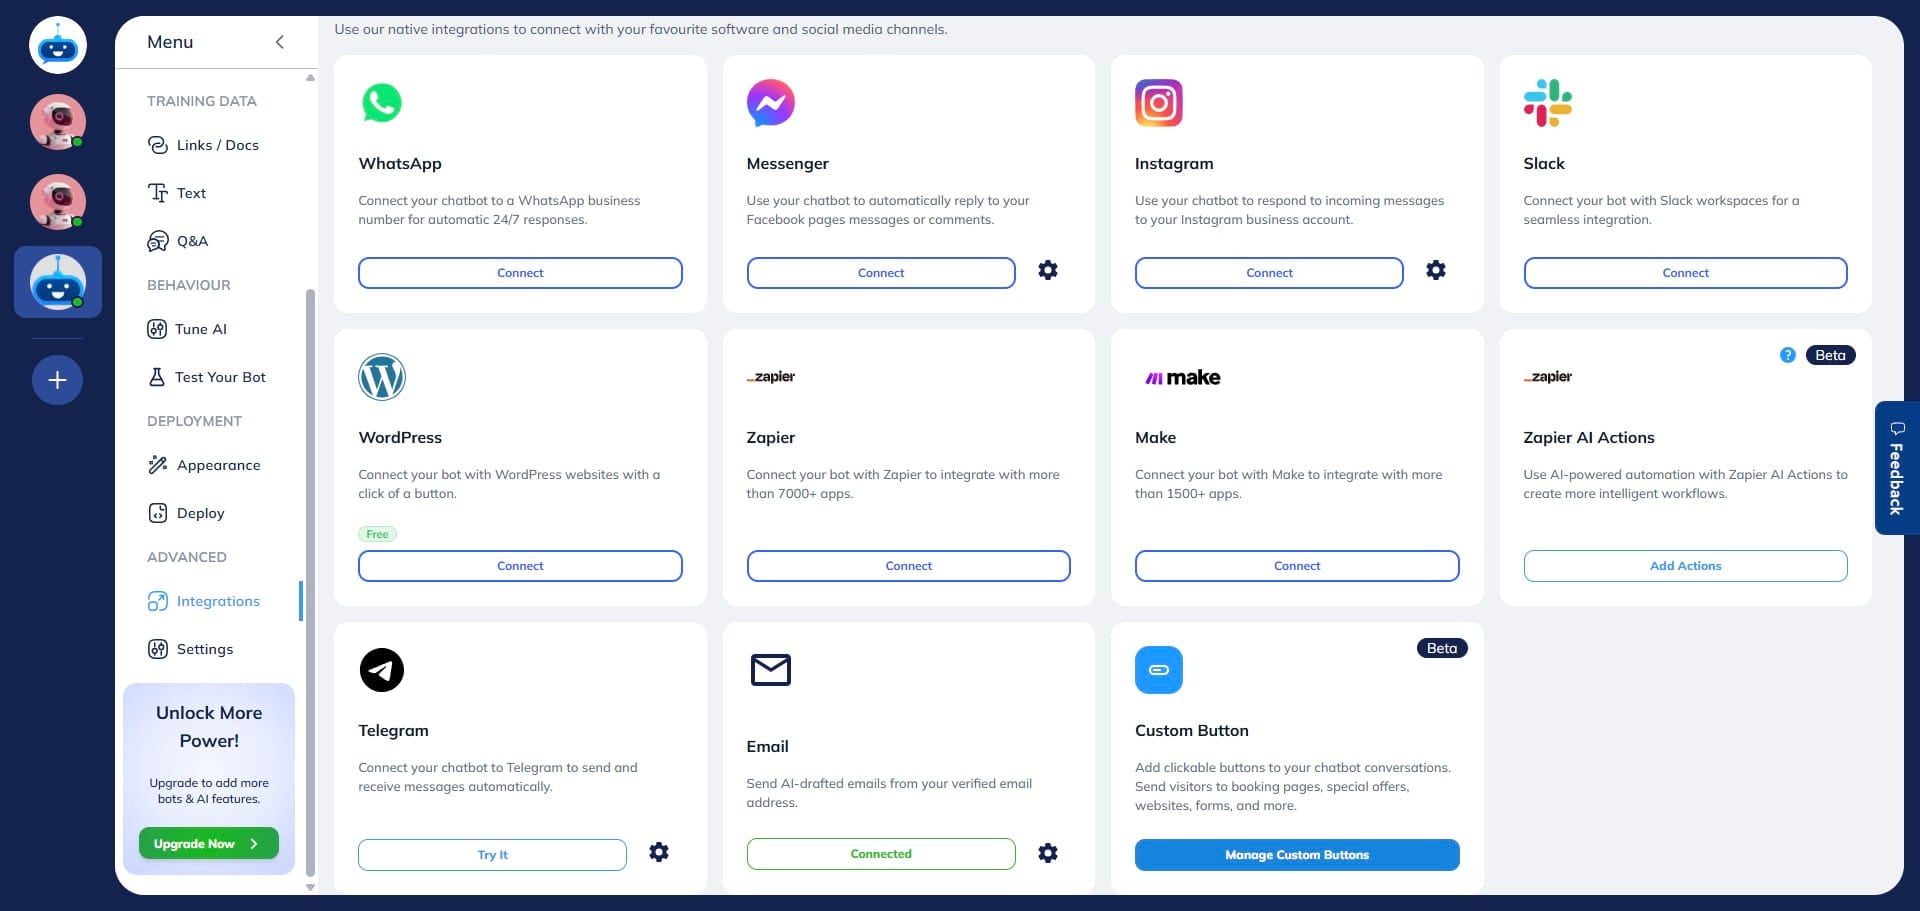
Click on the Integration button to open the integrations page.
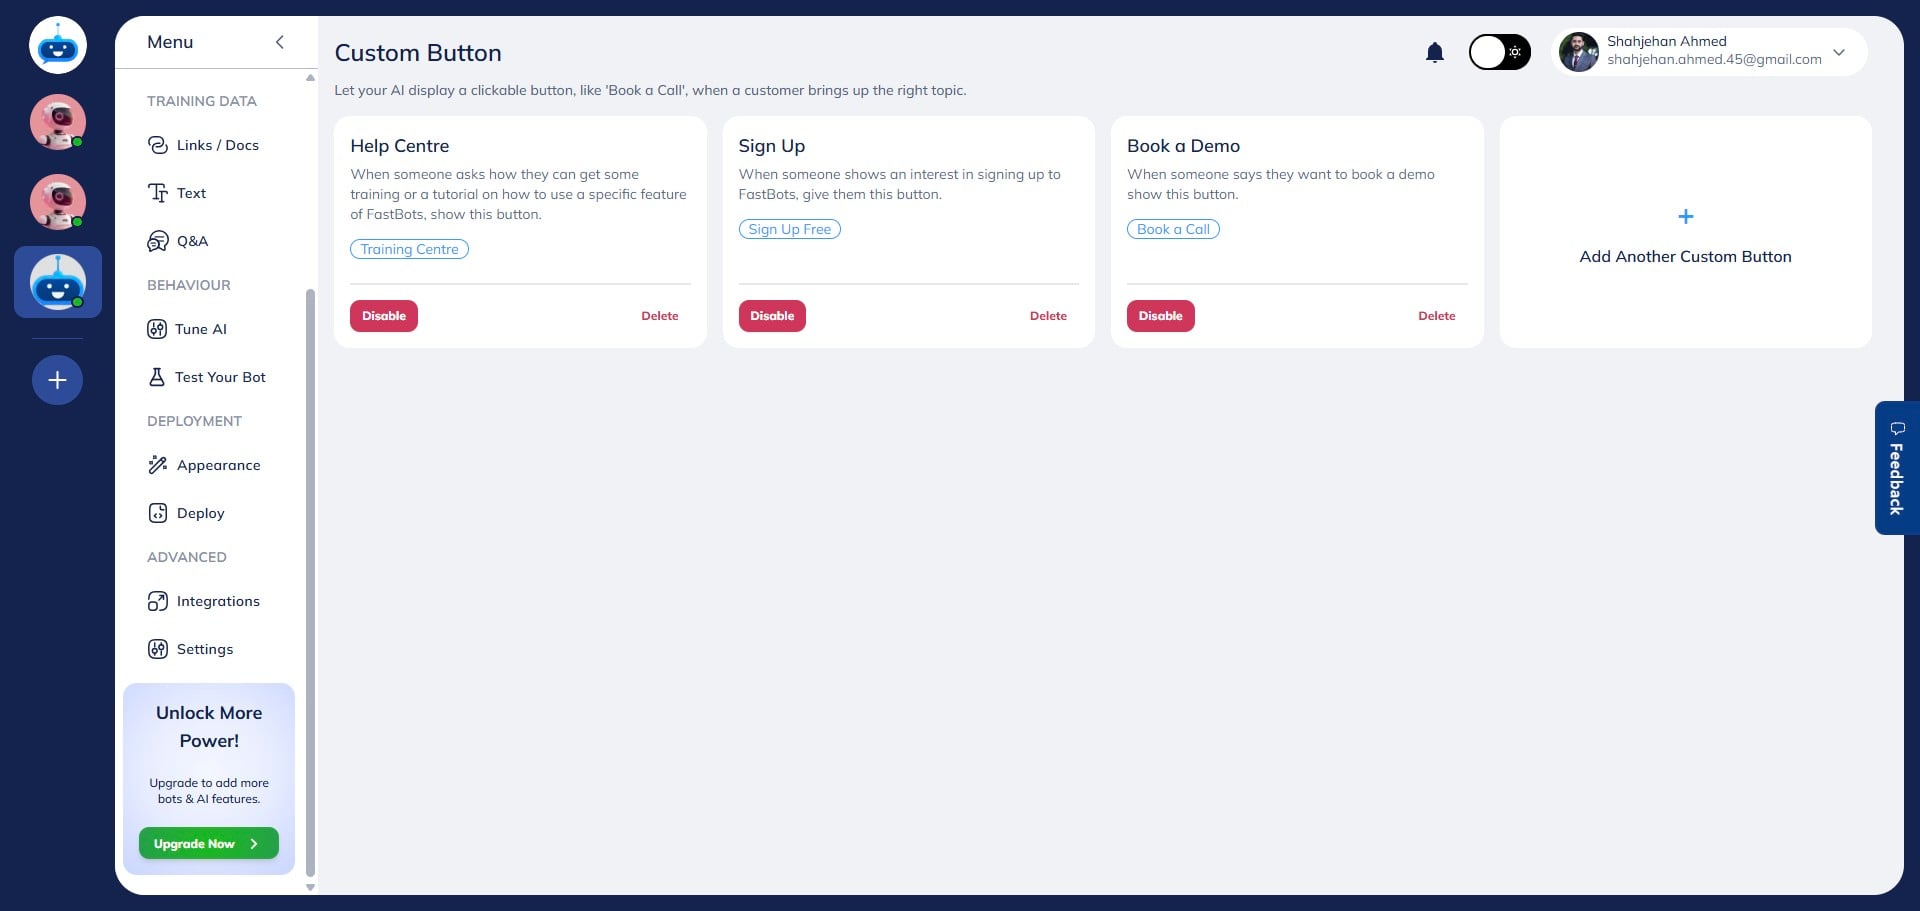
Click on Manage Custom Buttons to access the custom button settings.
Click on "Add Another Custom Button".

Enter an Action Name. This is an internal label that is only visible to the chatbot owner.
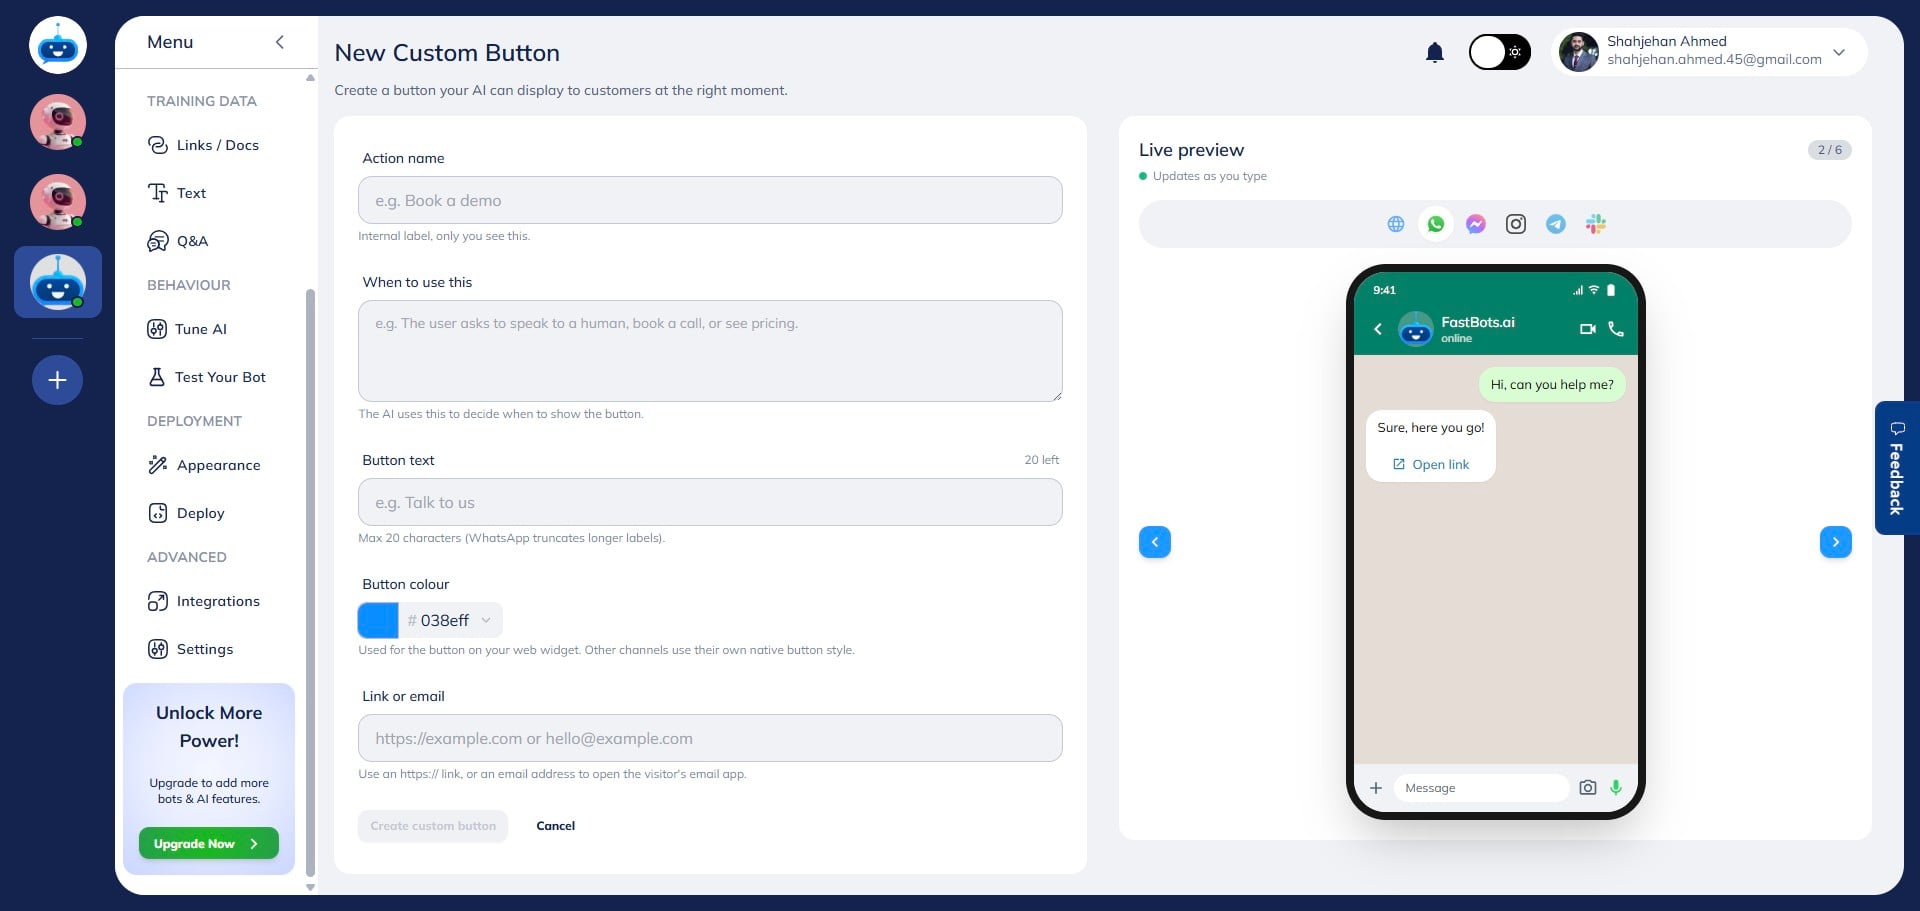
Enter a When to Use instruction that describes when the button should appear in the conversation. For example: "Show this when the user asks to book an appointment or check availability." The chatbot uses these instructions to determine when to display the button.

On the right side of the screen, you'll see a live phone preview displaying an AI-generated sample conversation and the custom button across all supported channels. The preview updates in real time as you modify the When to Use instructions or add additional buttons. You can also switch between platforms such as WhatsApp, Messenger, and Website Chat to see how the button will appear to users.

Enter the Button Name. This is the text users will see on the button (maximum 20 characters, for example: "Check Availability").
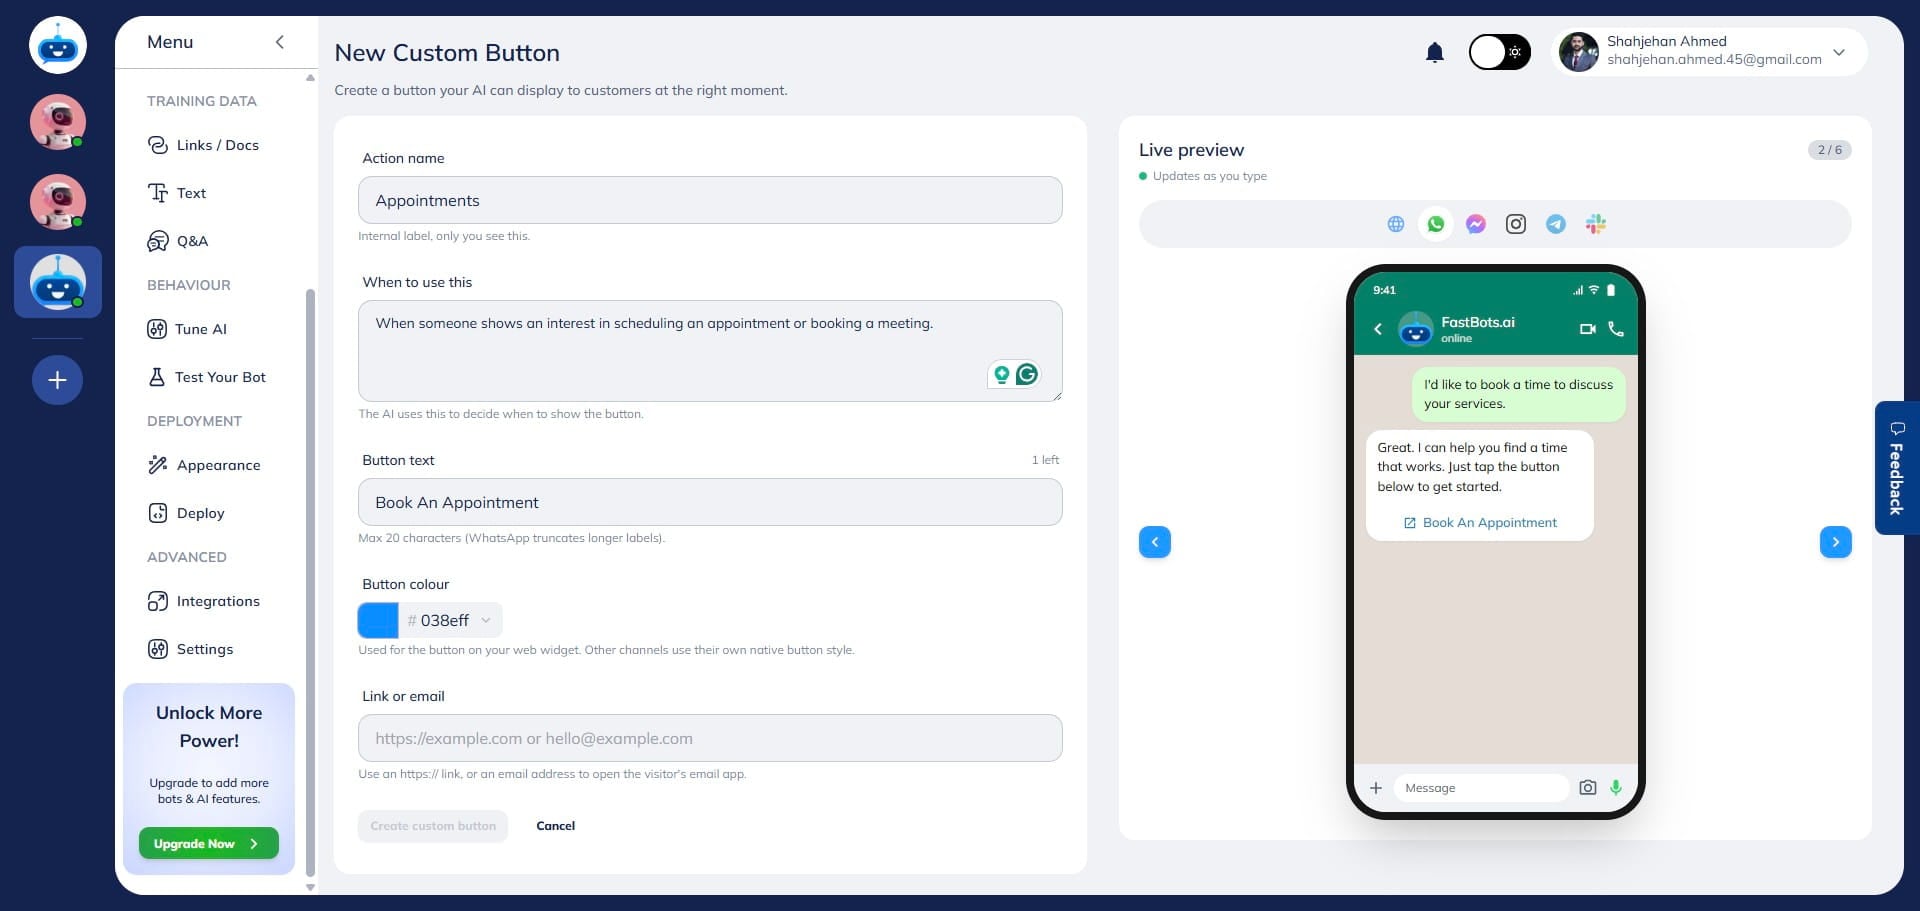
Choose a button color. If no color is selected, the button will automatically use the chatbot's send button color configured in the Appearance settings. This applies to the website widget only.

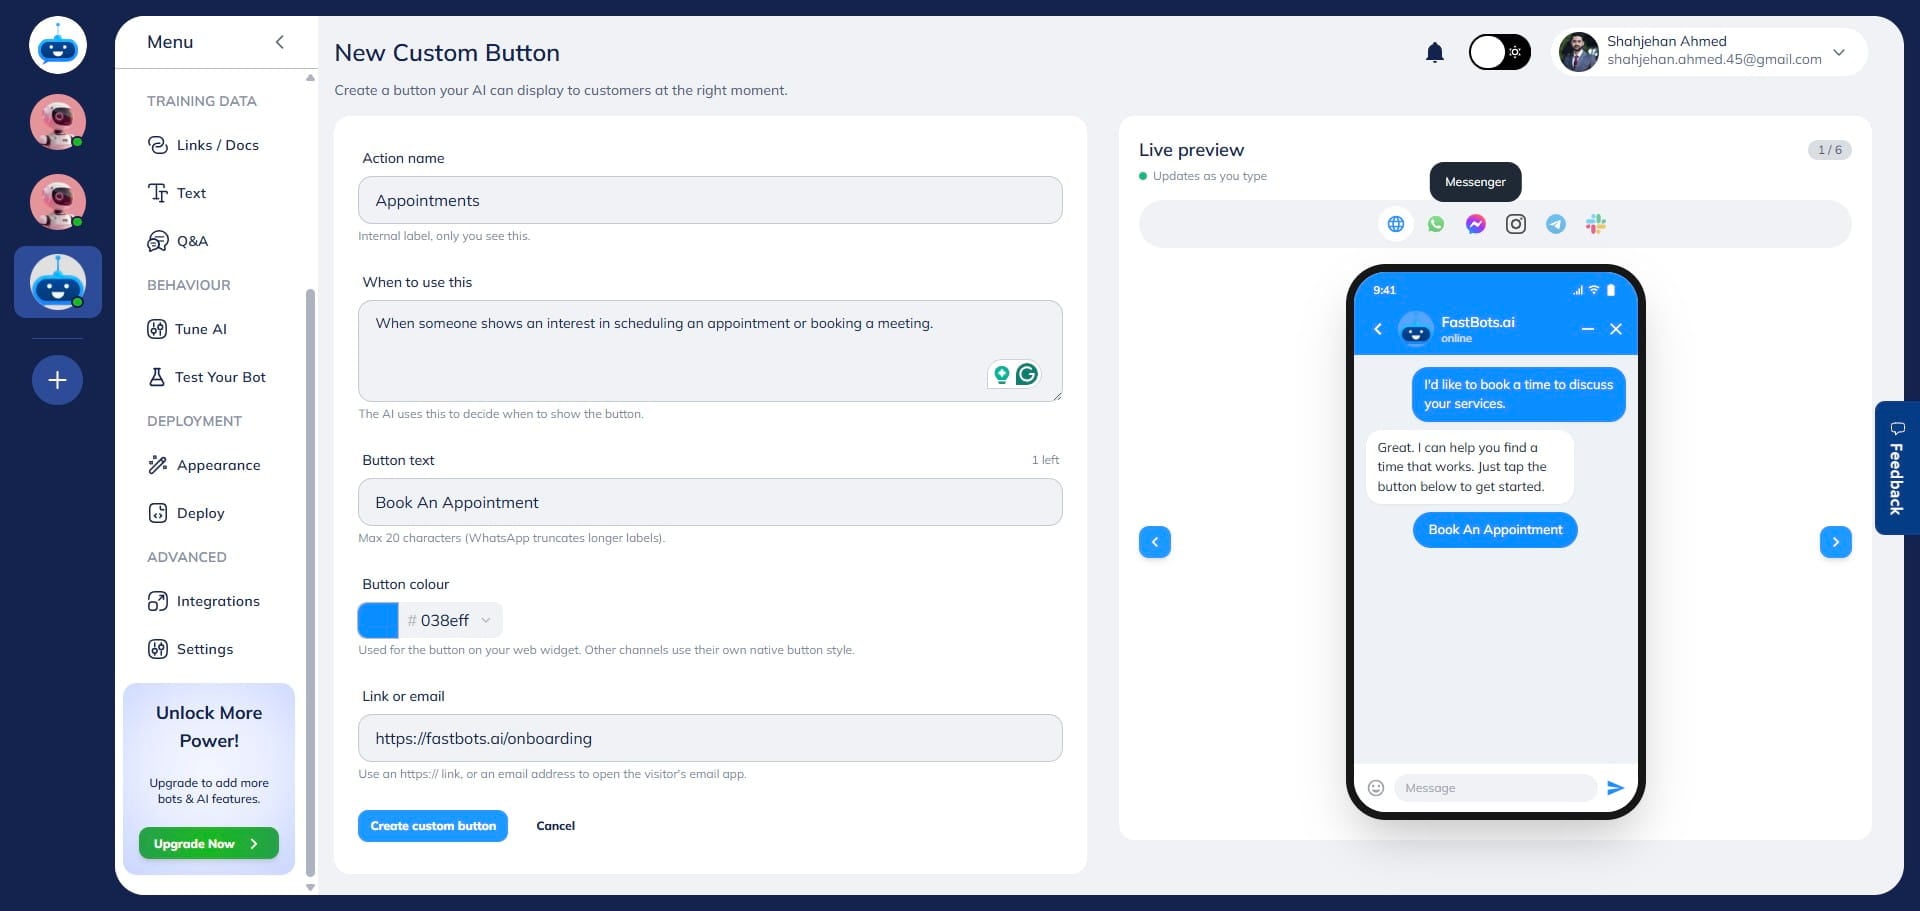
Enter the destination link or email address where users should be redirected. This can be an HTTPS URL, a mailto link, or a standard email address (for example: hello@acme.com).
).](https://assets.guidejar.com/uploads/4cbf5c56-45a3-4b59-9bfe-b5fb3b0e4dea/EWaUlLbQzcRPZ6mZqBZ6GyhoWZy2/9dc90afa-4613-4991-9f2c-1b75e69738c6/1780356314360.jpeg)
Review the live phone preview on the right side of the screen. The preview updates automatically and allows you to see how the button will appear across different channels, including WhatsApp, Messenger, and Website Chat.

Once you have completed the configuration, click Create Custom Button to save and apply the button.
Done 🚀 Your custom button has been successfully created and is now available in your chatbot.