
How to Set Up Live Chat in Fastbots: A Step-by-Step Guide
This comprehensive guide walks you through the entire process of setting up the Live Chat feature in Fastbots, from enabling it in your chatbot settings to customizing messages and managing real-time conversations with users. Whether you're just getting started or optimizing your support system, this tutorial ensures a smooth setup for seamless live agent support.
Here's a full video overview of how FastBots Live chat system works.
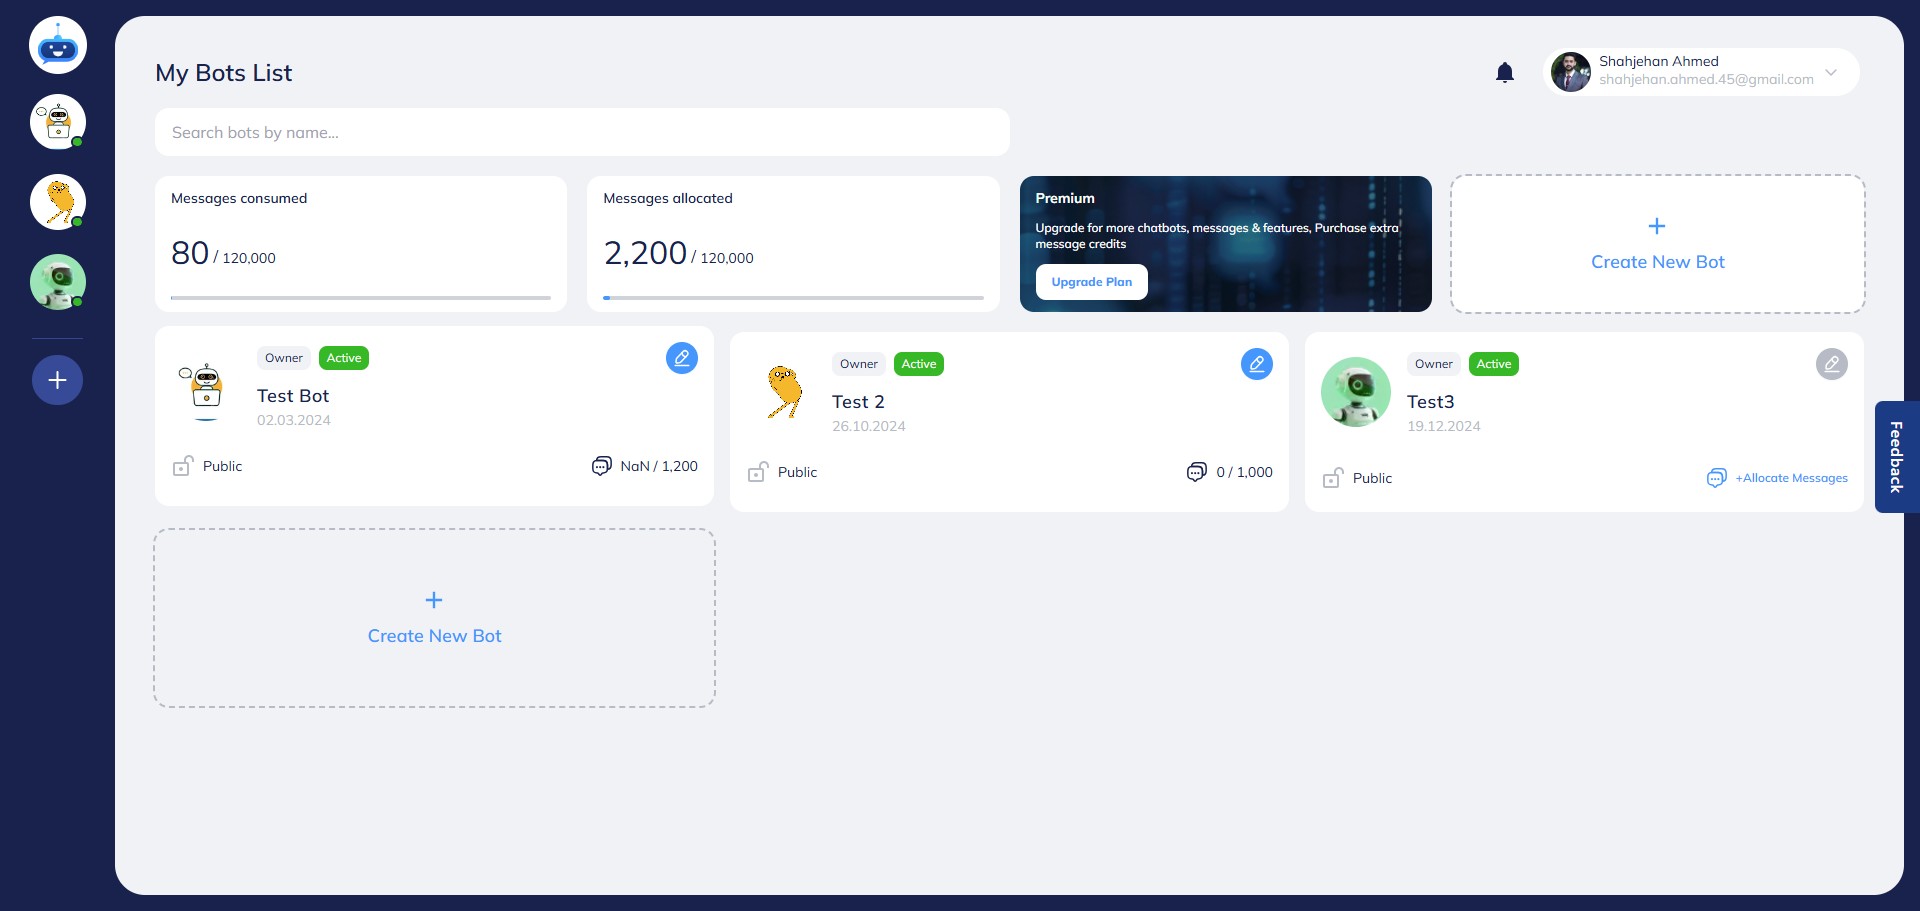
Navigate to https://app.fastbots.ai/
Select the chatbot you wish to configure by clicking on it
Click on "Live Chat" to access the live chat configuration page.
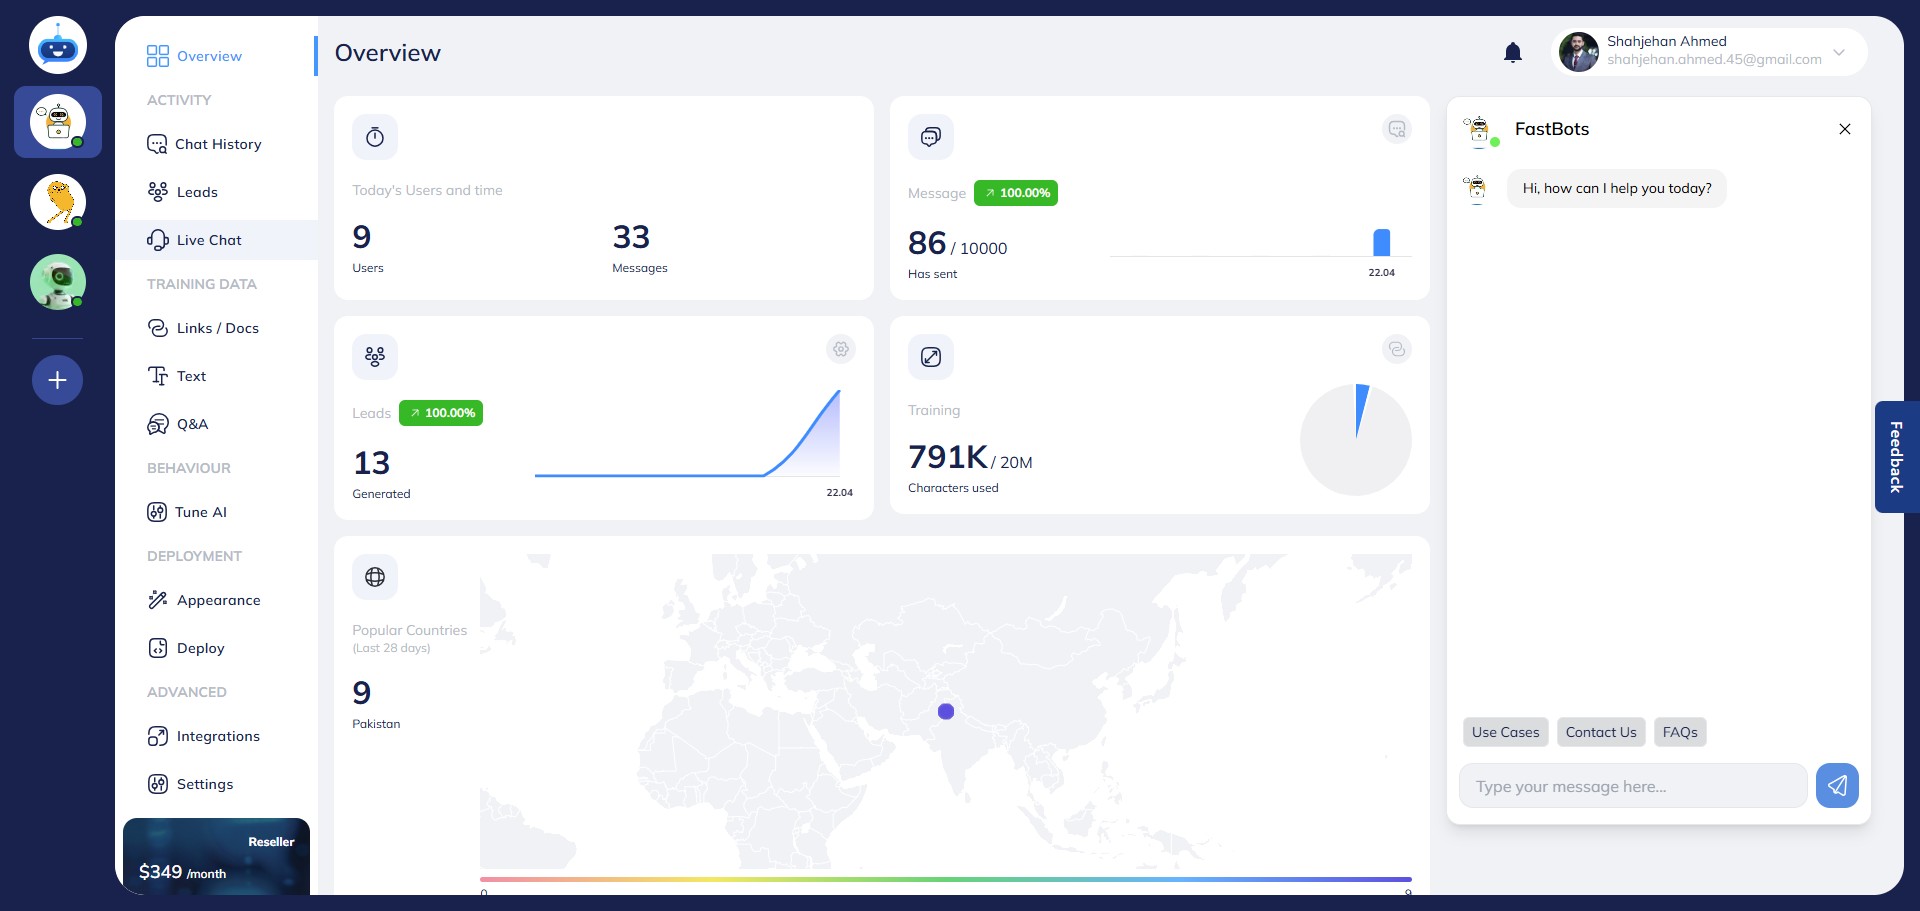
This is the Live Chat Dashboard, where you can monitor and manage all active live chat sessions.
Note: Live chat is only available on the Business plan or higher.

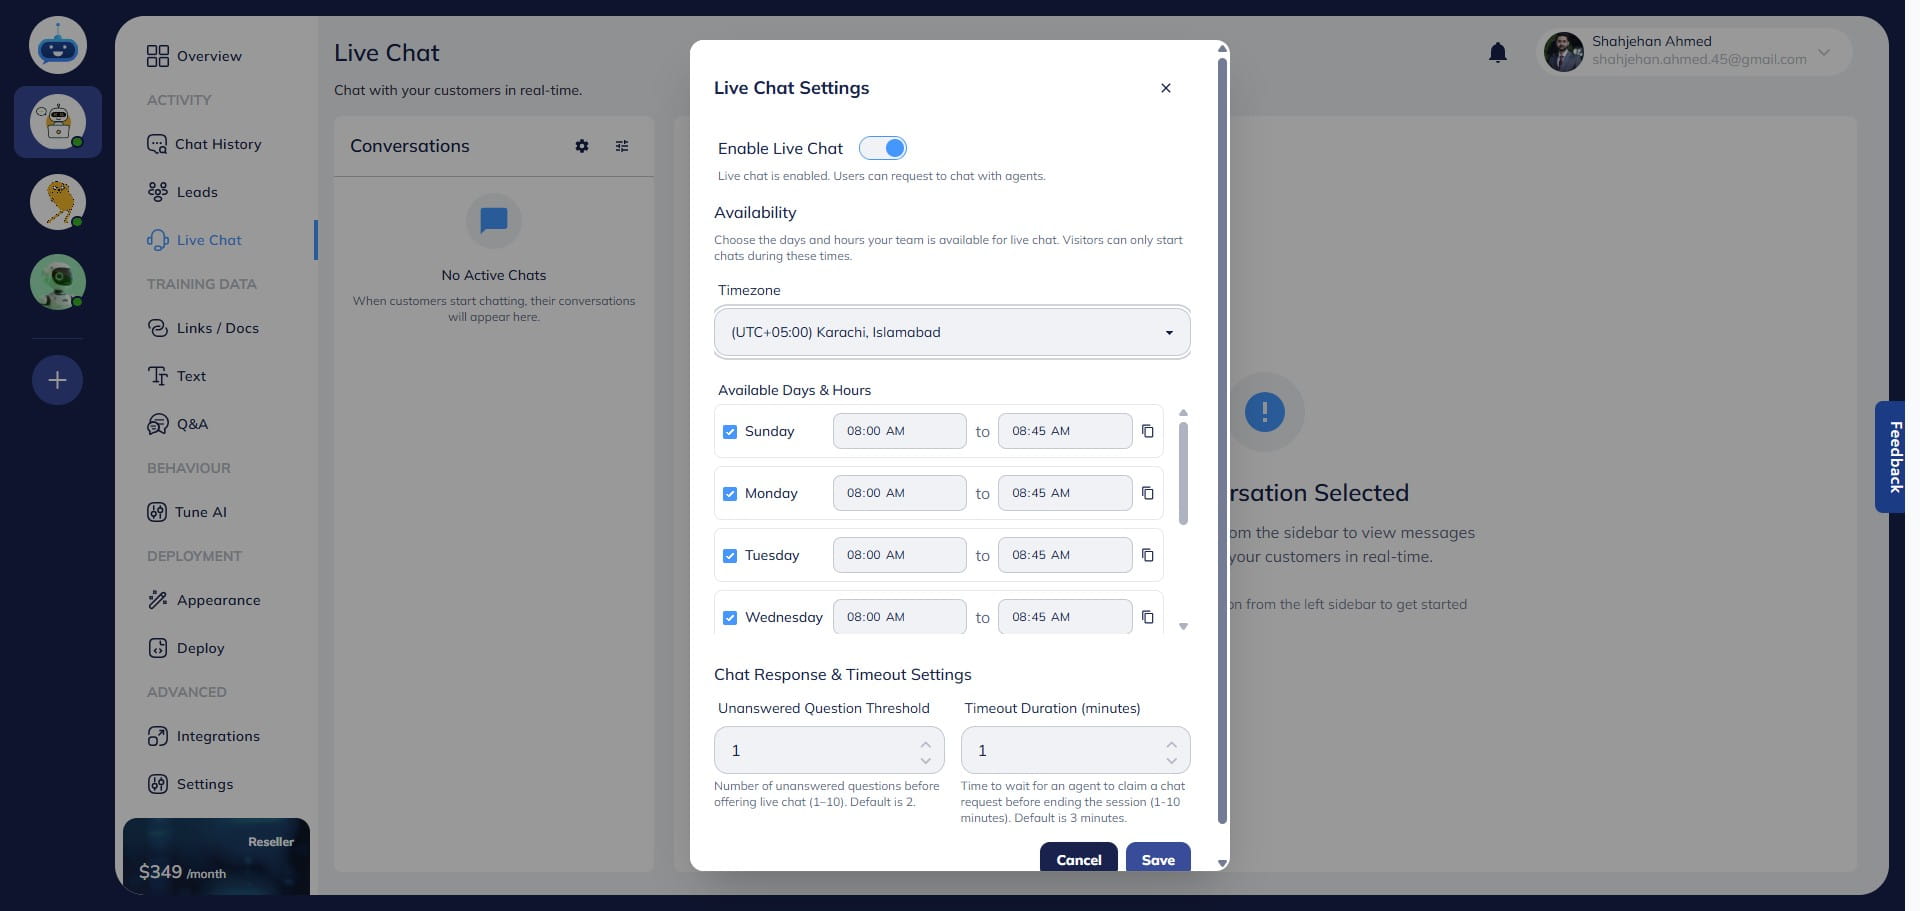
Click on the Settings icon to begin configuration
Toggle the Enable Live Chat switch to activate the feature.
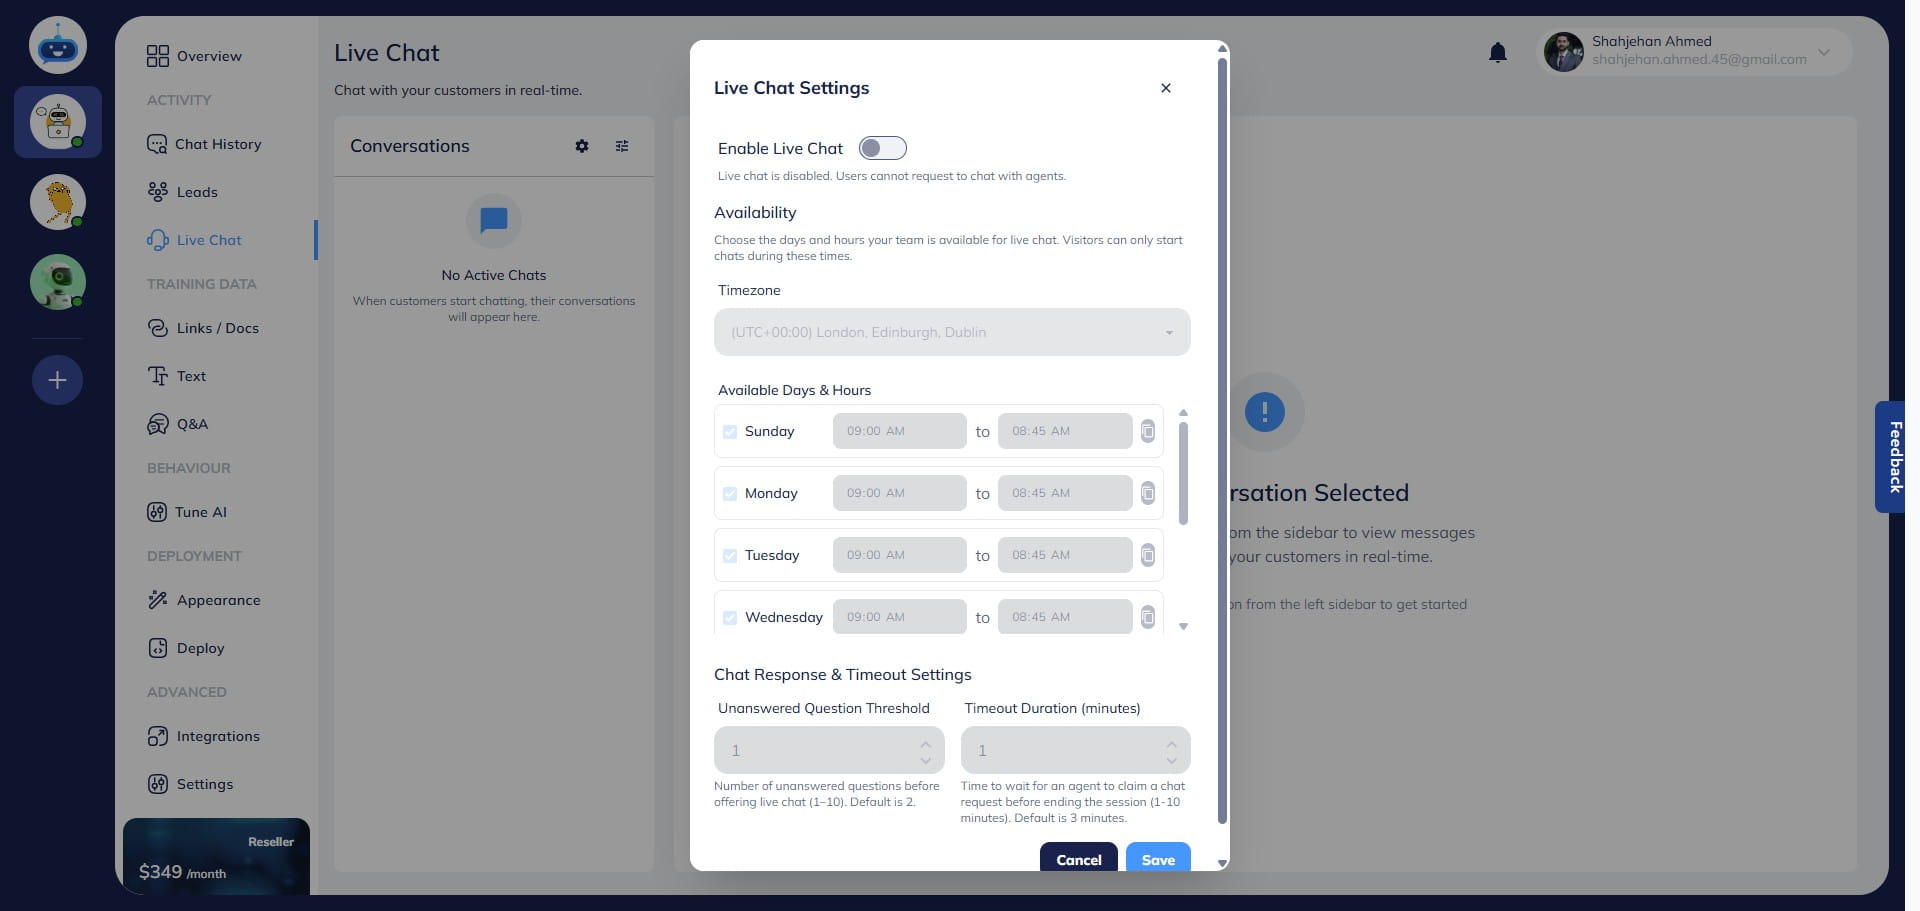
Select your timezone from the dropdown menu.

Define your availability hours—the chatbot will only transfer conversations to a live agent during the days and times specified. Outside these hours, users will not be offered live chat support.

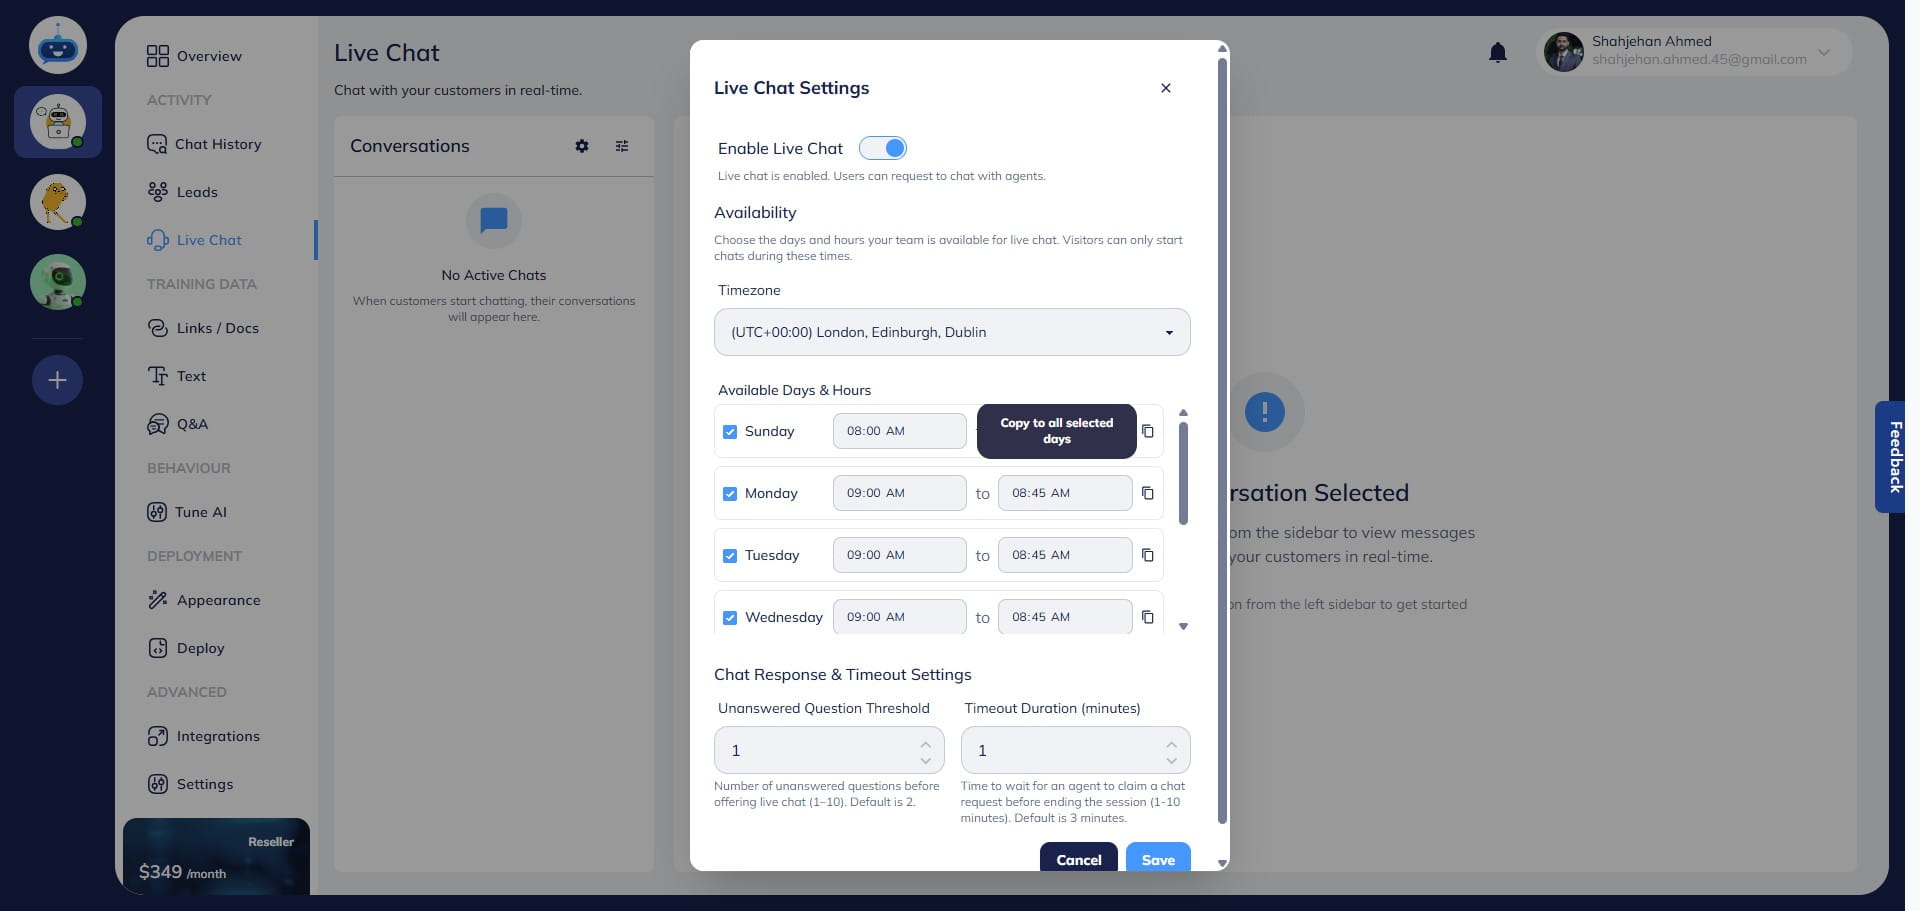
You can customize your availability hours and select the specific days by clicking on each one.

If your availability is consistent across days, click the Copy button to duplicate the time settings to other selected days.
Down here you can adjust the Unanswered Questions Threshold—this determines how many fallback responses (apology messages) the chatbot should provide before offering to connect the user with a live agent. Use the arrow buttons to set the threshold number. For example, if the threshold is set to 1, the chatbot will offer live support after a single fallback response.
Note: This fallback message is configured on the Tune AI page.

Set the Timeout Duration—the maximum time a live agent has to claim a transferred chat.
By default it is set to 3 minutes, and the maximum is 10 minutes. If the agent does not claim the chat within the set duration, the session ends and is handed back to the AI.

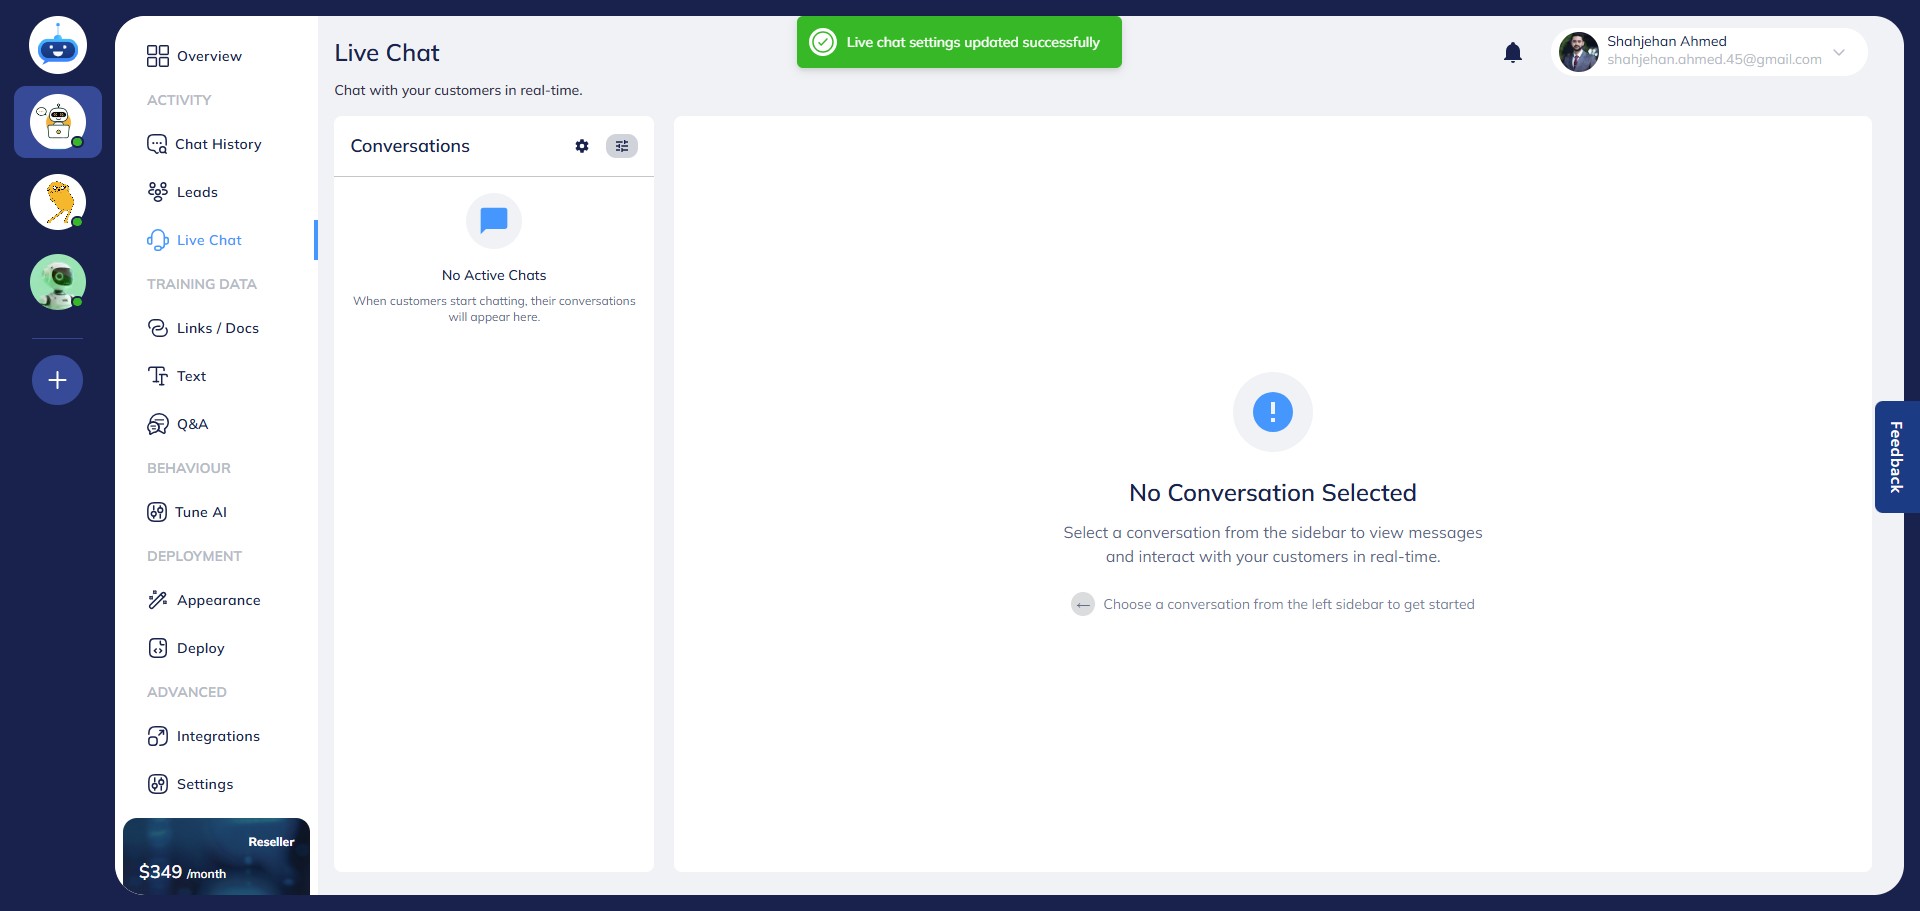
Once all settings are configured, click "Save" to apply the changes.
Upon clicking on the save button, a confirmation message will appear stating: Live Chat Settings Updated Successfully.
Click on this settings icon to access additional live chat customization options.

Here, you can personalize the messages displayed while a chat is being transferred and after the session ends.
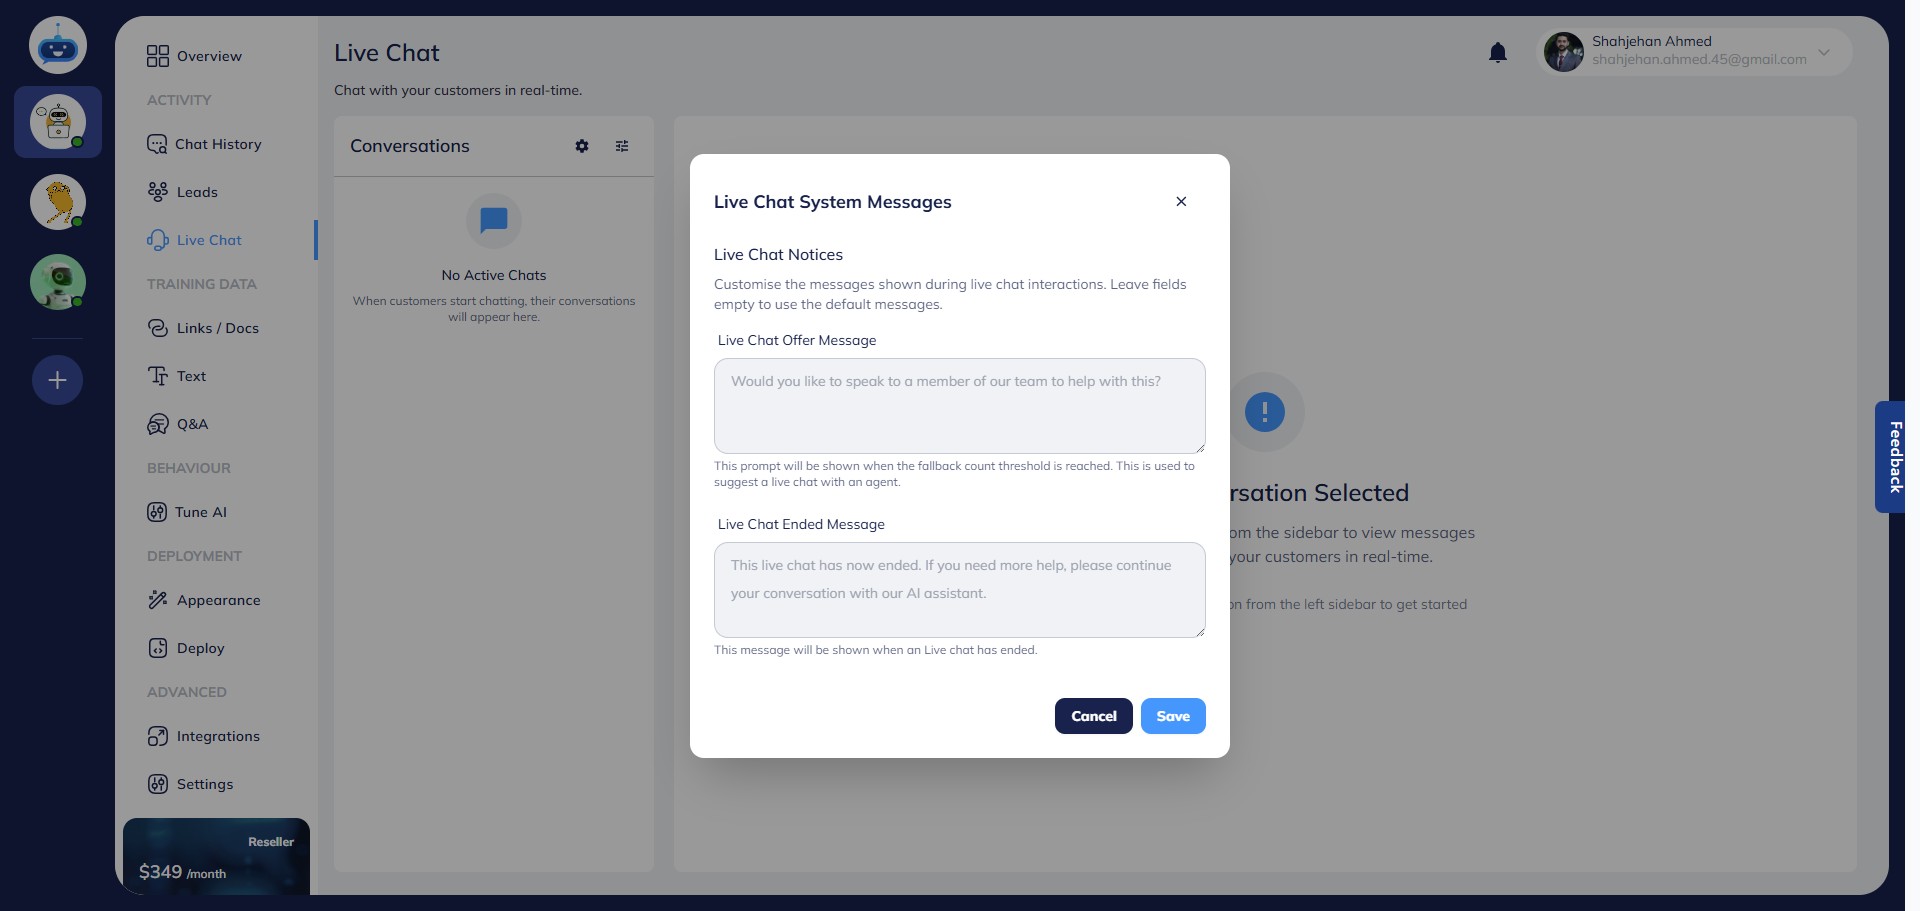
By default, the chatbot uses placeholder text (grayed out) as system messages. You can replace these with custom messages.

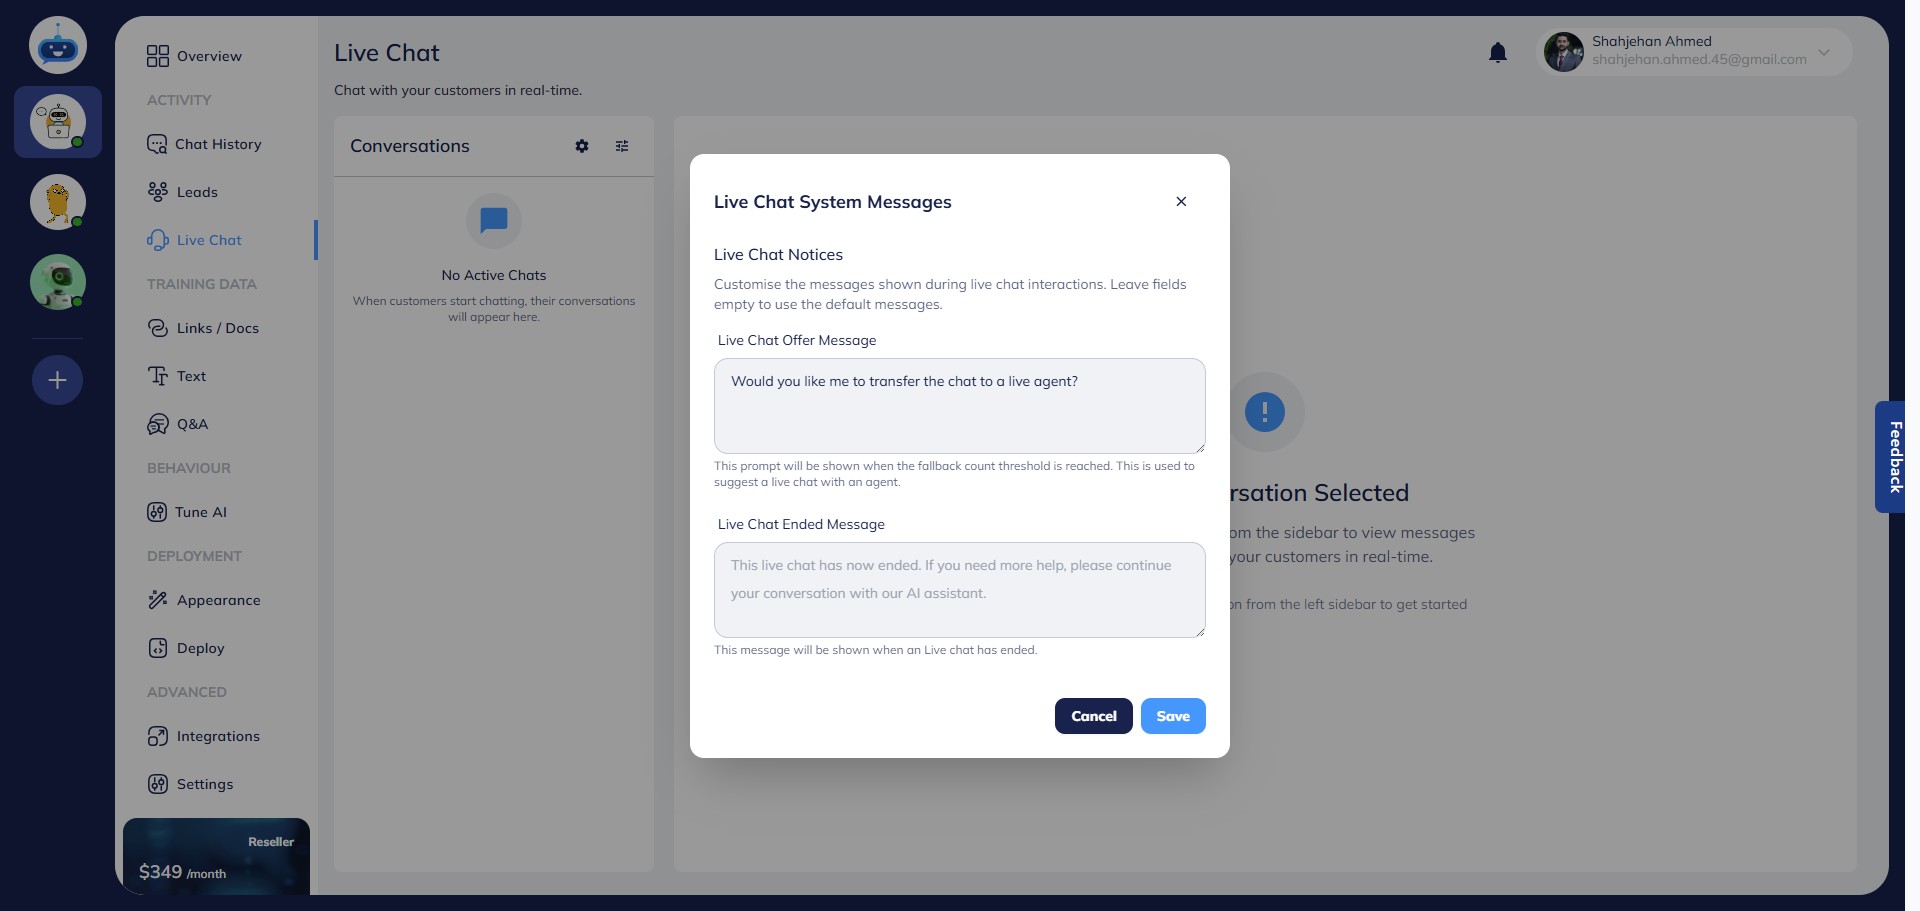
To customize the Live Chat Offer Message, enter your desired text in the corresponding field.
To change the Live Chat Ended Message, input your message in the appropriate field.
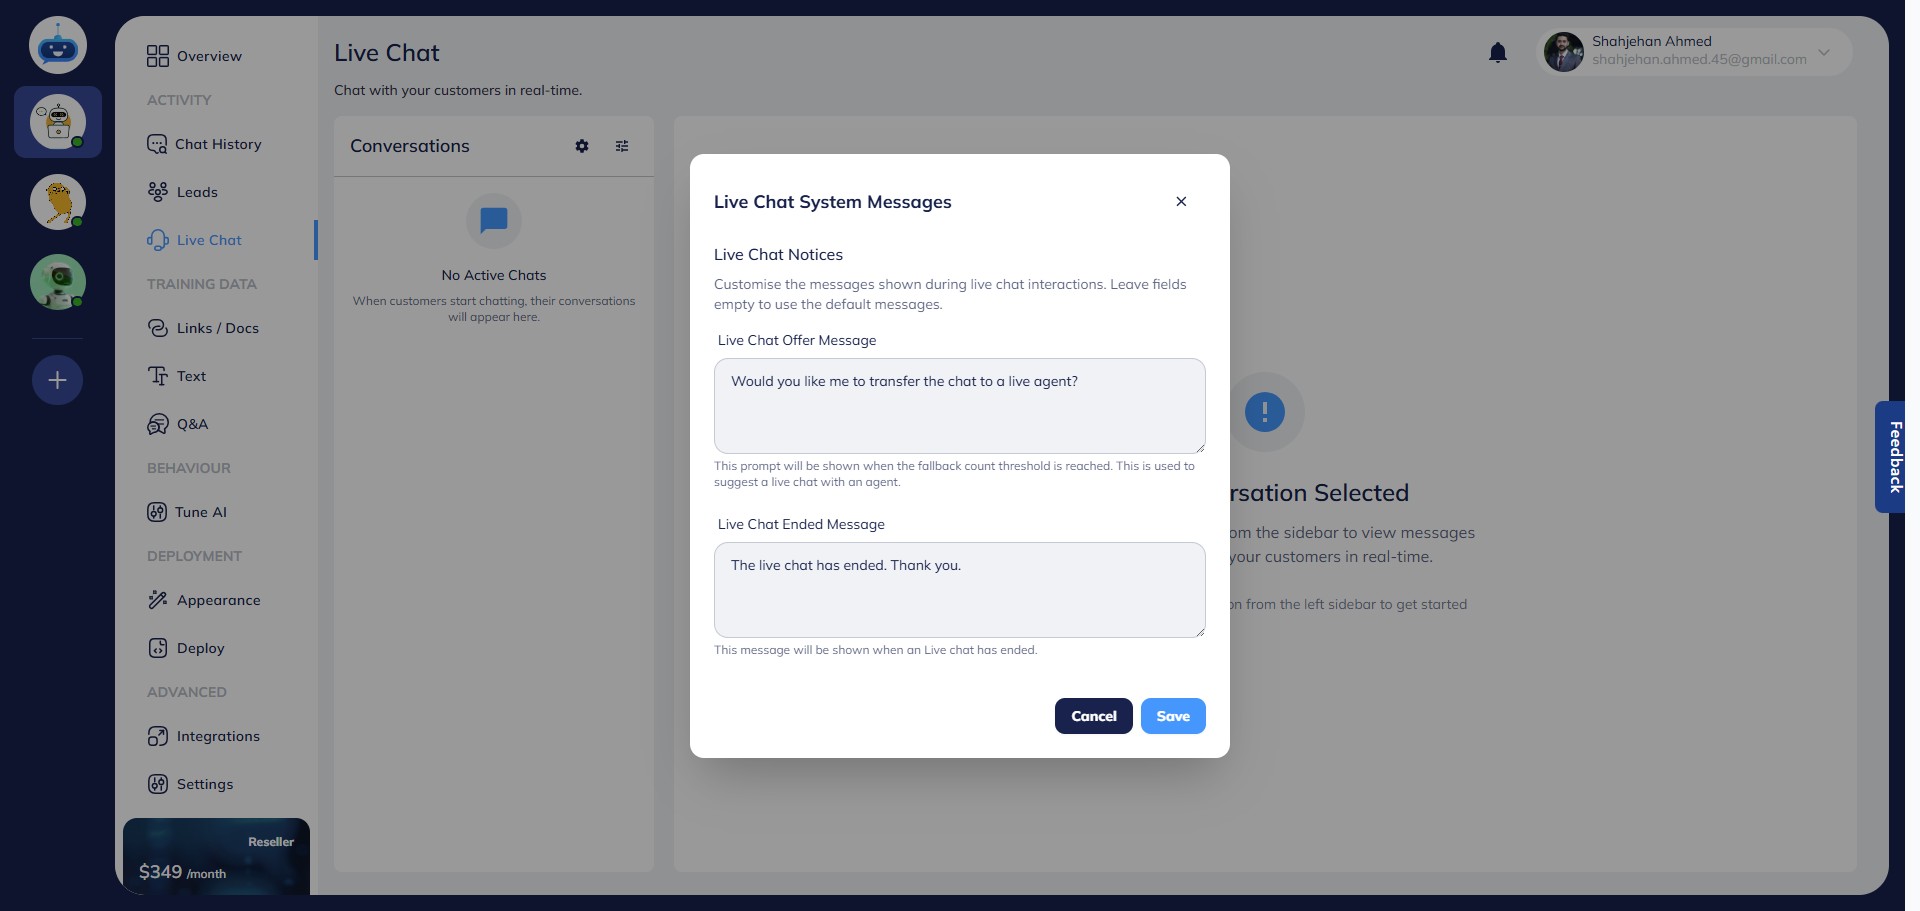
Click "Save" once you’ve added your custom messages.

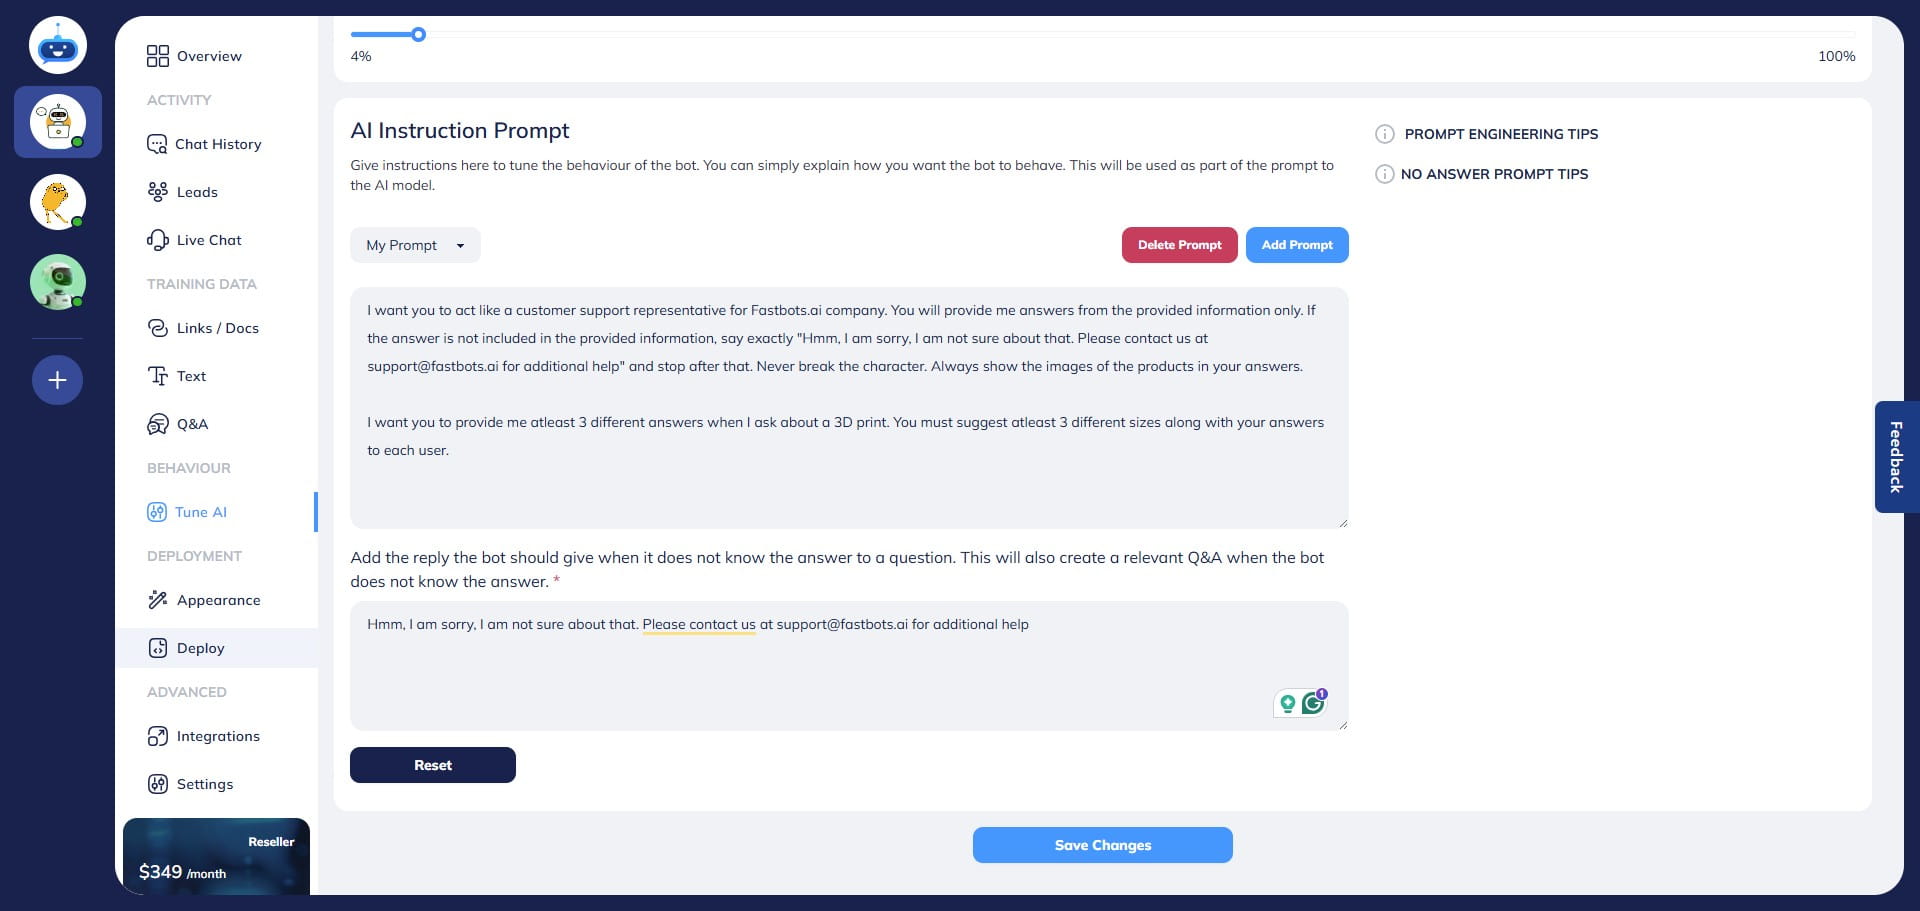
Next, go to the Tune AI page to set up the fallback response.
Enter a fallback message in the provided section—this message will be used whenever the chatbot cannot answer a question.
Reminder: This message is tied to the Unanswered Questions Threshold. If the threshold is set to 2, the chatbot must respond with the fallback message twice before initiating a live chat offer.
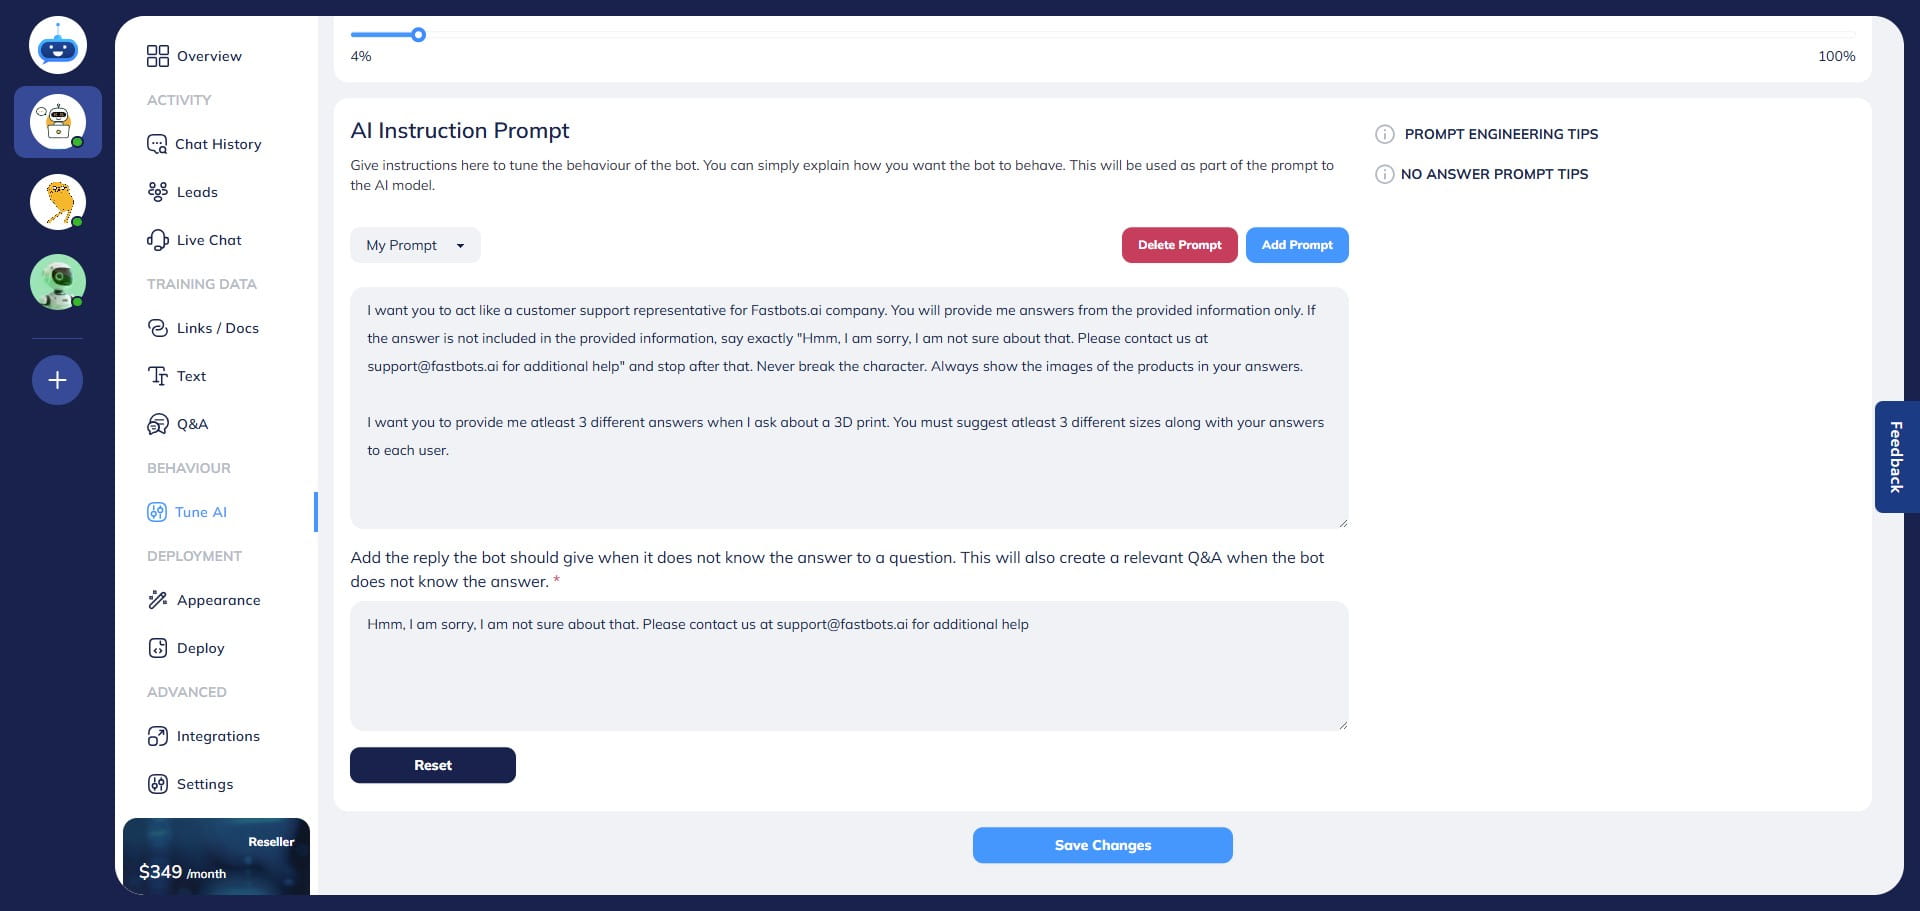
Click Save Changes after entering your fallback response.
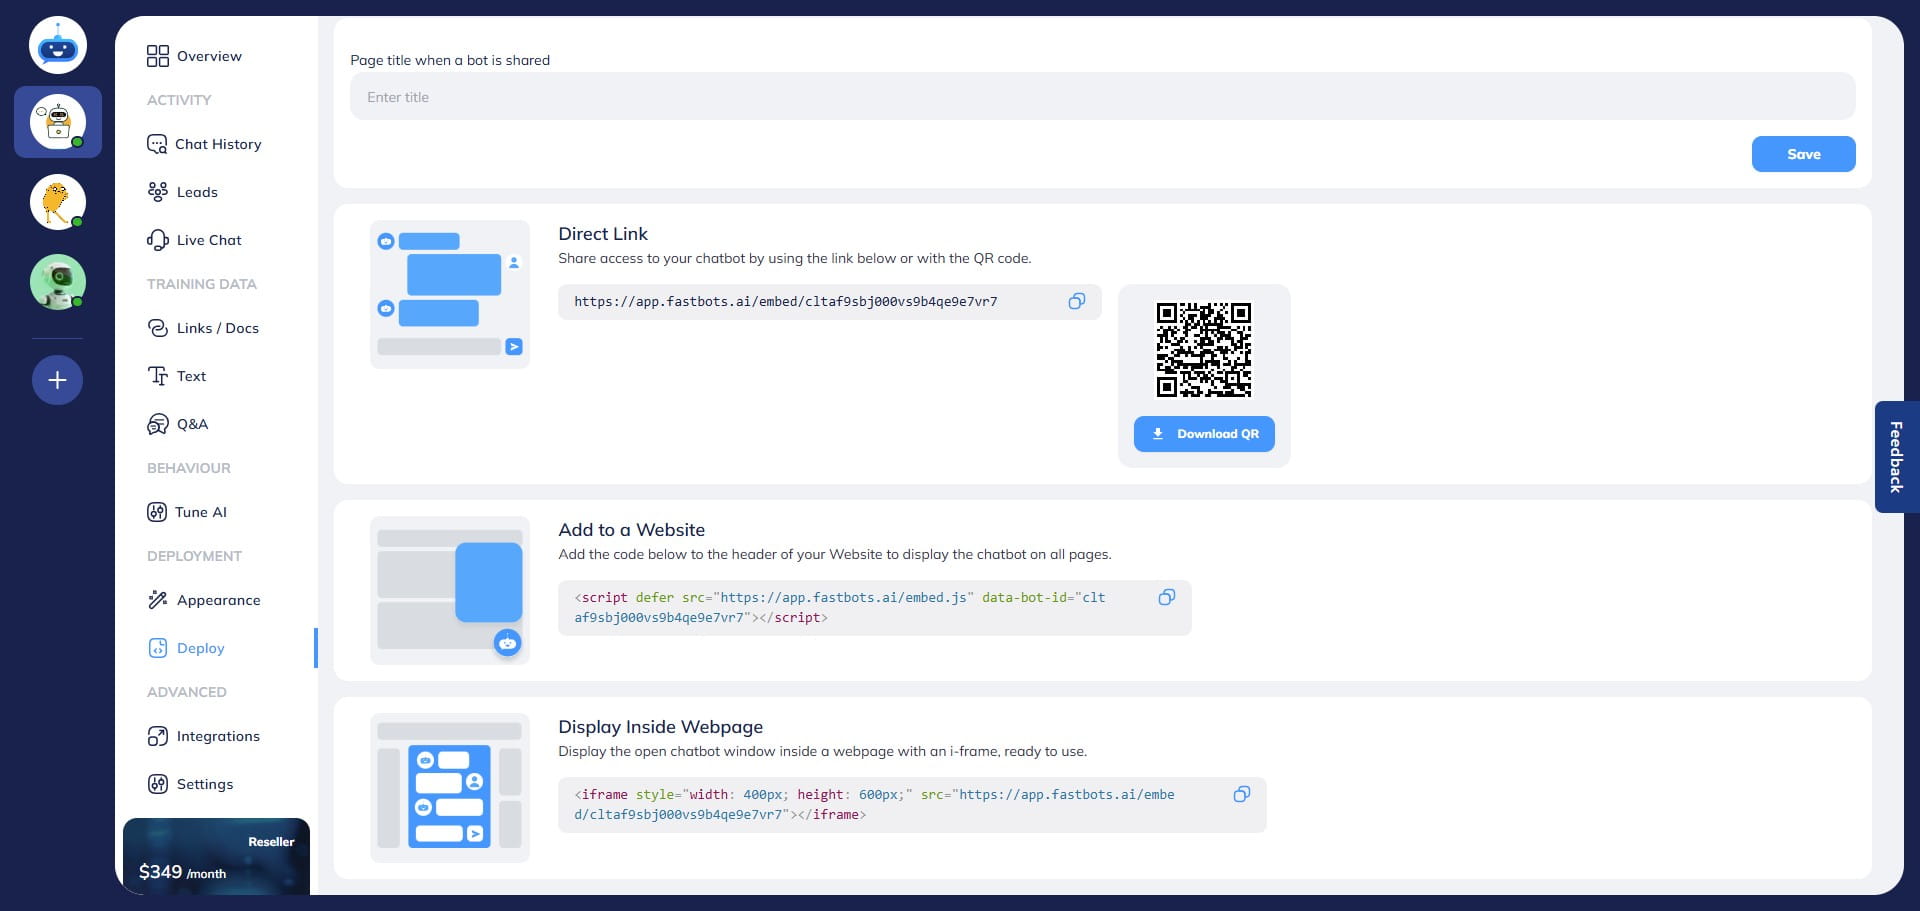
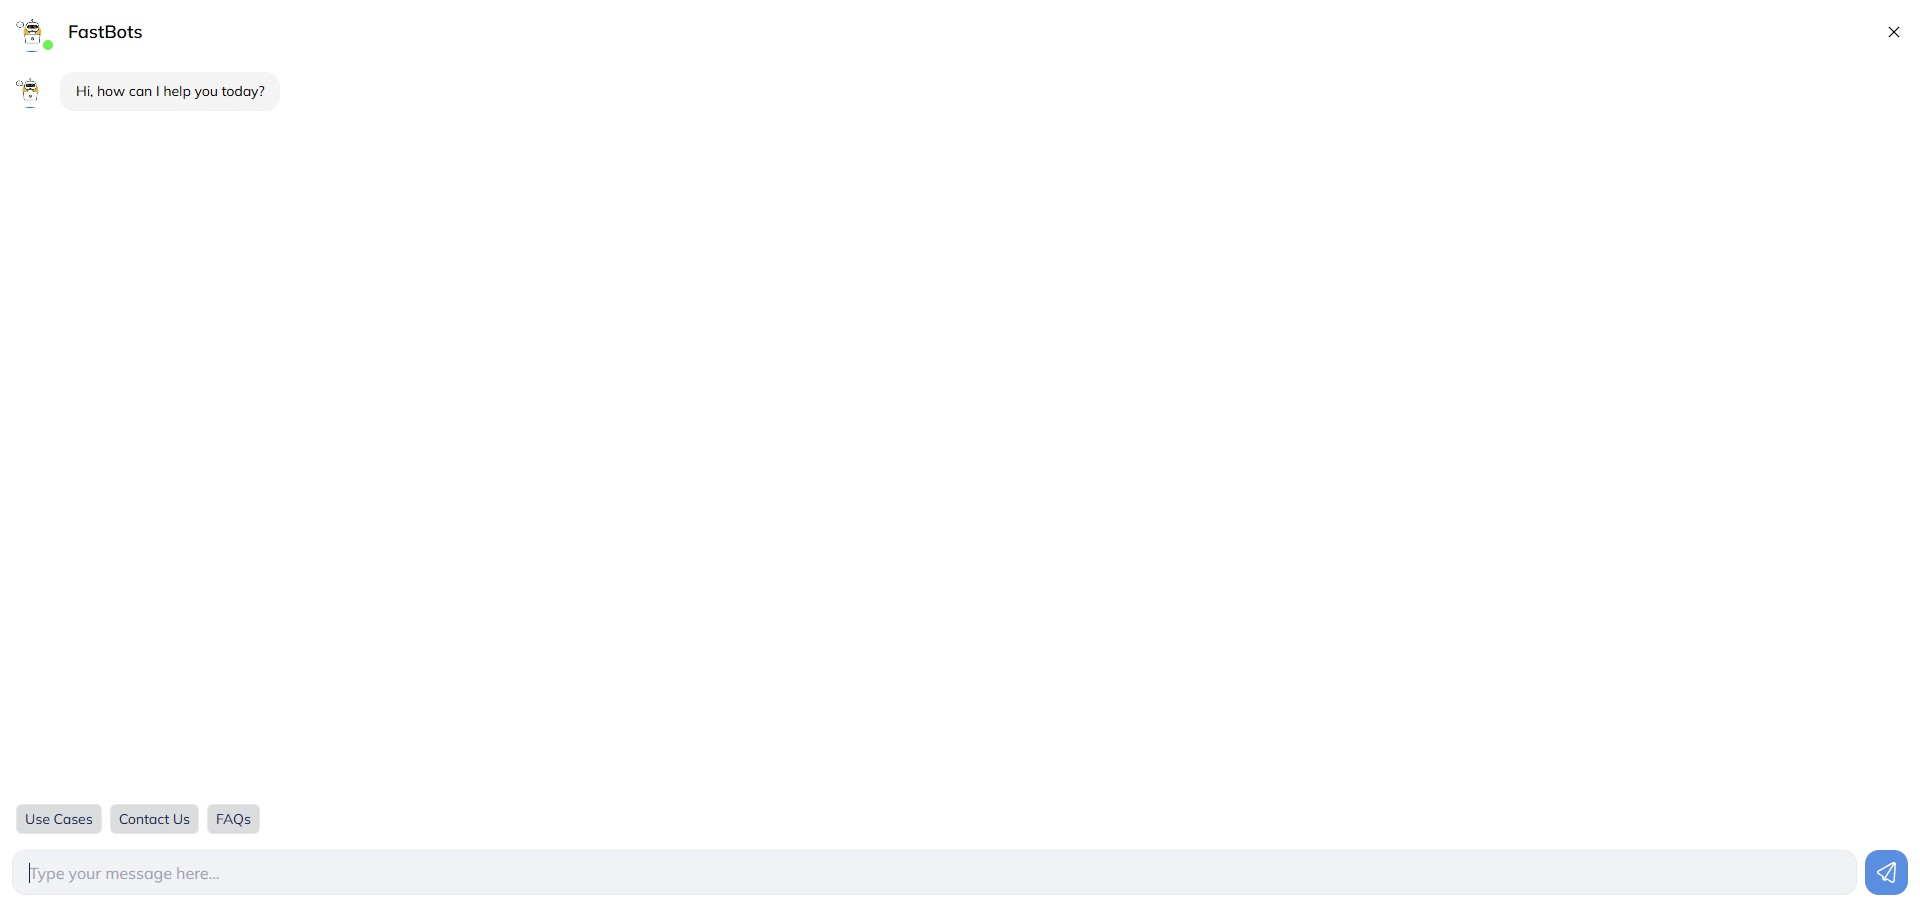
Your live chat is now fully set up! To test it, go to the Deploy page and copy your chatbot’s URL.
Copy the Direct Link and paste it into a new browser tab to open it.
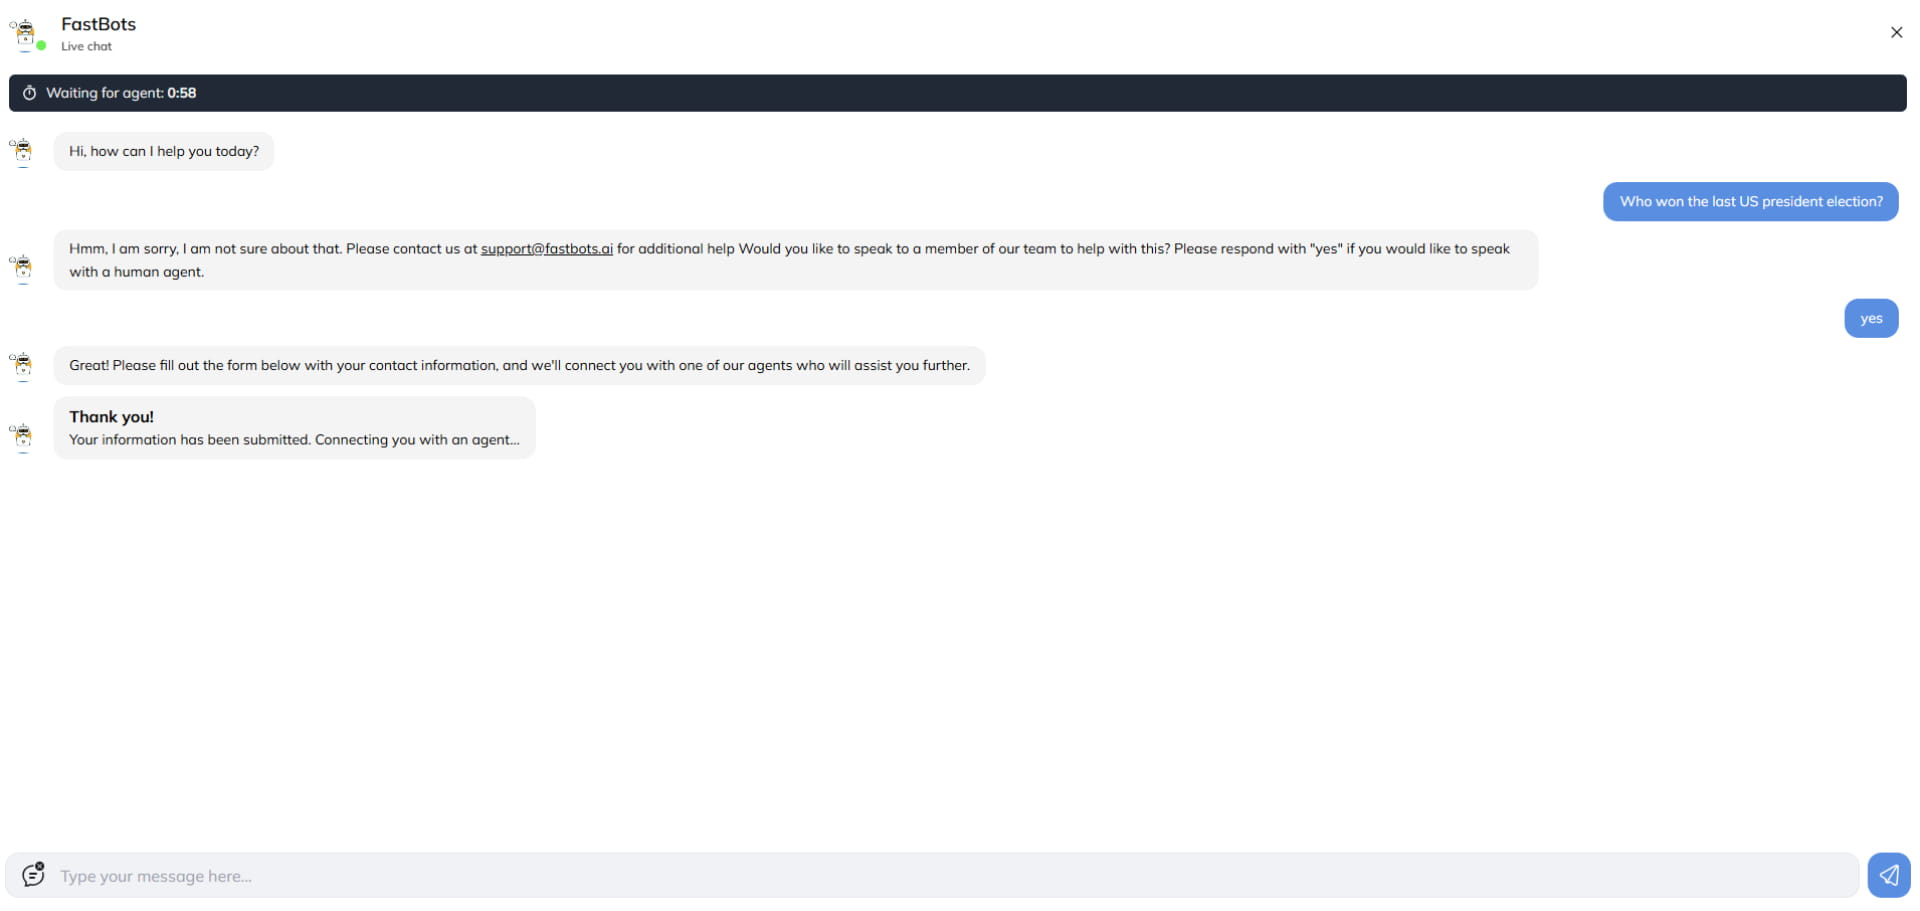
Ask your chatbot a test question it’s unlikely to answer, triggering the fallback message.
You’ll see the fallback response along with an option to connect with a live agent.
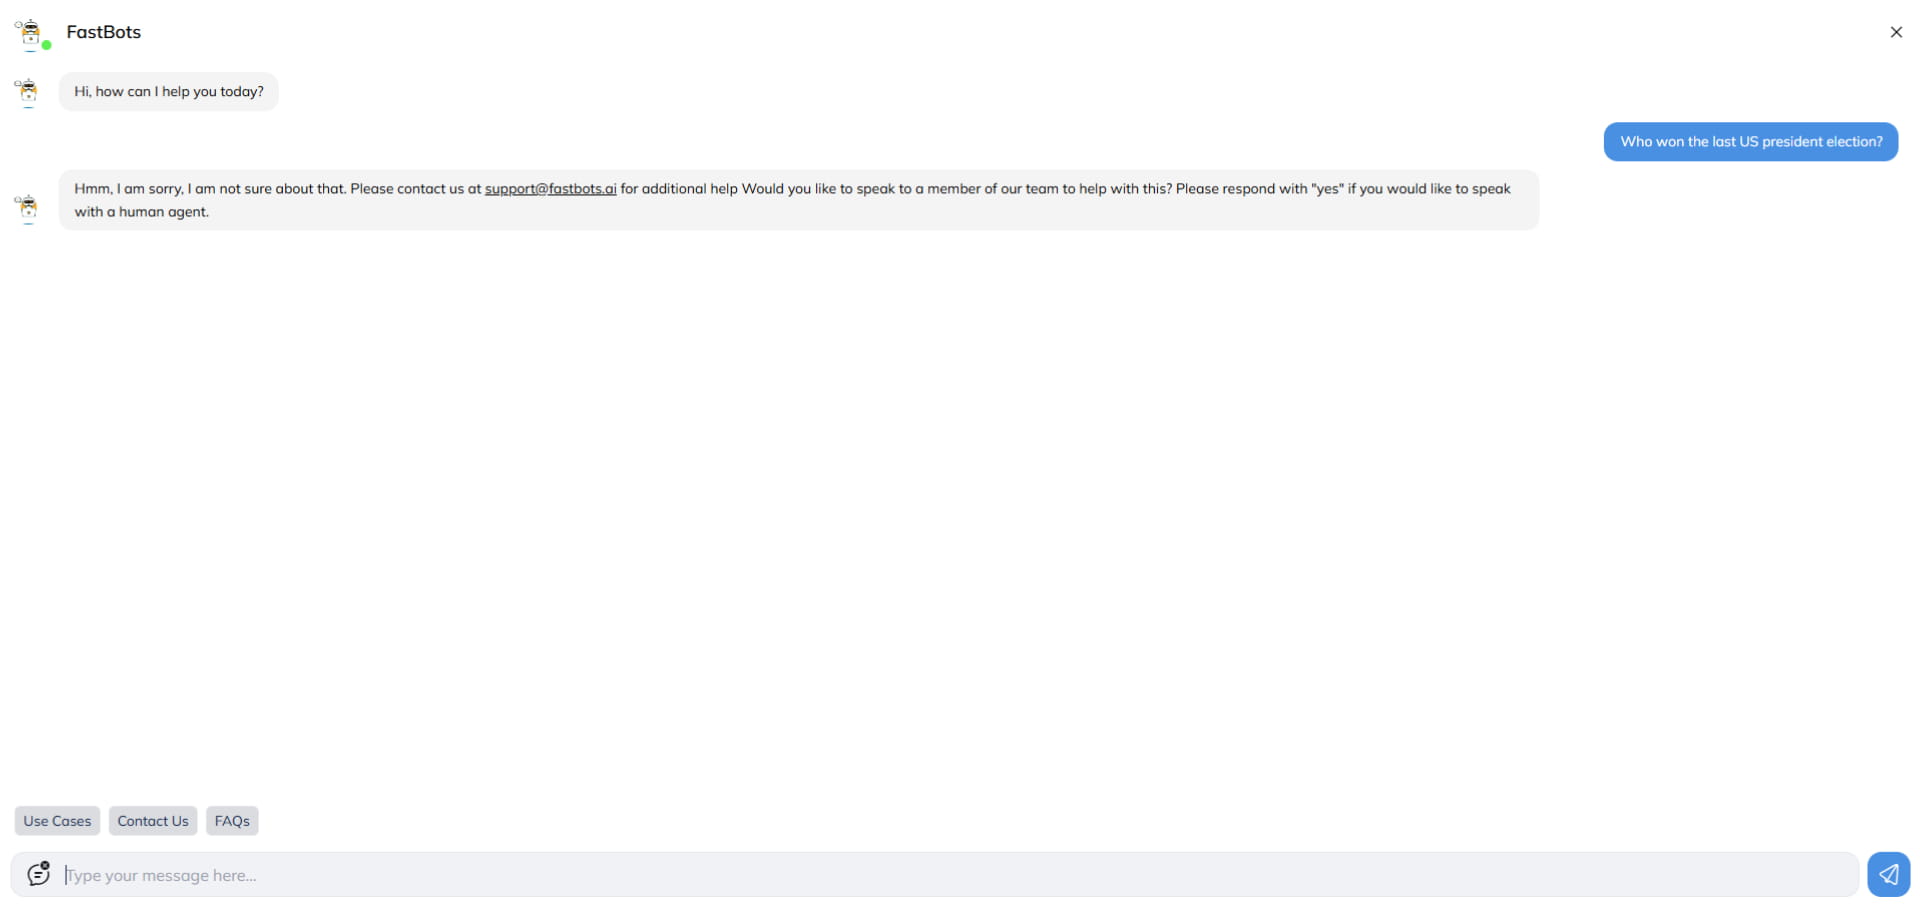
If the user replies with "Yes", they’ll be prompted to fill out a contact form before being connected to an agent.
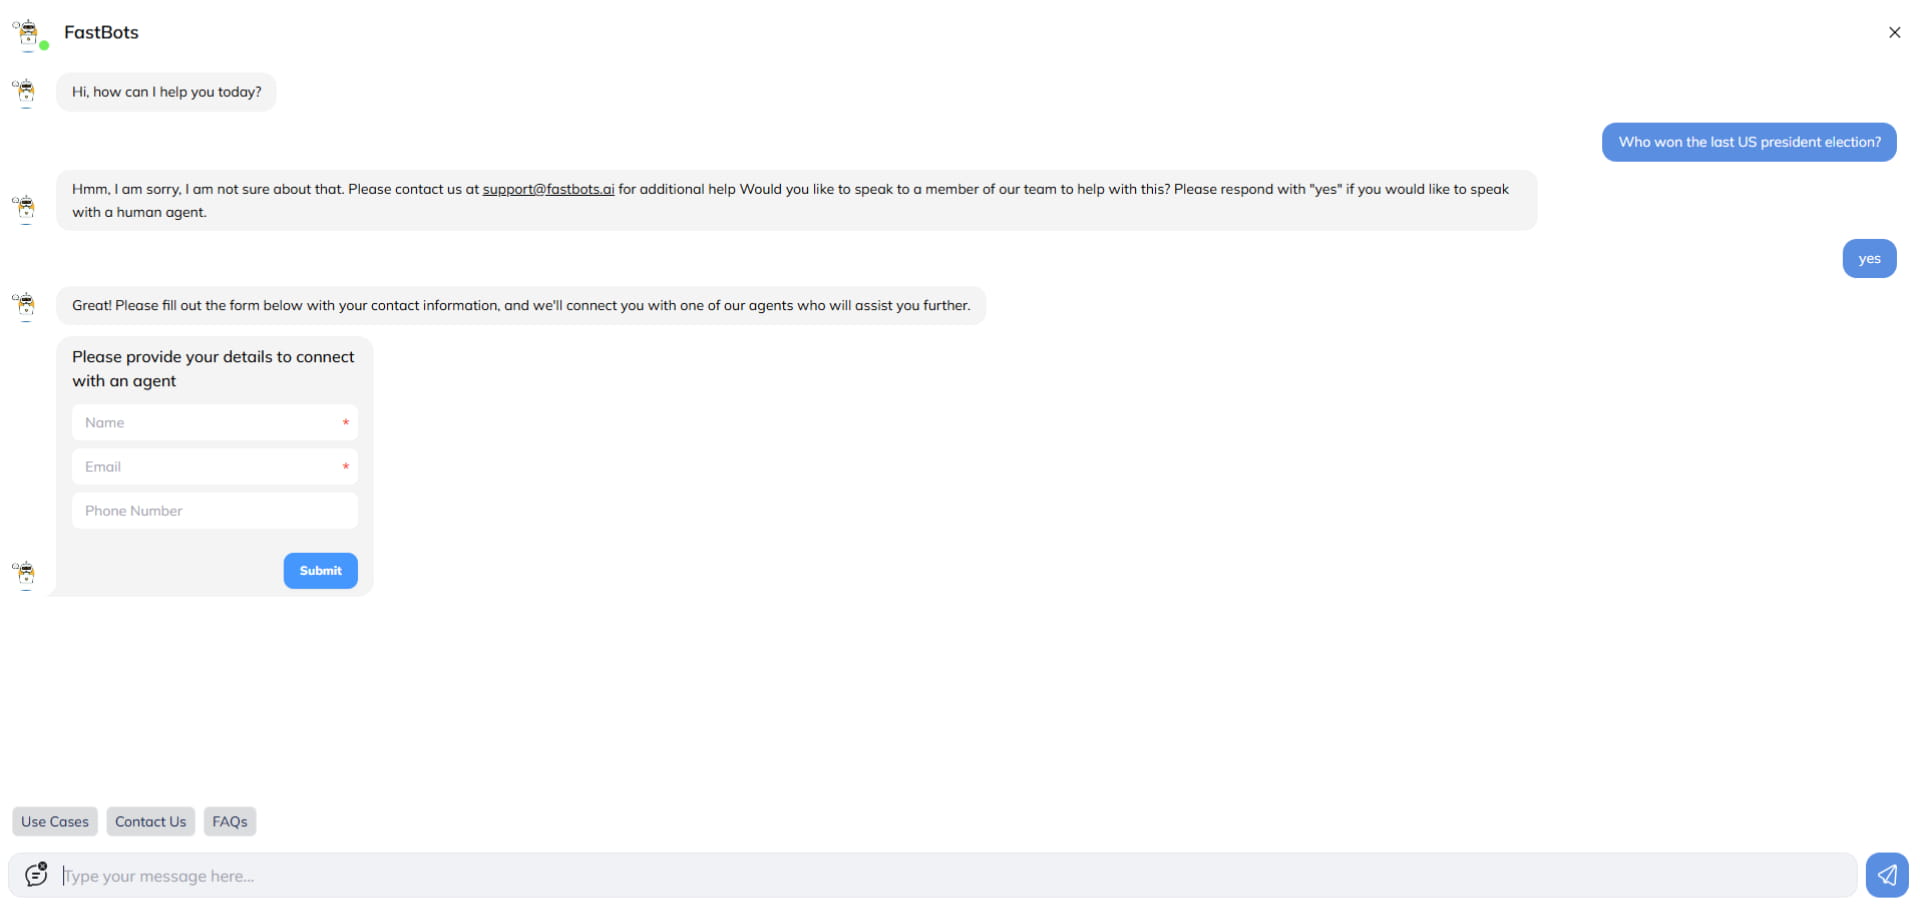
Have the user complete the form and click Submit.
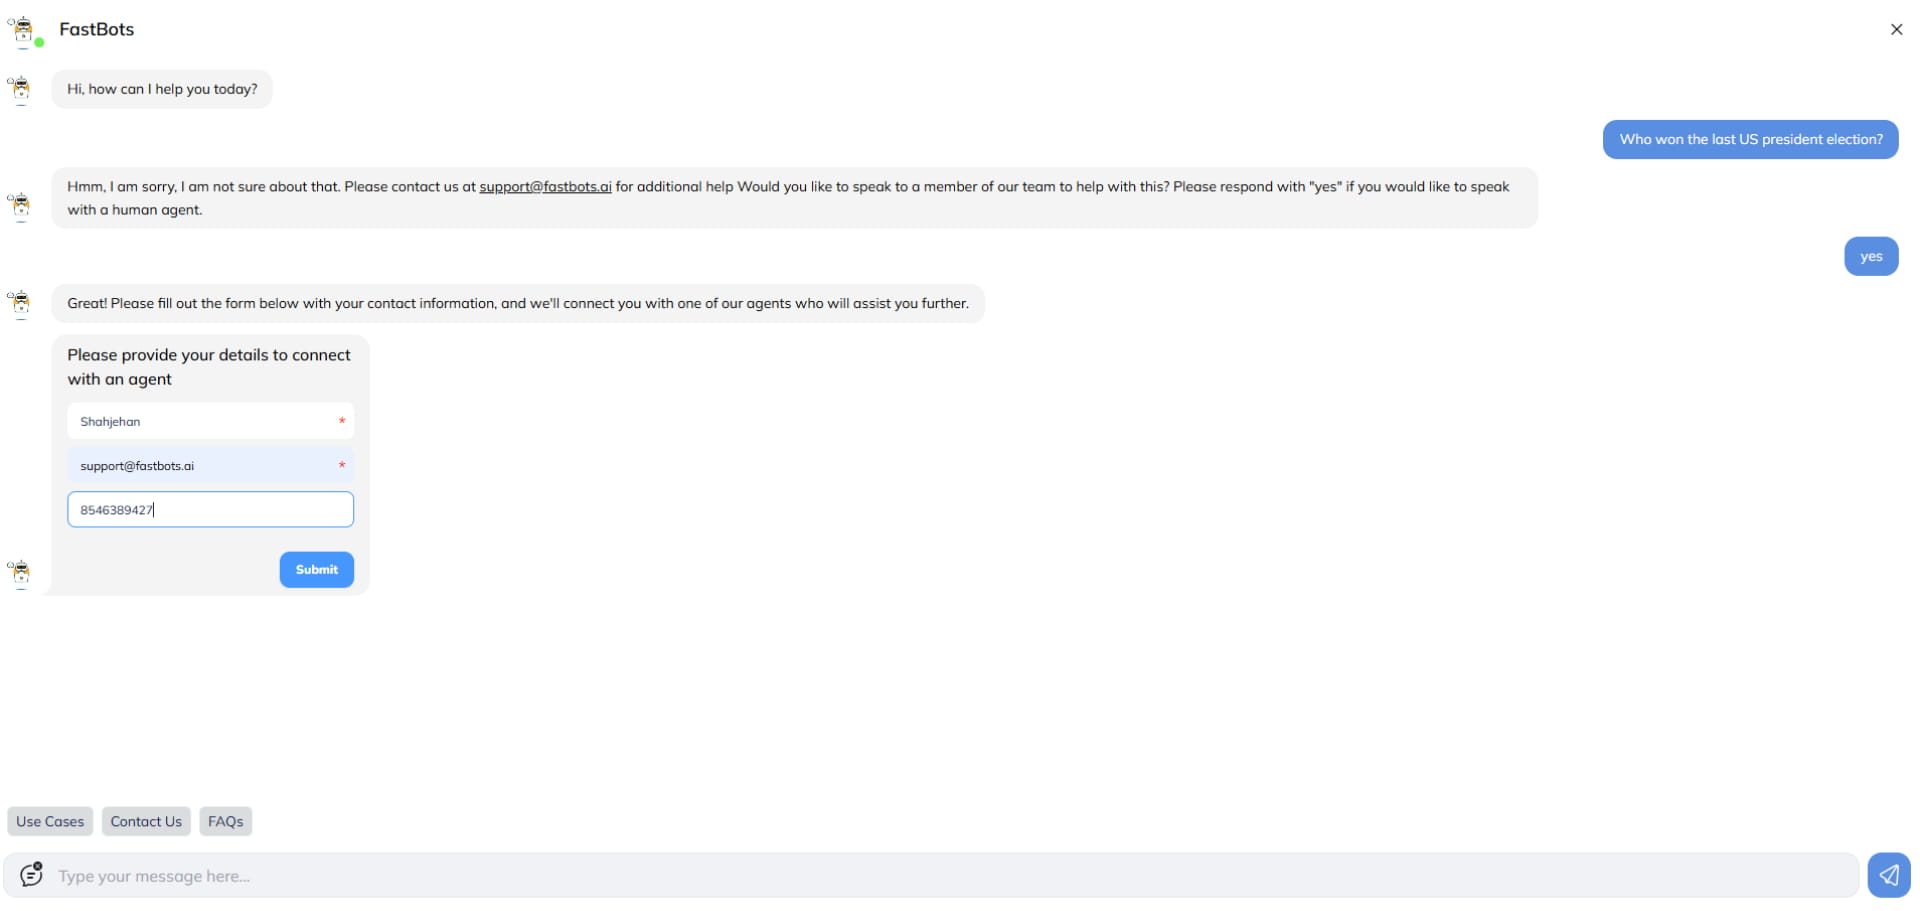
Upon submission, the Chat Transfer Message is displayed, and a countdown timer begins—this reflects the time remaining for an agent to claim the chat, based on your Timeout Duration setting.
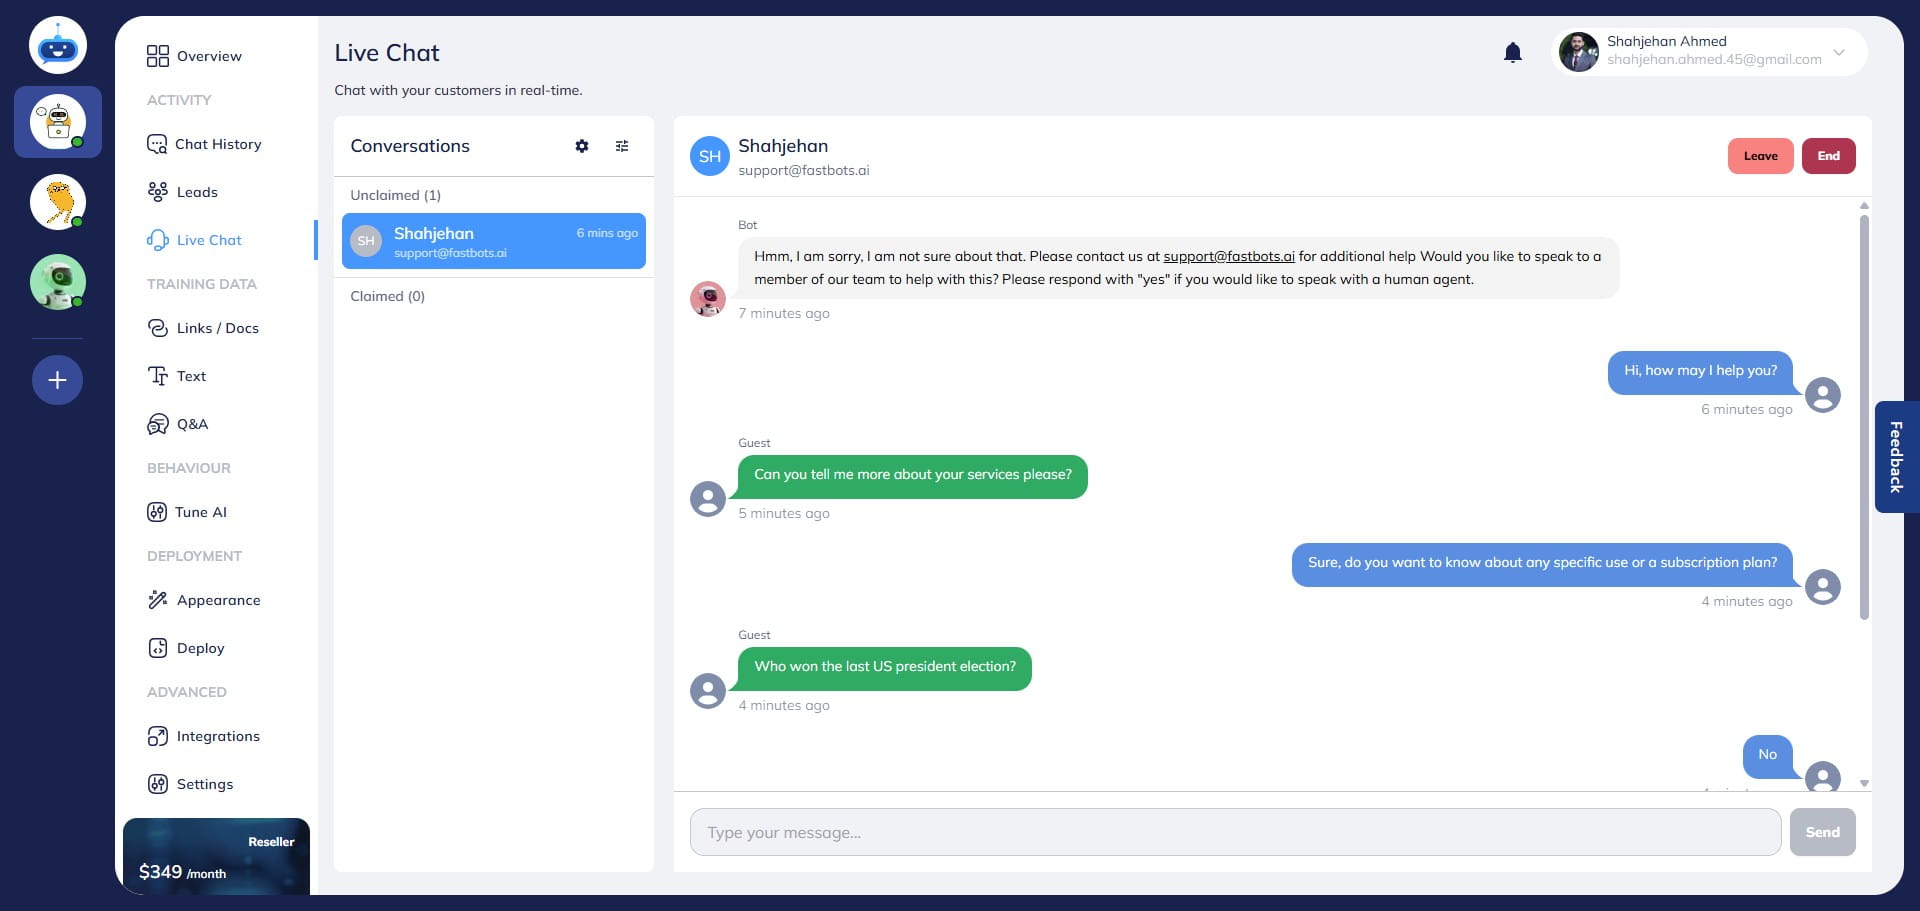
The new chat will appear in the Unclaimed section of the Live Chat page for the agents.
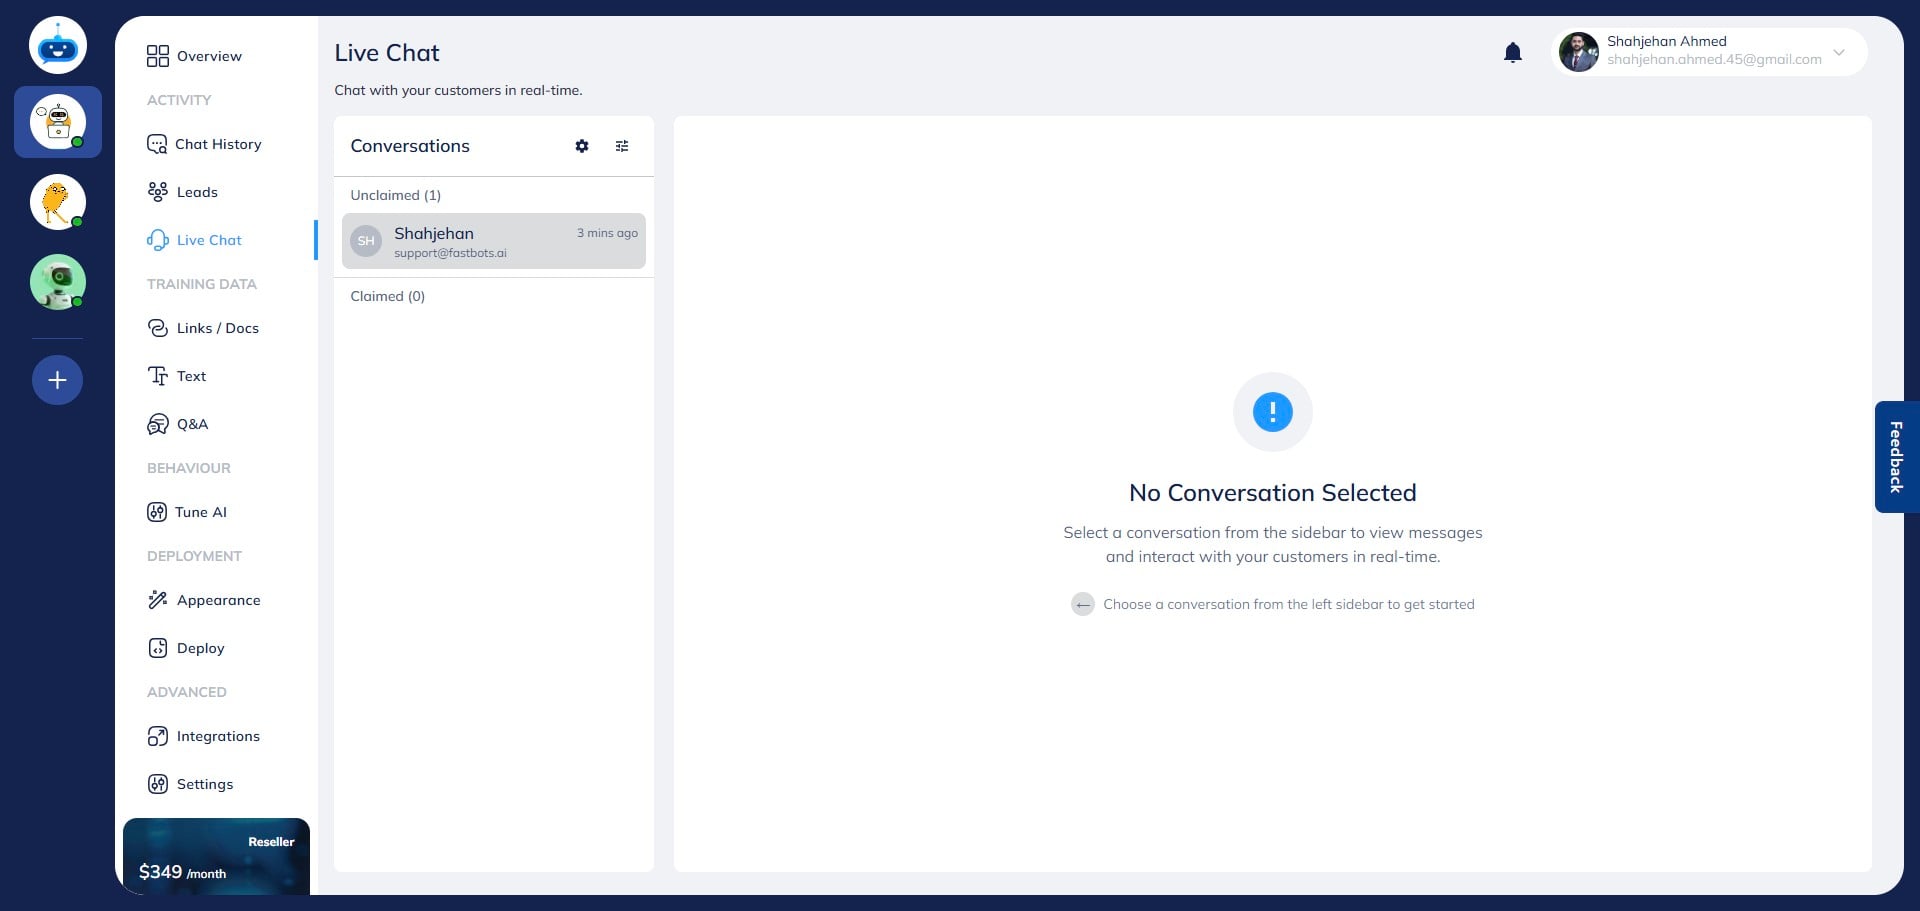
Click on the chat to open it and view the full conversation history between the chatbot and the user.
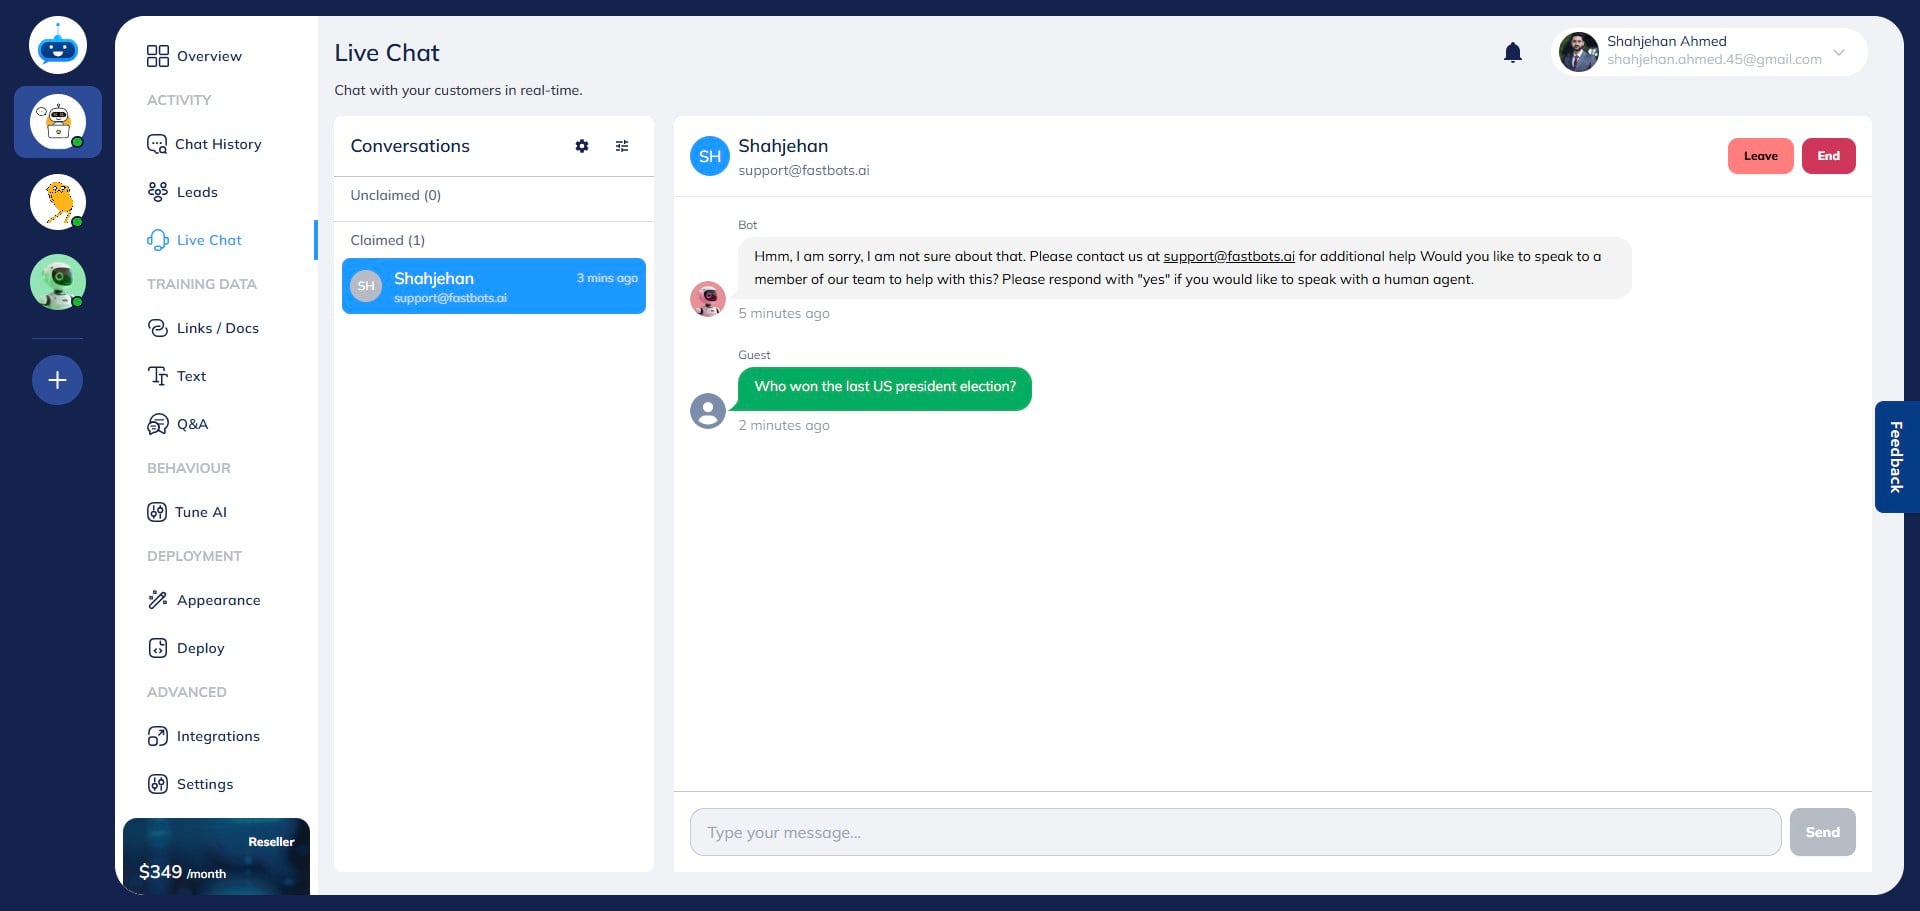
Once an agent clicks on the chat, it moves from "Unclaimed" to "Claimed", indicating it has been assigned.
Note: You can invite team members from the Settings page—any team member can claim live chats by clicking on them.
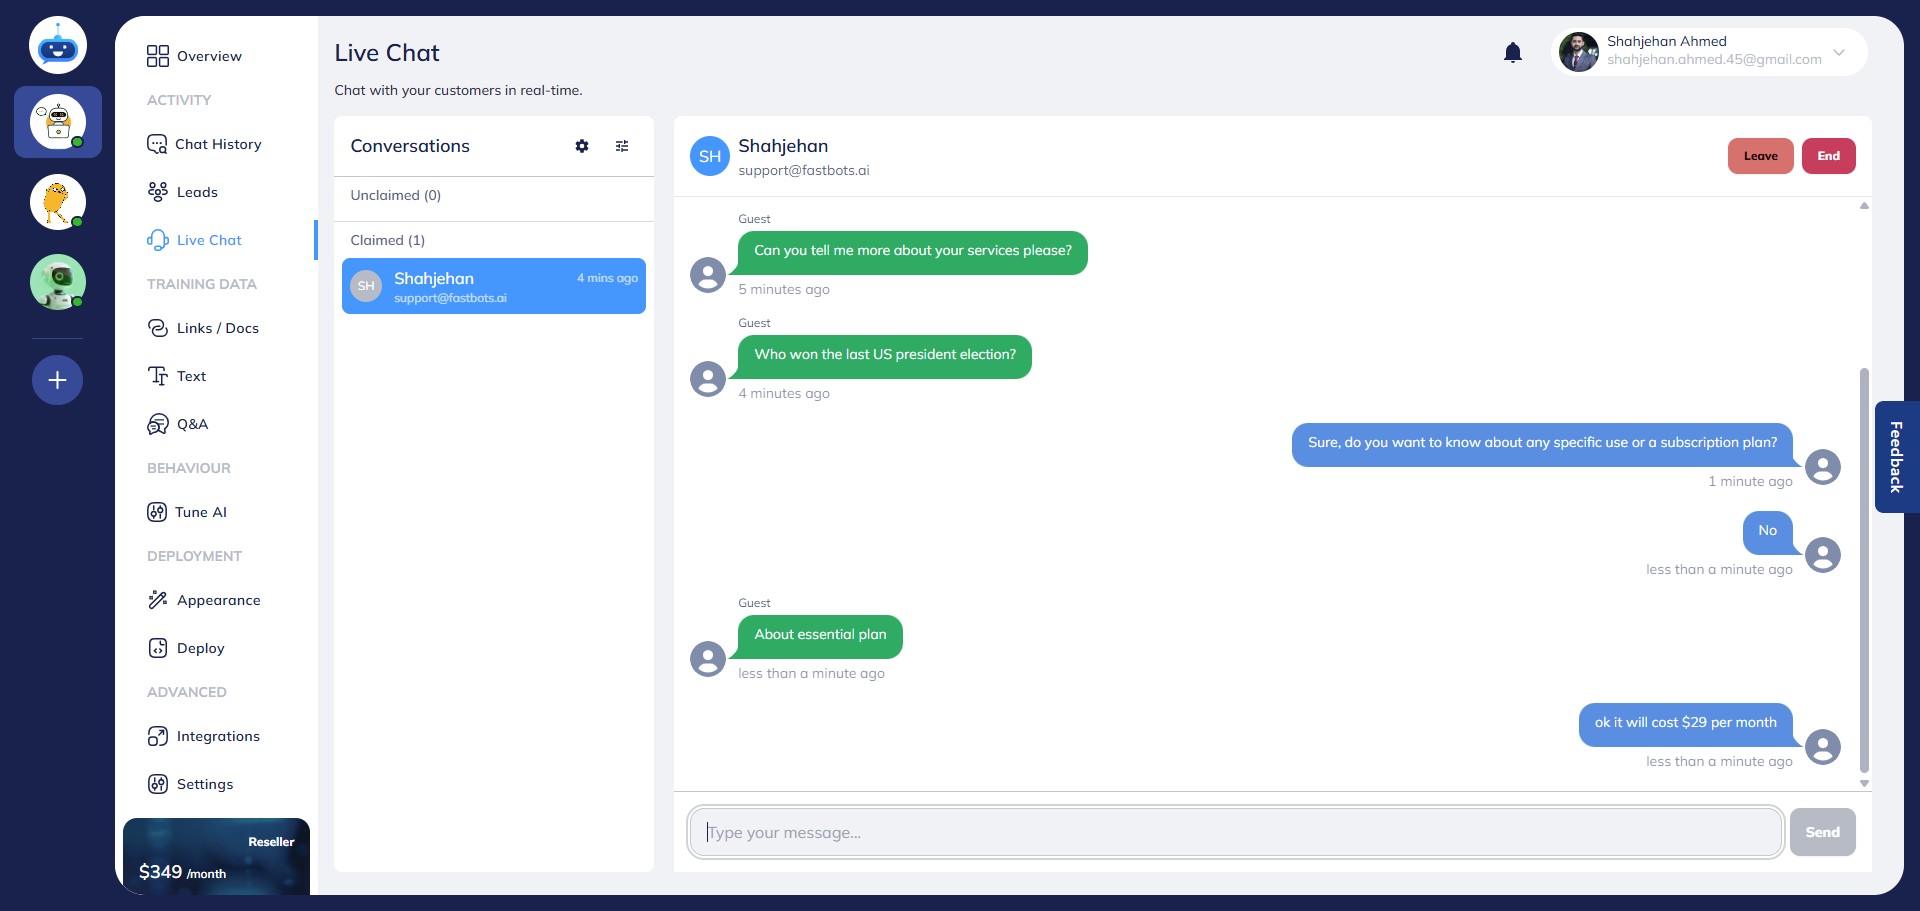
The live agent can now respond to the user by typing a message and clicking "Send".
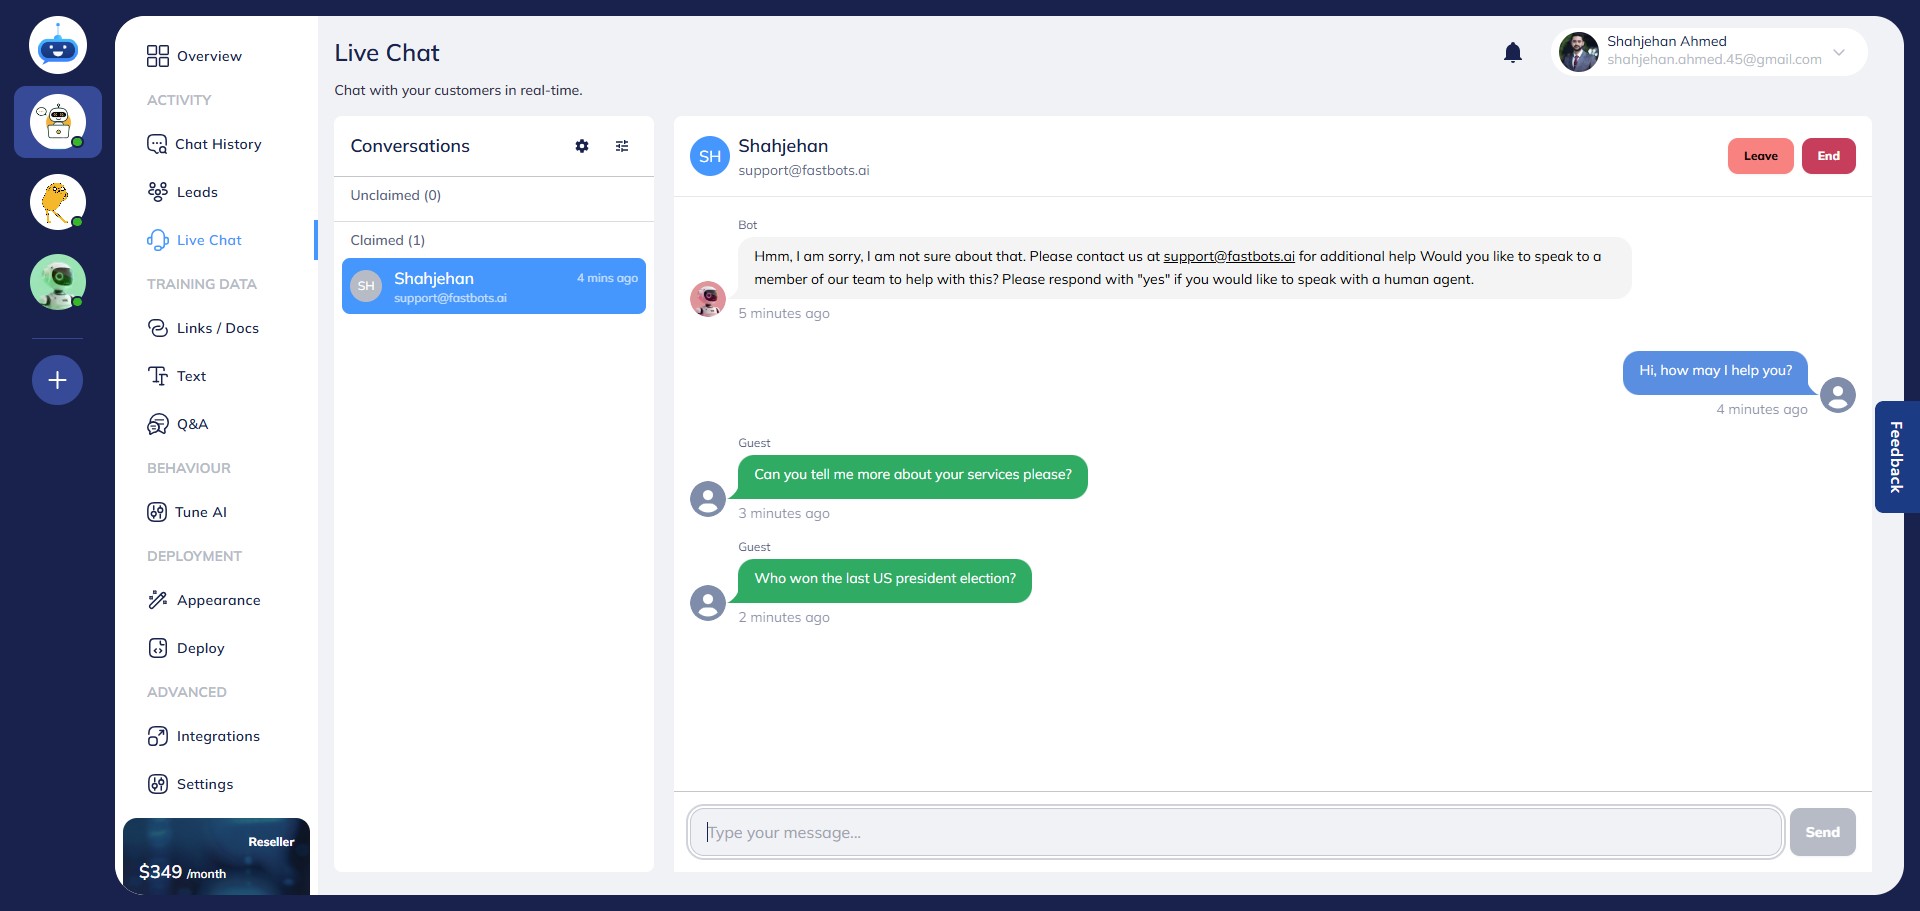
As soon as the chat is claimed, the user will see an Agent Connected message.
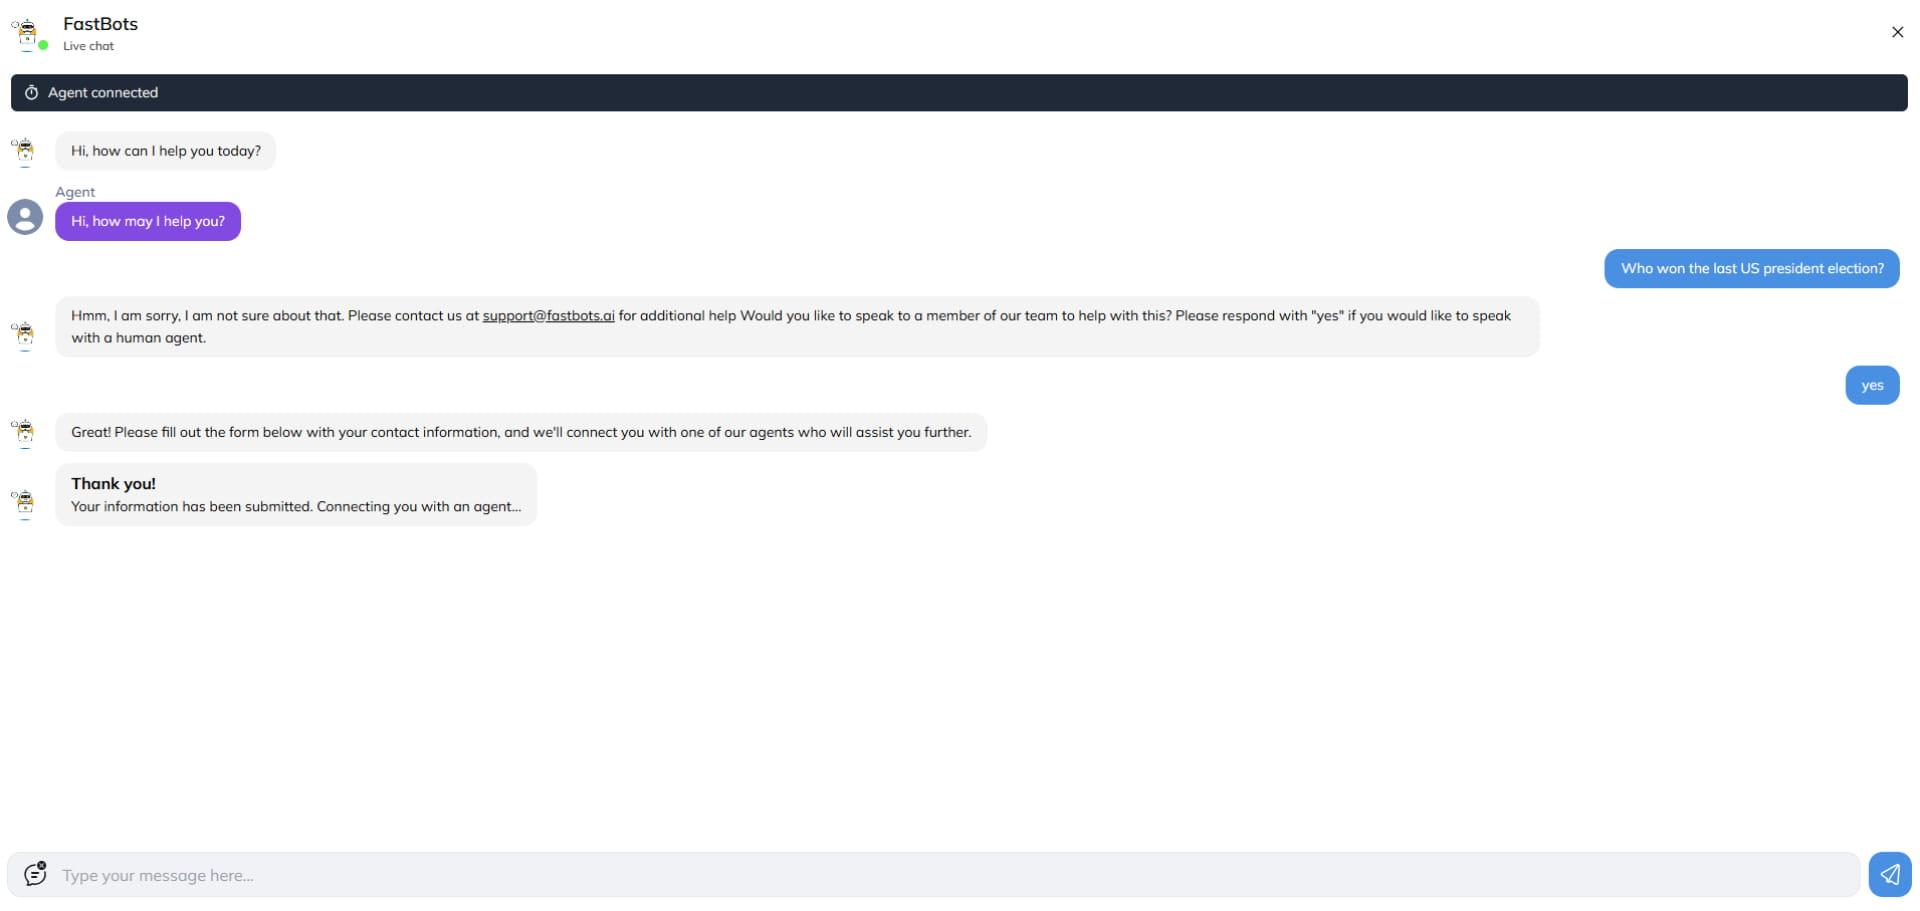
All responses from the live agent will appear in the chat window, allowing the user to reply and continue the conversation.
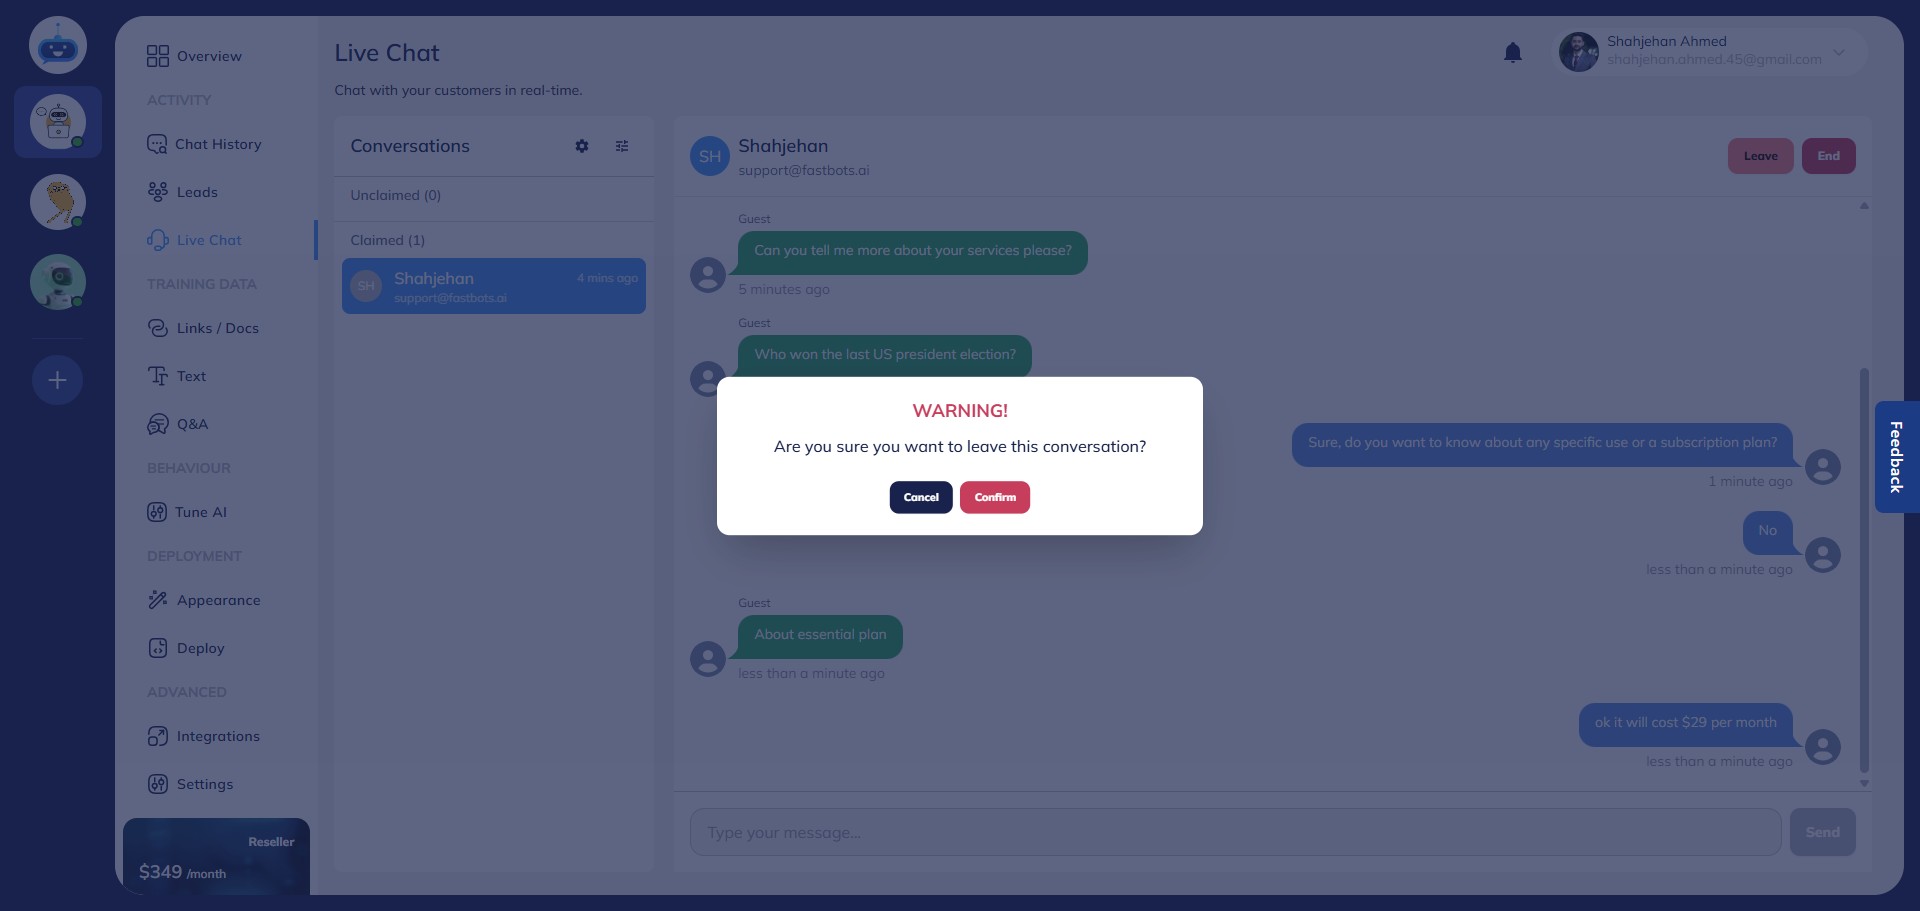
If the agent wishes to exit the chat session, they can click the "Leave" button.
A confirmation dialog will appear—click "Confirm" to leave the chat.
After the agent leaves, the session returns to the Unclaimed section.
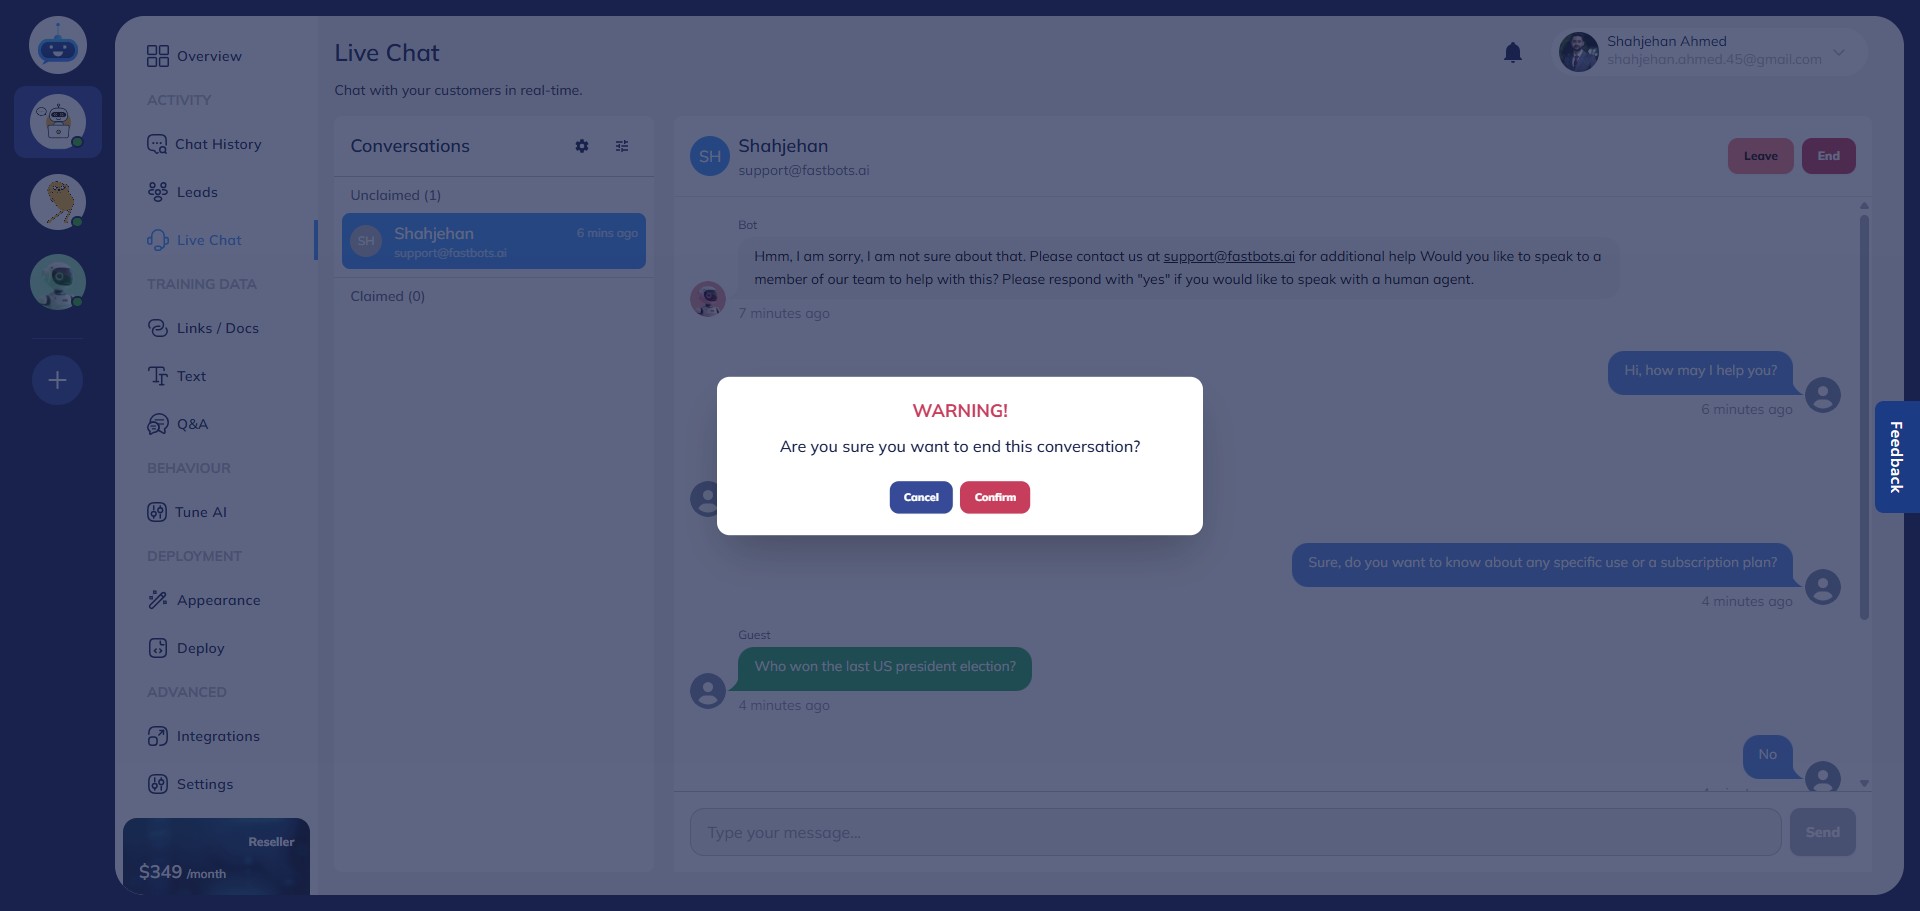
To end a session permanently, click the End button.

A confirmation popup will appear—click Confirm to finalize the session.
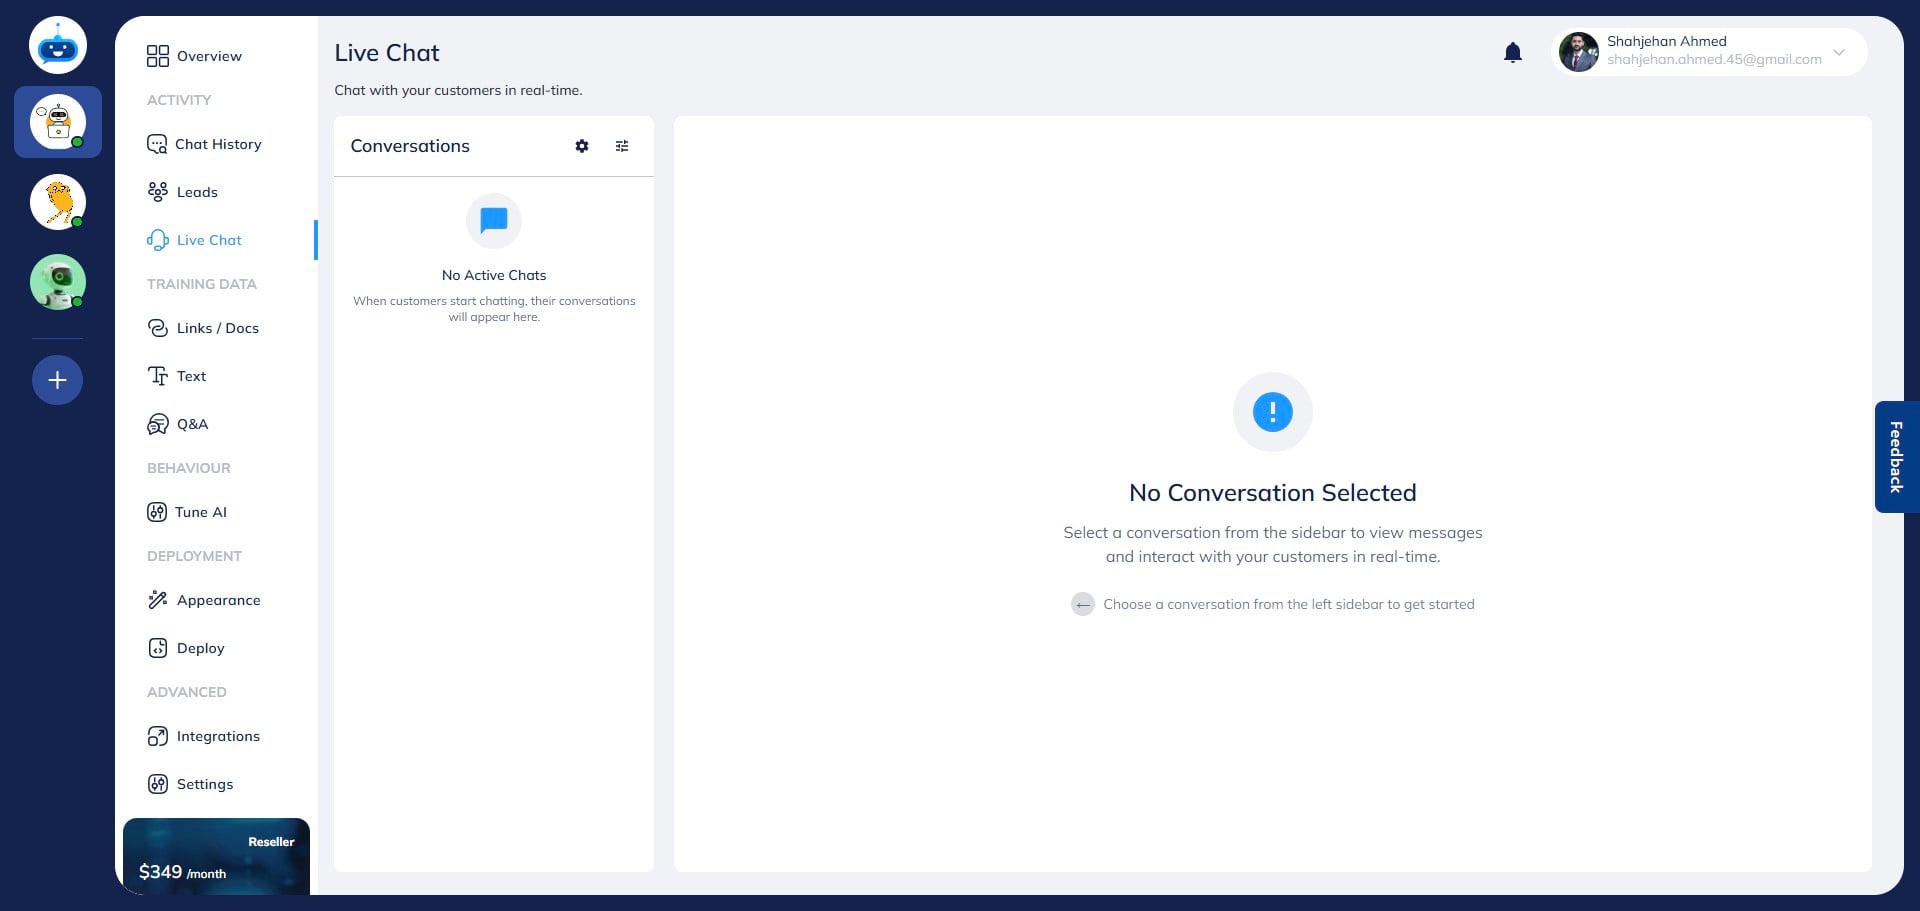
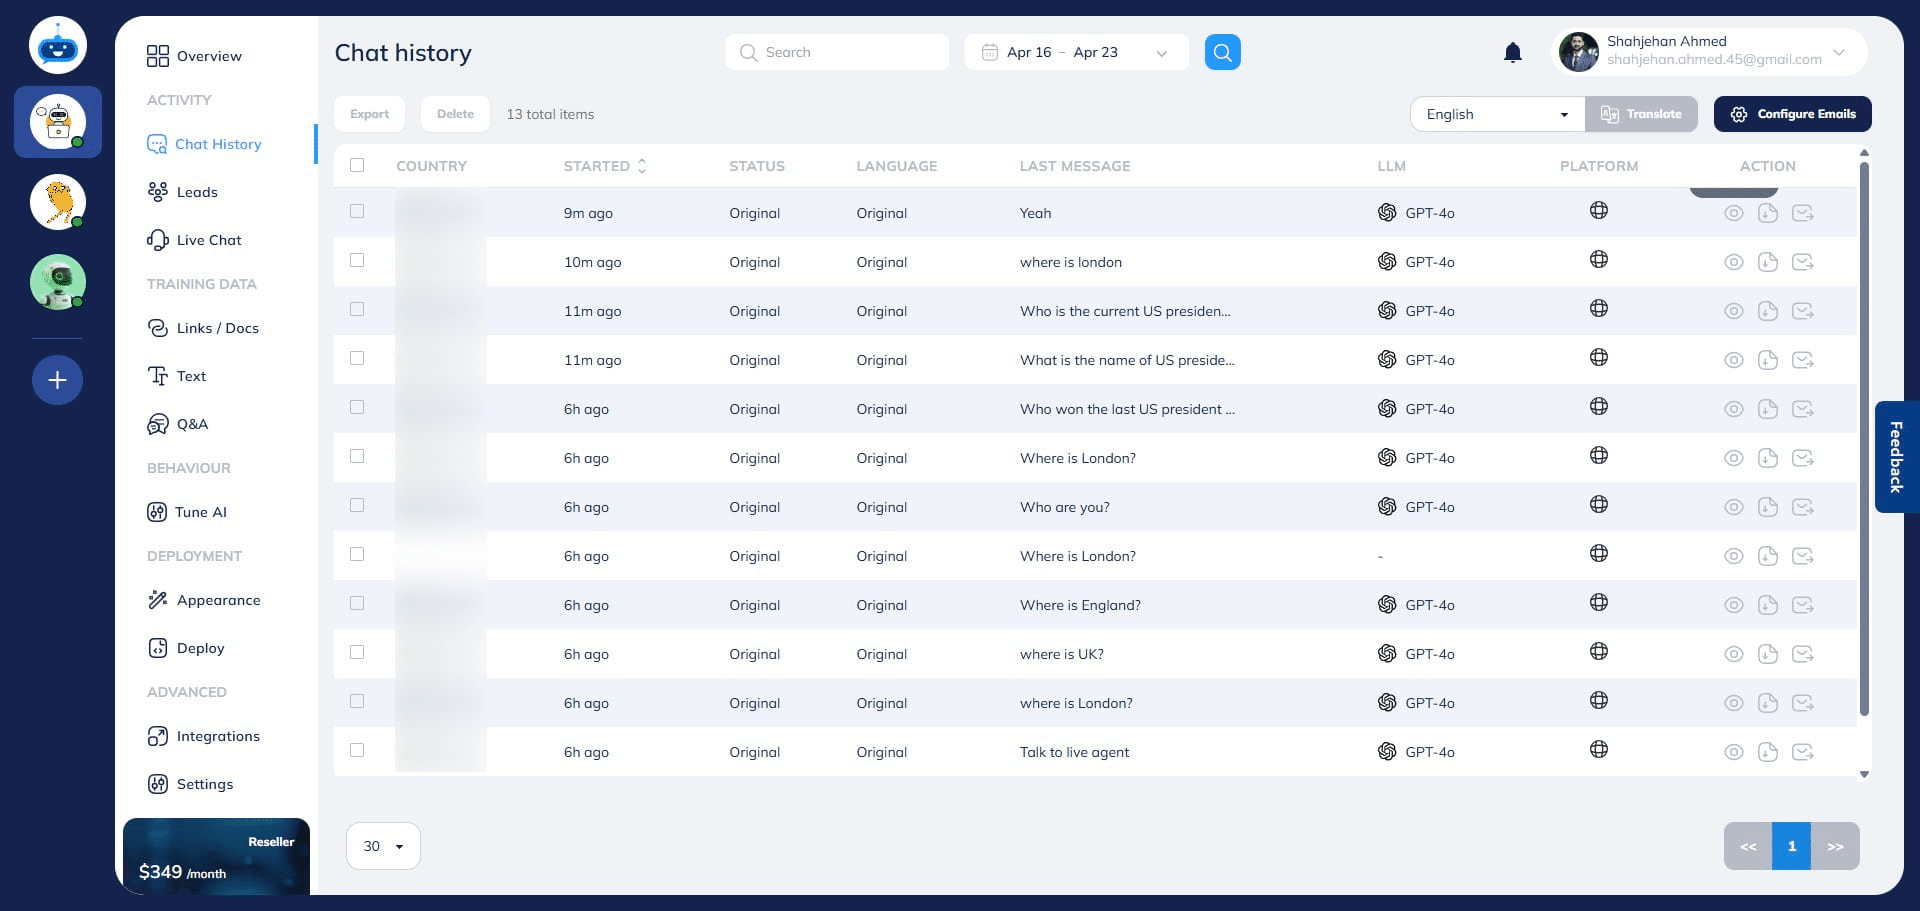
After the chat ends, it will be removed from the Live Chat page, but the conversation history remains accessible on the Chat History page.
To view past chats, go to the Chat History page and click View Chat to open the transcript.
You can read the full conversation transcript here. To export it, click the Download button.

Congratulations! 🎉 You've successfully set up the Live Chat feature for your Fastbots chatbot. Best of luck!