
How To Add A Team Member To Chatbot
Learn how to add your team members to your chatbot as a collaborator so they can help you manage the bot.
Navigate to https://app.fastbots.ai/
Click on the chatbot to open it.
Click on the "Settings" button to open the page.
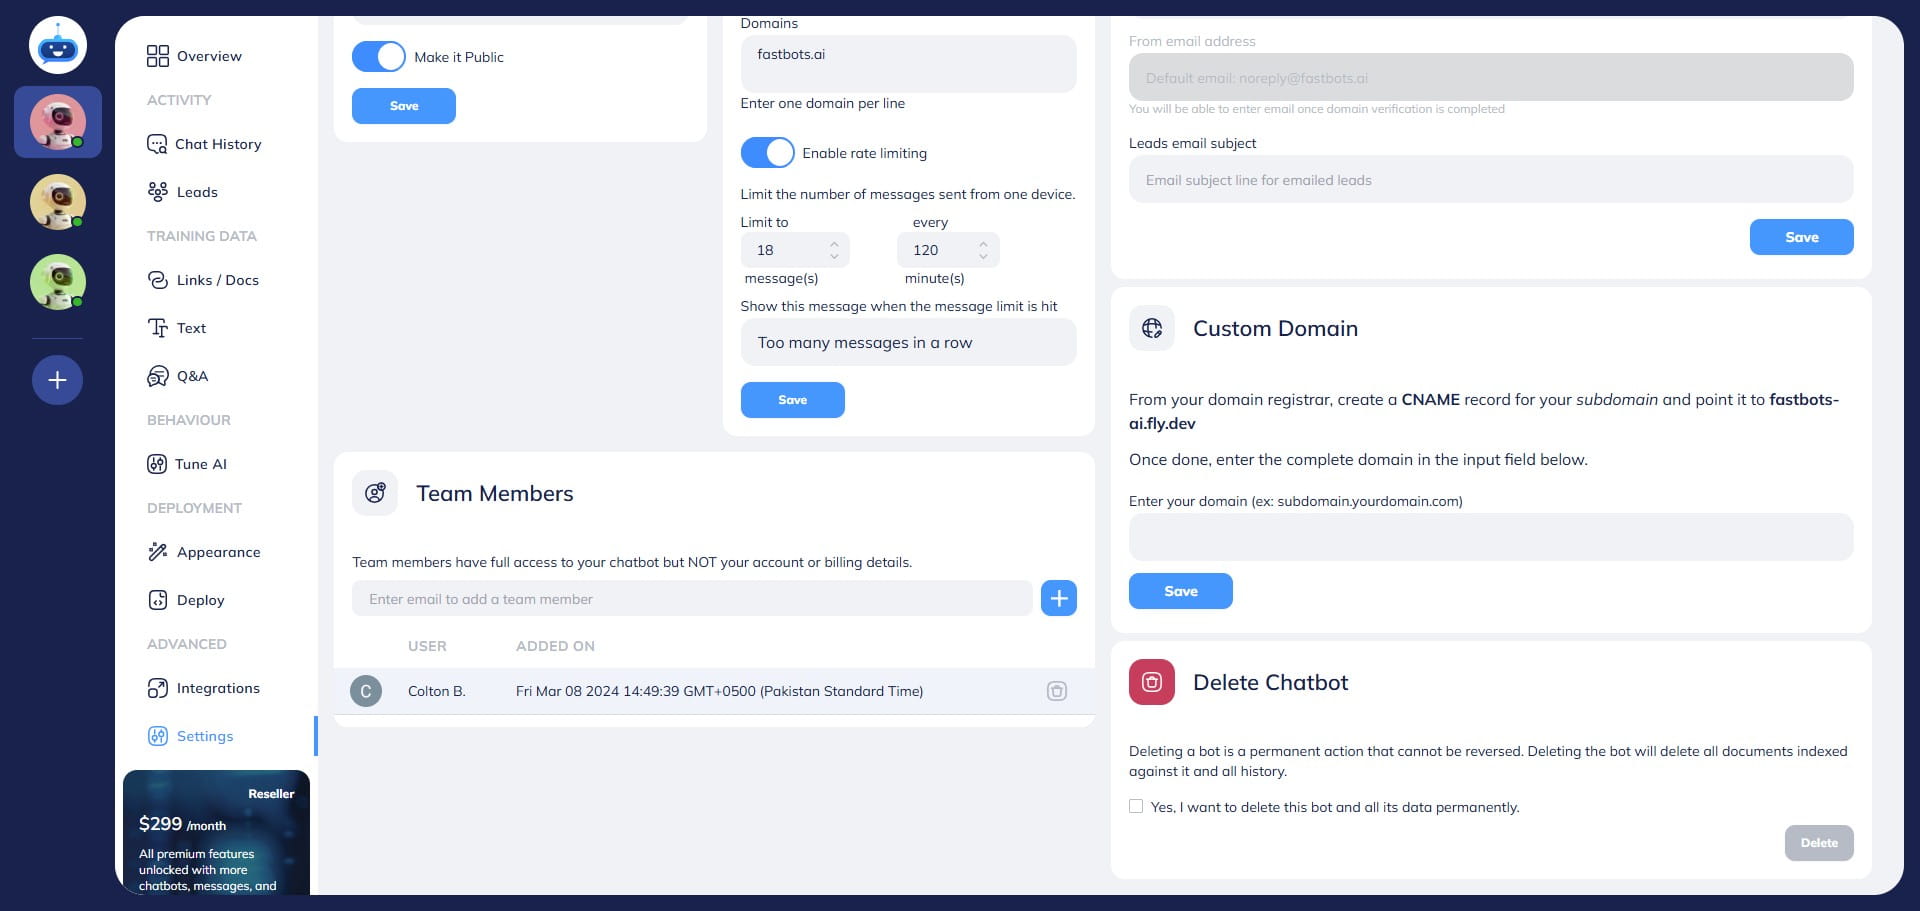
Add the email of the team member to whom you want to give access to your chatbot. Please note that a Fastbots account must already exist on the given email.
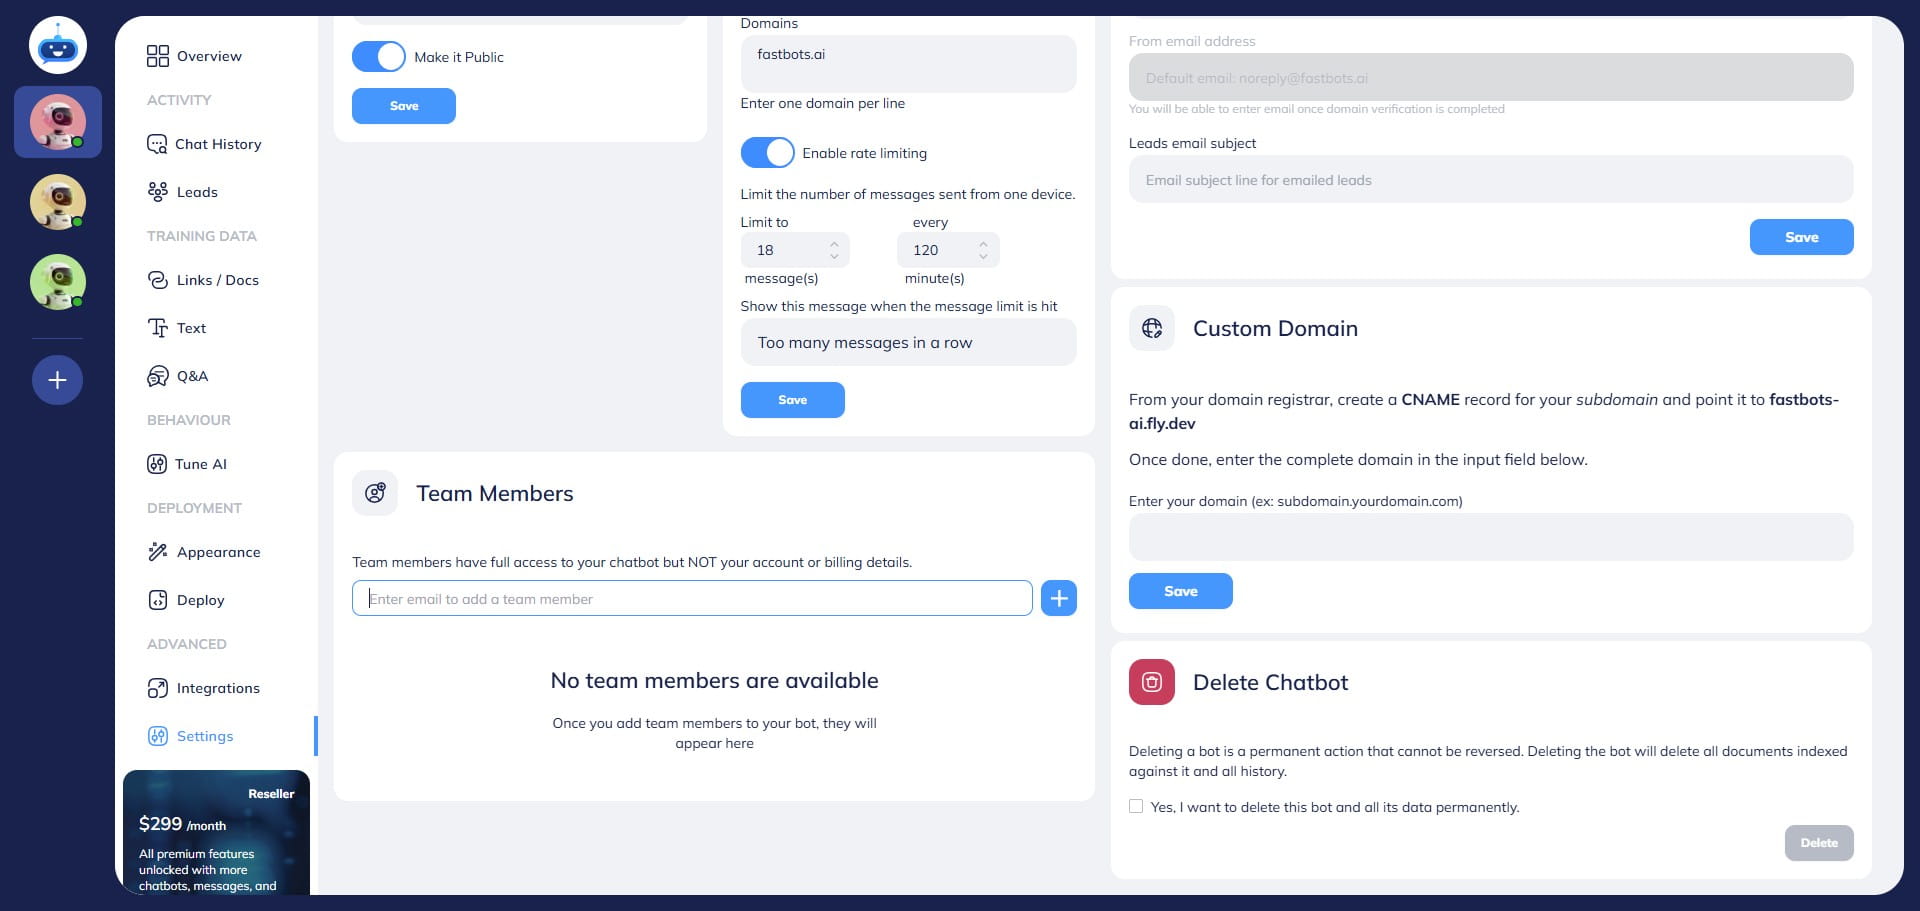
After adding the email, click on the "Add" button.
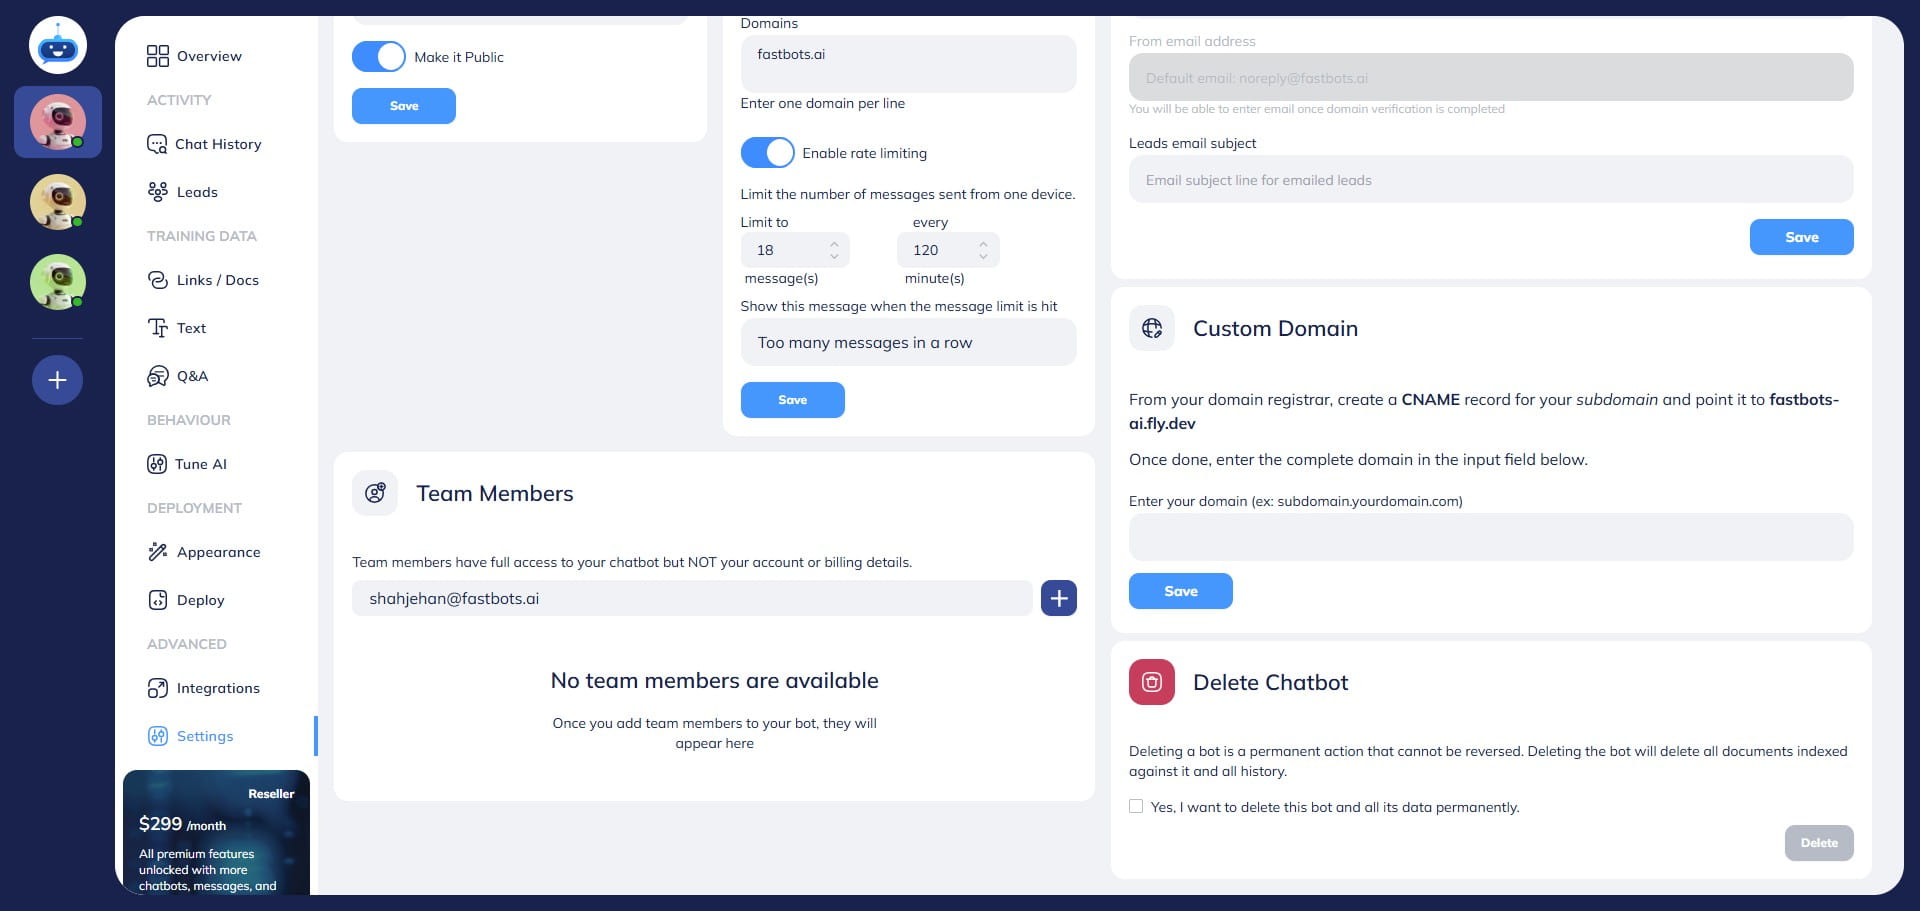
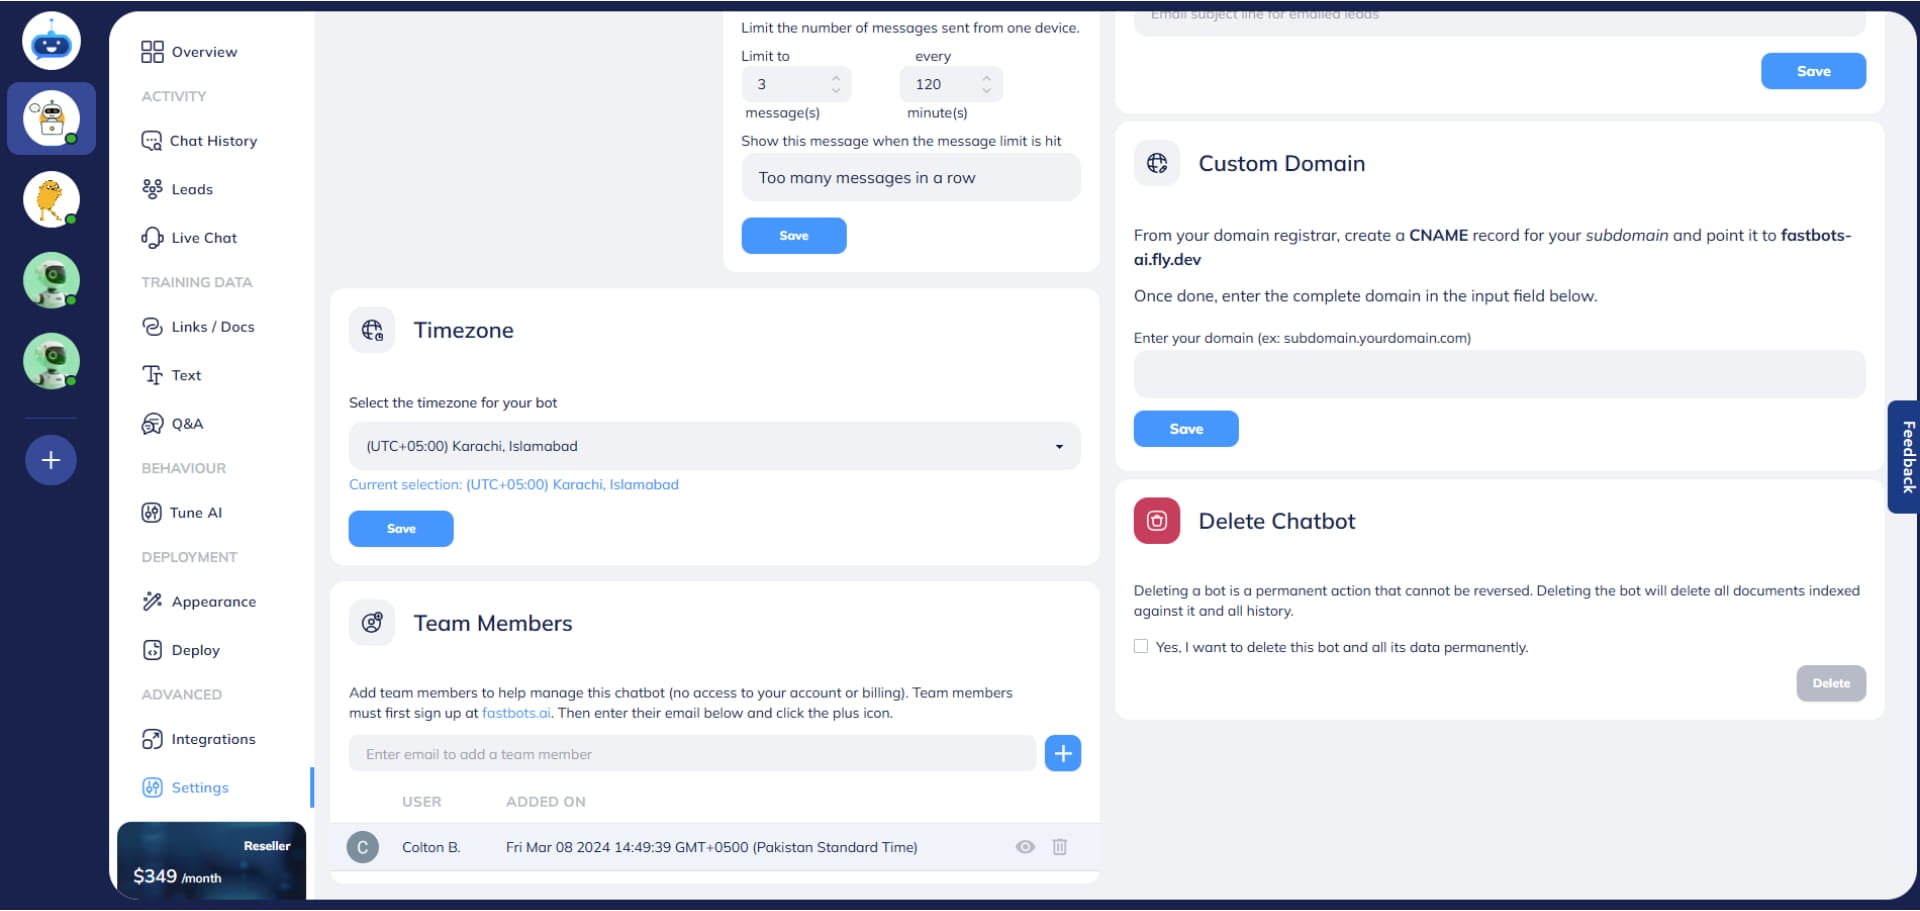
After you click on "Add", the user will appear in the collaborators list. You can see the name of the user along with the date/time when the user was given access to the chatbot.
After you have added a collaborator, you can also control the level of access the user can have. To view the permission settings for the user, click on the "View Permissions" button.
It will show you a list of all pages in the chatbot dashboard and you can choose which pages you want them to have access to. If you do not want the user to access certain pages, just turn off the toggle button, and for the remaining pages, keep it on.
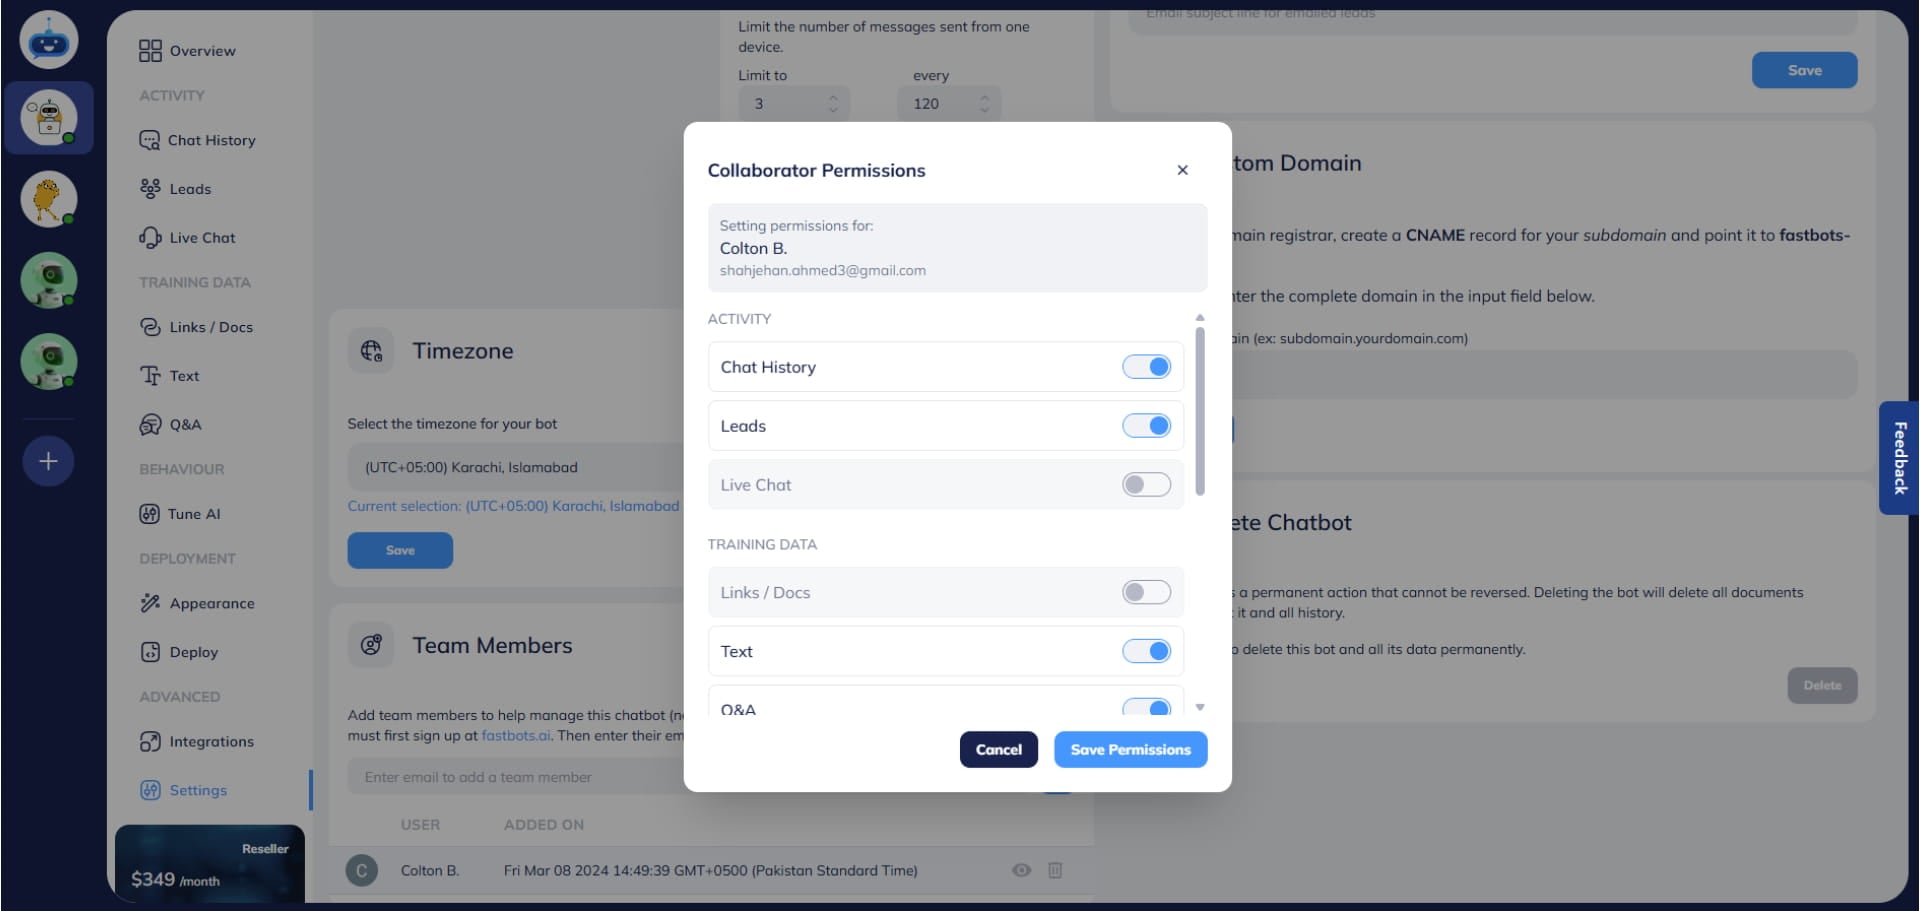
The user won't be able to see the pages that you have turned off in the view permission settings. After making the required changes, click on the "Save Permissions" button.
If you want to remove the user, click on the "Delete" icon.

The collaborator will be removed immediately once you click on the Delete icon.

Done 🚀. You have successfully added your team member to the chatbot.