
How To Turn On File Upload Option
Navigate to https://app.fastbots.ai/
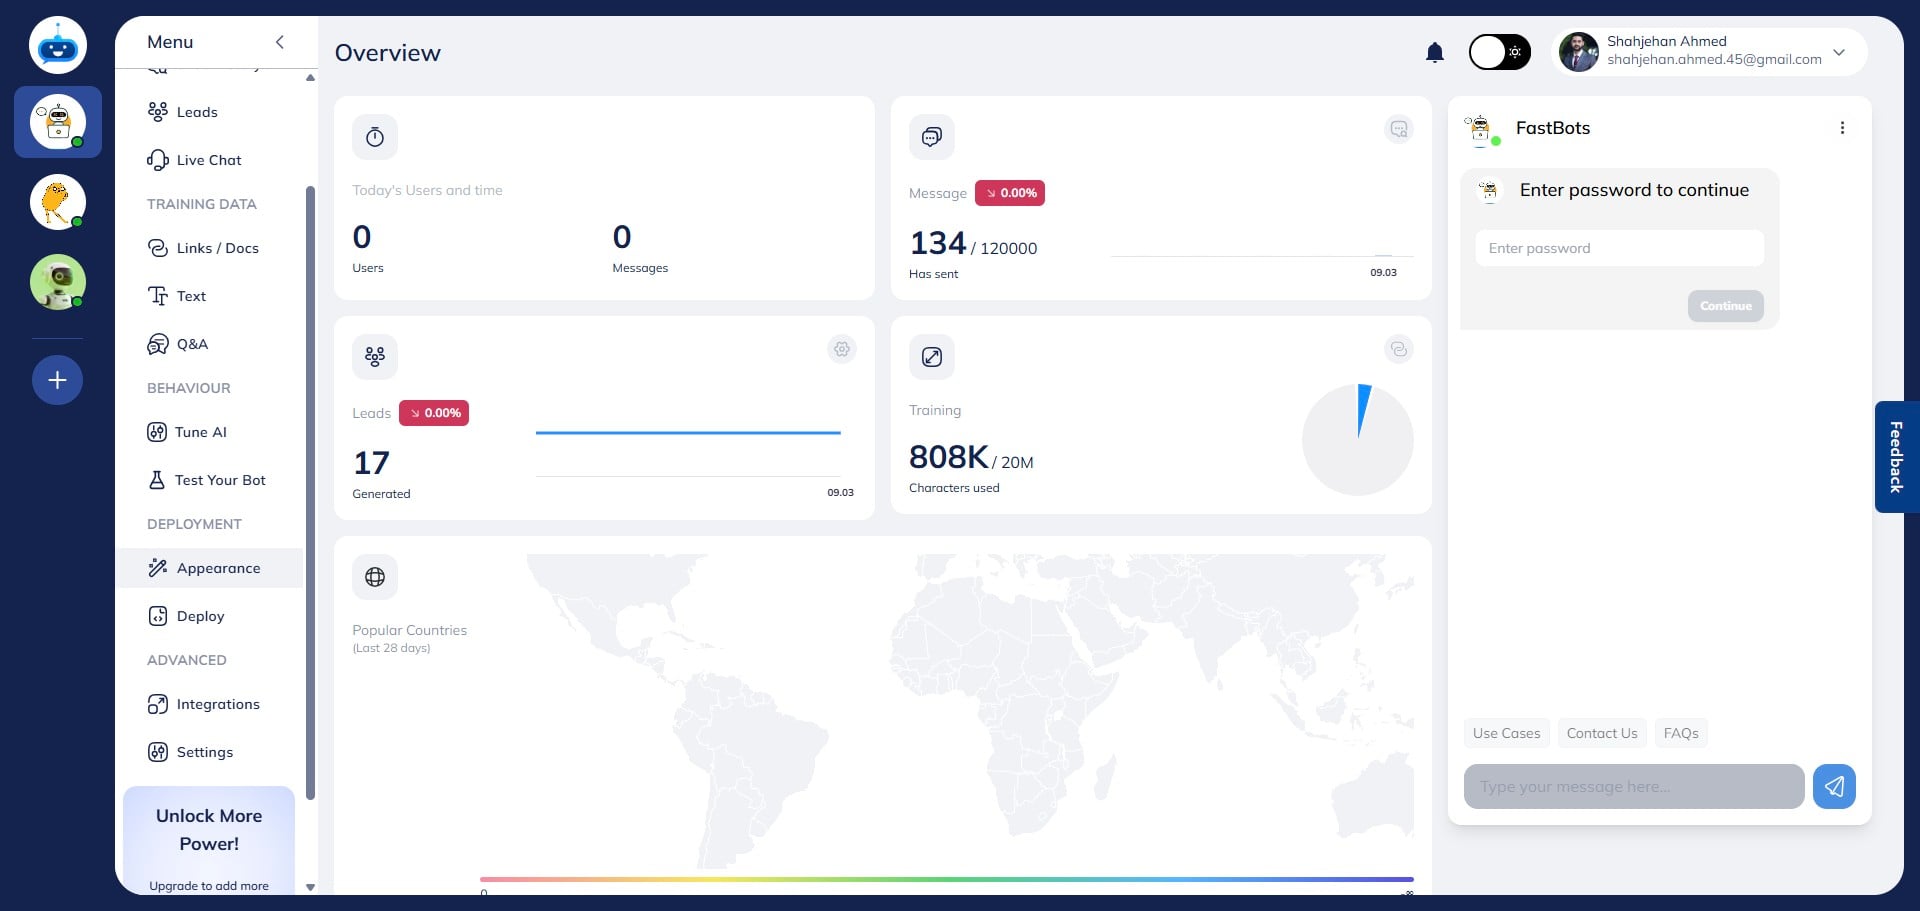
Click on the chatbot to open it.

Click on "Appearance" option to open this page.
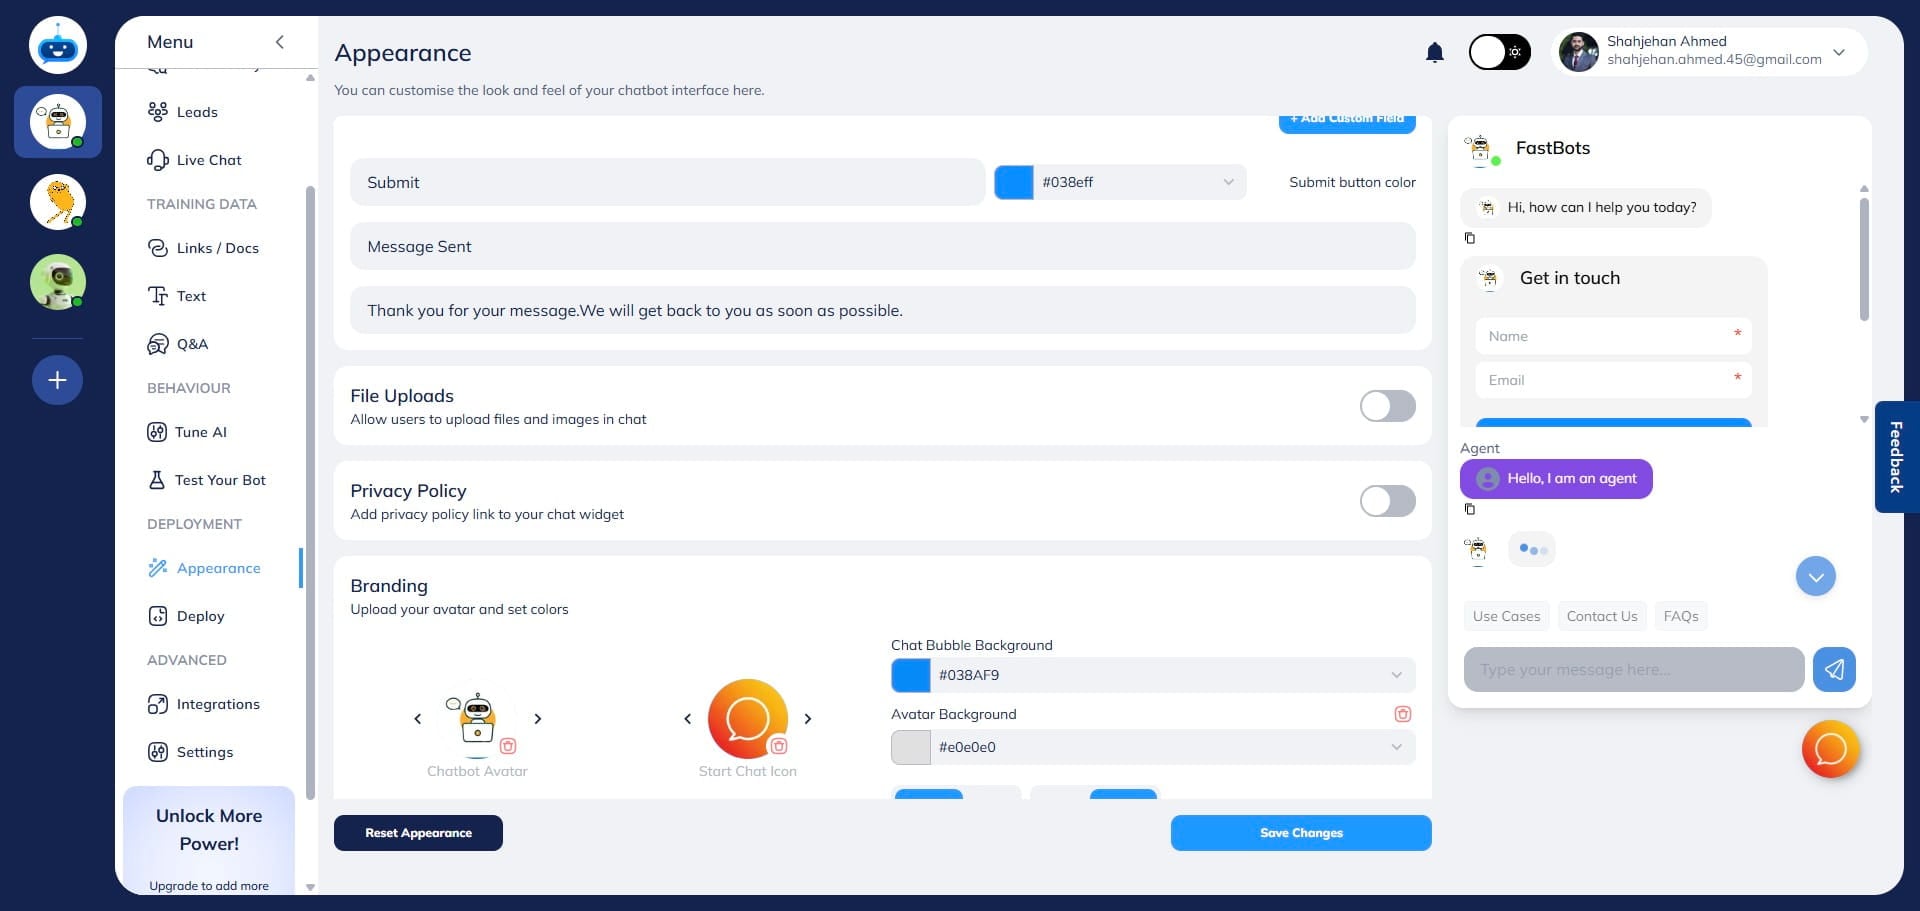
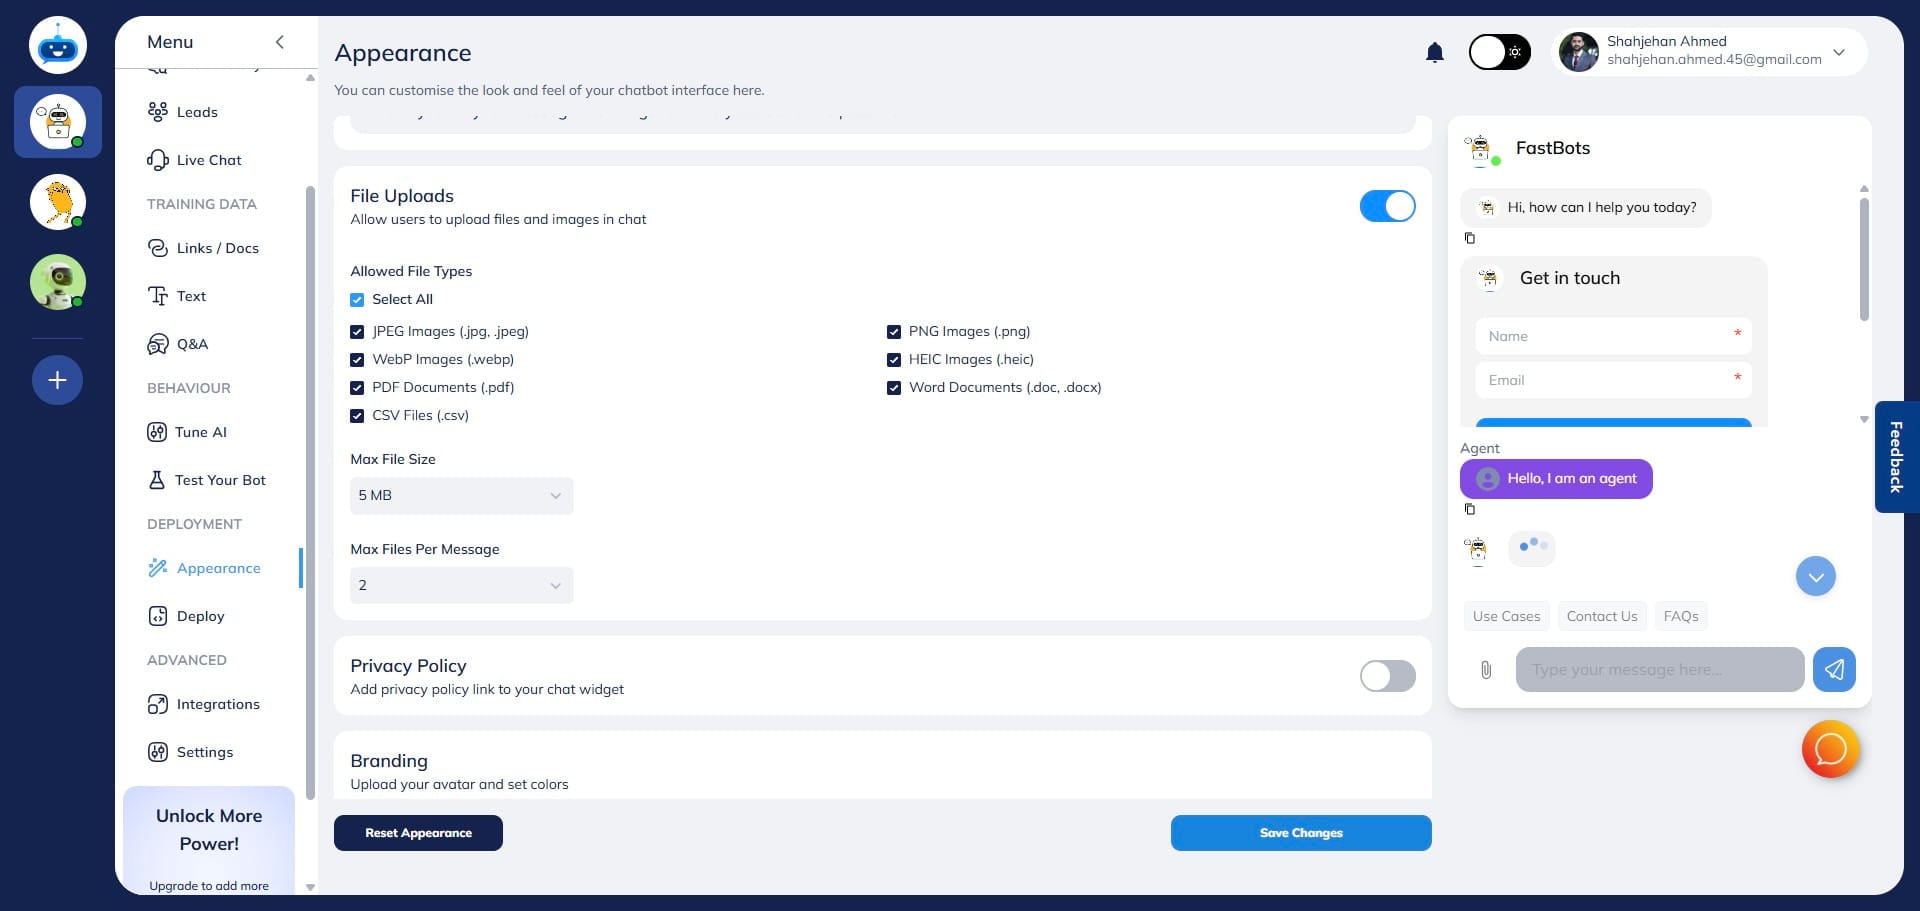
Scroll down on the Appearance page and turn on the "File Uploads" button.
Select the different file types that you want the user to be able to upload to the chatbot window during the conversation. You can click on "Select All" if you want to allow the users to upload any type of file.
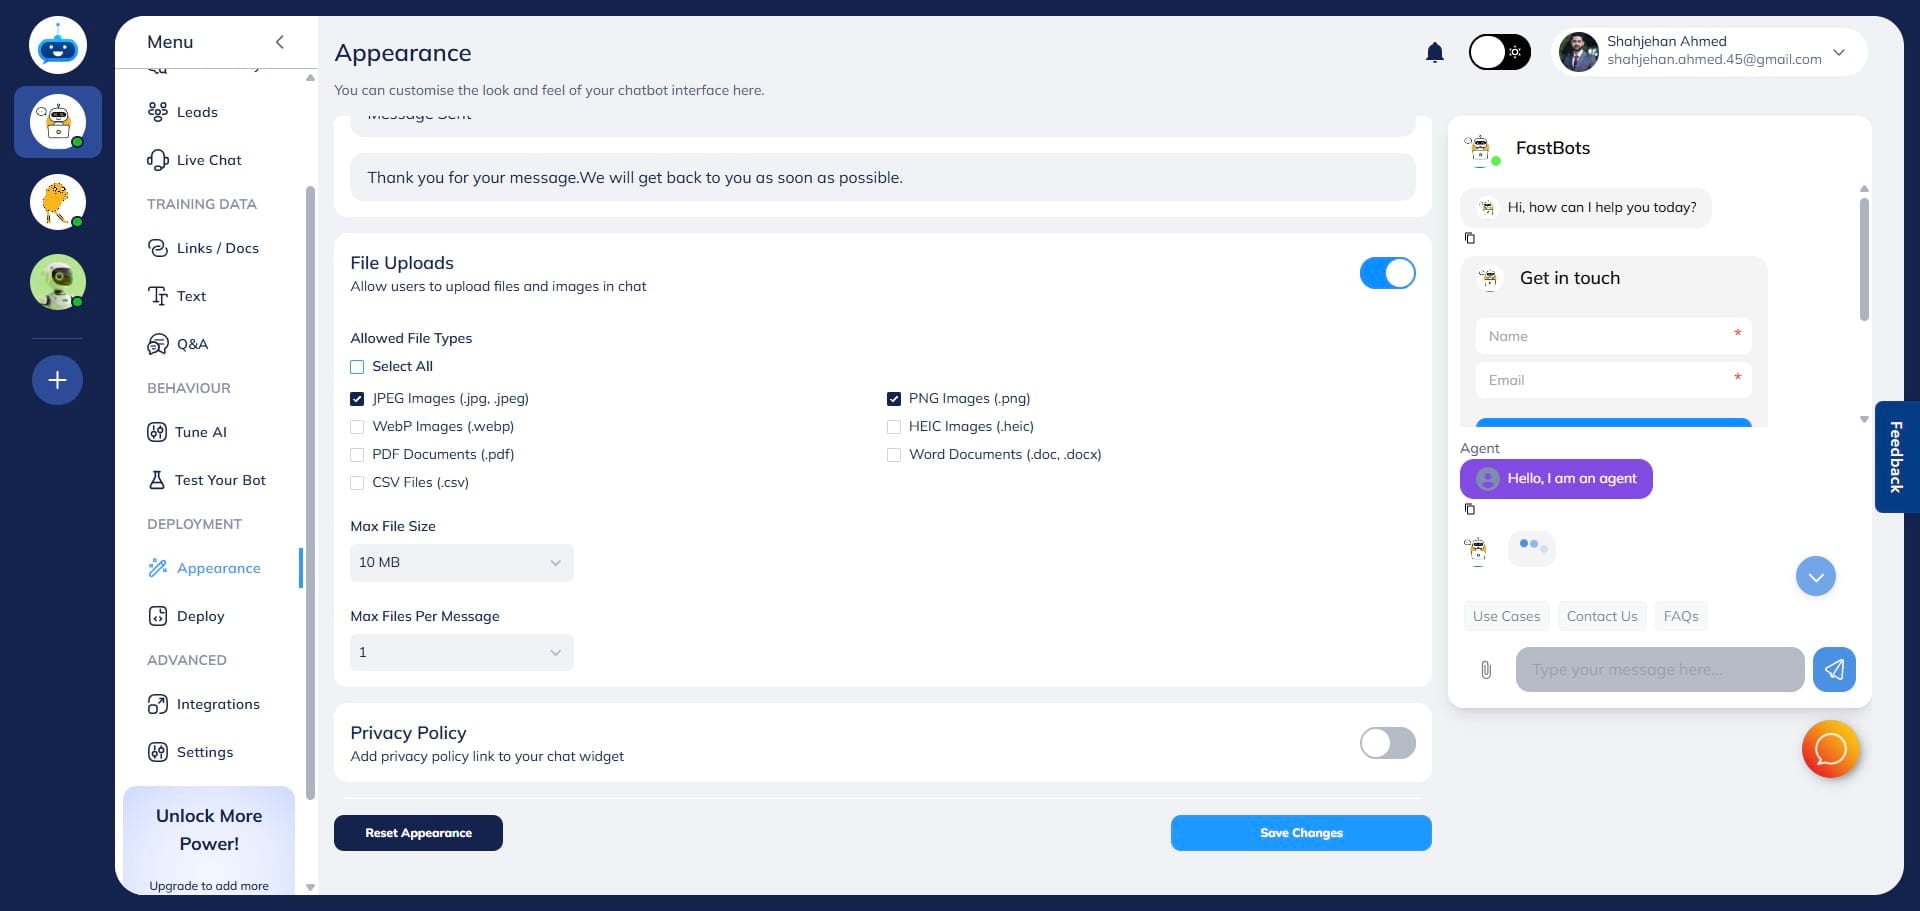
Here, select the maximum number of files a user can upload in one message. The maximum limit is upto 5 files per message.
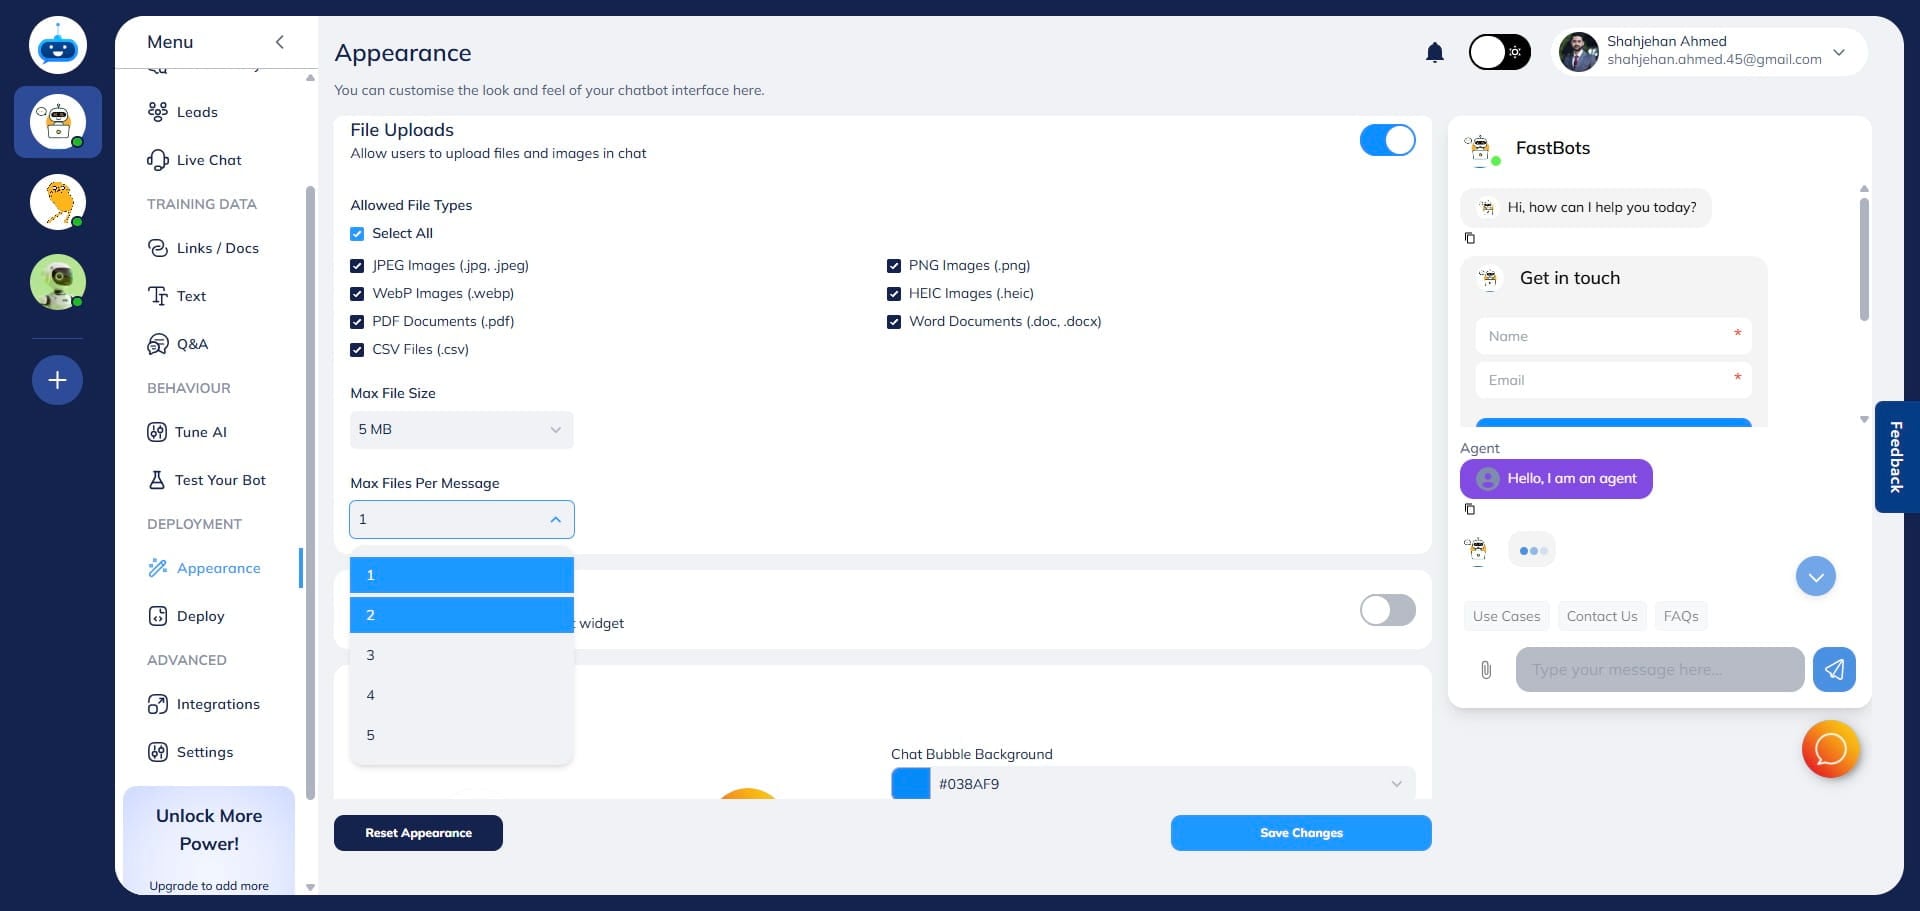
Use this option to determine the maximum file size a user can upload. The maximum file size allowed is 10 MB.
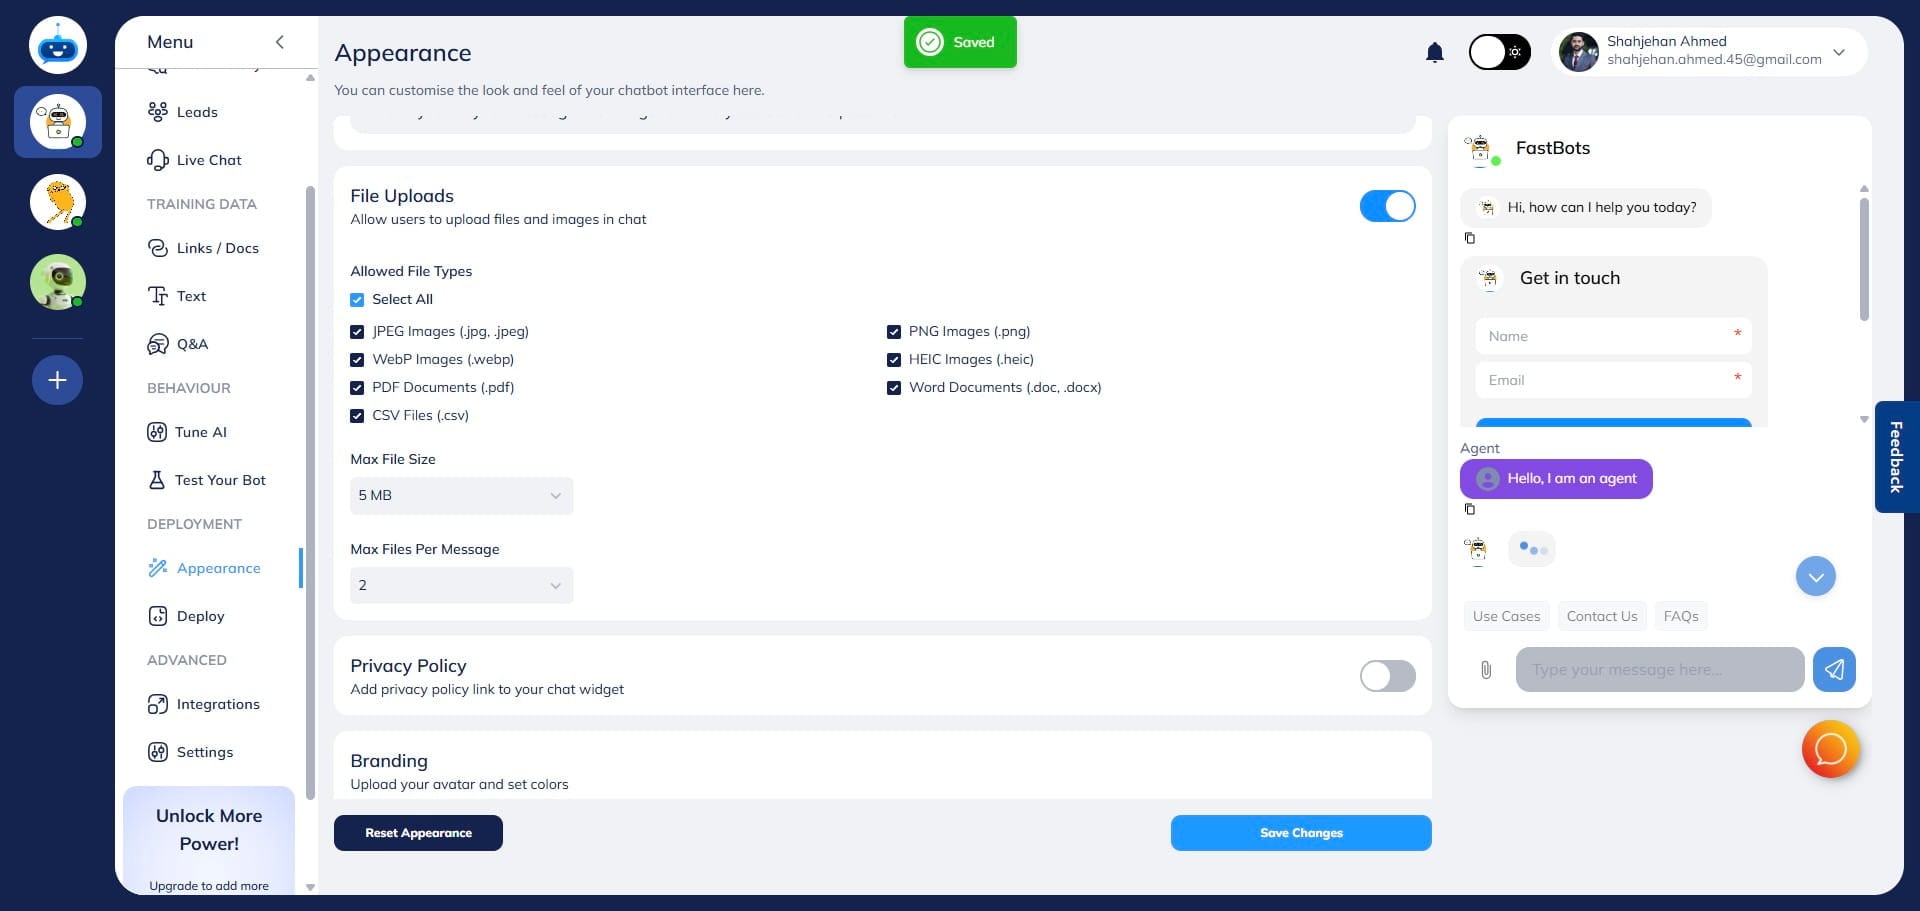
Click on "Save Changes" to apply these configurations.
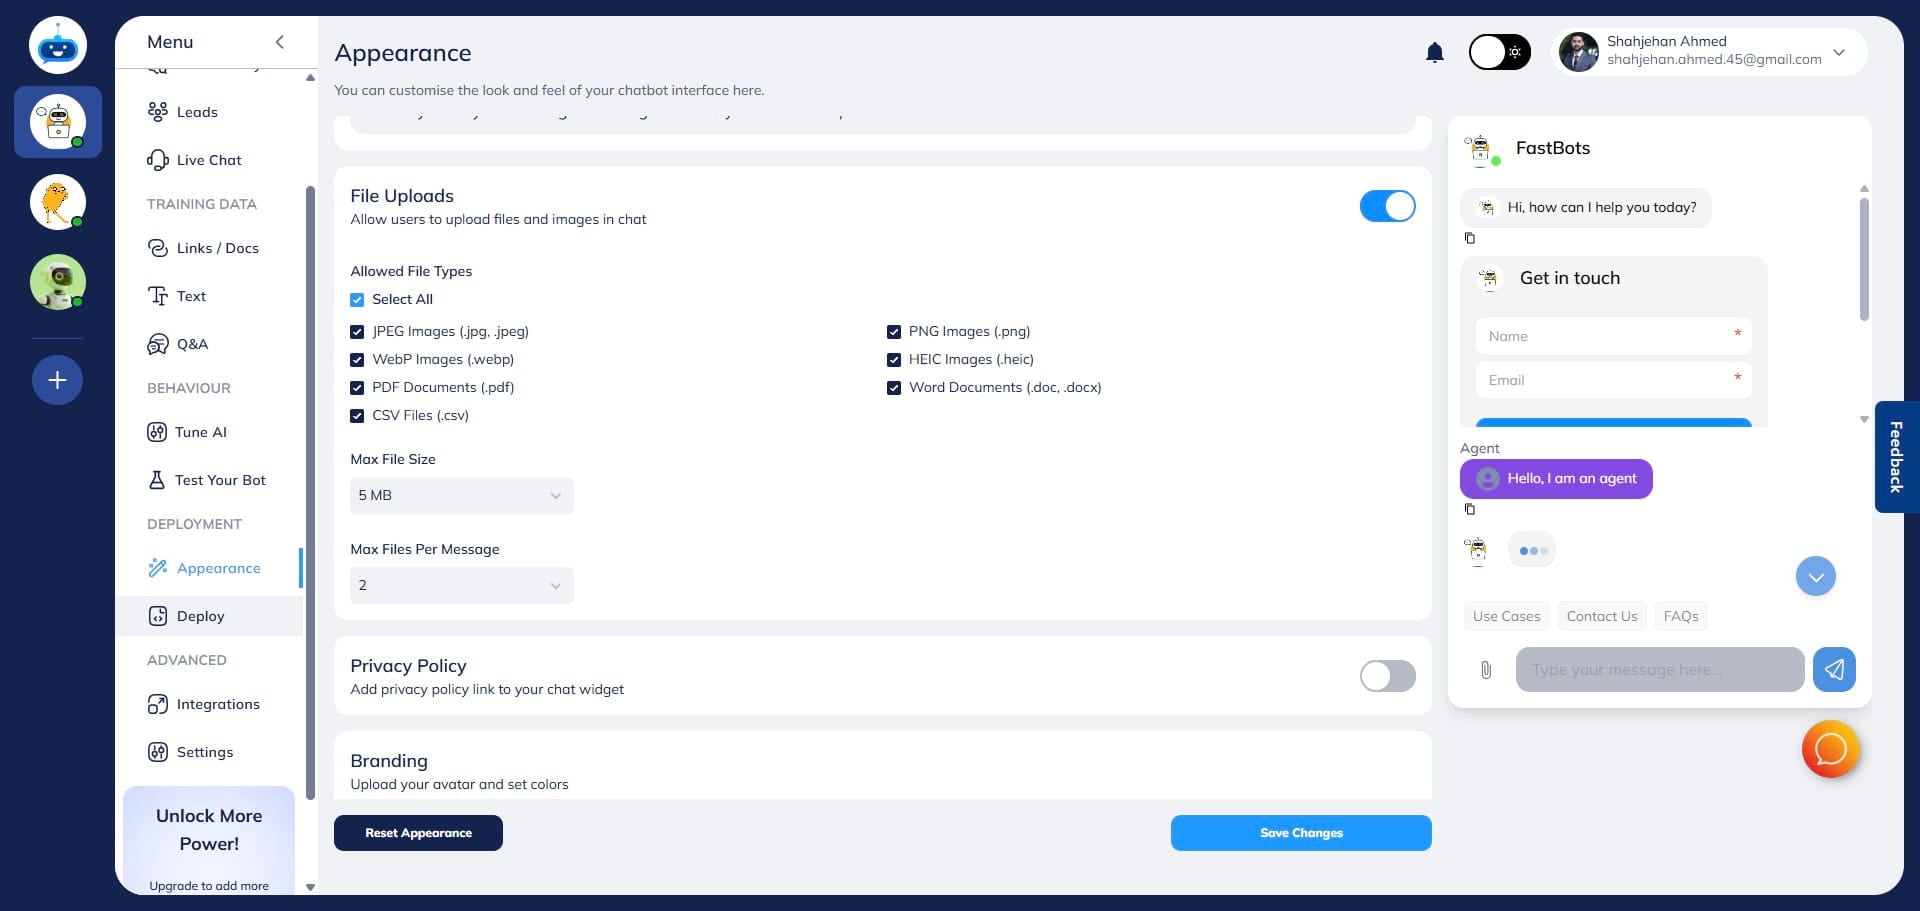
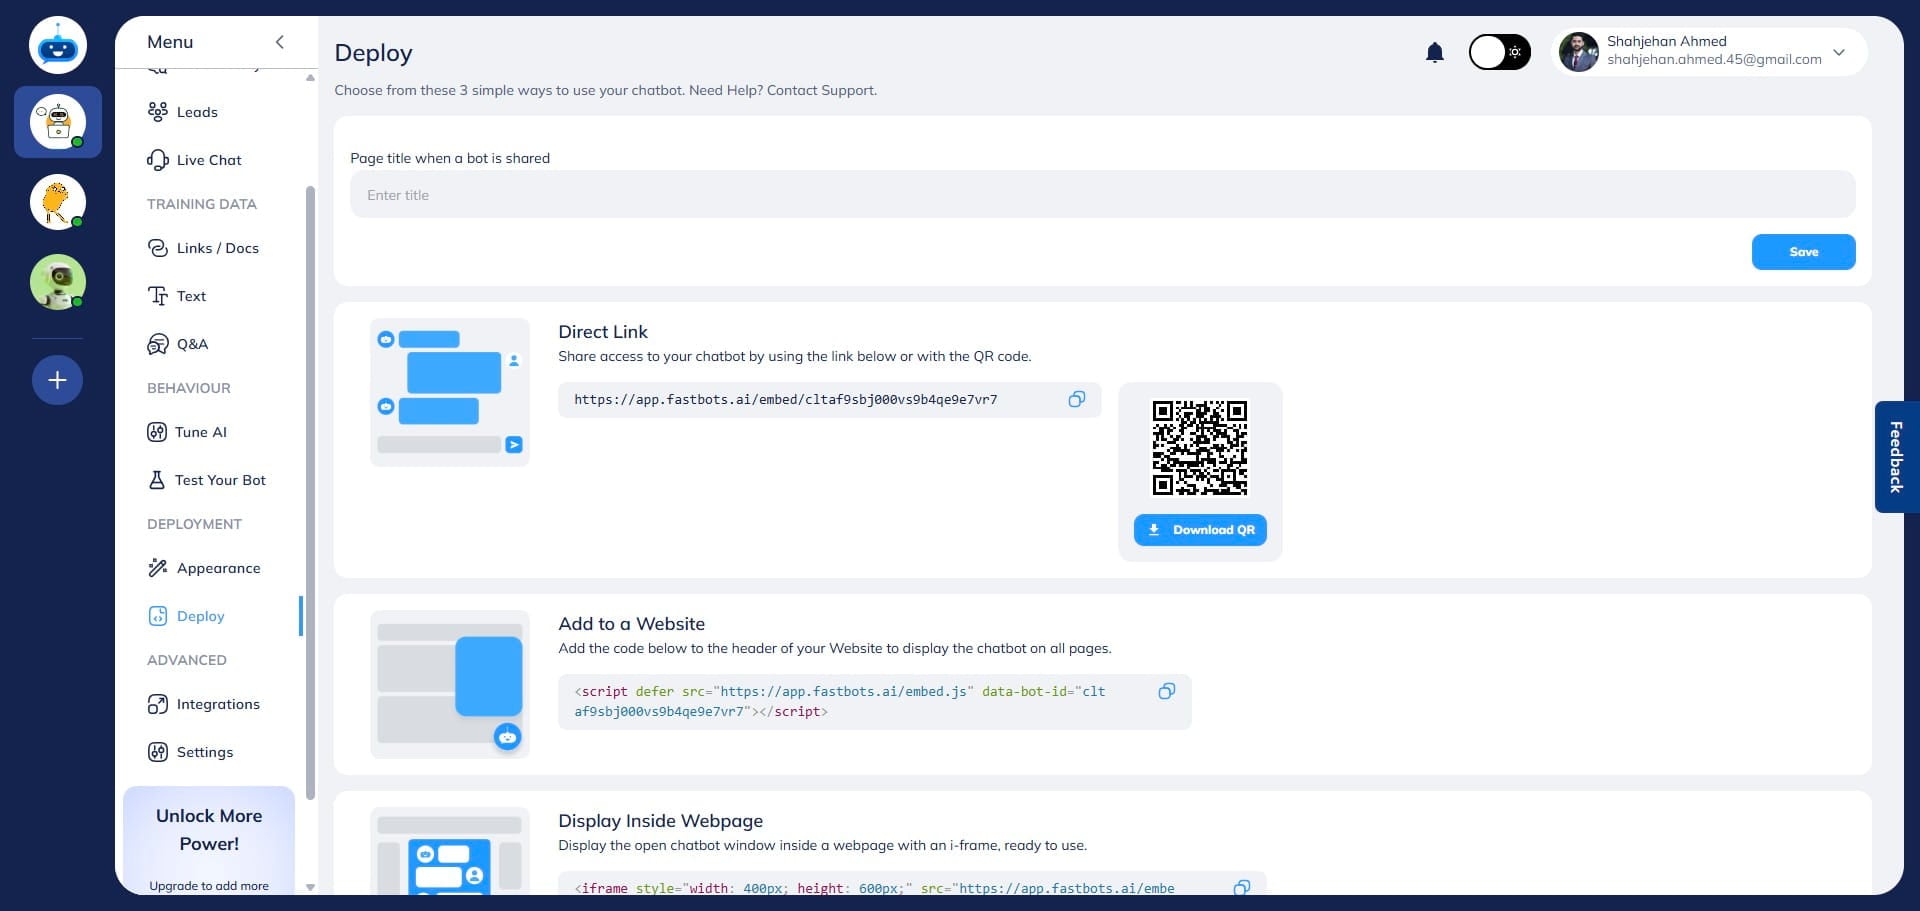
Now, to test the chatbot, click on the "Deploy" button to open this page.
Copy the "Direct Link" and open it in a new tab.
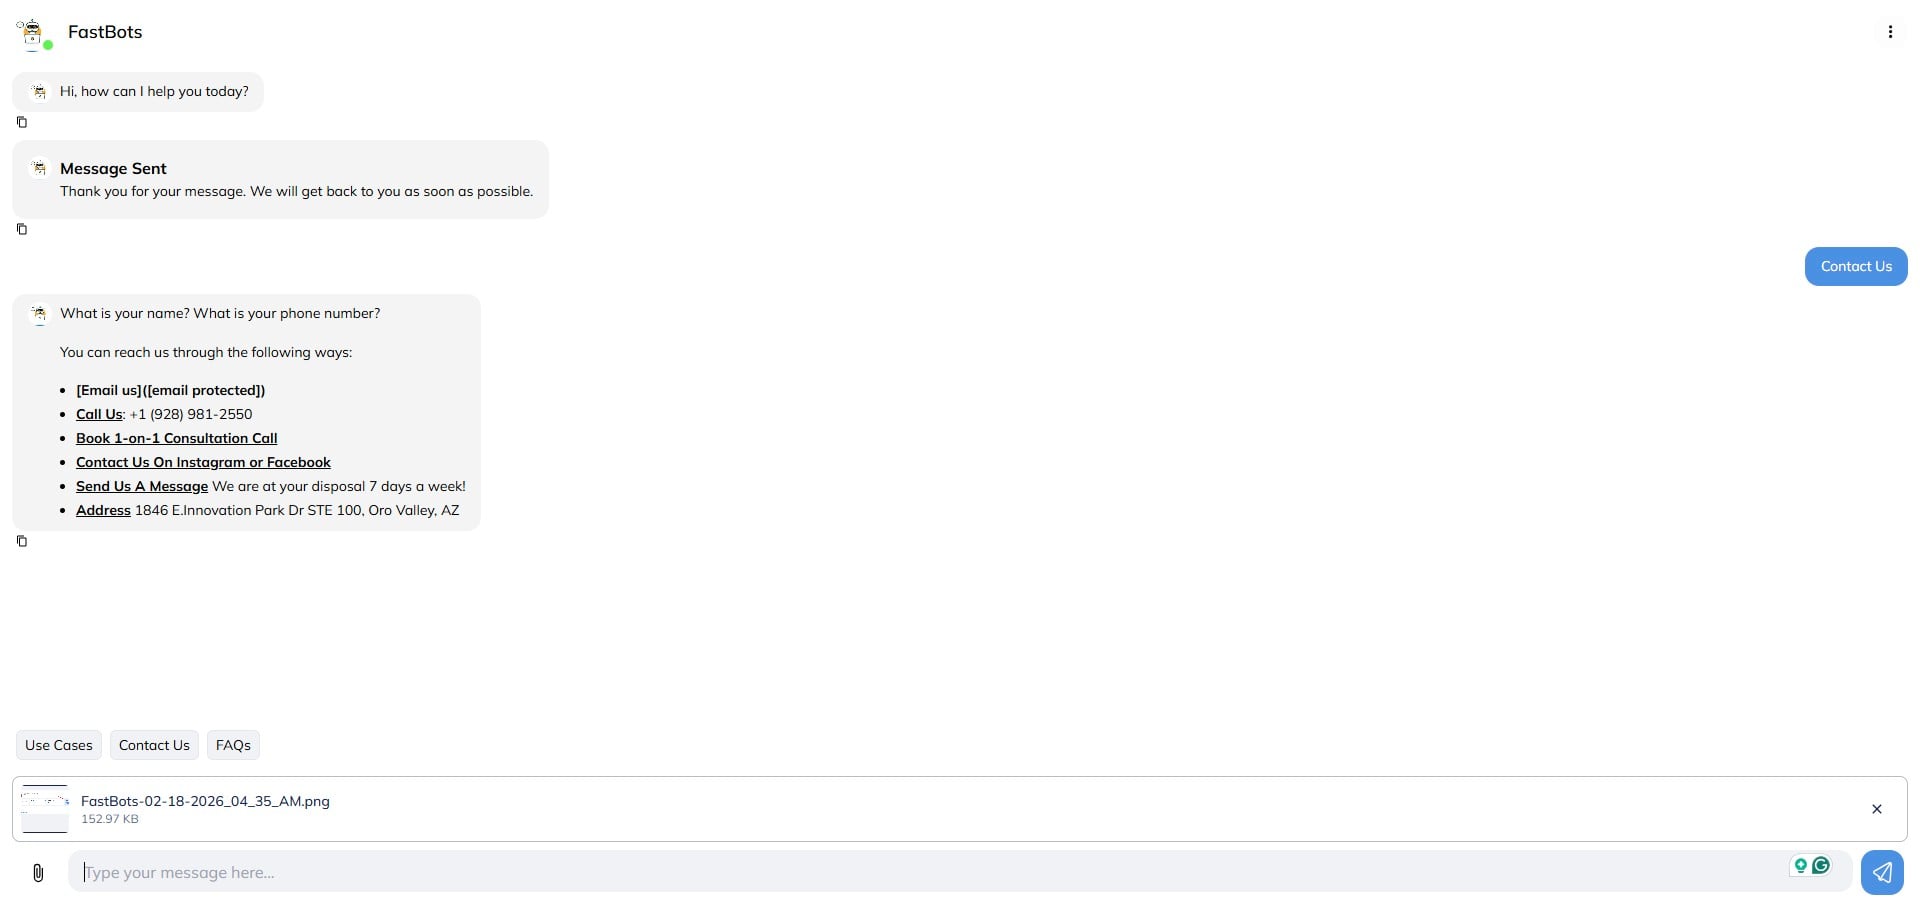
Here you can test the chatbot by uploading a file in real time. Upload the file and click on Send button
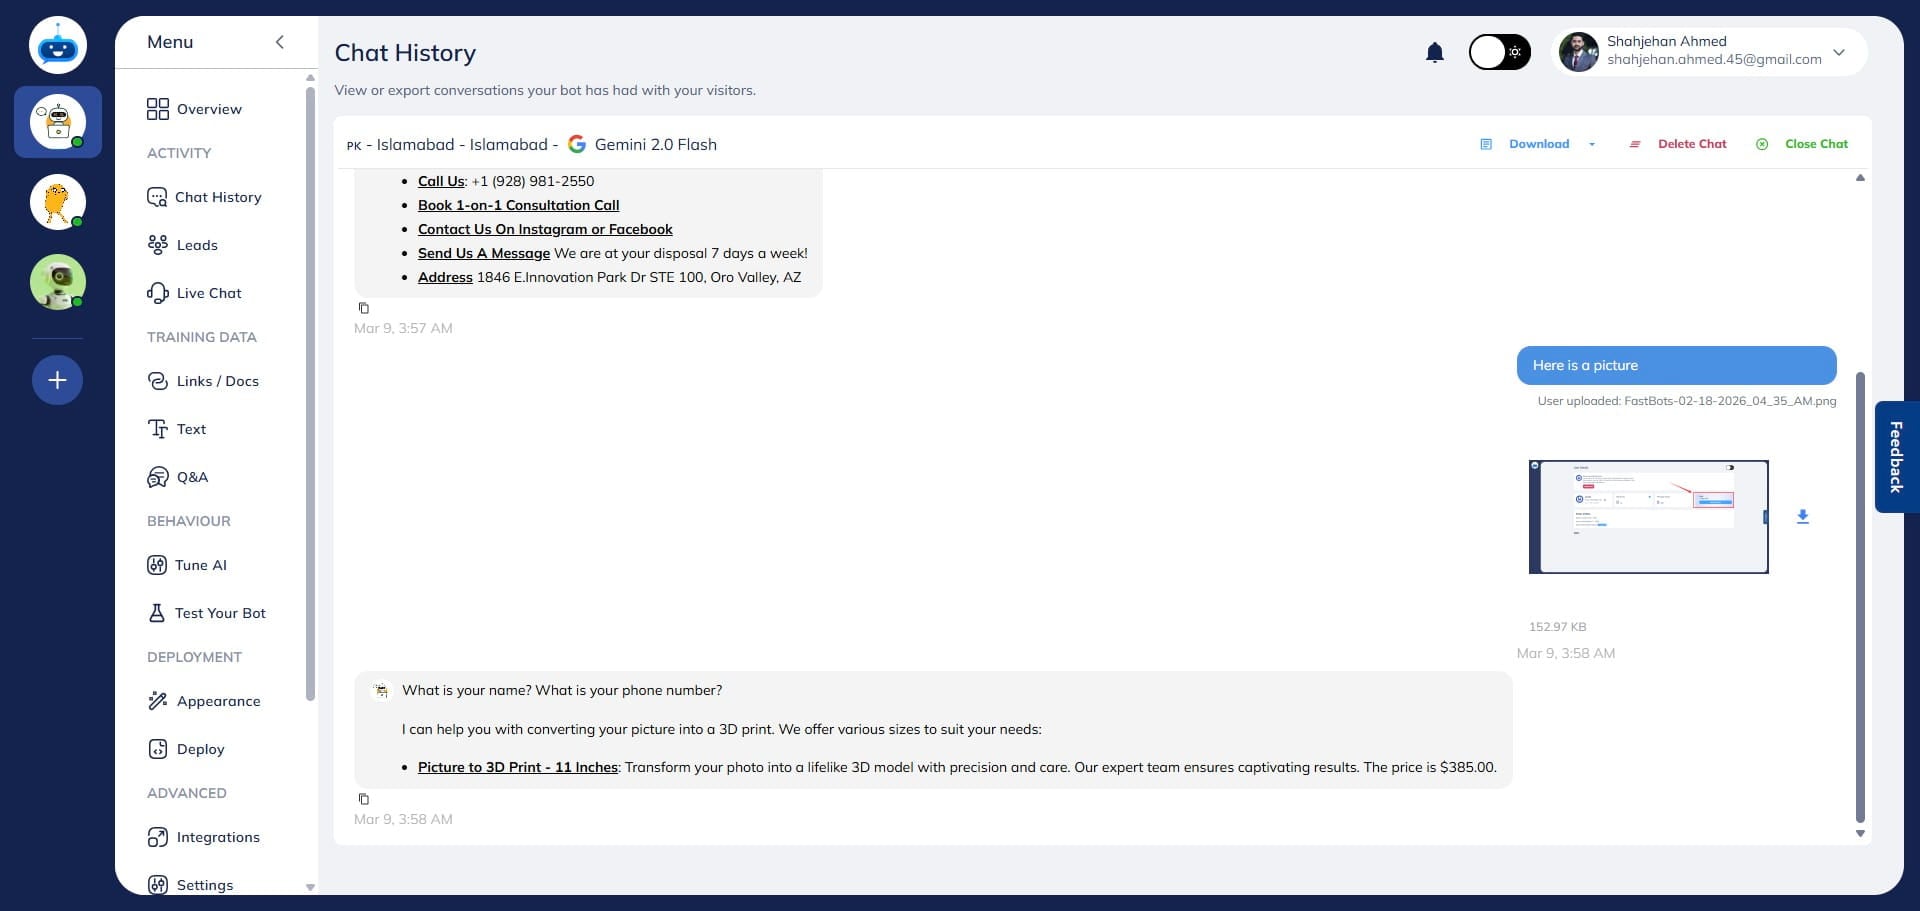
You can find all the users' uploaded files on the chat history page. Open the chat history page, click on "View Chat" option to open the conversation and it will show you the file that user has uploaded in a specific conversation.

You can view the file in the conversation on the chat history page. You can also click it to open the file or download it to your computer.
Done 🚀