How To Use Rate Limiting Feature
This guide will explain how to use the Rate Limiting feature to control the number of messages a user can send to your chatbot within a specific timeframe.
Navigate to https://app.fastbots.ai/
Click on the chatbot to open it.
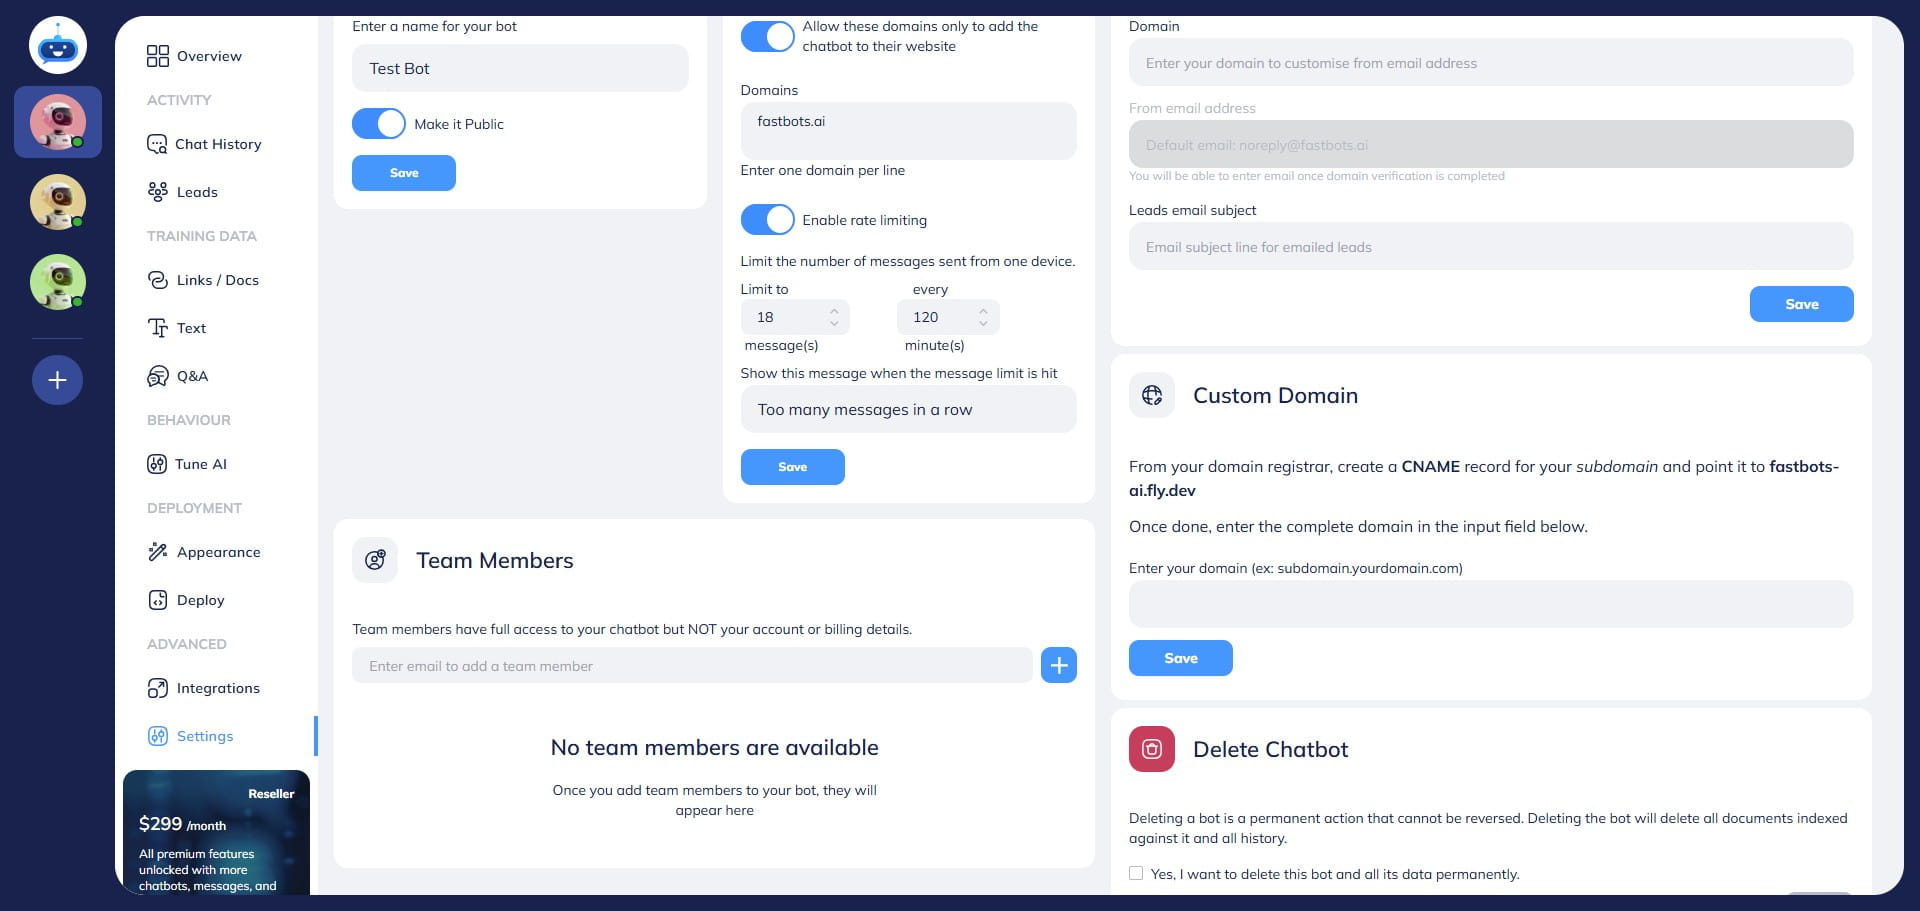
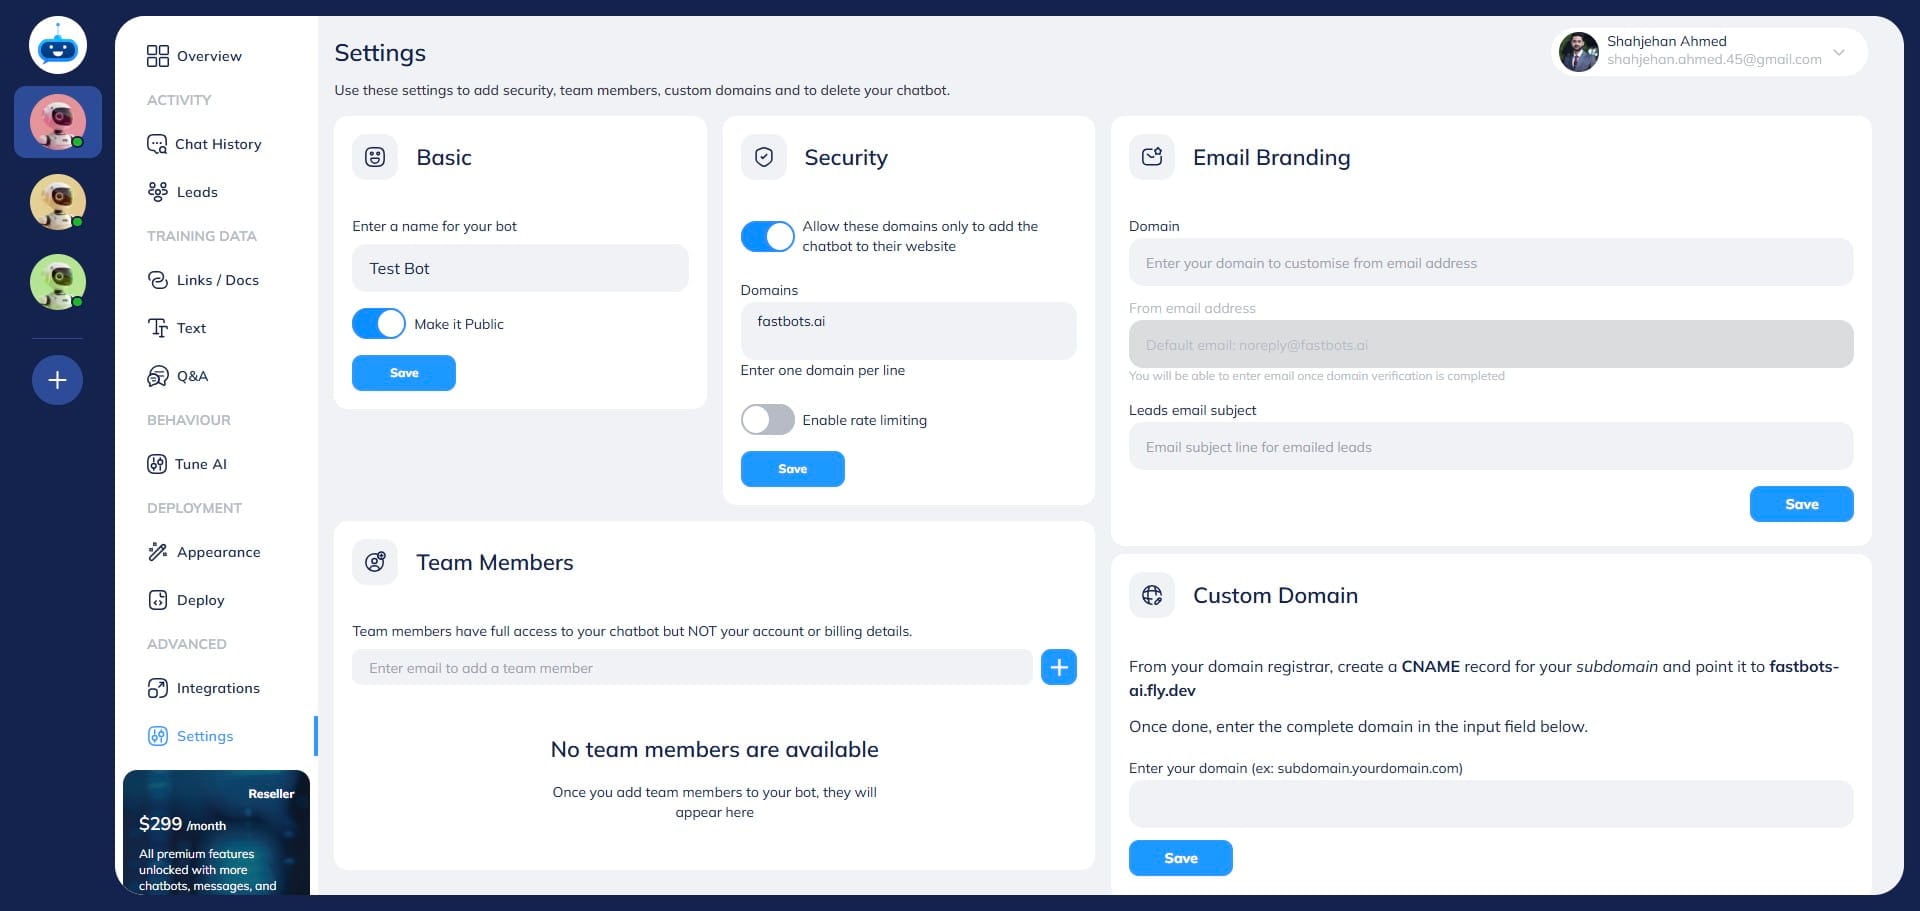
Click on the "Settings" button to open the page.
Using this "Rate Limiting" option you can control the number of questions a user can ask to chatbot in a certain timeframe.
Turn on the "Enable Rate Limiting" button.
You can set the limit on the number of messages sent within a certain time frame using these 2 options.
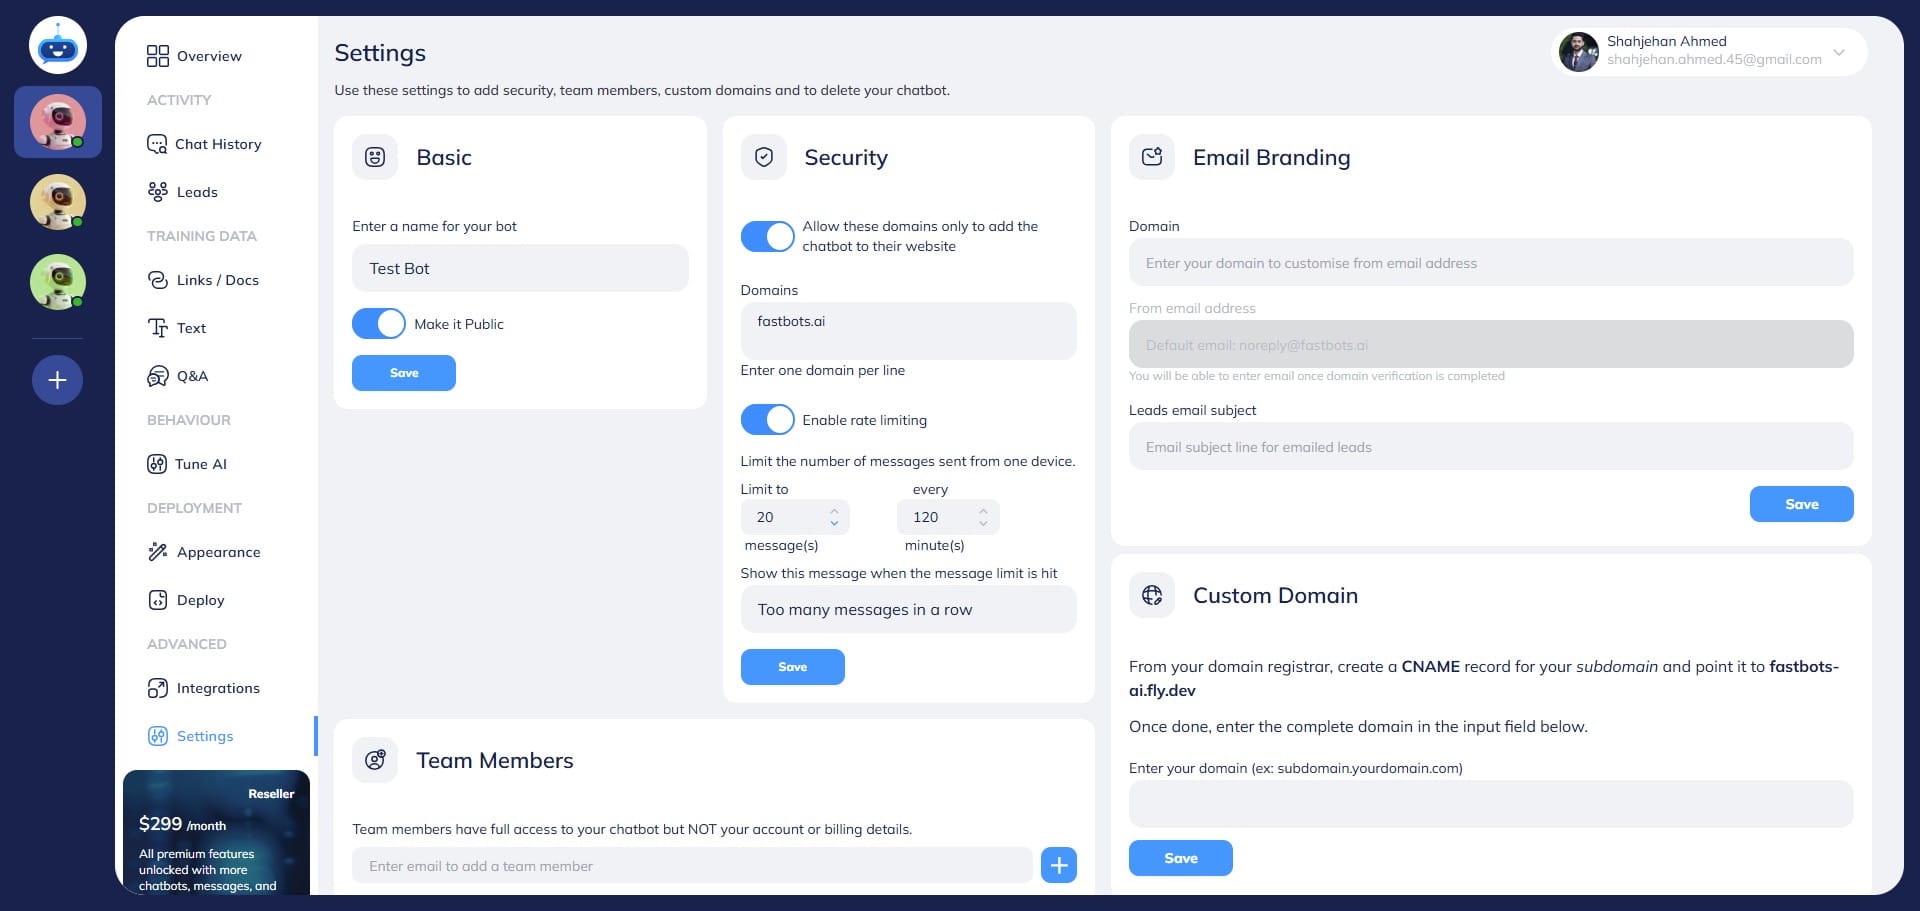
You can write your text here if you want to change the message that will be shown to the users once the limit is reached.
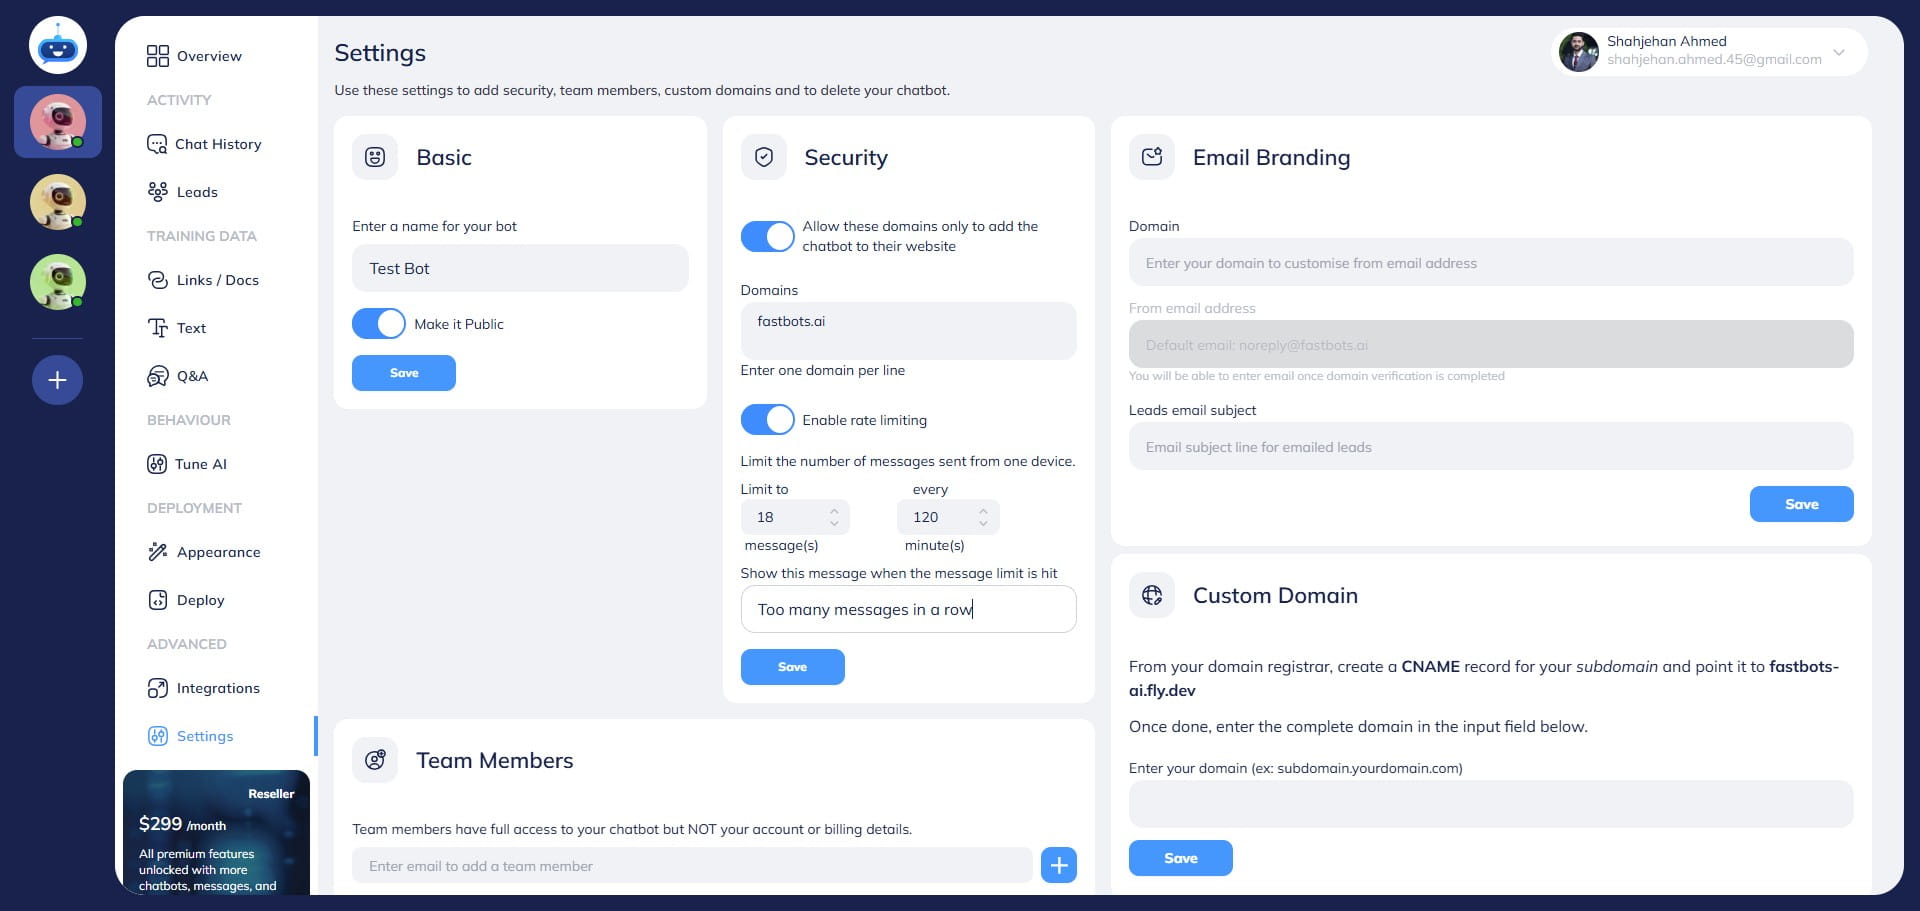
Click on the "Save" button to save the changes.
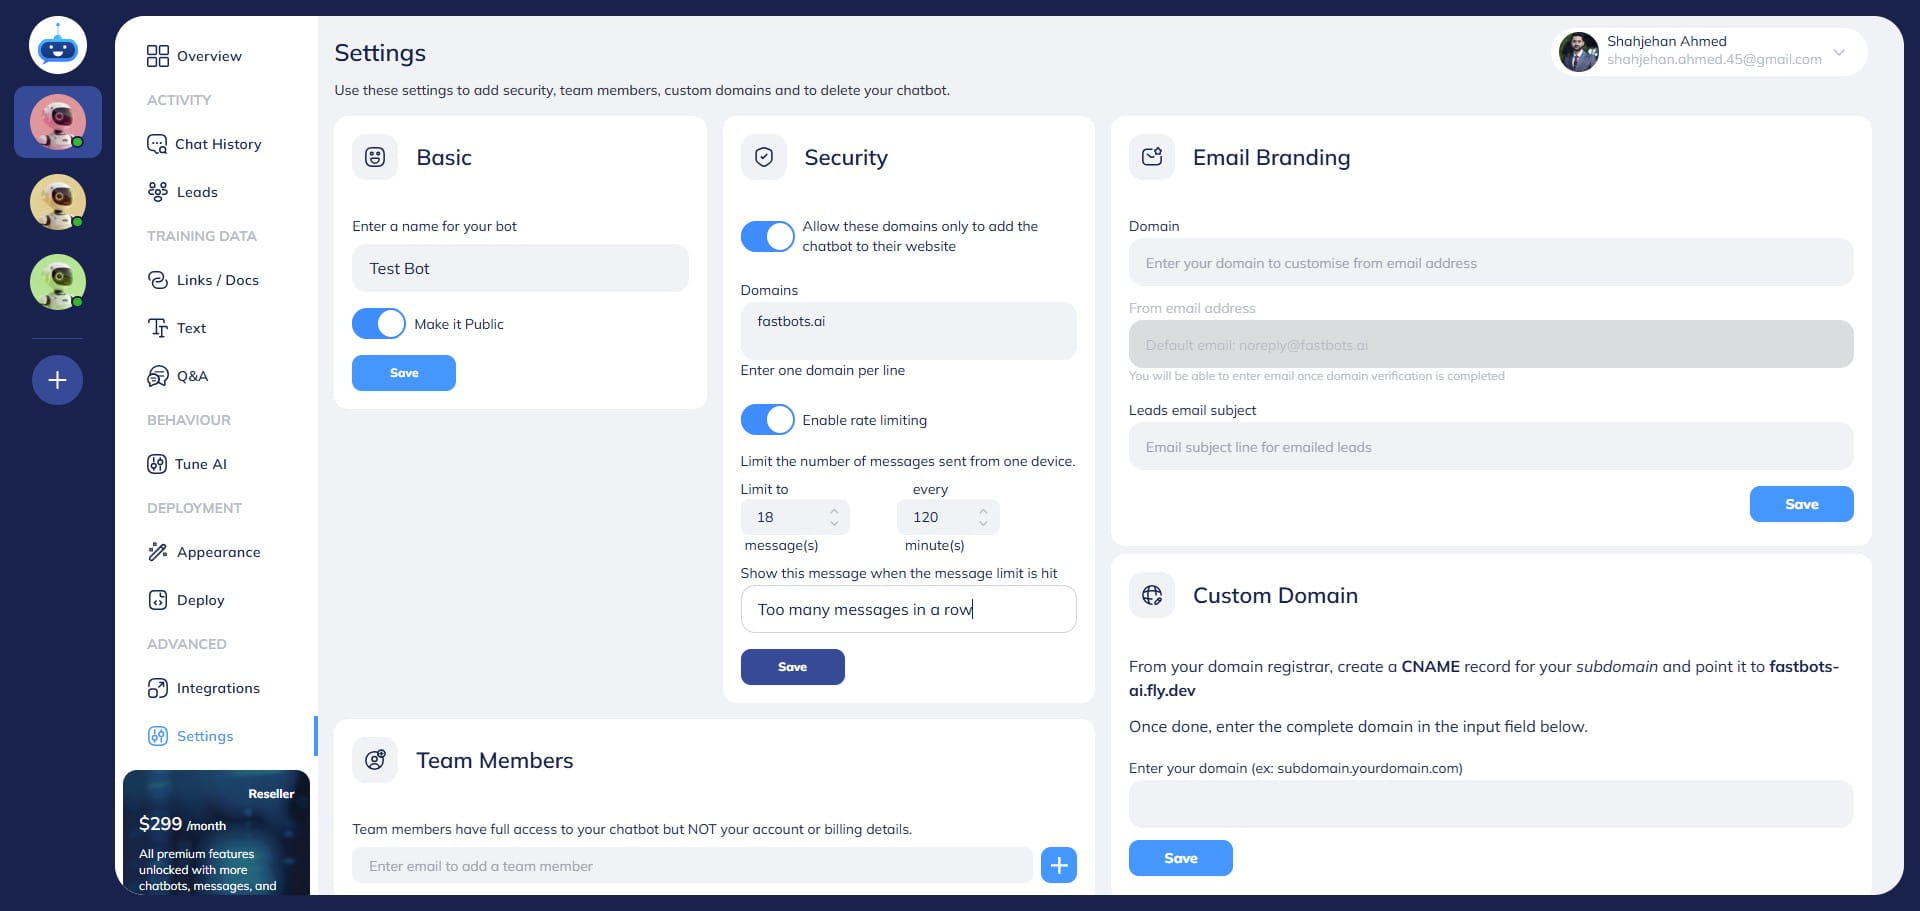
Done 🚀. You have successfully enabled the rate-limiting feature for your chatbot.