
How To Configure Your Email To Receive Chatbot Conversations
This guide will show you how to automatically send all the conversations to your email.
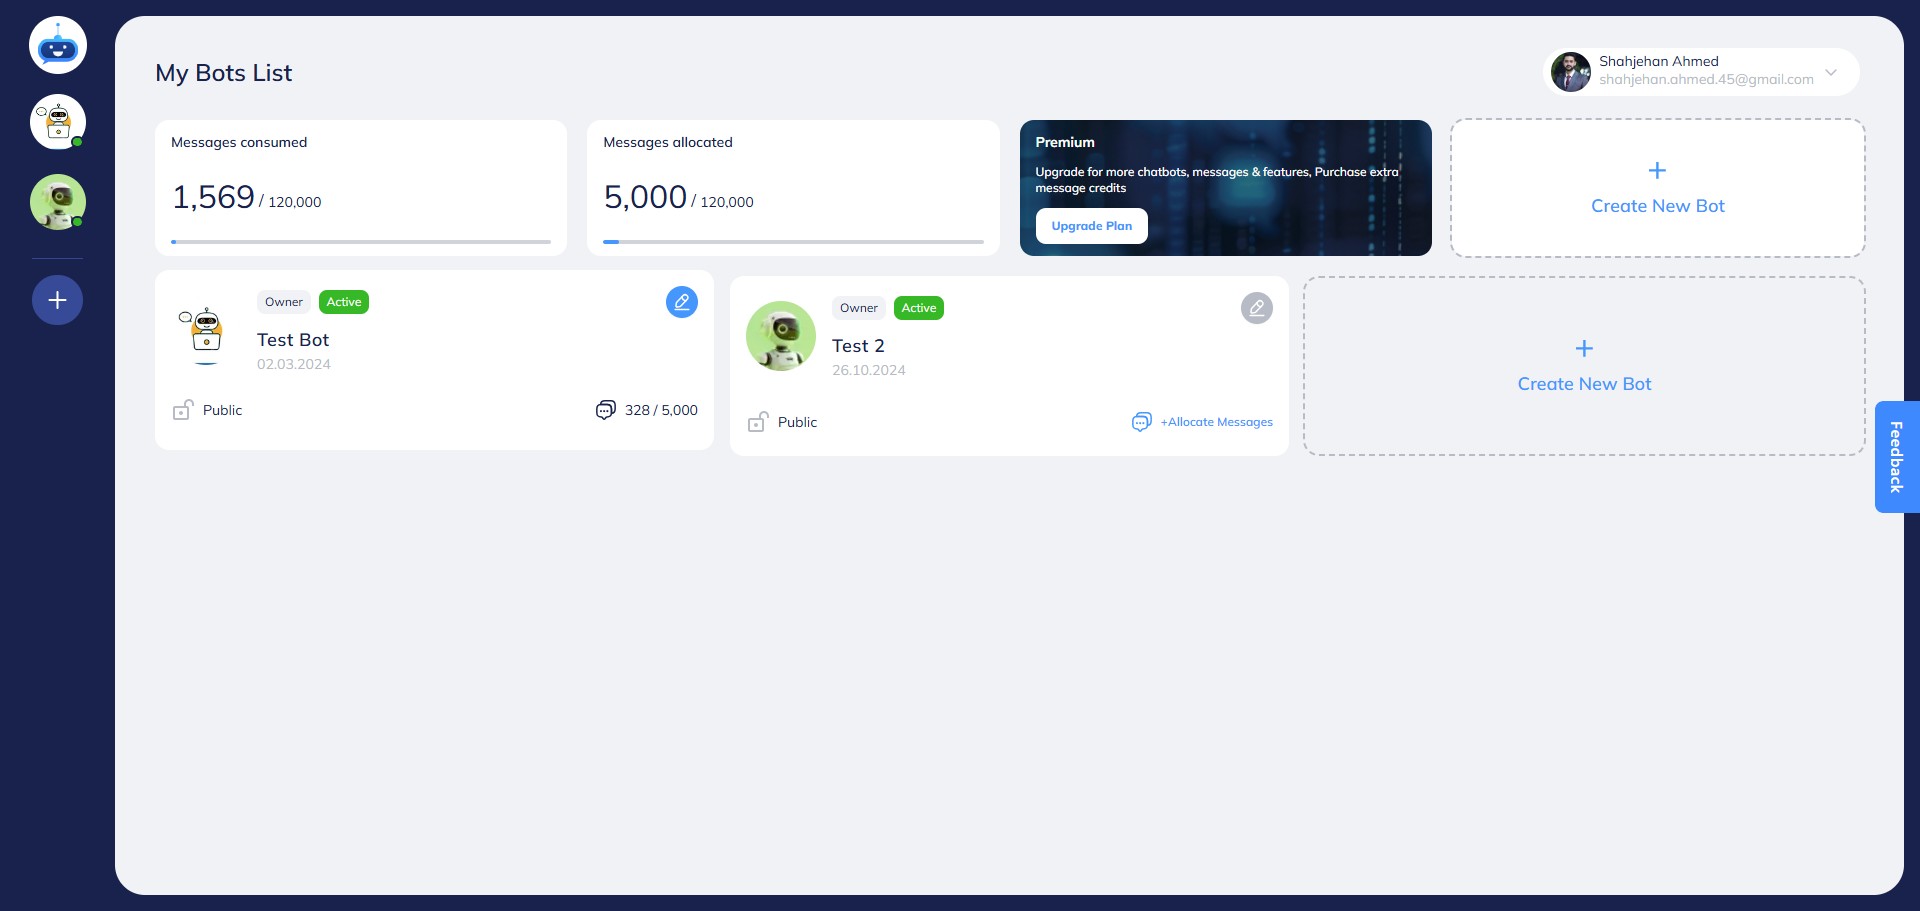
Navigate to https://app.fastbots.ai/
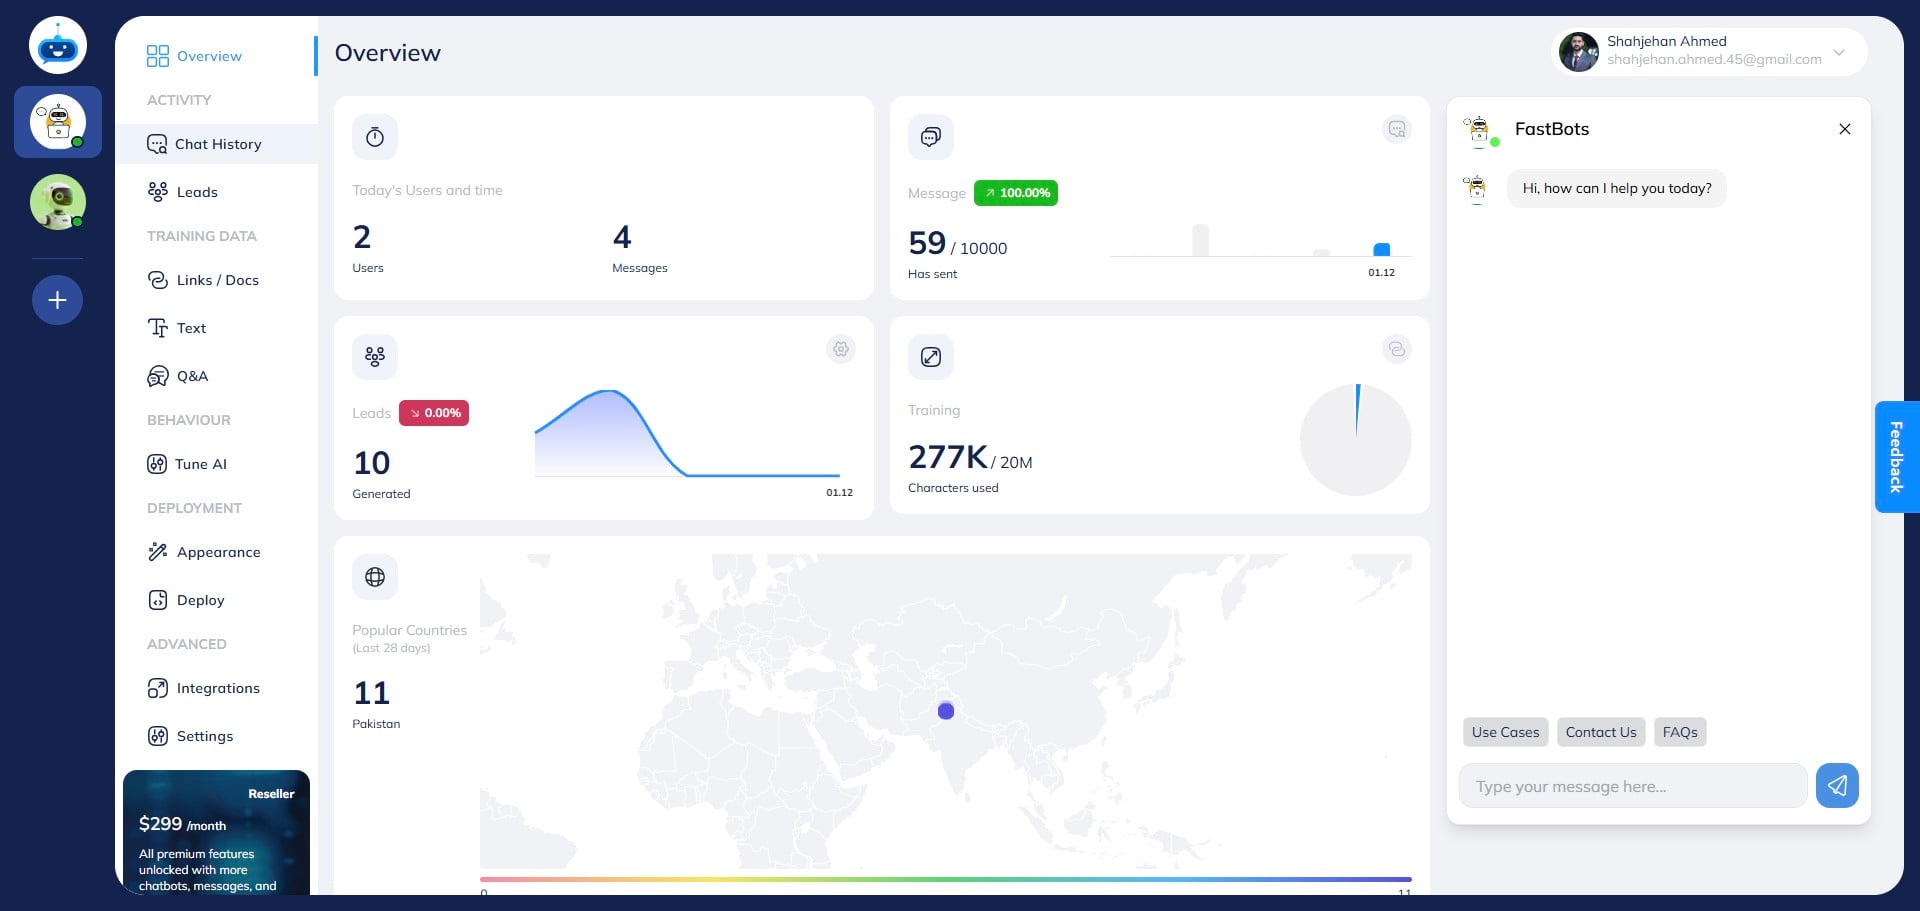
Open your Chatbot.
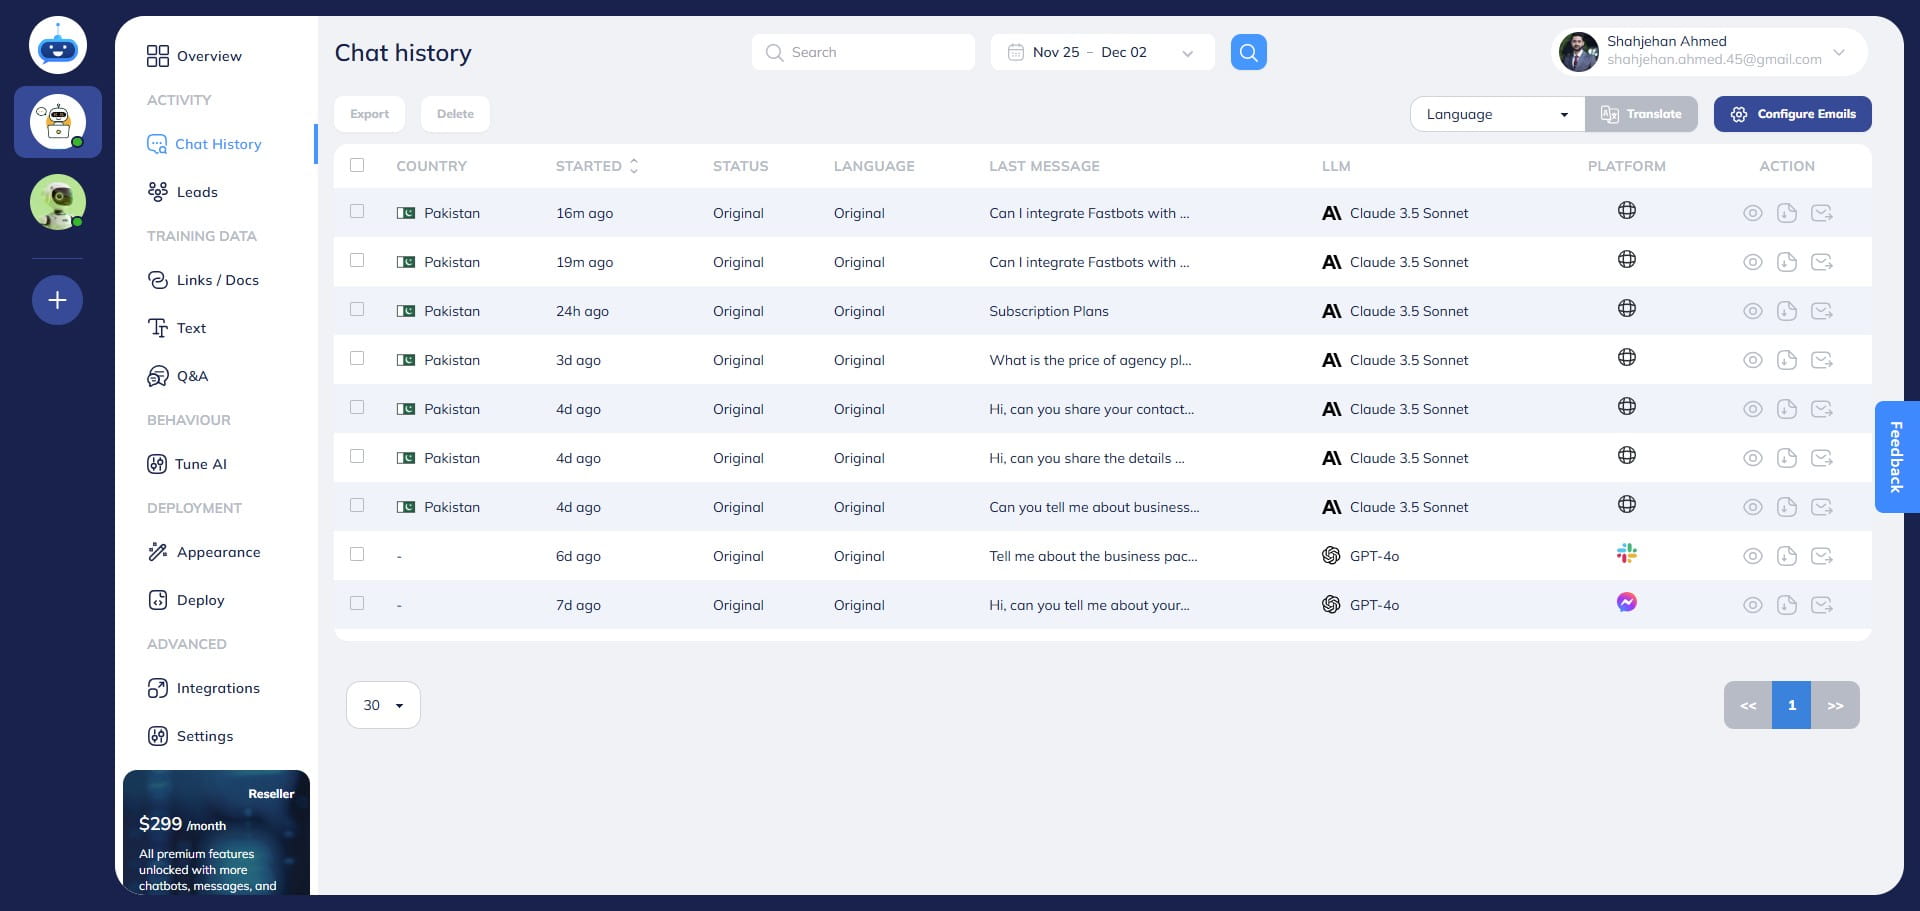
Click on "Chat History" to open the chat history page.
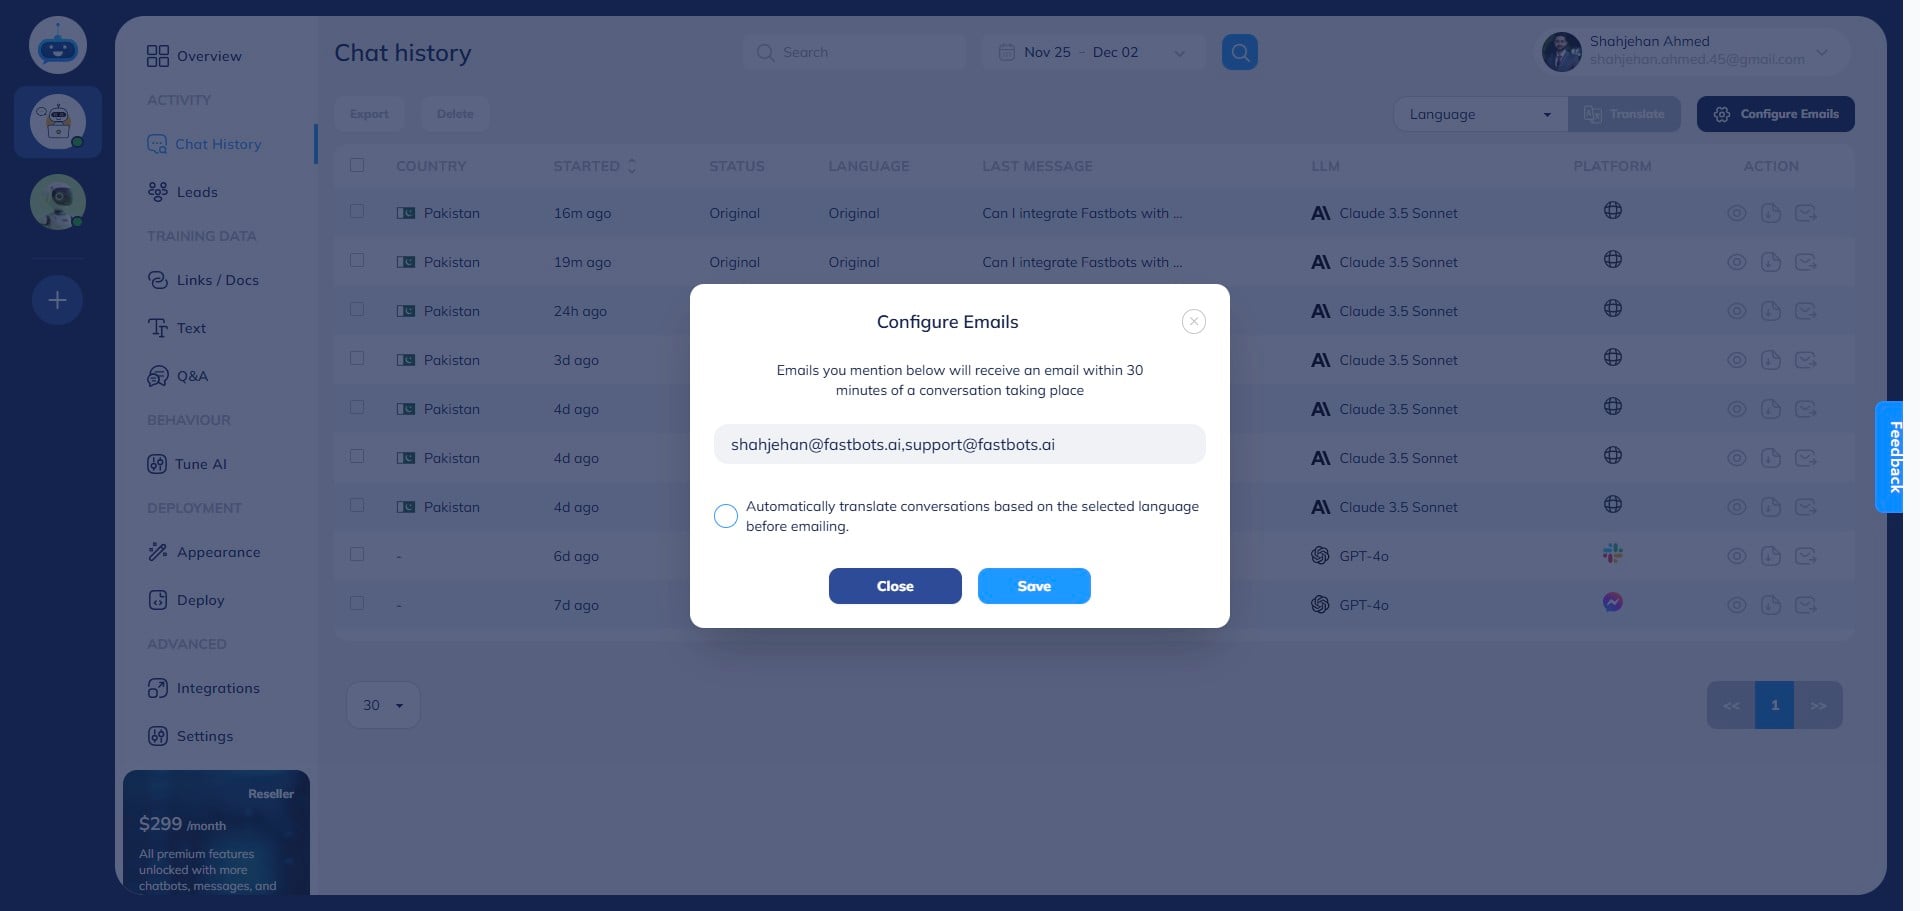
Click on the "Configure Emails" button.
Add the email where you want to receive the transcript of chats and click on the "Save" button.

If you want to add multiple emails, just add a "comma" after the first email and then add the next email.
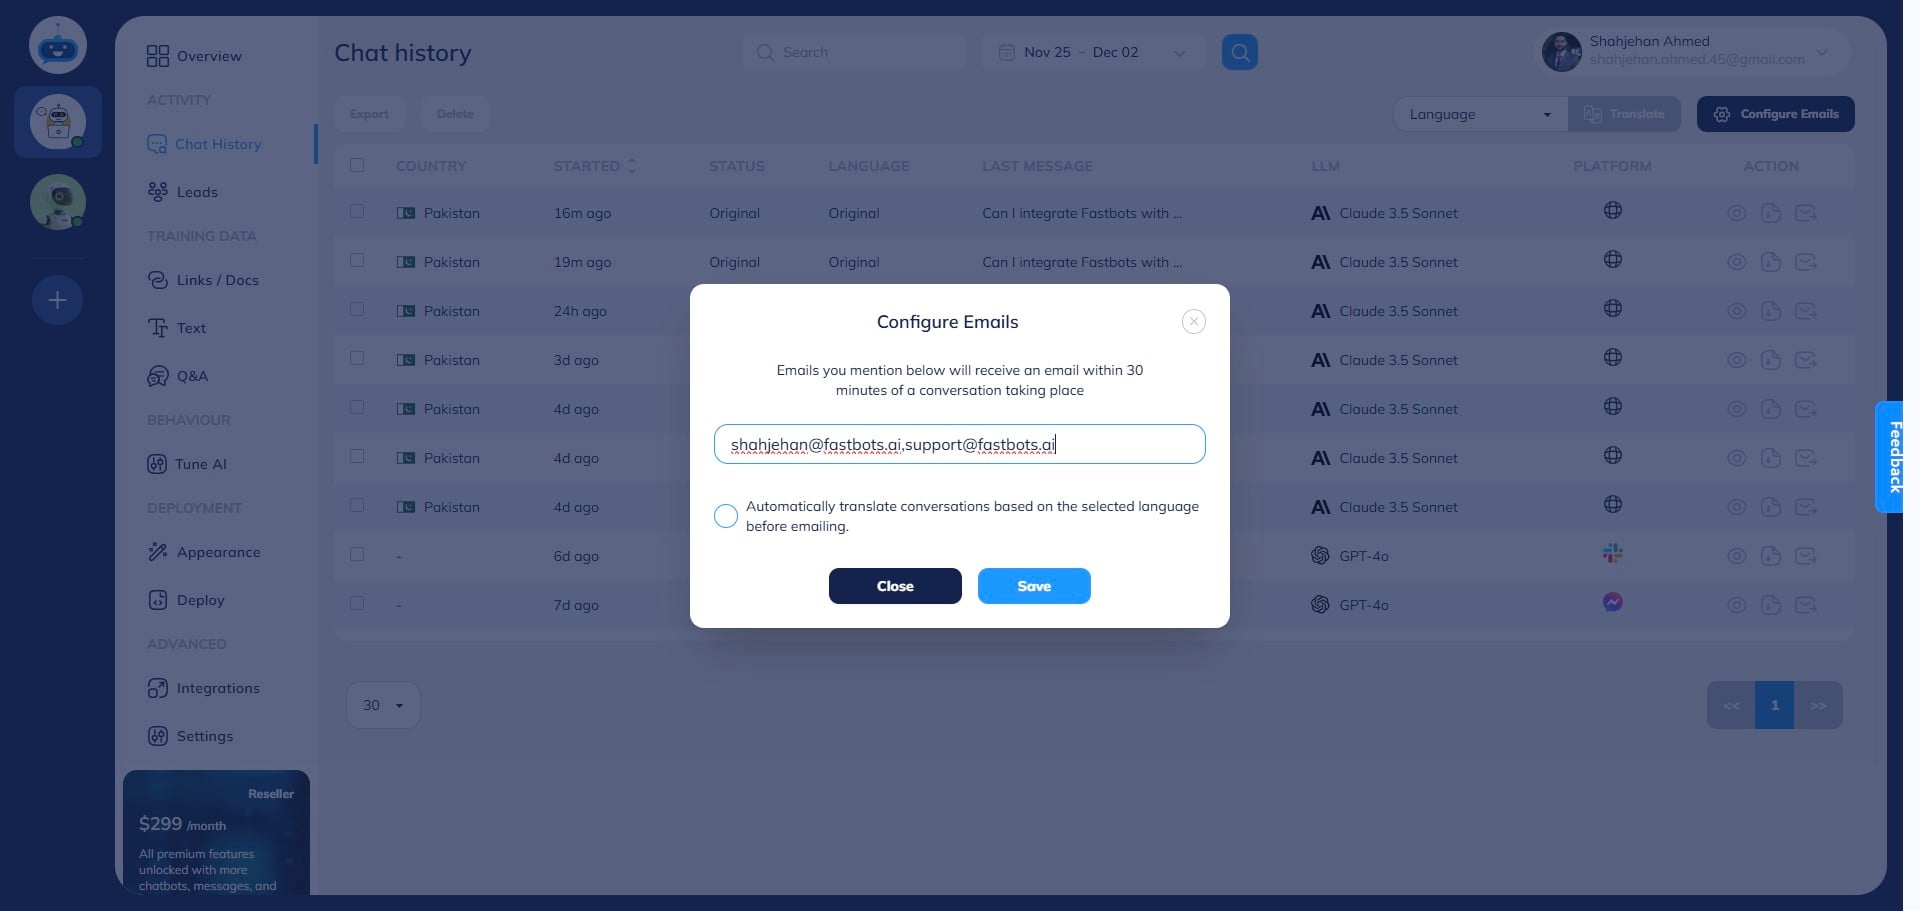
Click on the "Save" button to save the configuration.
Now, the next time your Chatbot interacts with a user, you will receive an email notification like this.
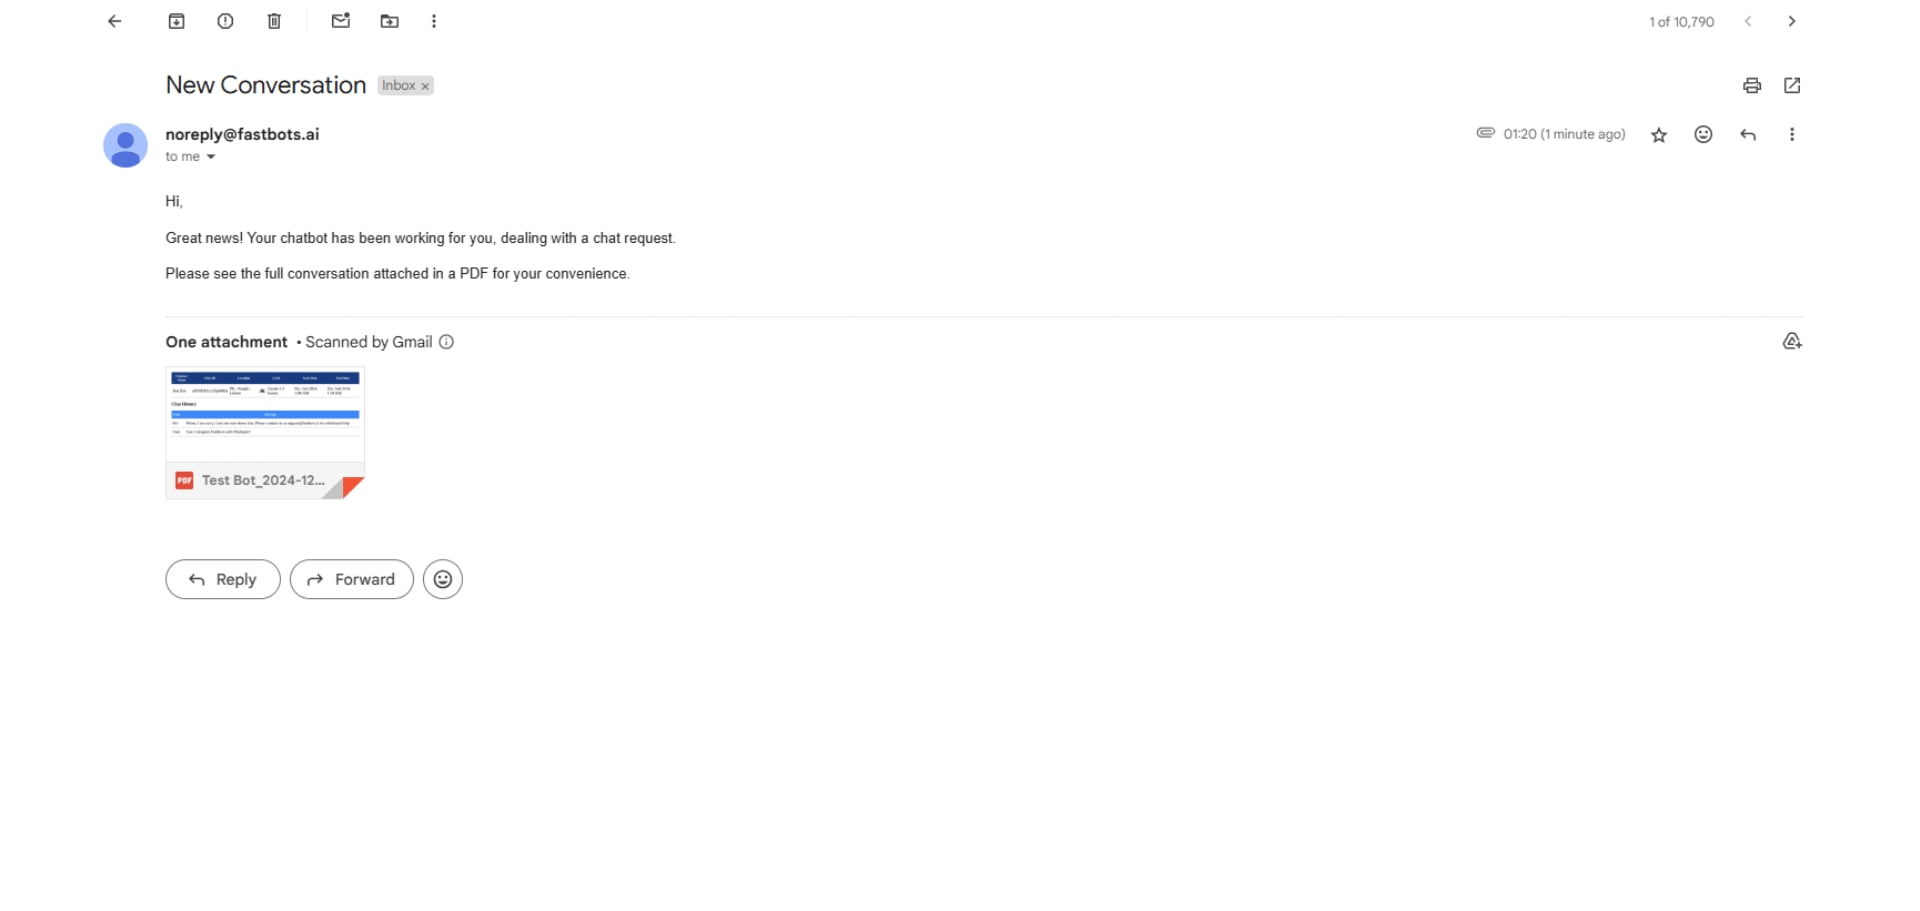
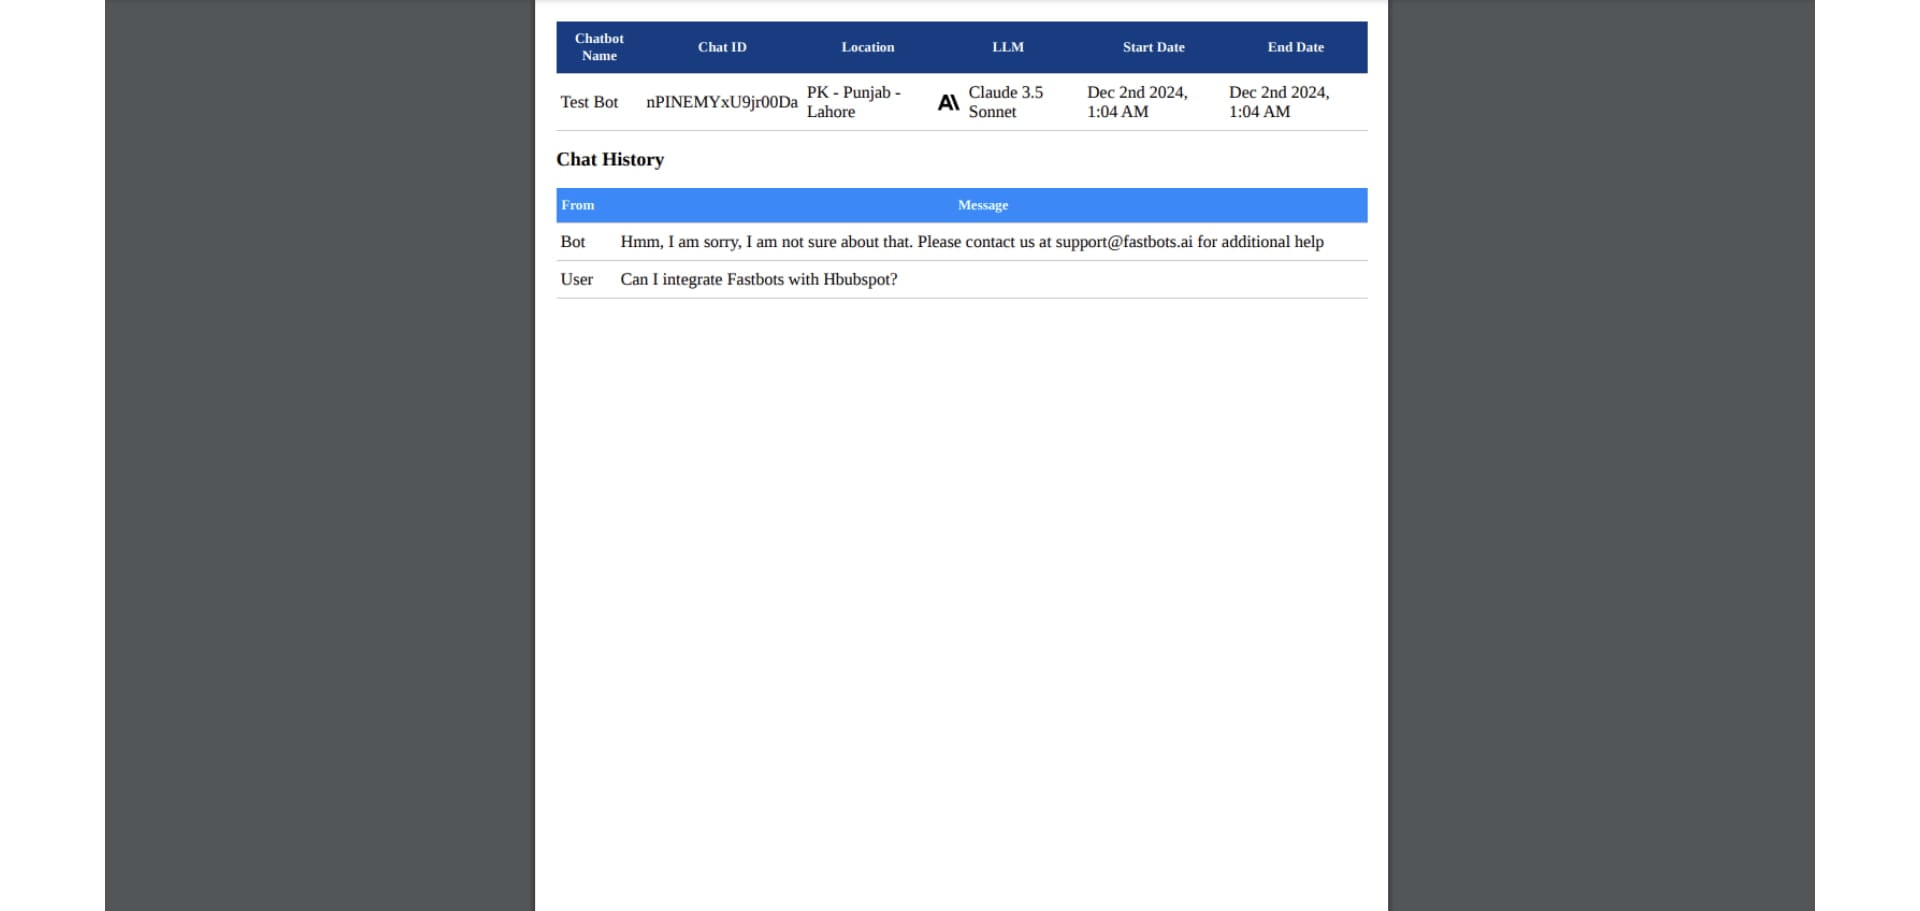
The PDF attached to the email contains the transcript of the conversation. Here is the PDF format.
If you want to resend a conversation to your email, just click on "Resend" button and it will send the conversation to your configured email.
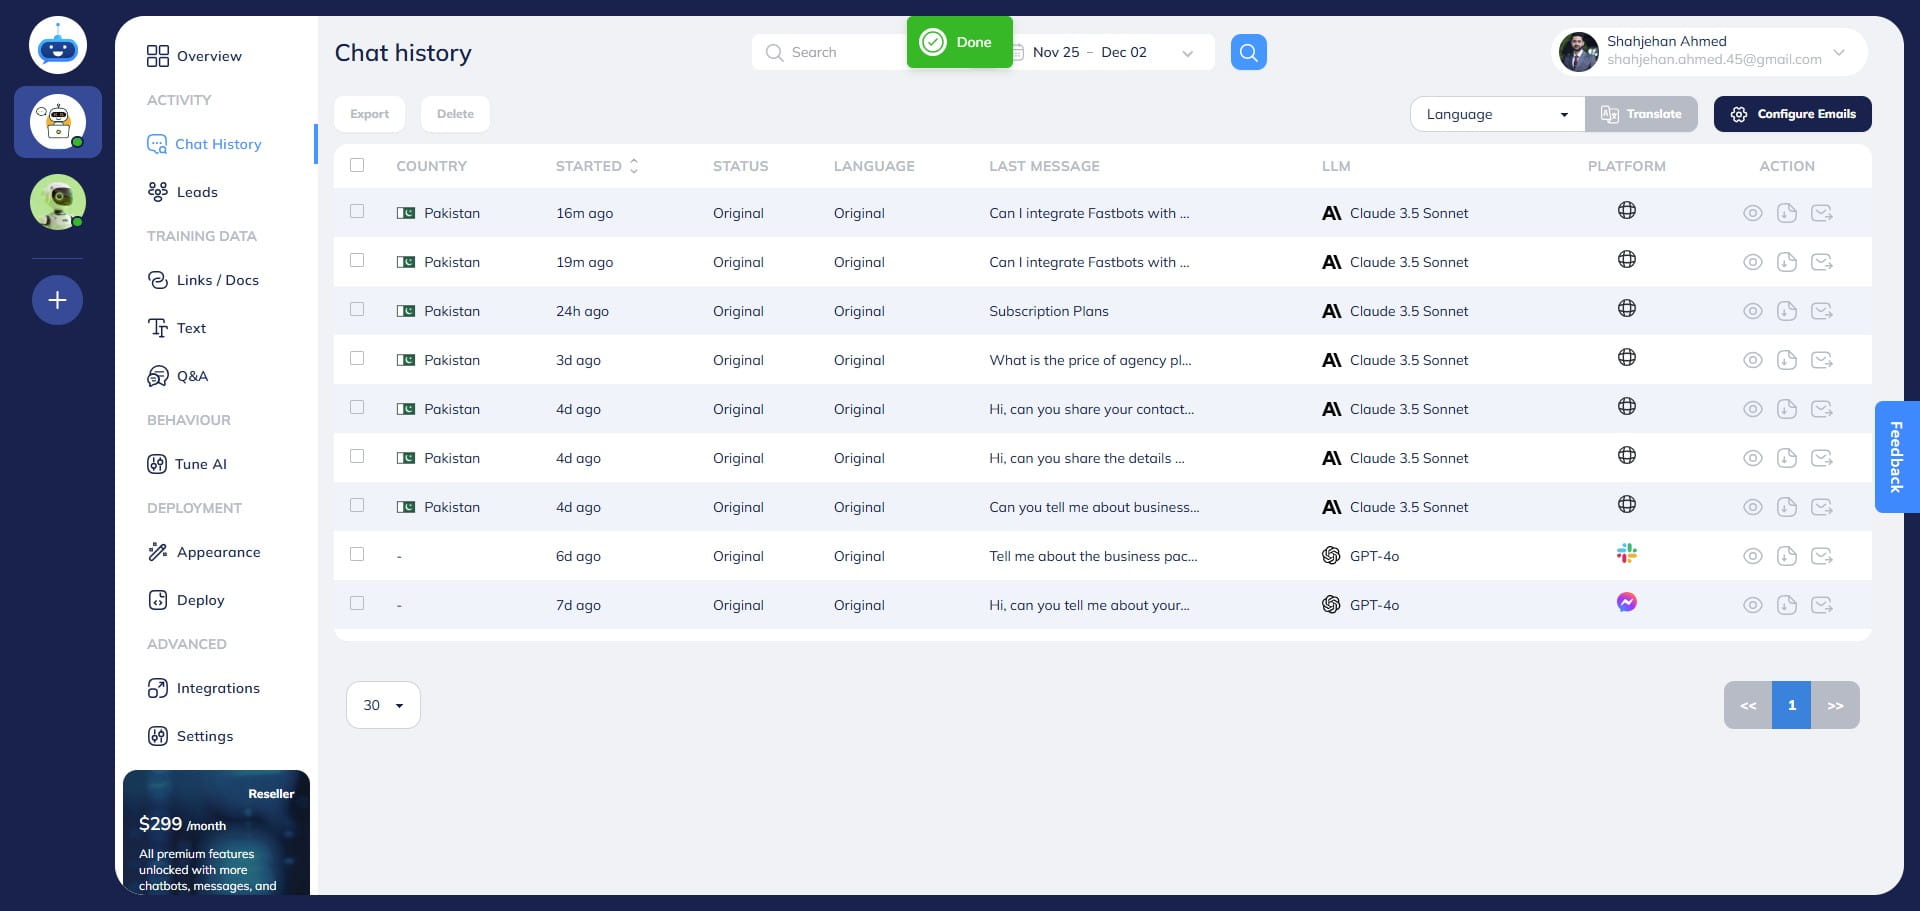
Done 🚀 You have successfully configured your email. All future conversations will be emailed to you automatically.