
How to Install Your AI Chatbot on a WordPress Website
This guide will walk you through the process of installing your chatbot on a WordPress website using the embed script code, ensuring a smooth and efficient setup.
Login to your WordPress account.
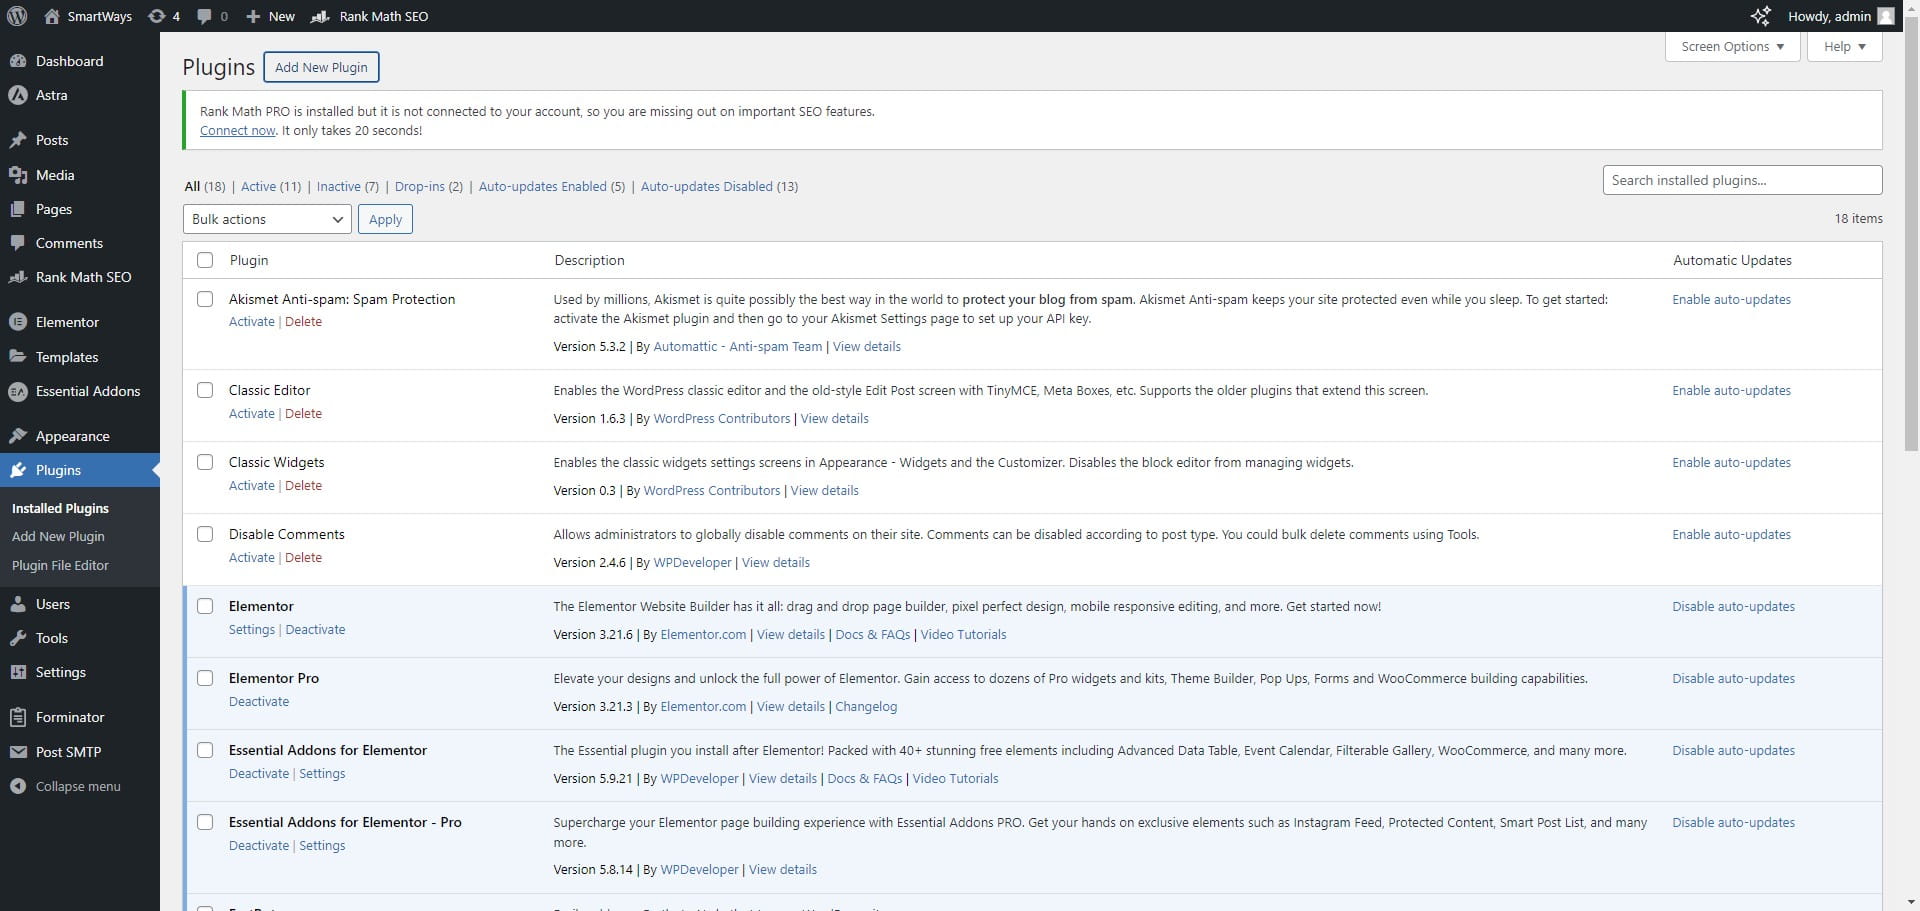
Once you are logged in to WordPress, Click on "Plugins" button
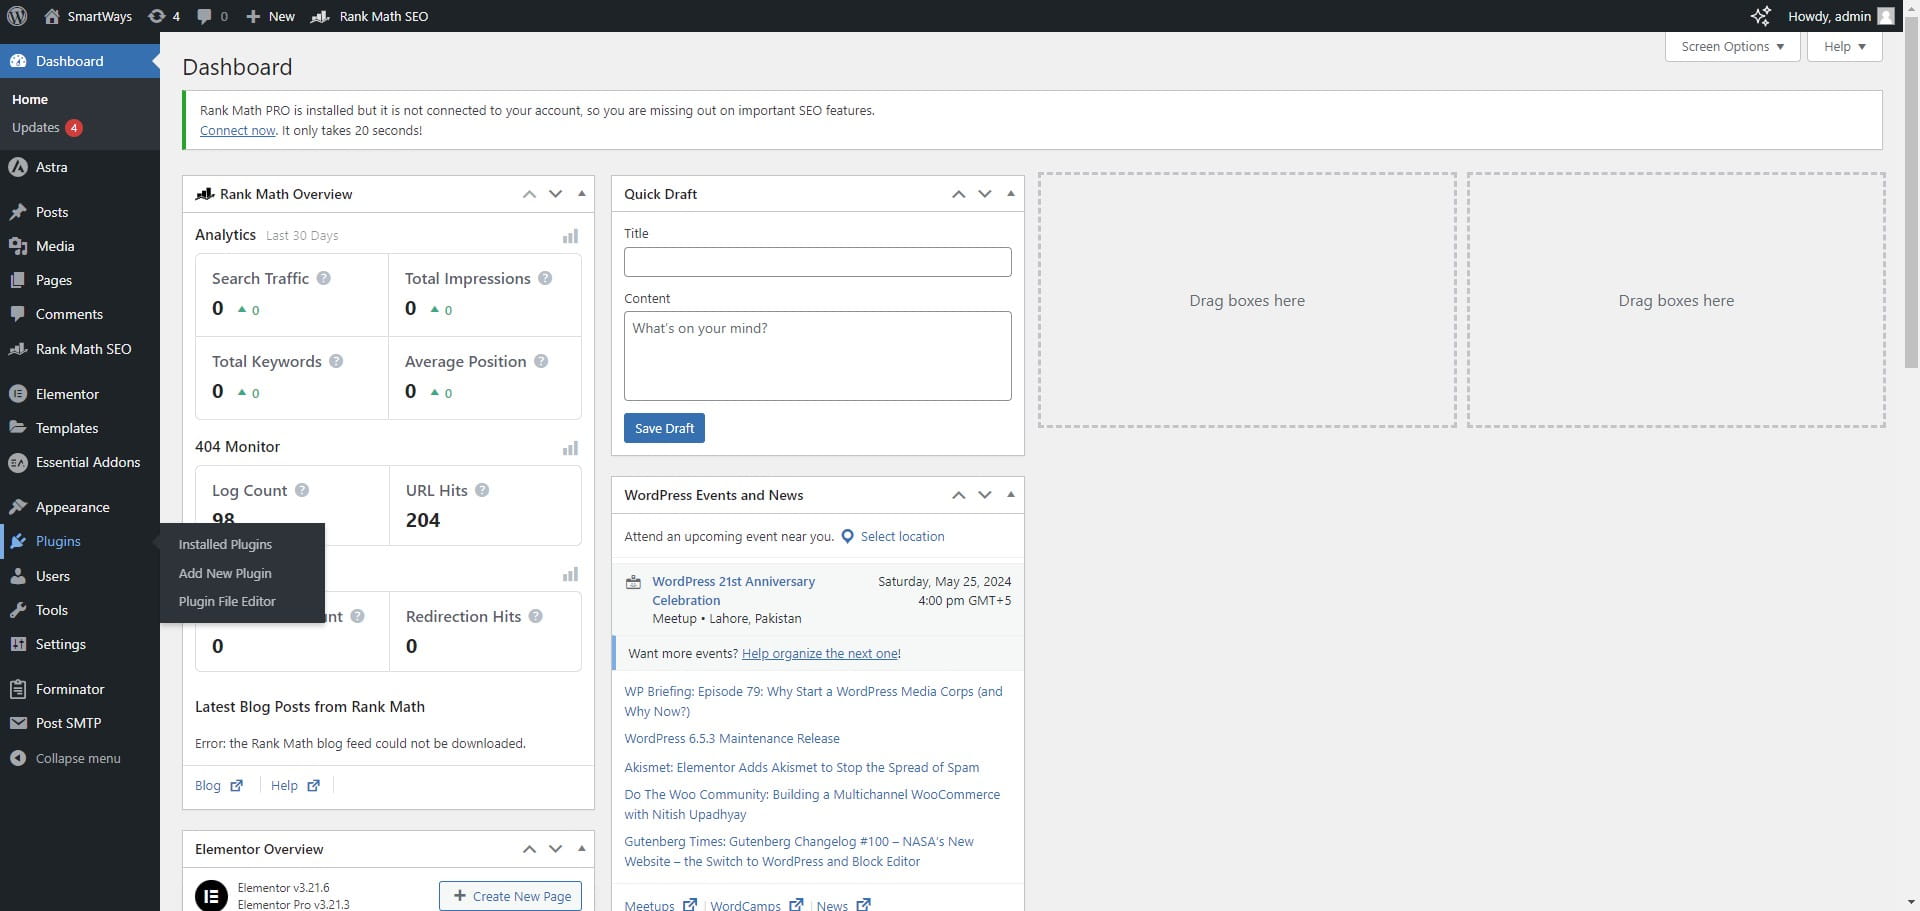
Click on the "Add New Plugin" button.
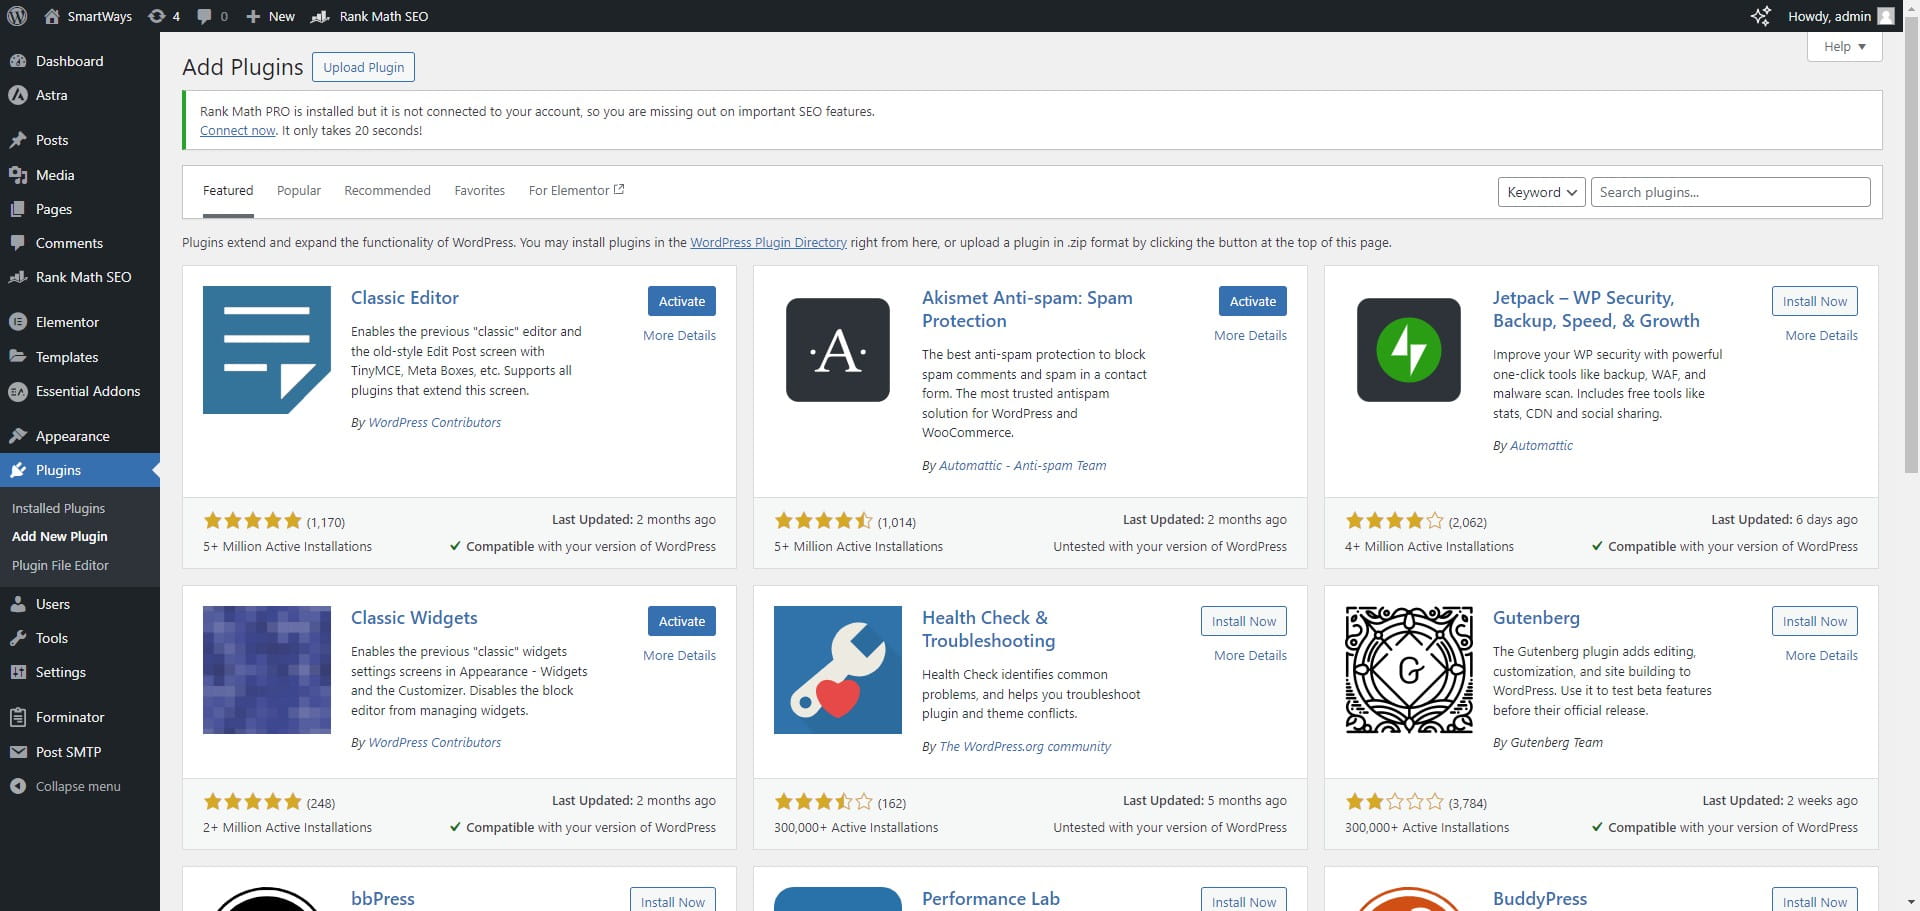
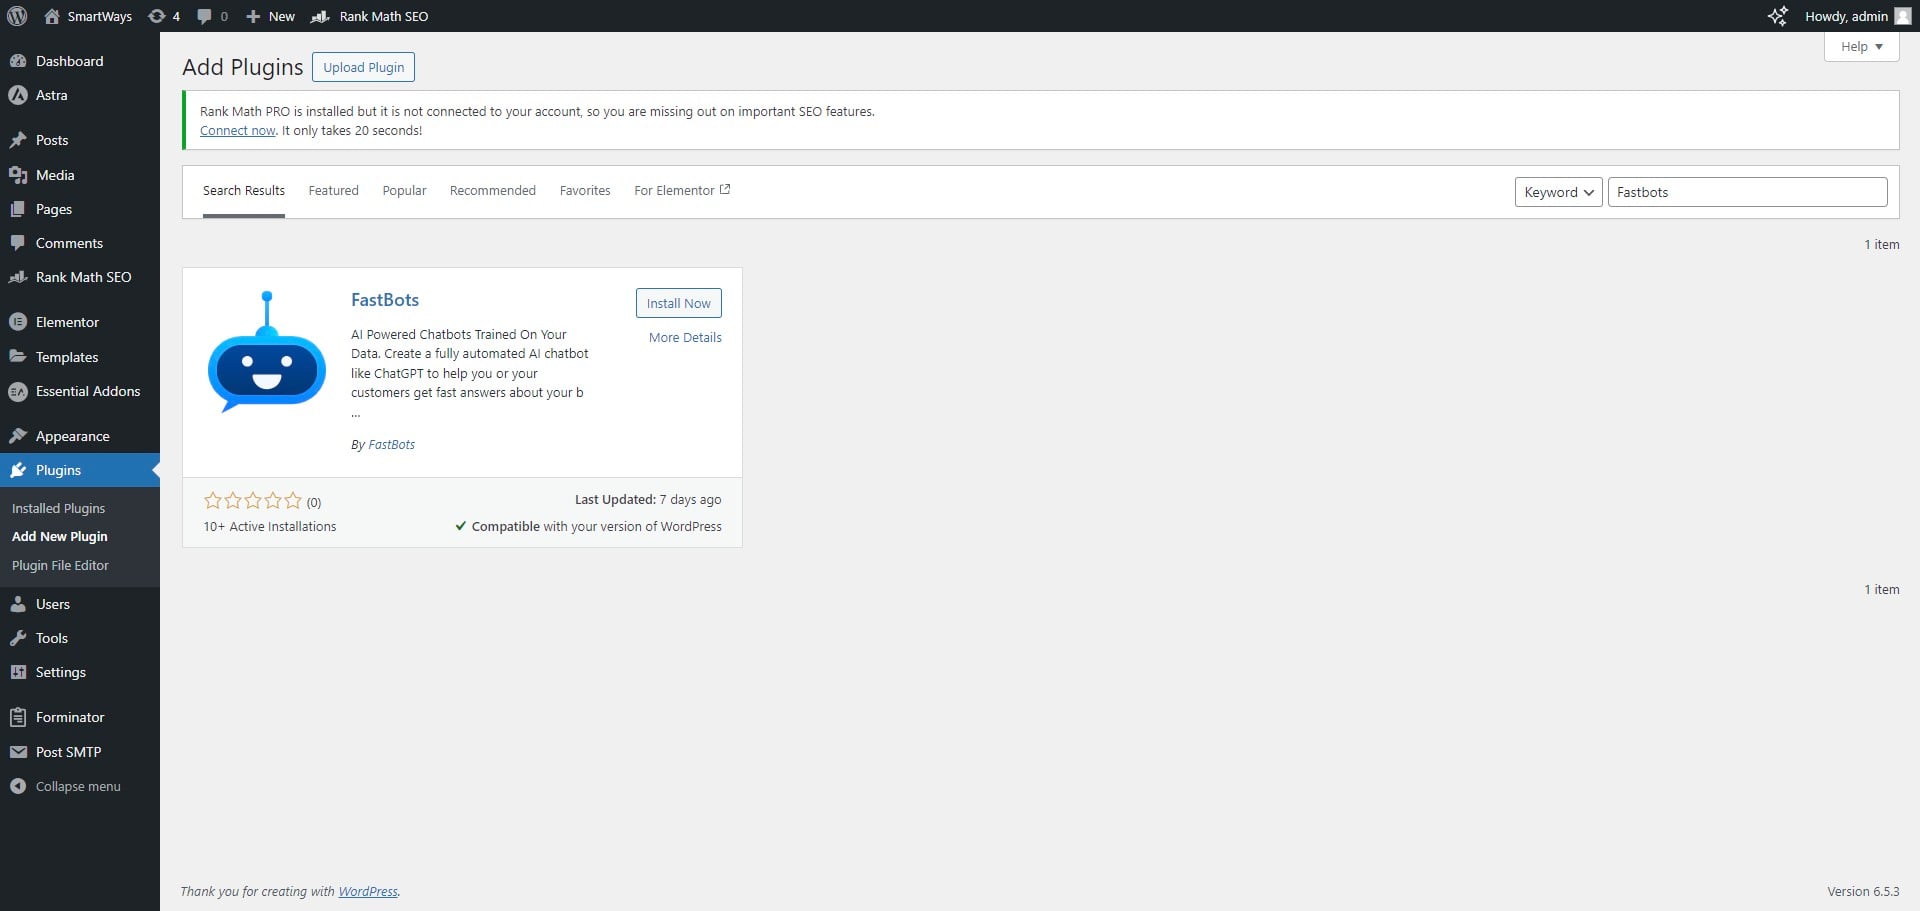
In the search bar, write "Fastbots" and click Enter.
Once you see the plugin, click on the "Install Now" button and it will install the plugin to your WordPress account.
Once the plugin is installed successfully, click on the "Activate" button to enable the plugin.

Once the plugin is activated, click on the "Settings" button.
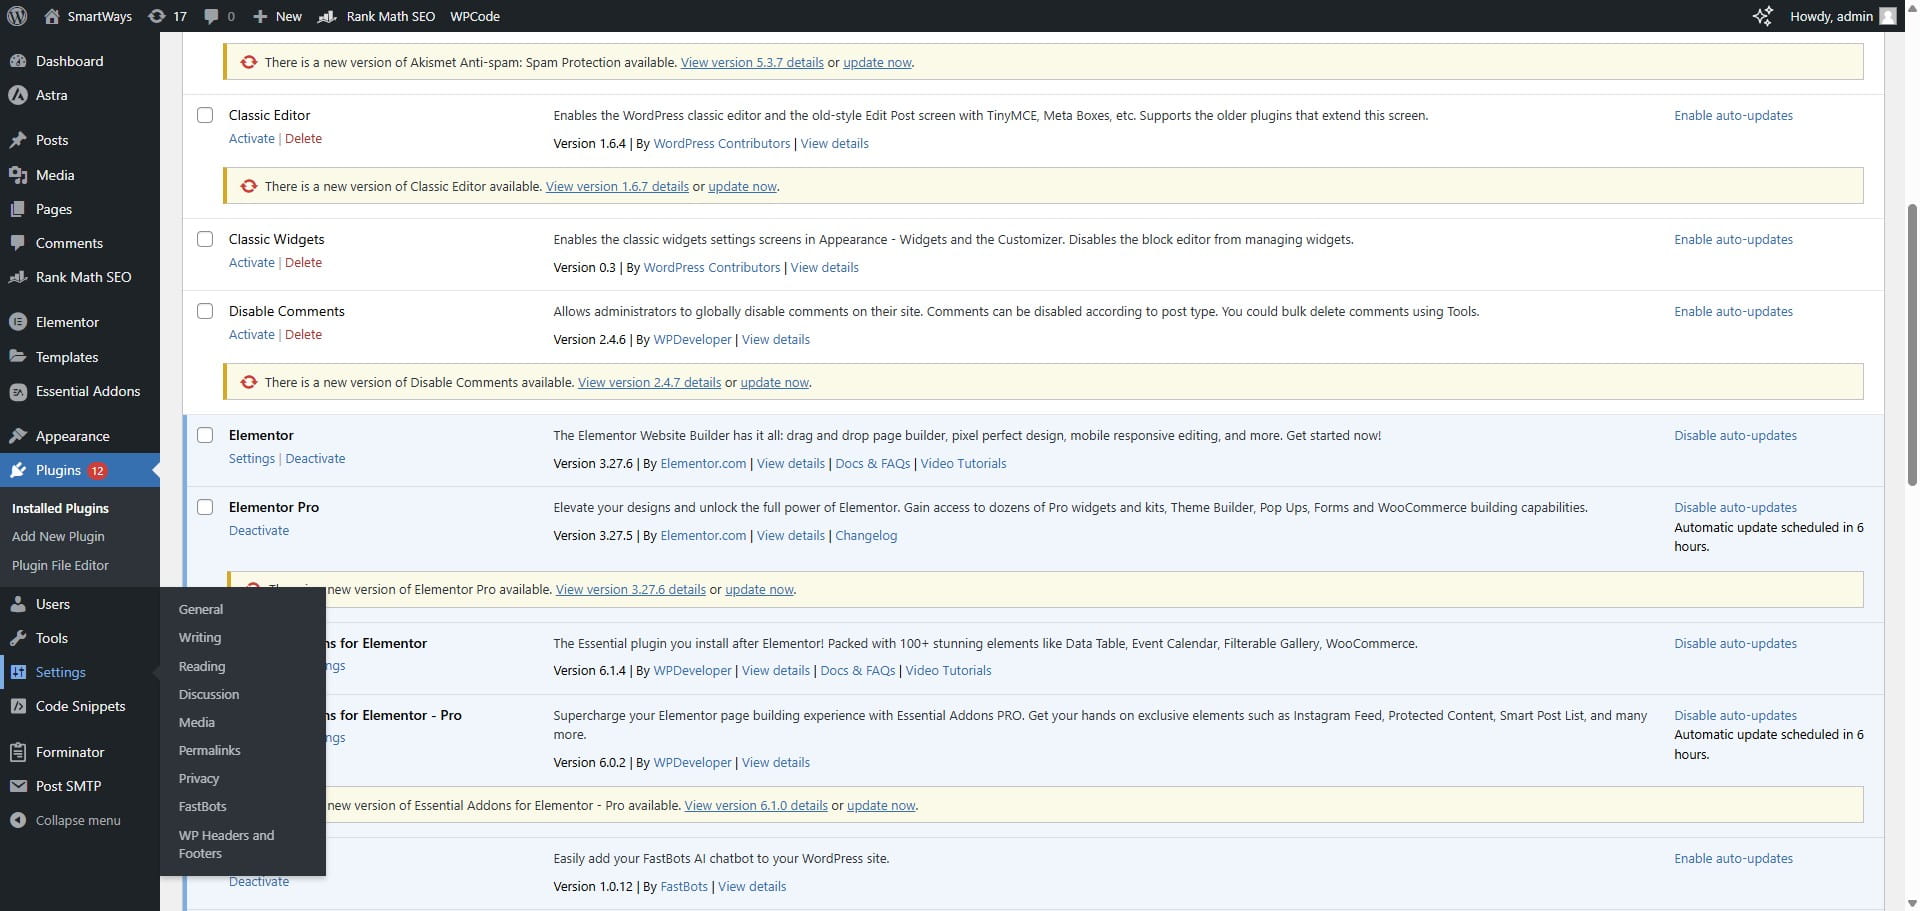
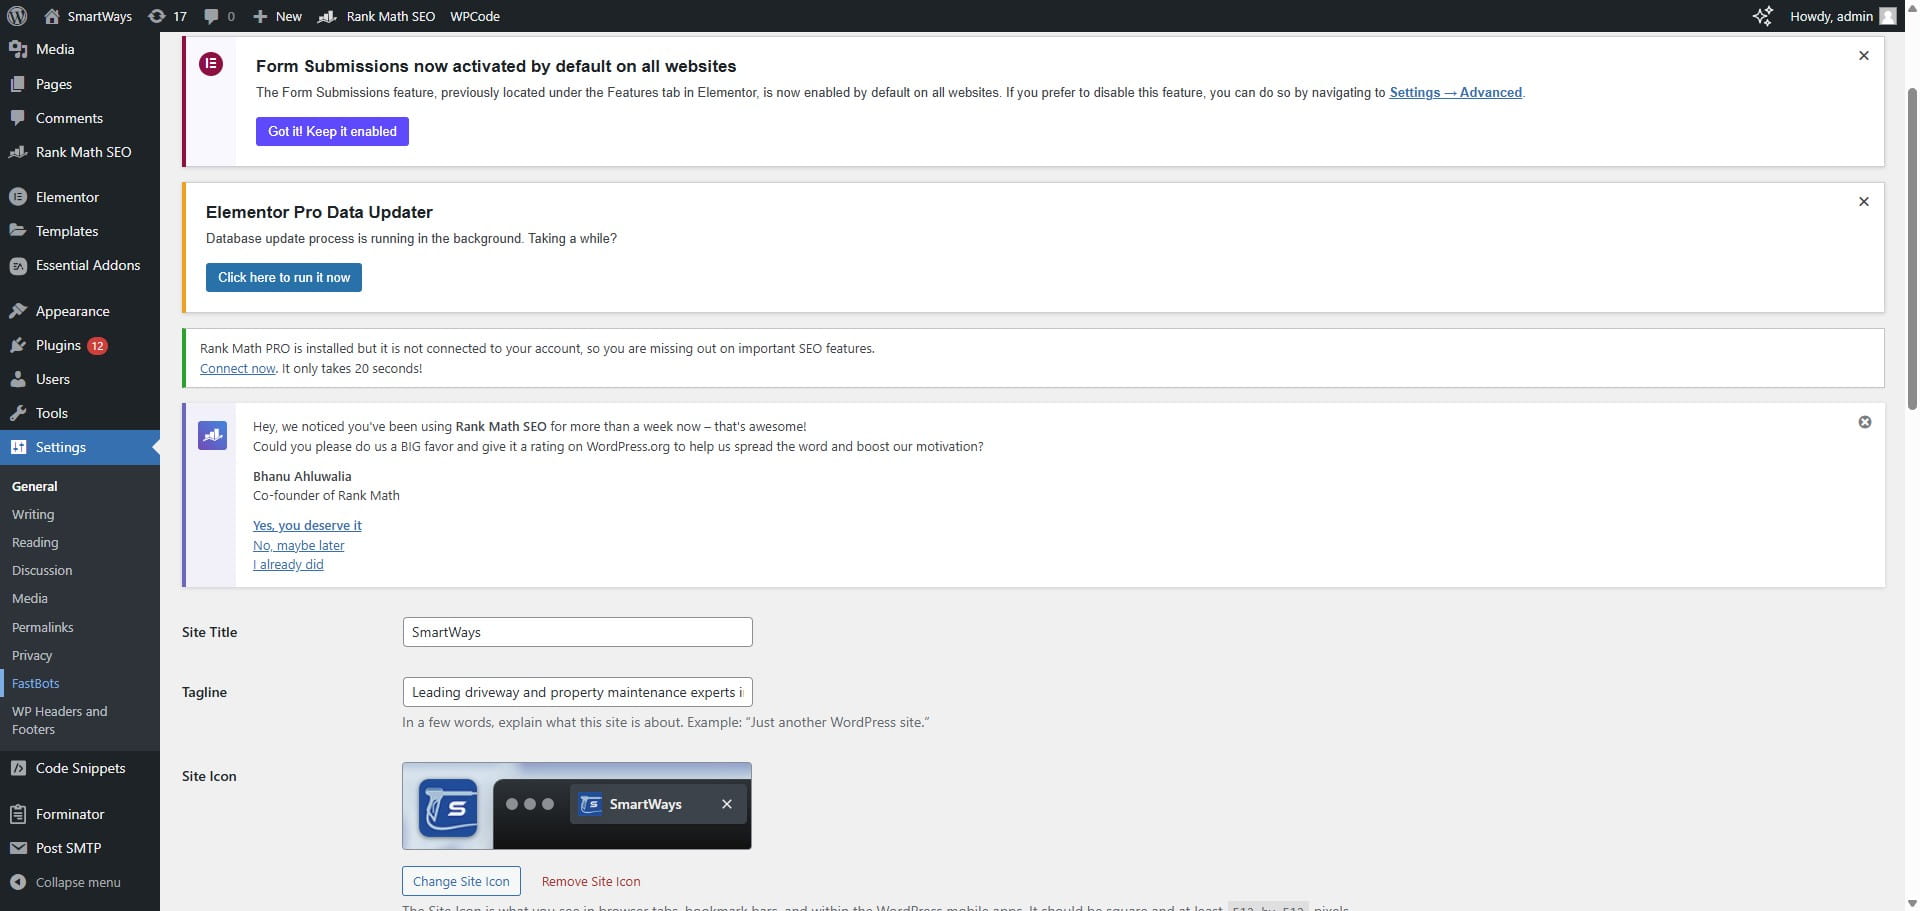
Upon clicking on the Settings button, you will see the "Fastbots" in the sub-menu. Click on it to open the installed plugin.
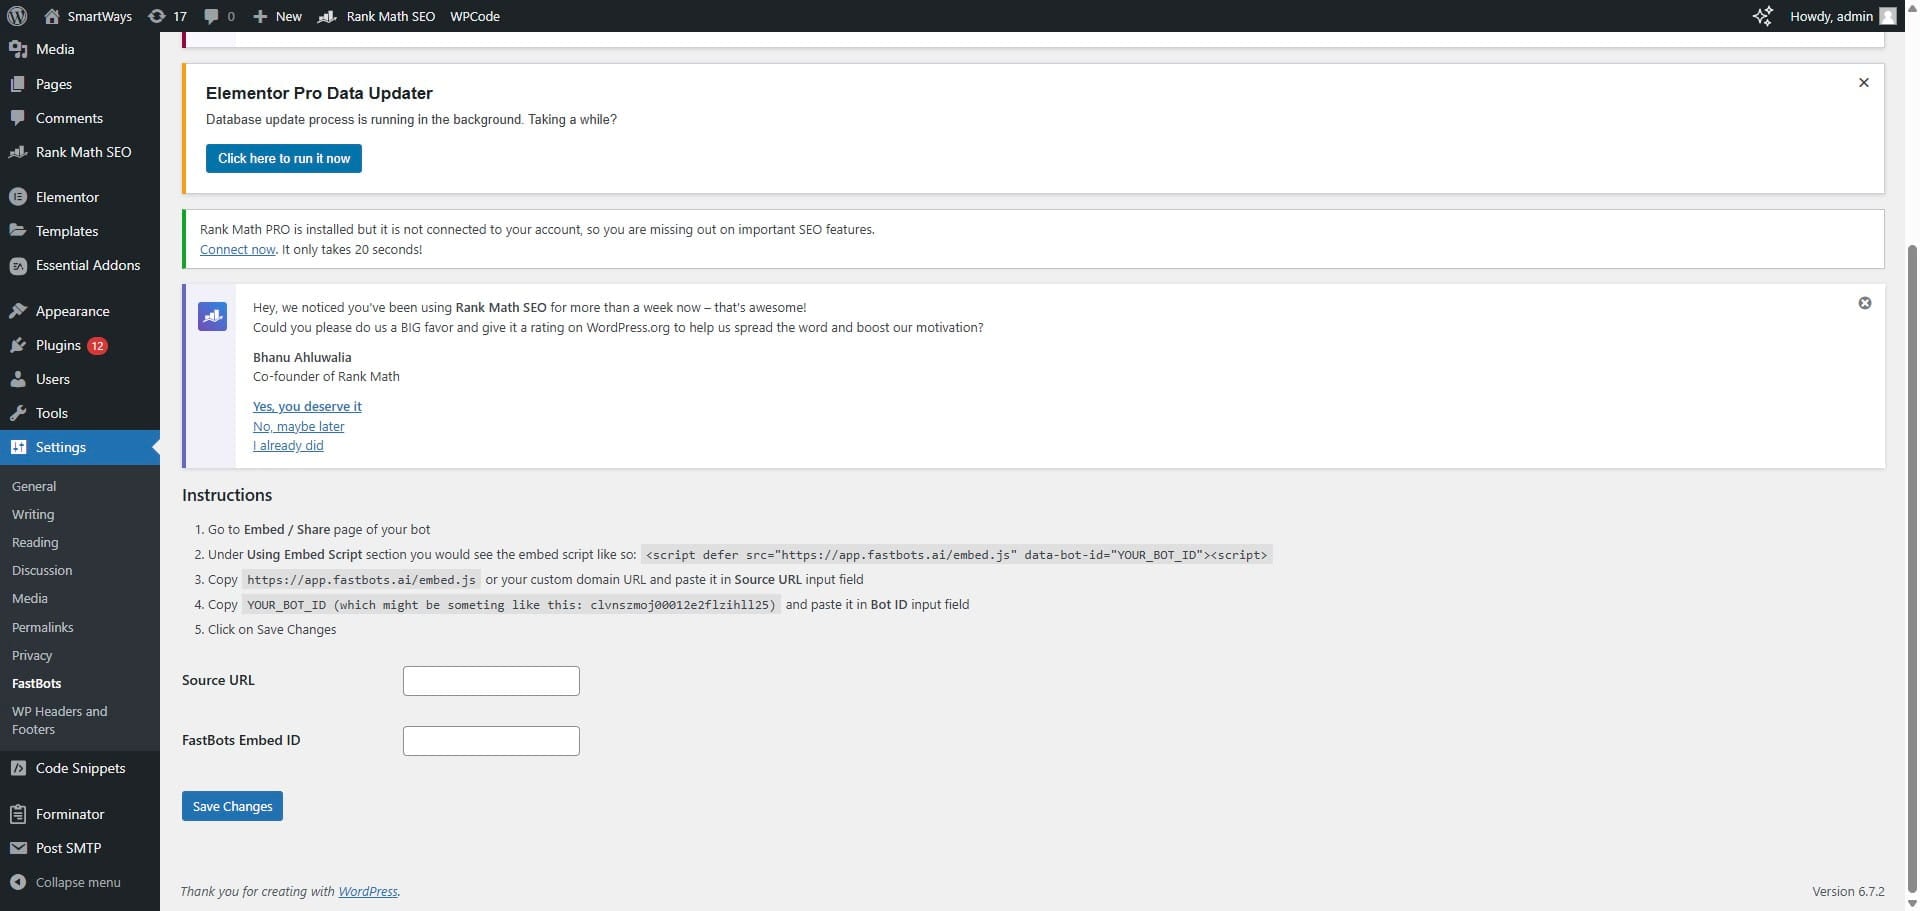
Now, on this page, we have to add the "Source URL" and the Embed ID of your chatbot. You can find it on the Deplpy page of your chatbot.
Open the Deploy page in your chatbot. This highlighted link is the "Source URL" of your chatbot. Copy this URL.

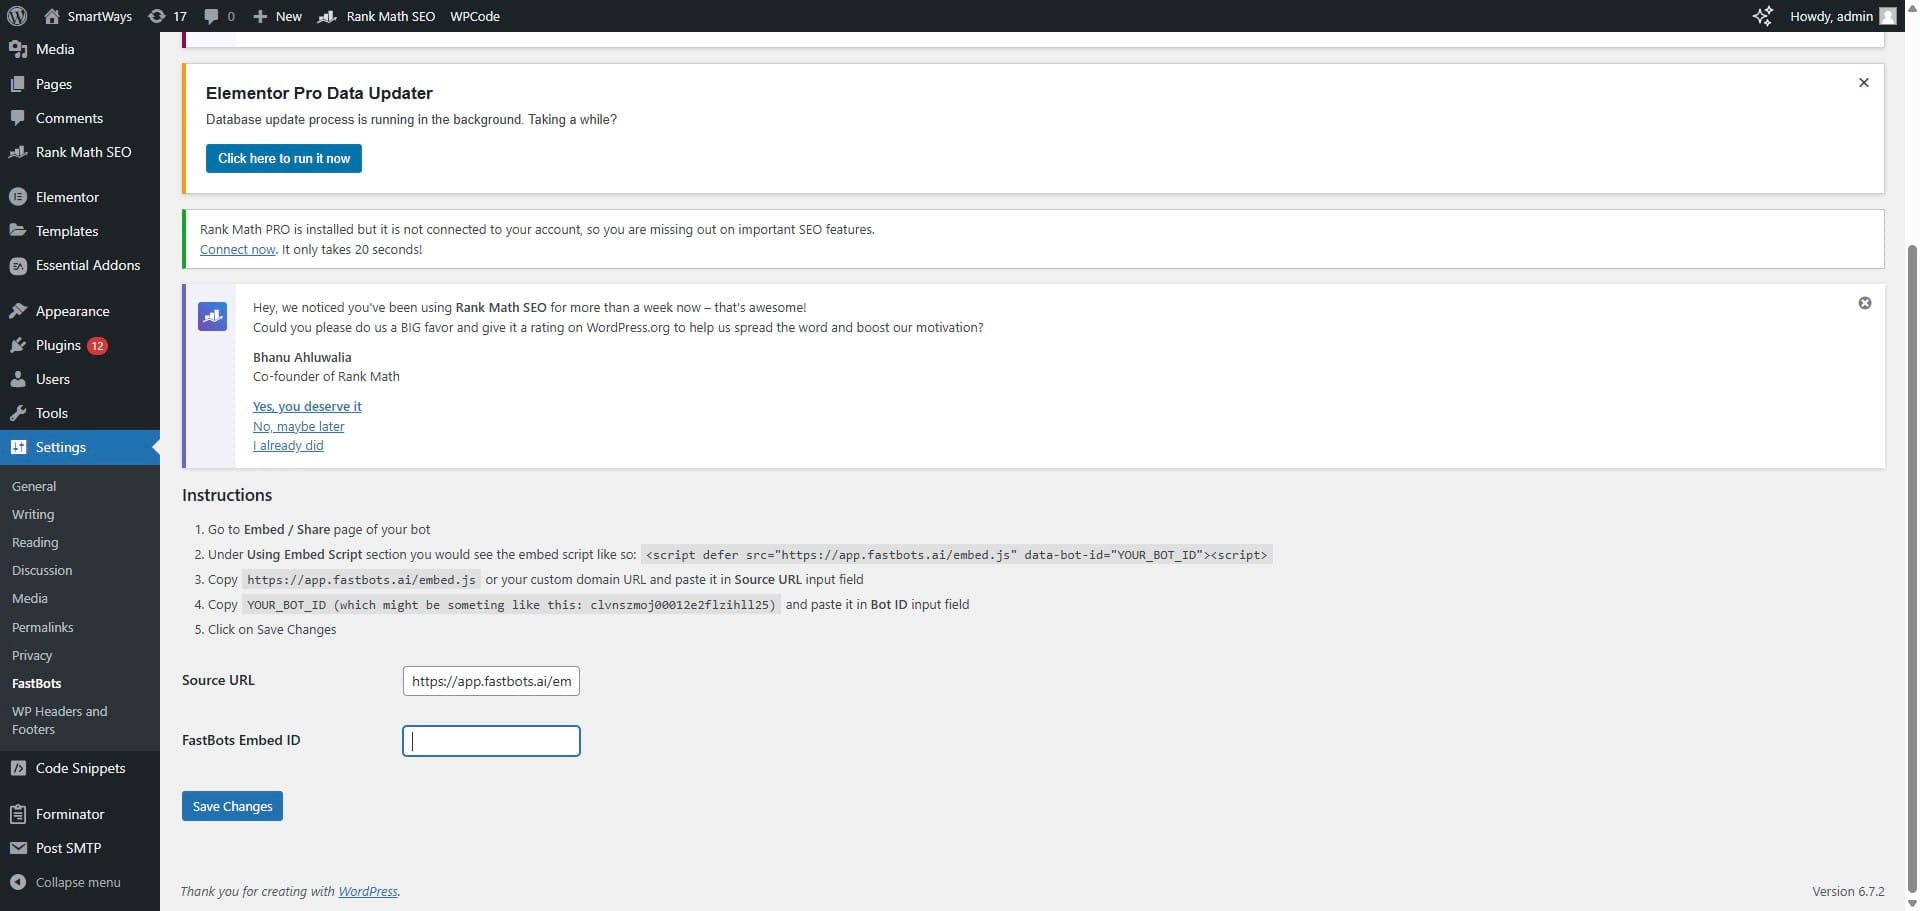
Paste it in the Souce URL field in Fastbots plugin.
Go back to your chatbot and copy the Embed ID. The highlighted key is your chatbot's embed ID. Just copy the text within the quotation marks, as shown in the screenshot below.
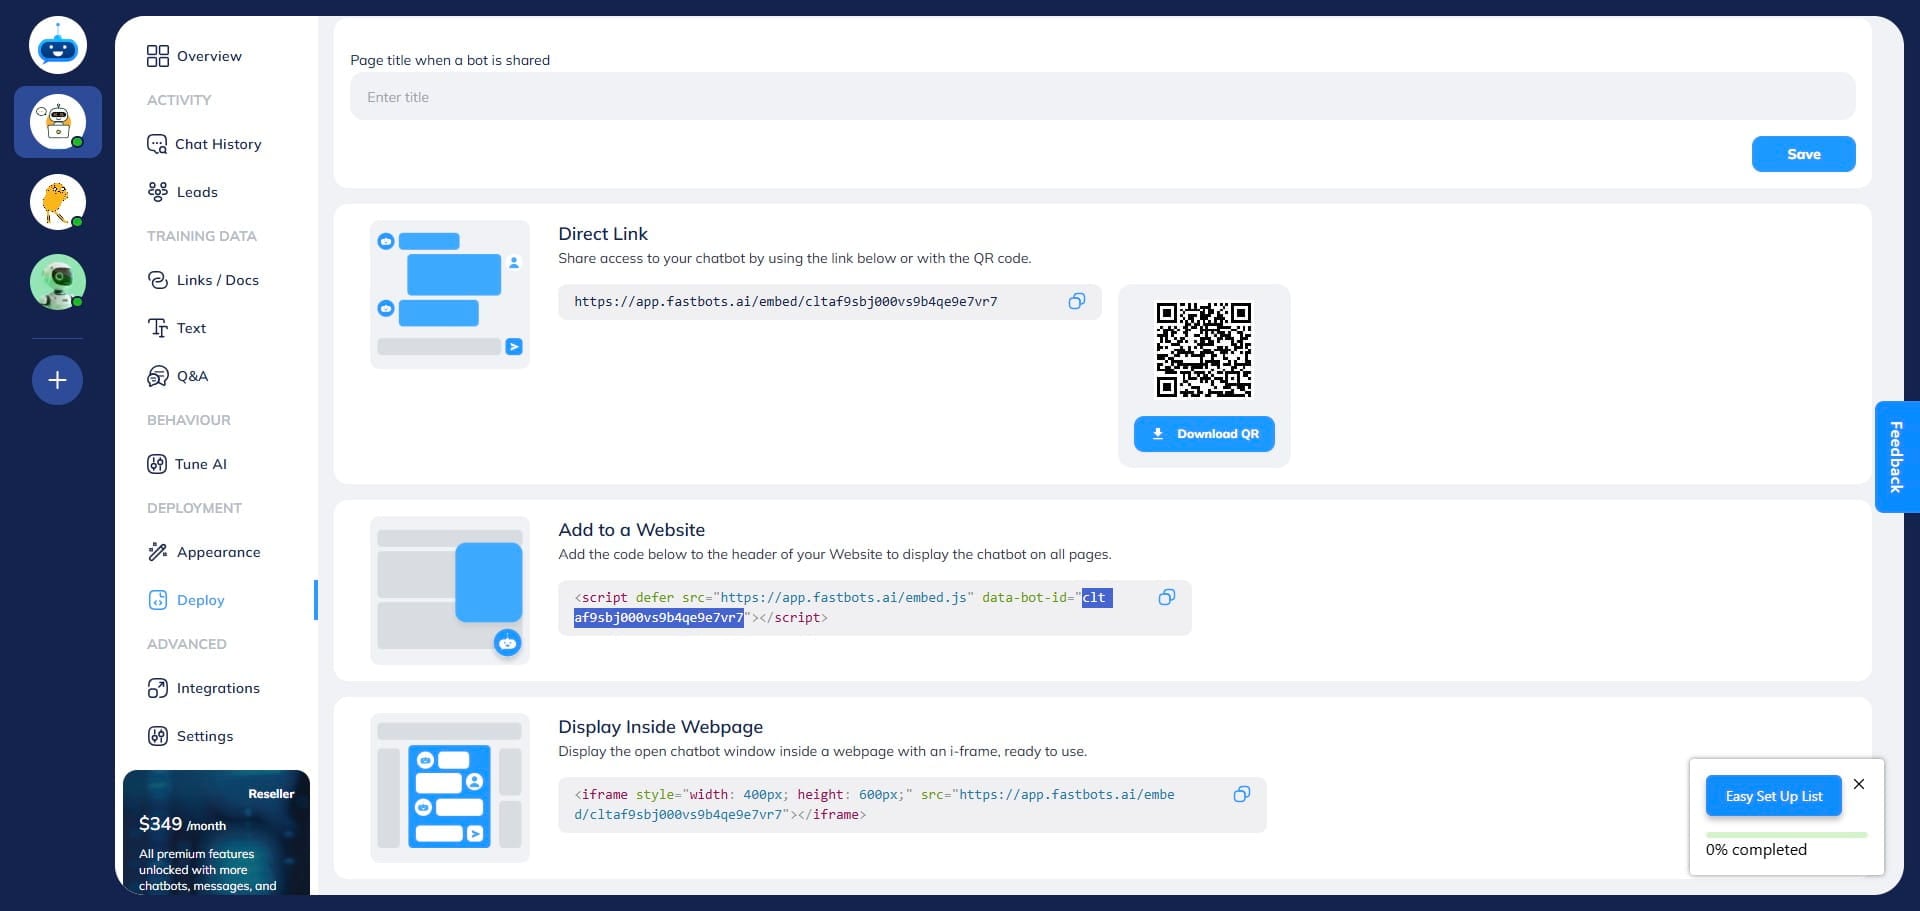
Paste it in the Fastbots Embed ID field in the Fastbots plugin.

After pasting the embed ID, click on the "Save Changes" button.
Your chatbot is now installed and active on your WordPress website. Done 🚀