
How To Connect Fastbots with WhatsApp
This training guide offers a step-by-step process for integrating Fastbots with business WhatsApp. Once the chatbot is connected to WhatsApp, it will automatically begin responding to inquiries, enhancing customer engagement and support.
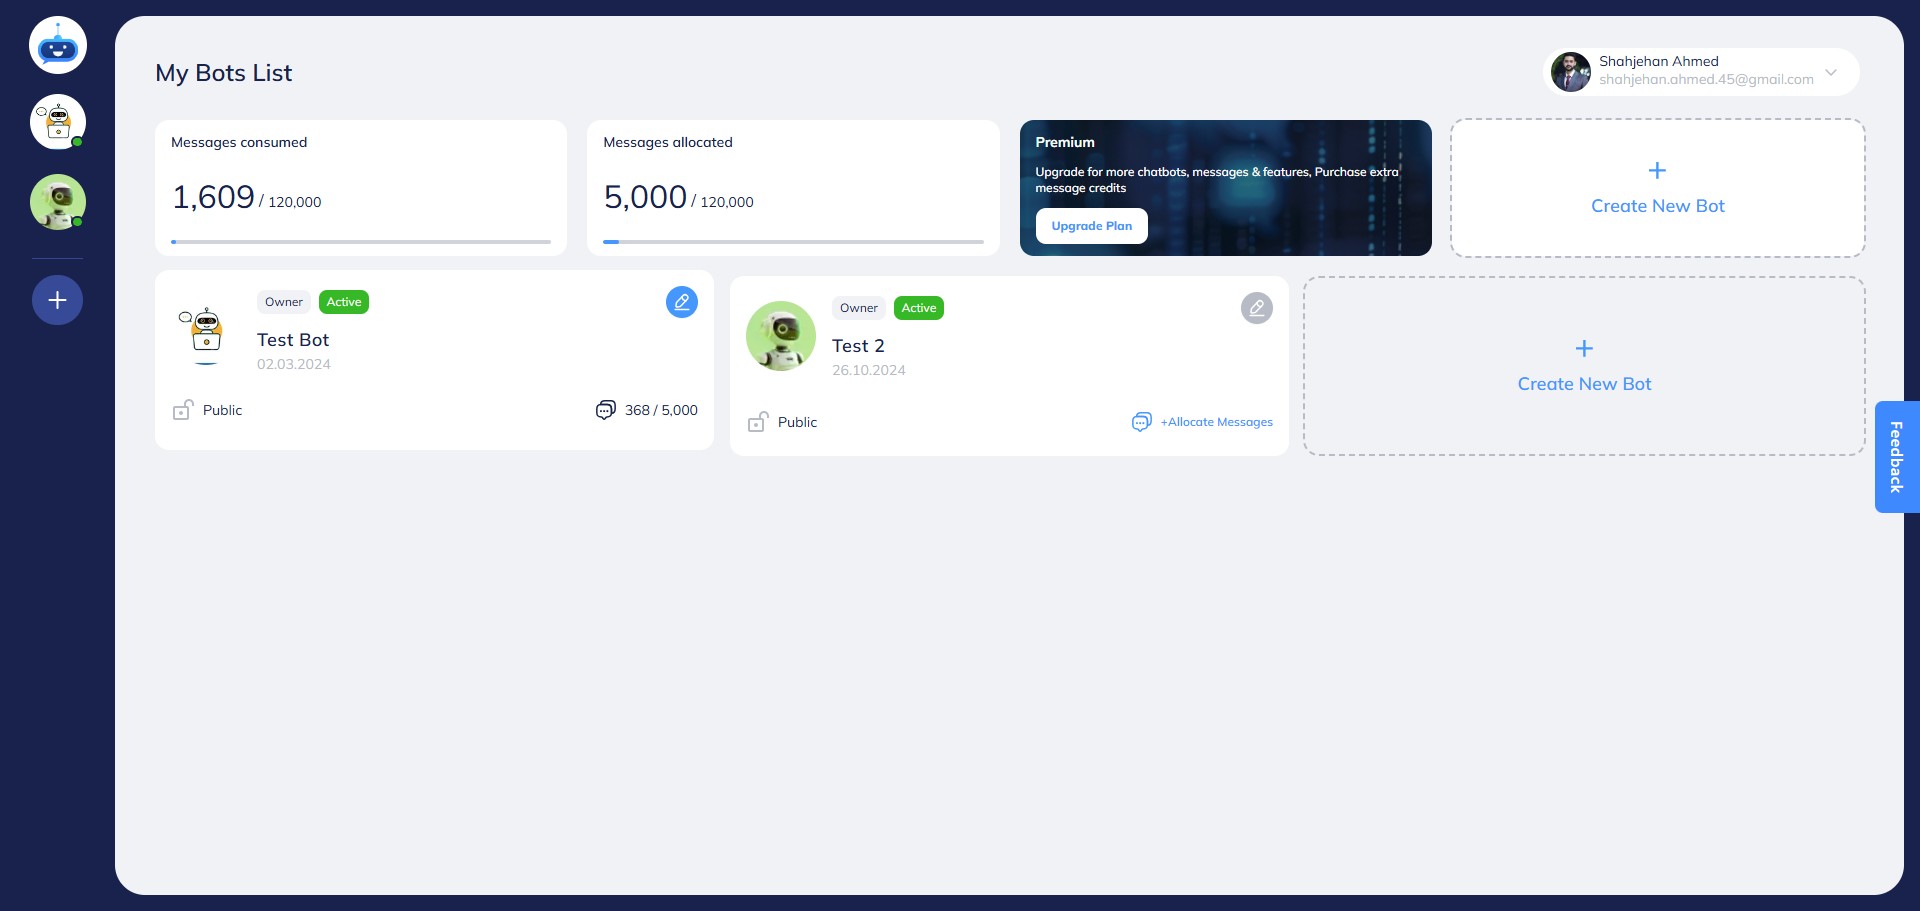
Navigate to https://app.fastbots.ai/
📘 WhatsApp Integration – What You Need to Know
FastBots lets you connect your chatbot directly to WhatsApp so your customers can chat with your AI assistant through your business WhatsApp number.
Once connected:
- The AI chatbot automatically replies to incoming WhatsApp messages.
- Customers can chat naturally, just like they do on your website chatbot.
⚙️ What’s required to connect WhatsApp
To use WhatsApp with FastBots:
- You’ll need a Meta (Facebook) Business Account.
- Simply log in with your Facebook credentials during setup inside FastBots — this securely connects your WhatsApp Business Account through Meta’s official platform.
- You must use a new or unused phone number for this integration.
Important:
You can’t use an existing WhatsApp number that’s already connected to the WhatsApp or WhatsApp Business app. Meta requires that the number be registered exclusively for API access.
🚫 What you can’t do (limitations set by WhatsApp)
Because the WhatsApp Business API works differently from the normal WhatsApp app, there are a few restrictions to keep in mind:
- You can’t use the WhatsApp mobile app with the same number after connecting it to FastBots. That number will only work through FastBots.
- You’ll lose your old WhatsApp chat history when switching to the API. If you’d like to keep it, export your chats first using WhatsApp’s “Export Chat” option.
- You won’t see WhatsApp chats in your phone app — all conversations happen through FastBots.
- WhatsApp messages can’t display forms or buttons like website chatbots do. Lead capture is handled through a short question-and-answer conversation (for example: “What’s your name?” → “What’s your email?”).
- Zapier and Make automations don’t currently trigger on WhatsApp events (they only work for website chat right now).
- Rate limiting and “cool-down” controls aren’t active on WhatsApp yet.
- The chatbot cannot yet hand over WhatsApp chats to a human agent or alert your Live Chat inbox when a user requests one — this feature is still in development.
💡 What’s coming soon
Our team is working on:
- Live chat handover for WhatsApp, allowing human agents to take over chats from the AI directly inside the FastBots inbox.
- Rate-limit control, to manage message frequency.
- Expanded Zapier/Make support for WhatsApp messages and lead data.
Open your chatbot.
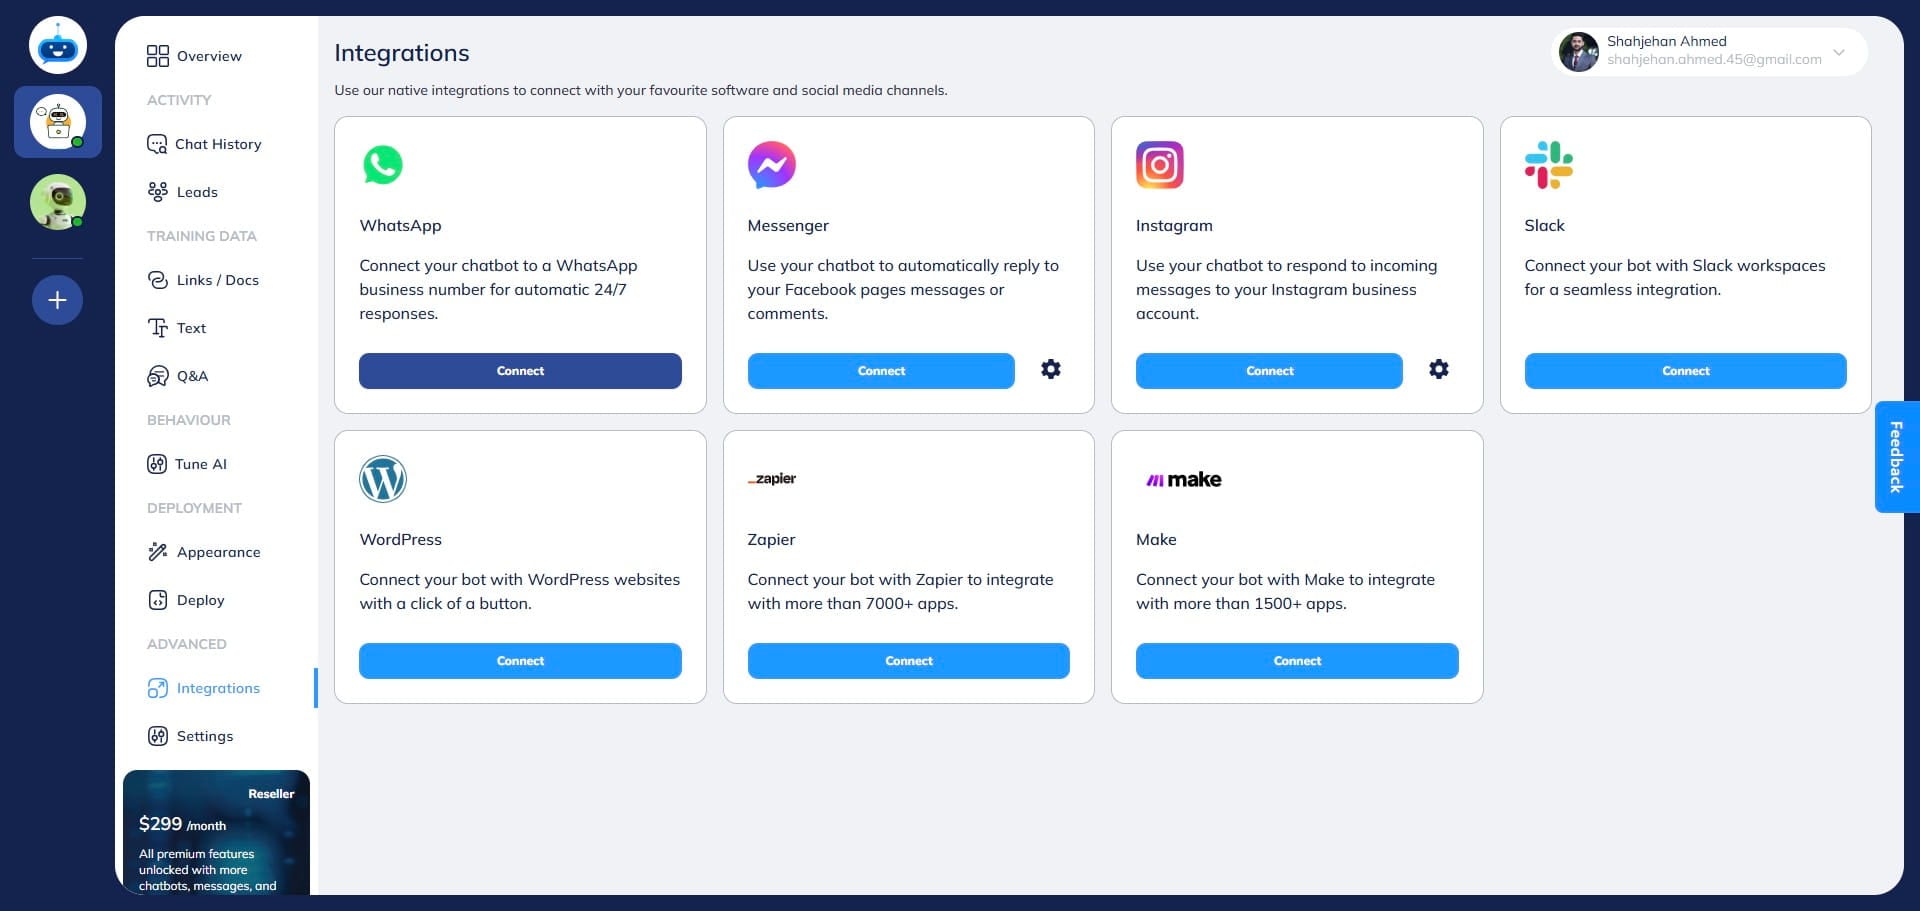
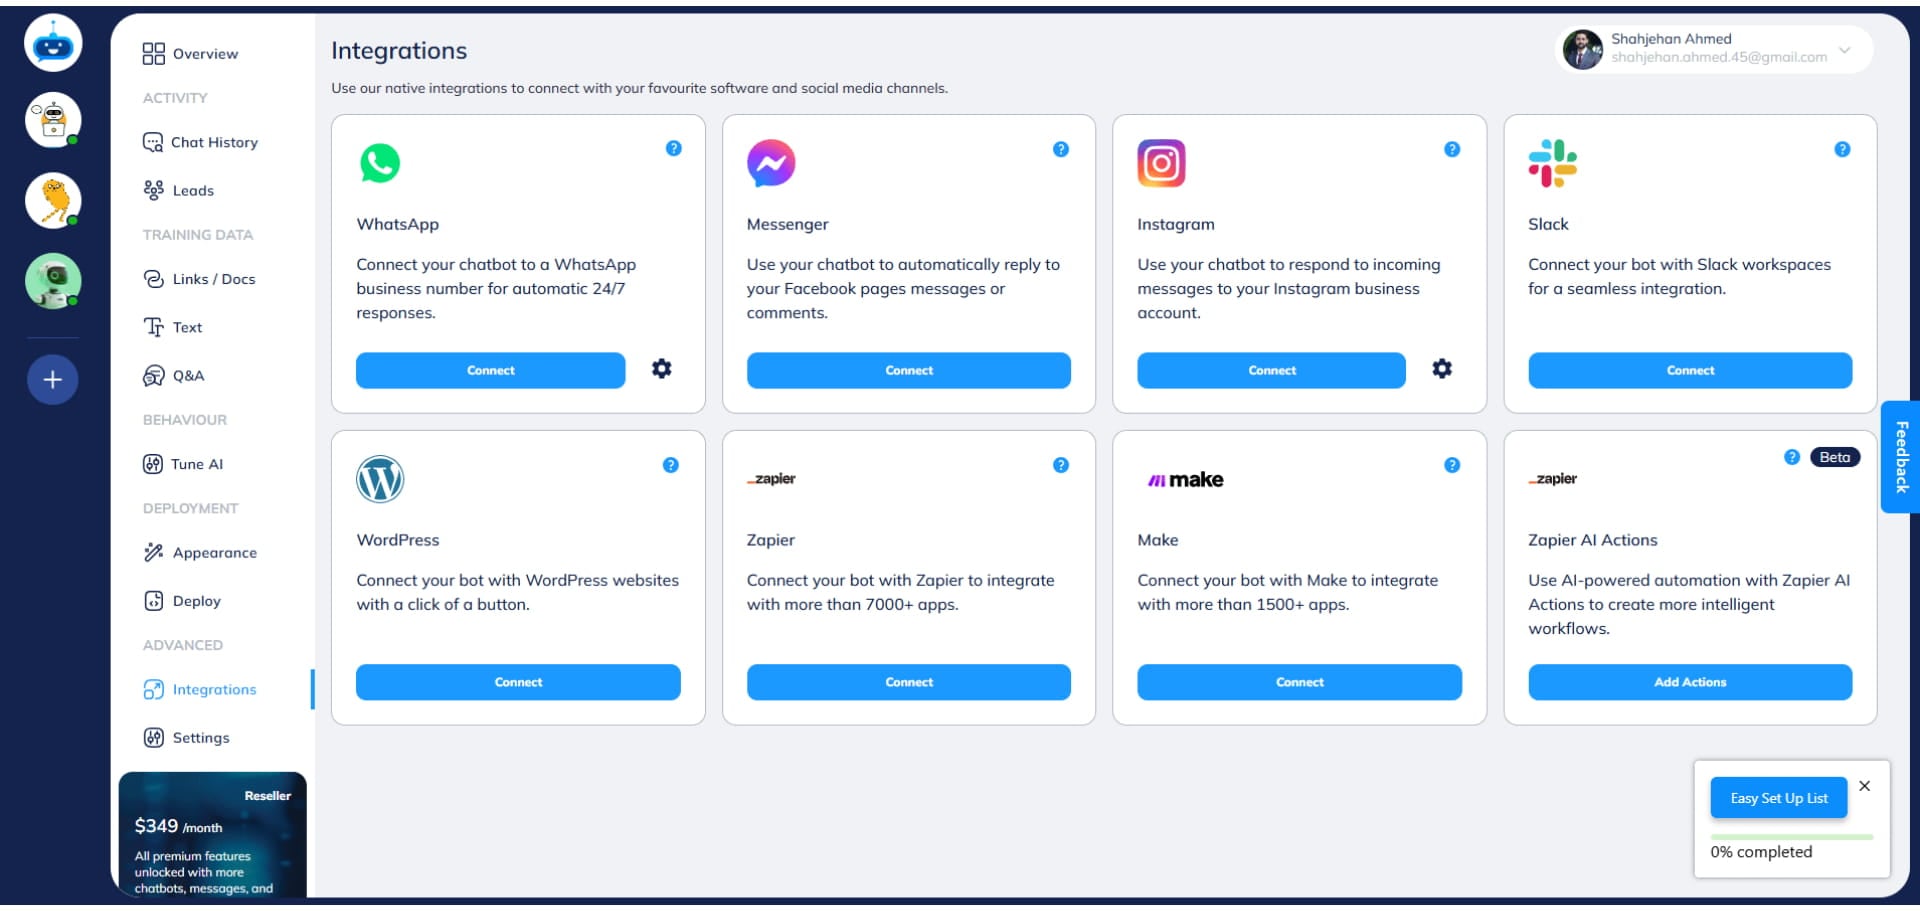
Click on "Integrations"
Click on the "Connect" button under the WhatsApp option. It will open a new pop up window.
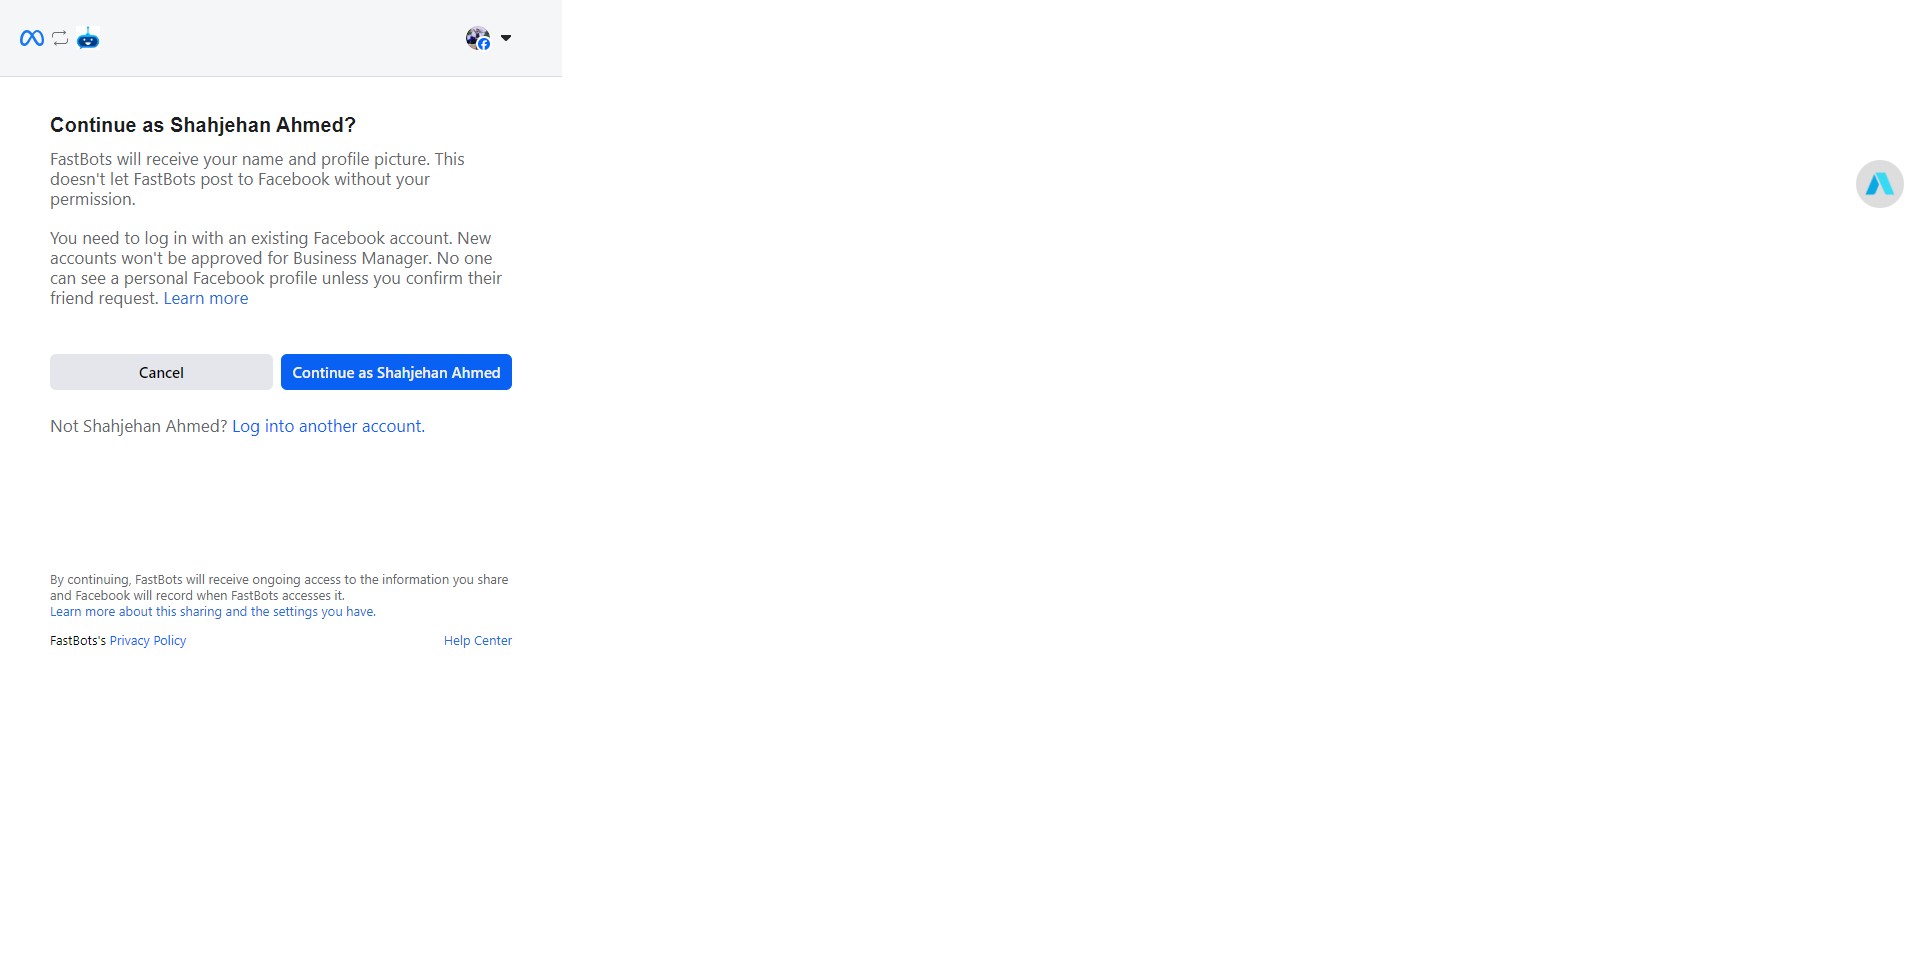
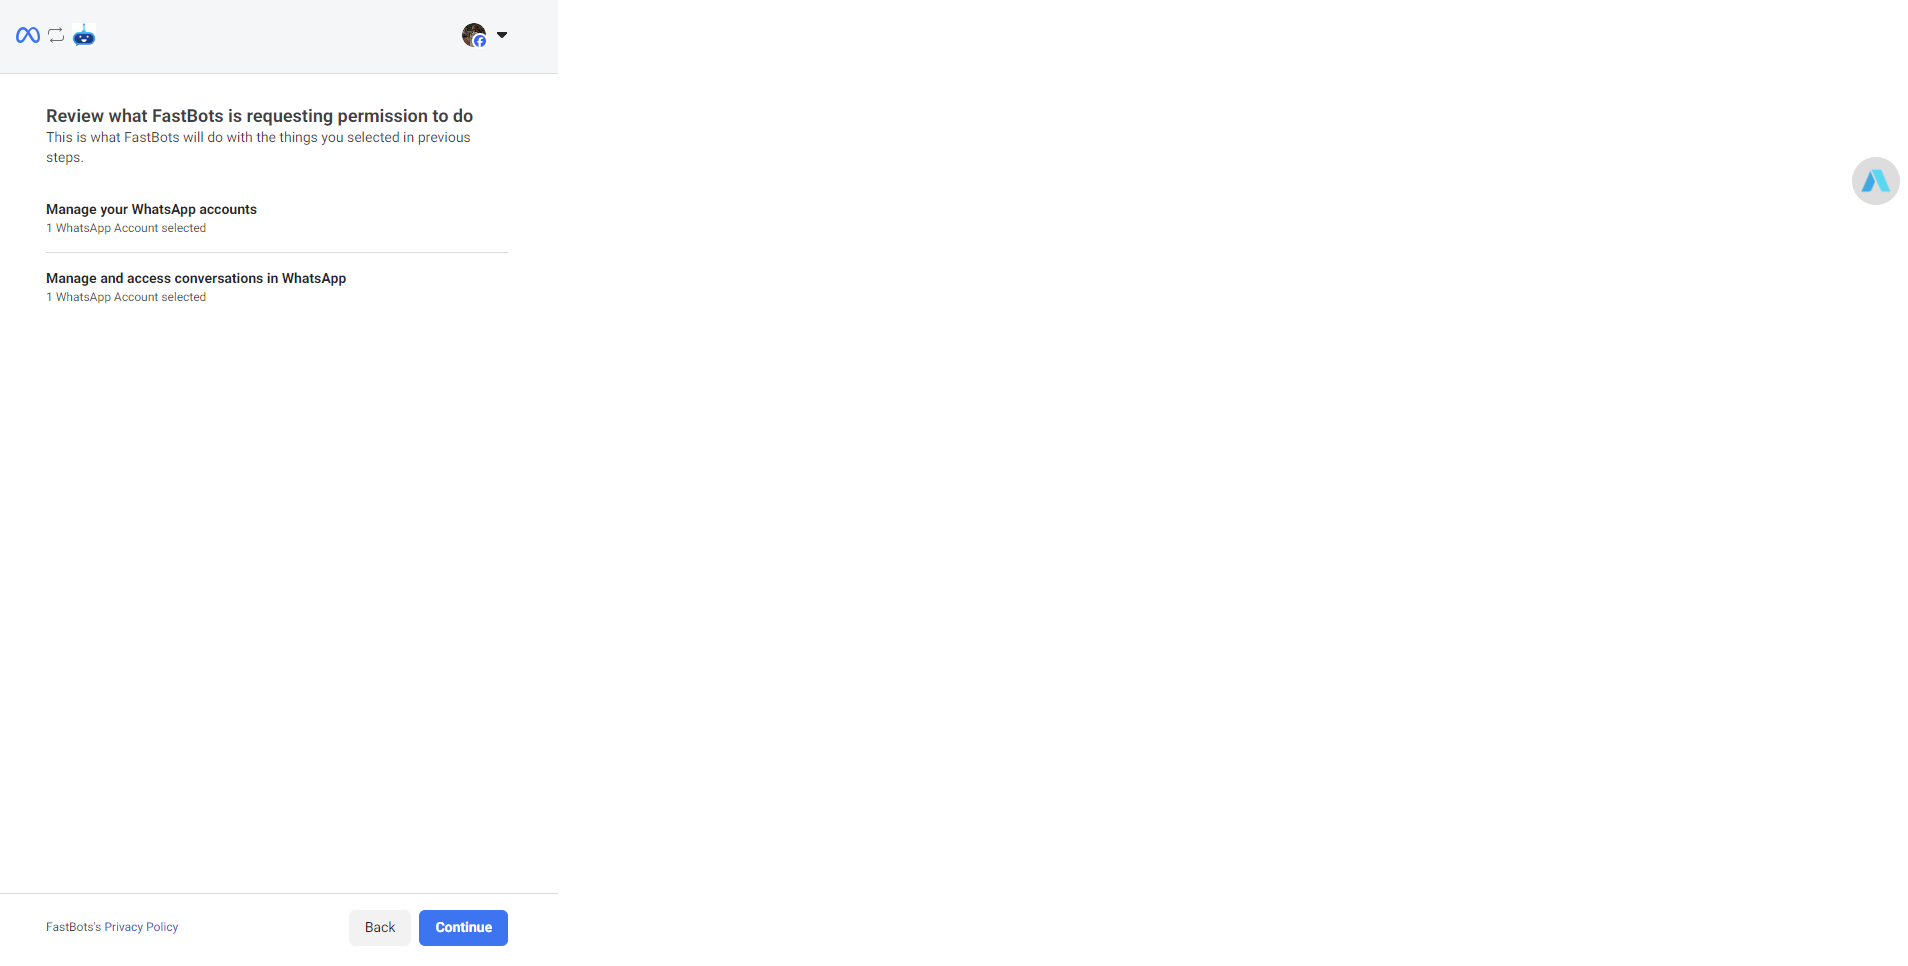
The first step is to connect your Facebook account. So add your Facebook account credentials and click on continue.
Click on "Get Started"

When integrating WhatsApp, avoid using the free virtual phone number provided by Meta. Meta offers a "1555" phone number for WhatsApp Business accounts, but it is not compatible with Fastbots, so if you do the integration using the virtual phone number, it won't work. Instead, ensure you use a physical SIM or a mobile phone number.
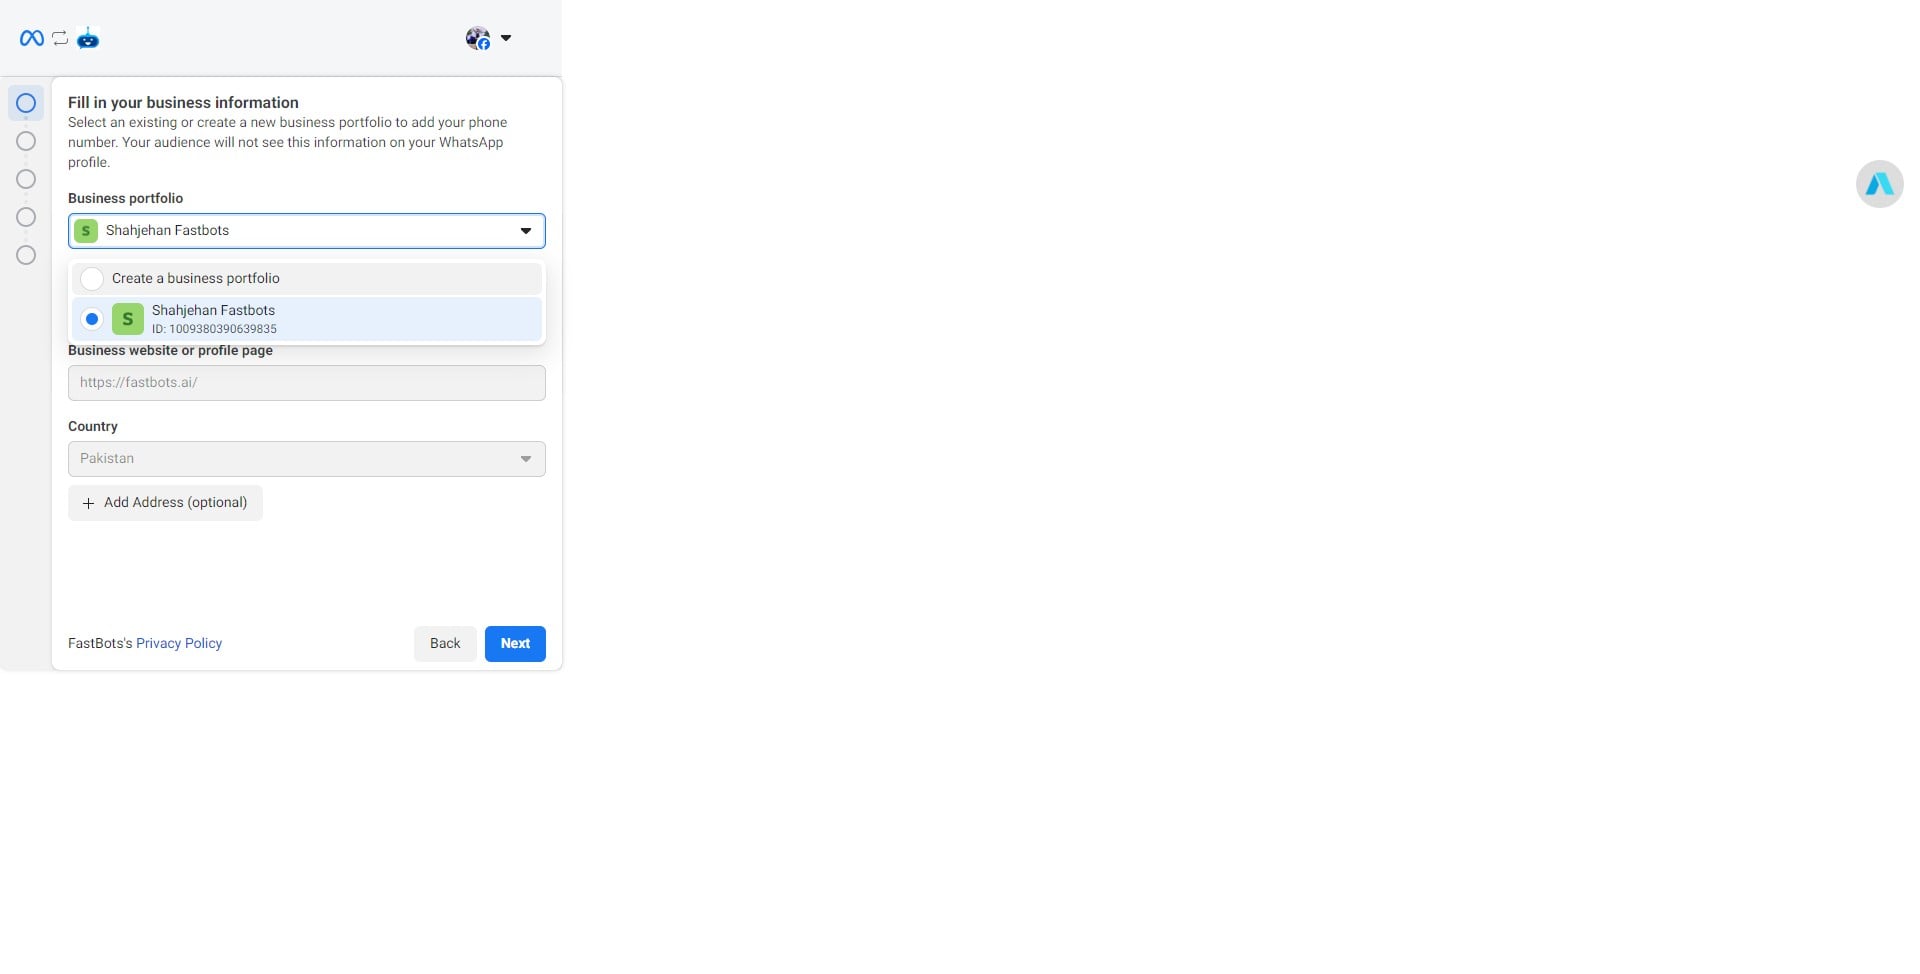
Click on the drop-down menu and select the "Create a business portfolio" option.
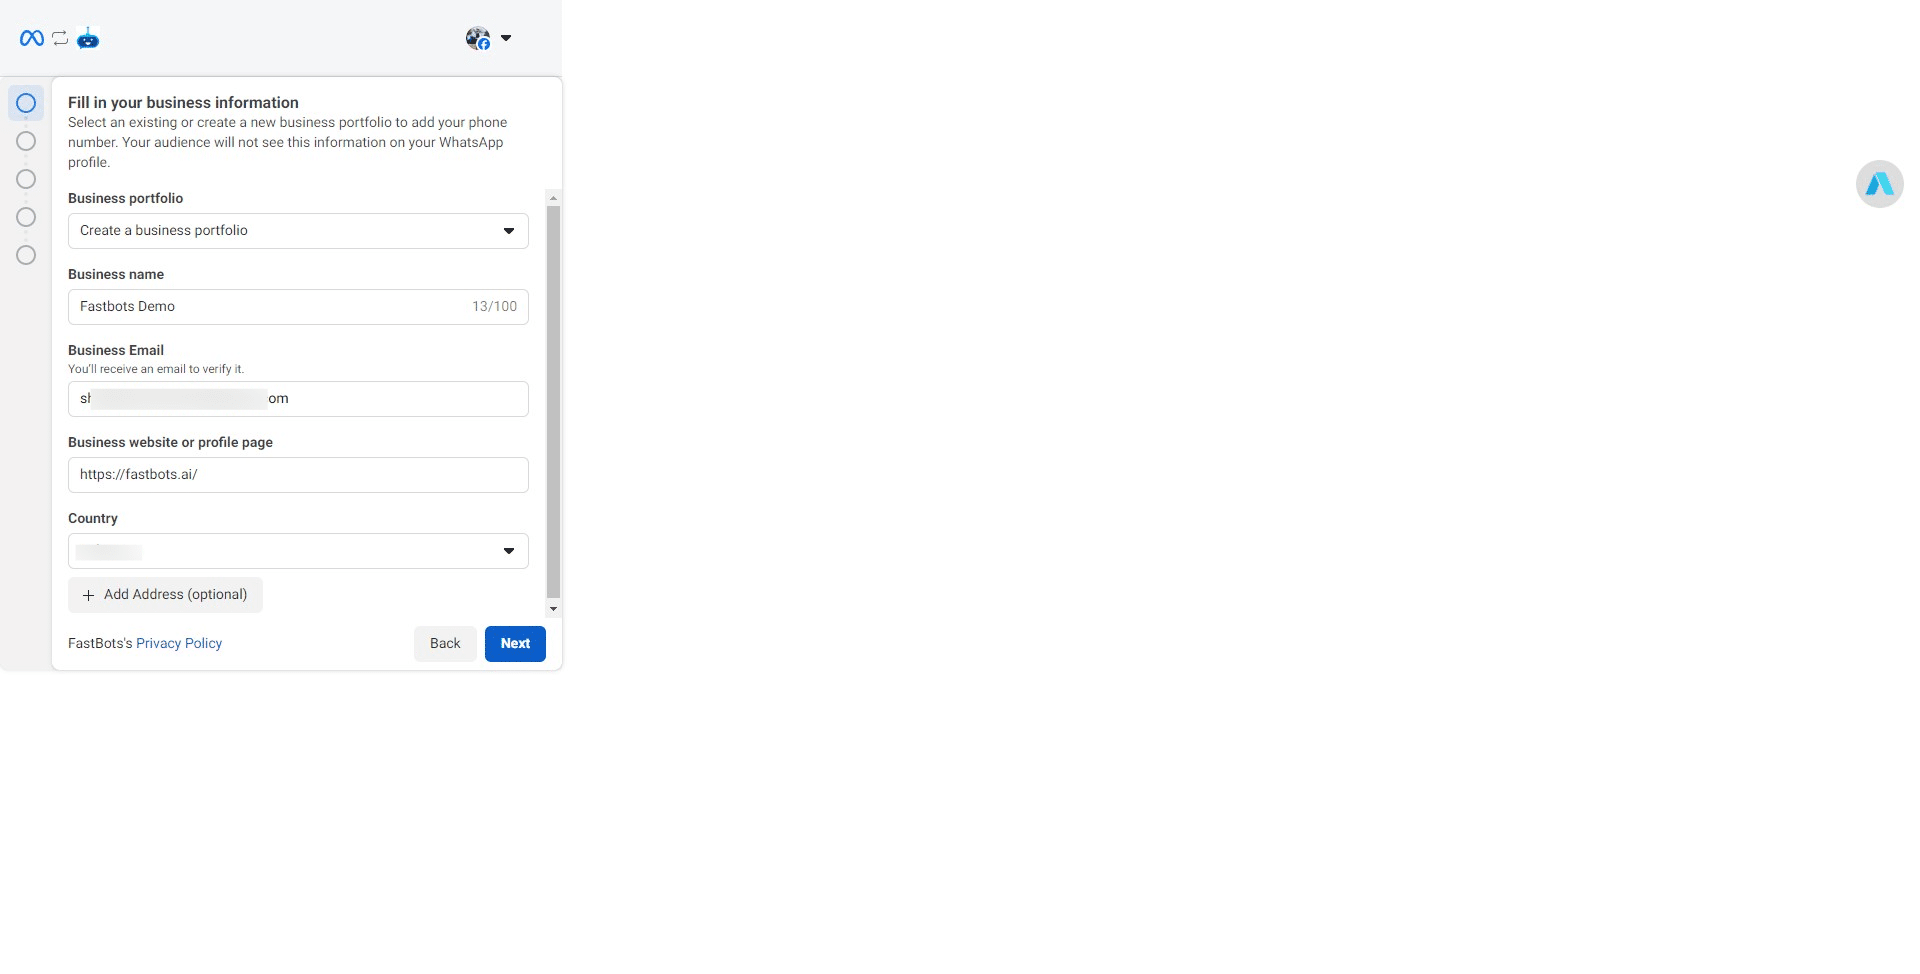
Add your business name.
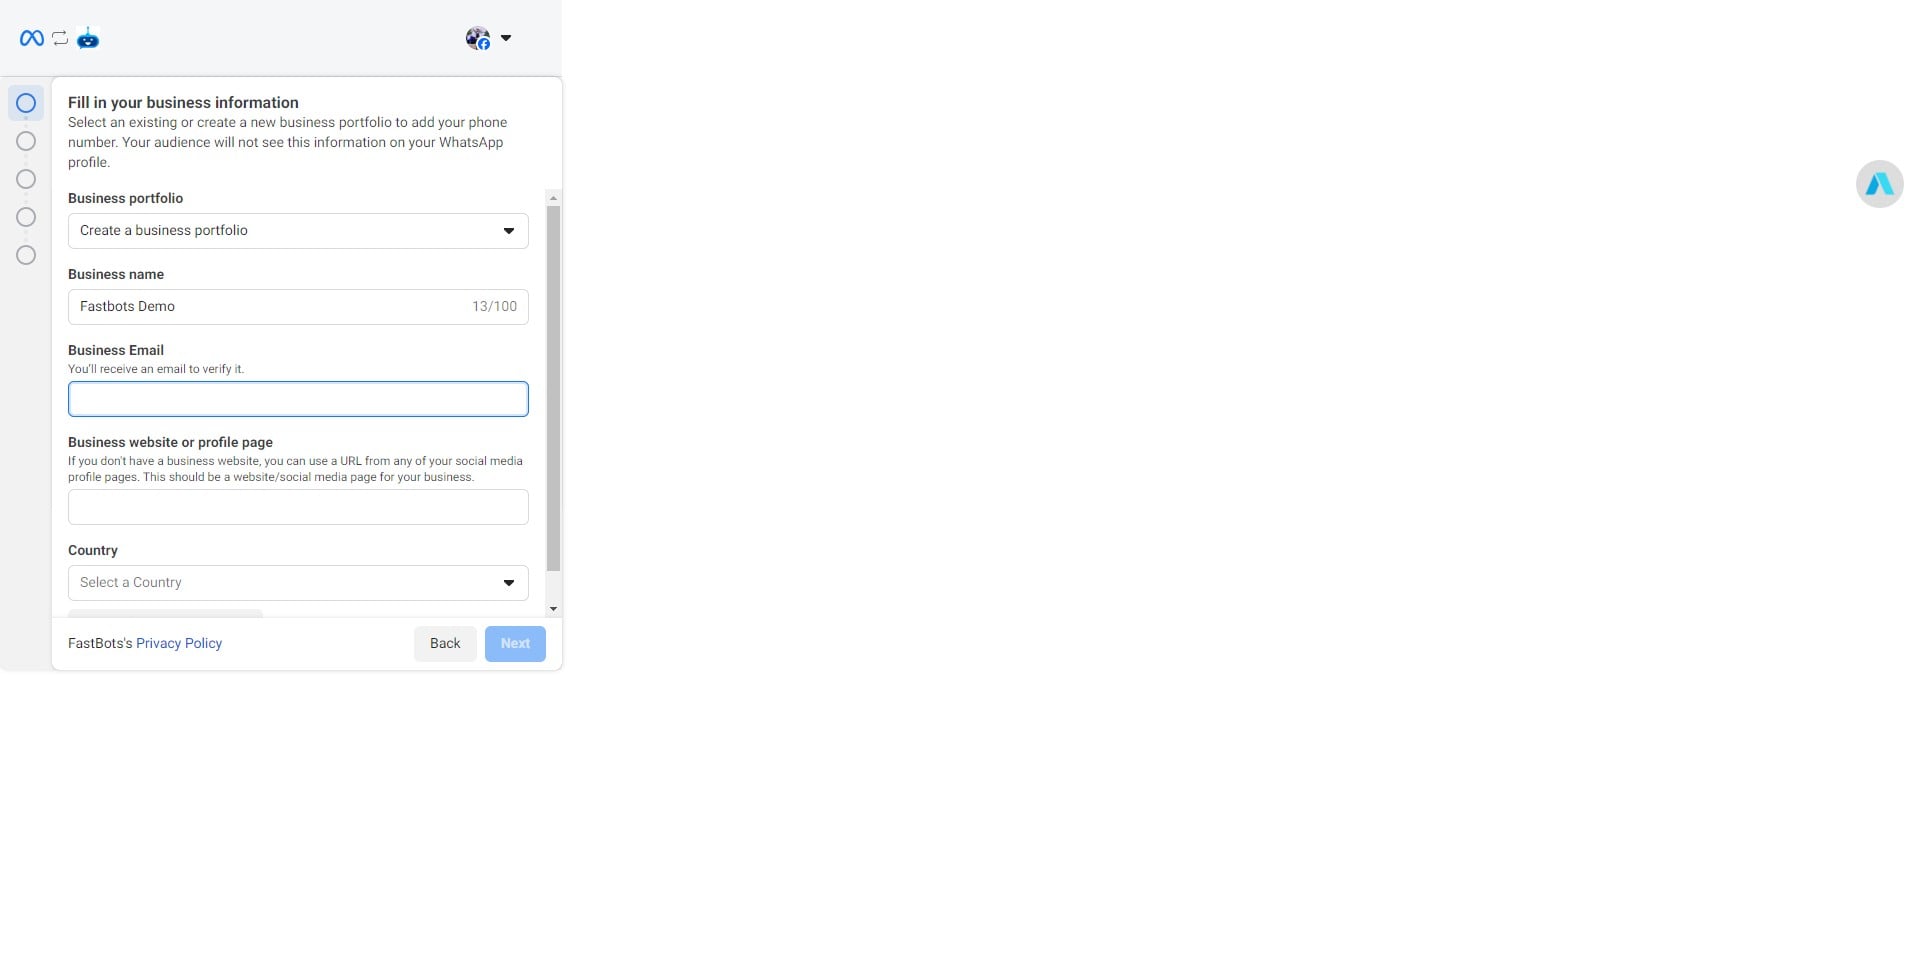
Add your Business Email, Business Website, Select your country and click on the "Next" button.
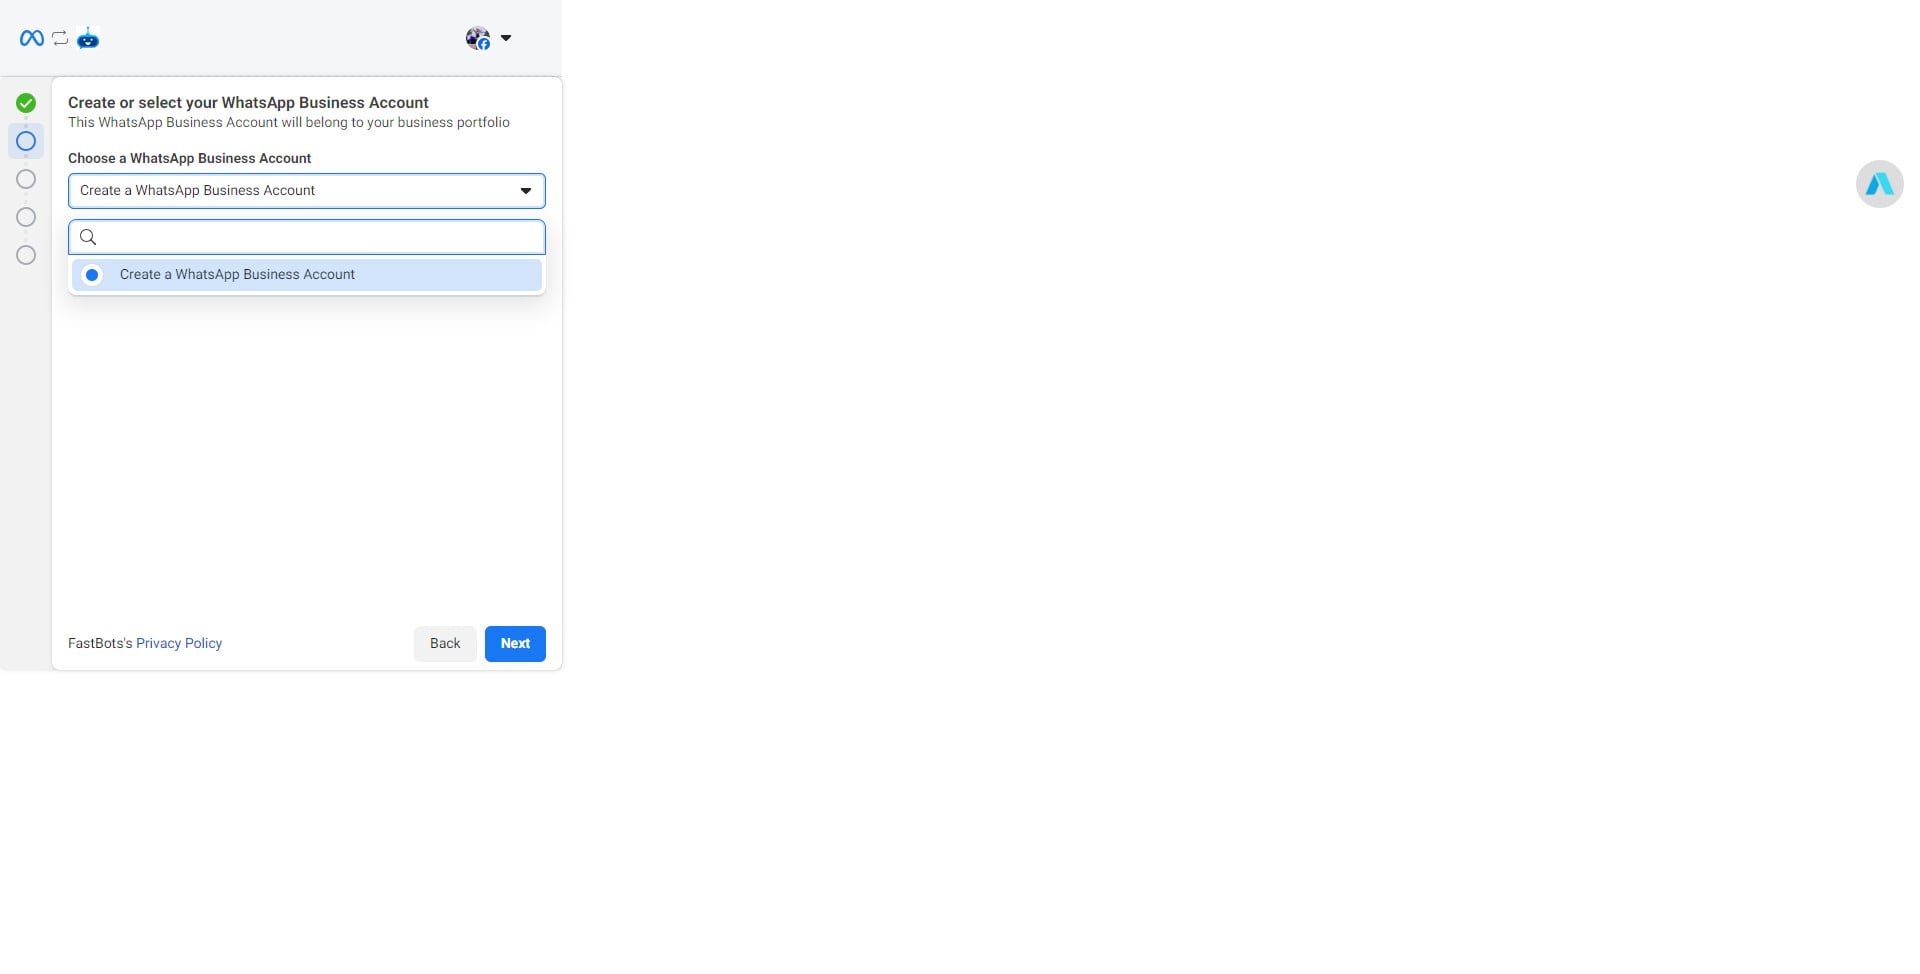
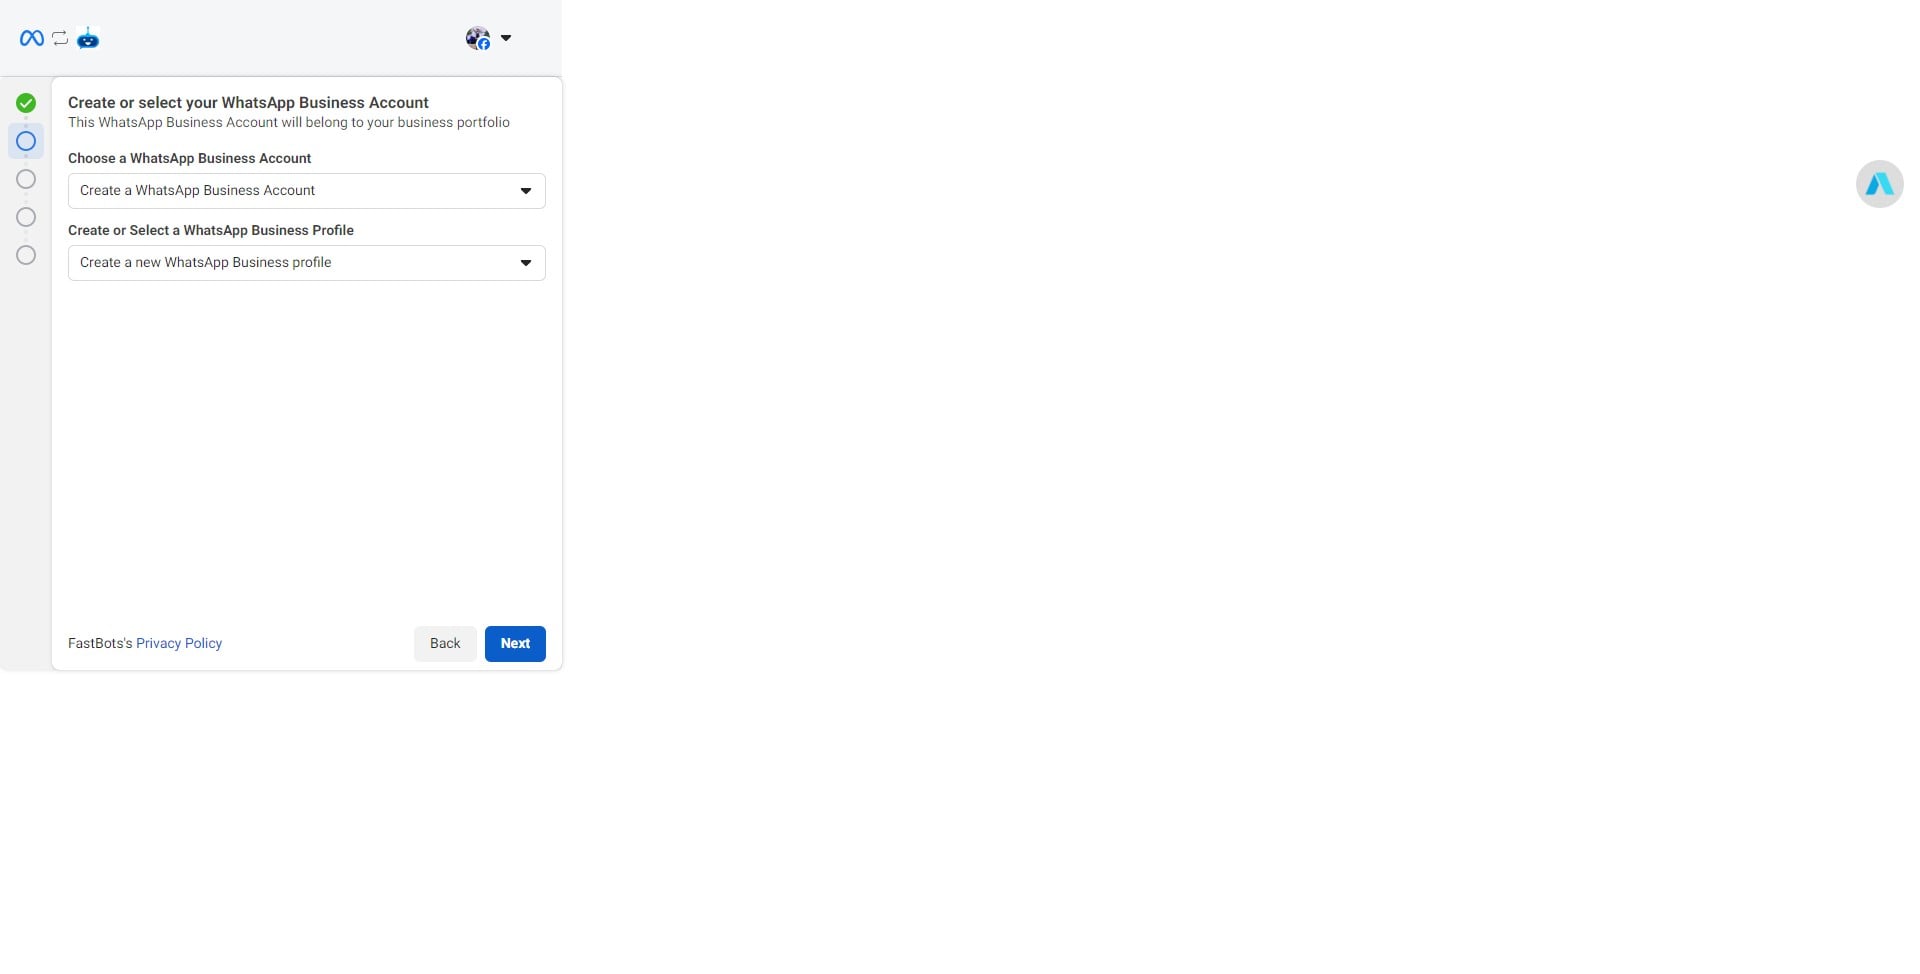
Click on "Create a WhatsApp Business Account"
Click on "Create a new WhatsApp Business profile"

Click on "Next"
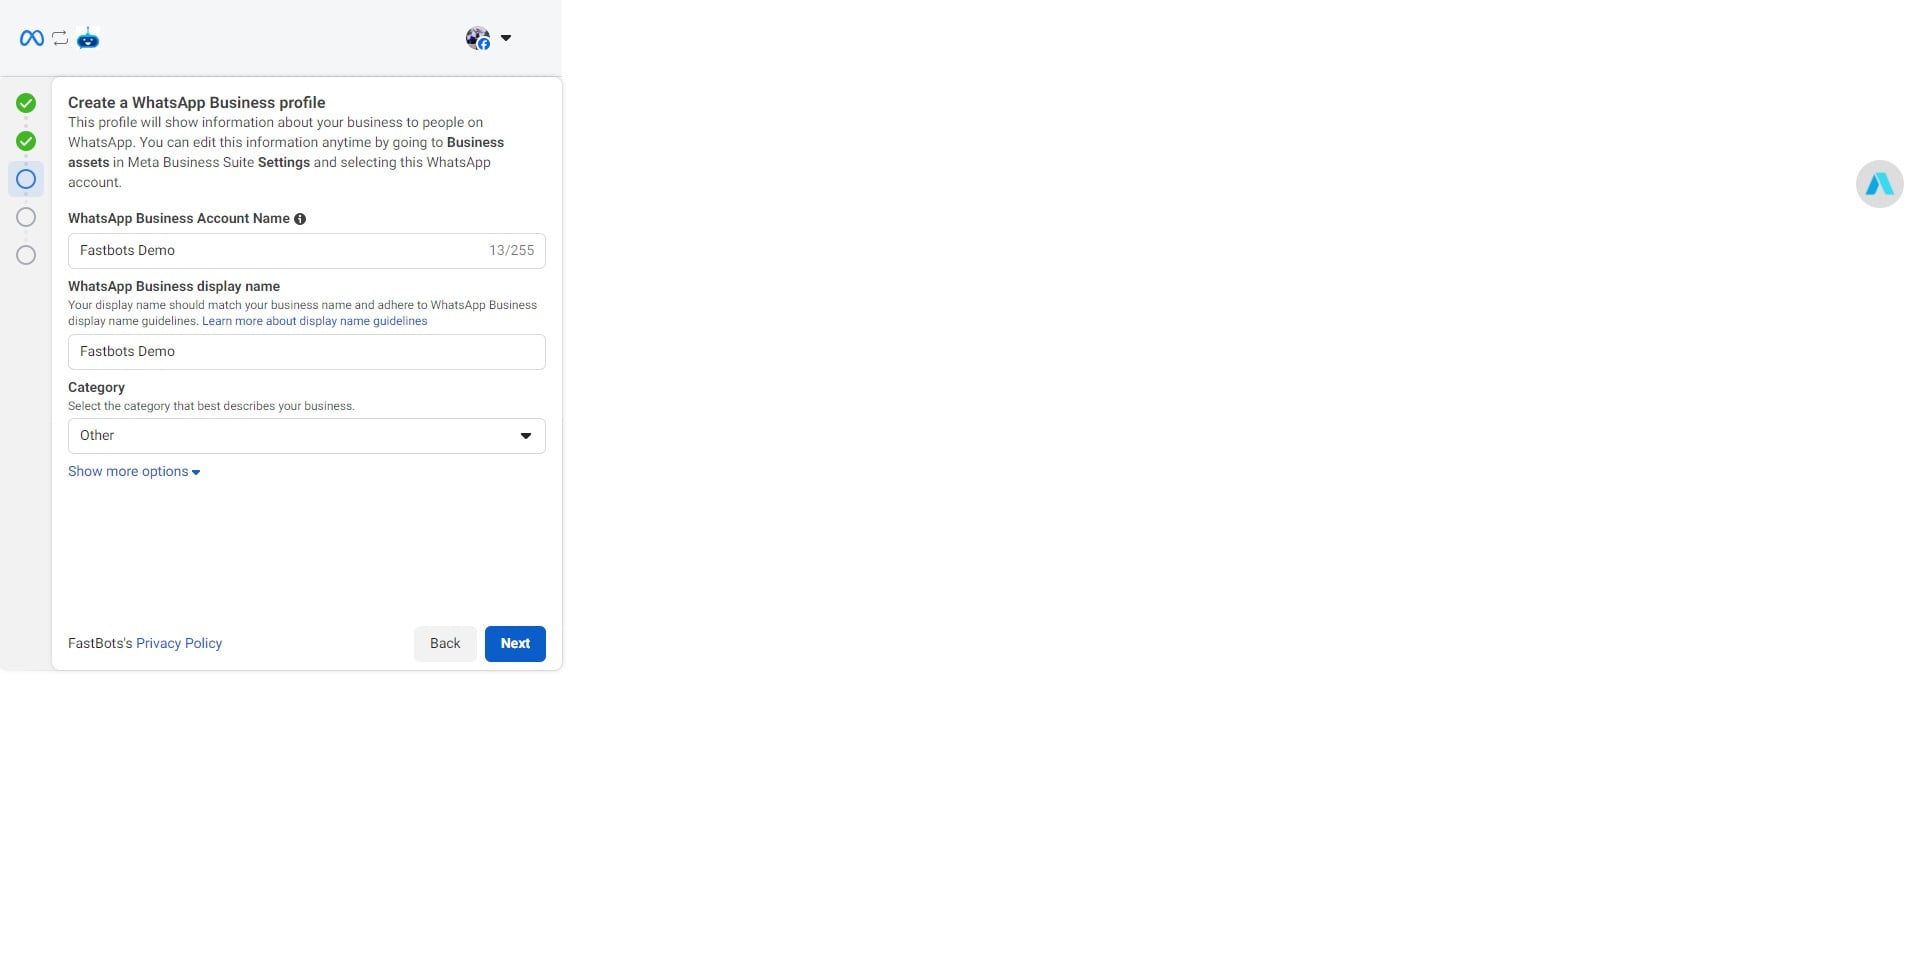
Add your WhatsApp Business Account Name.
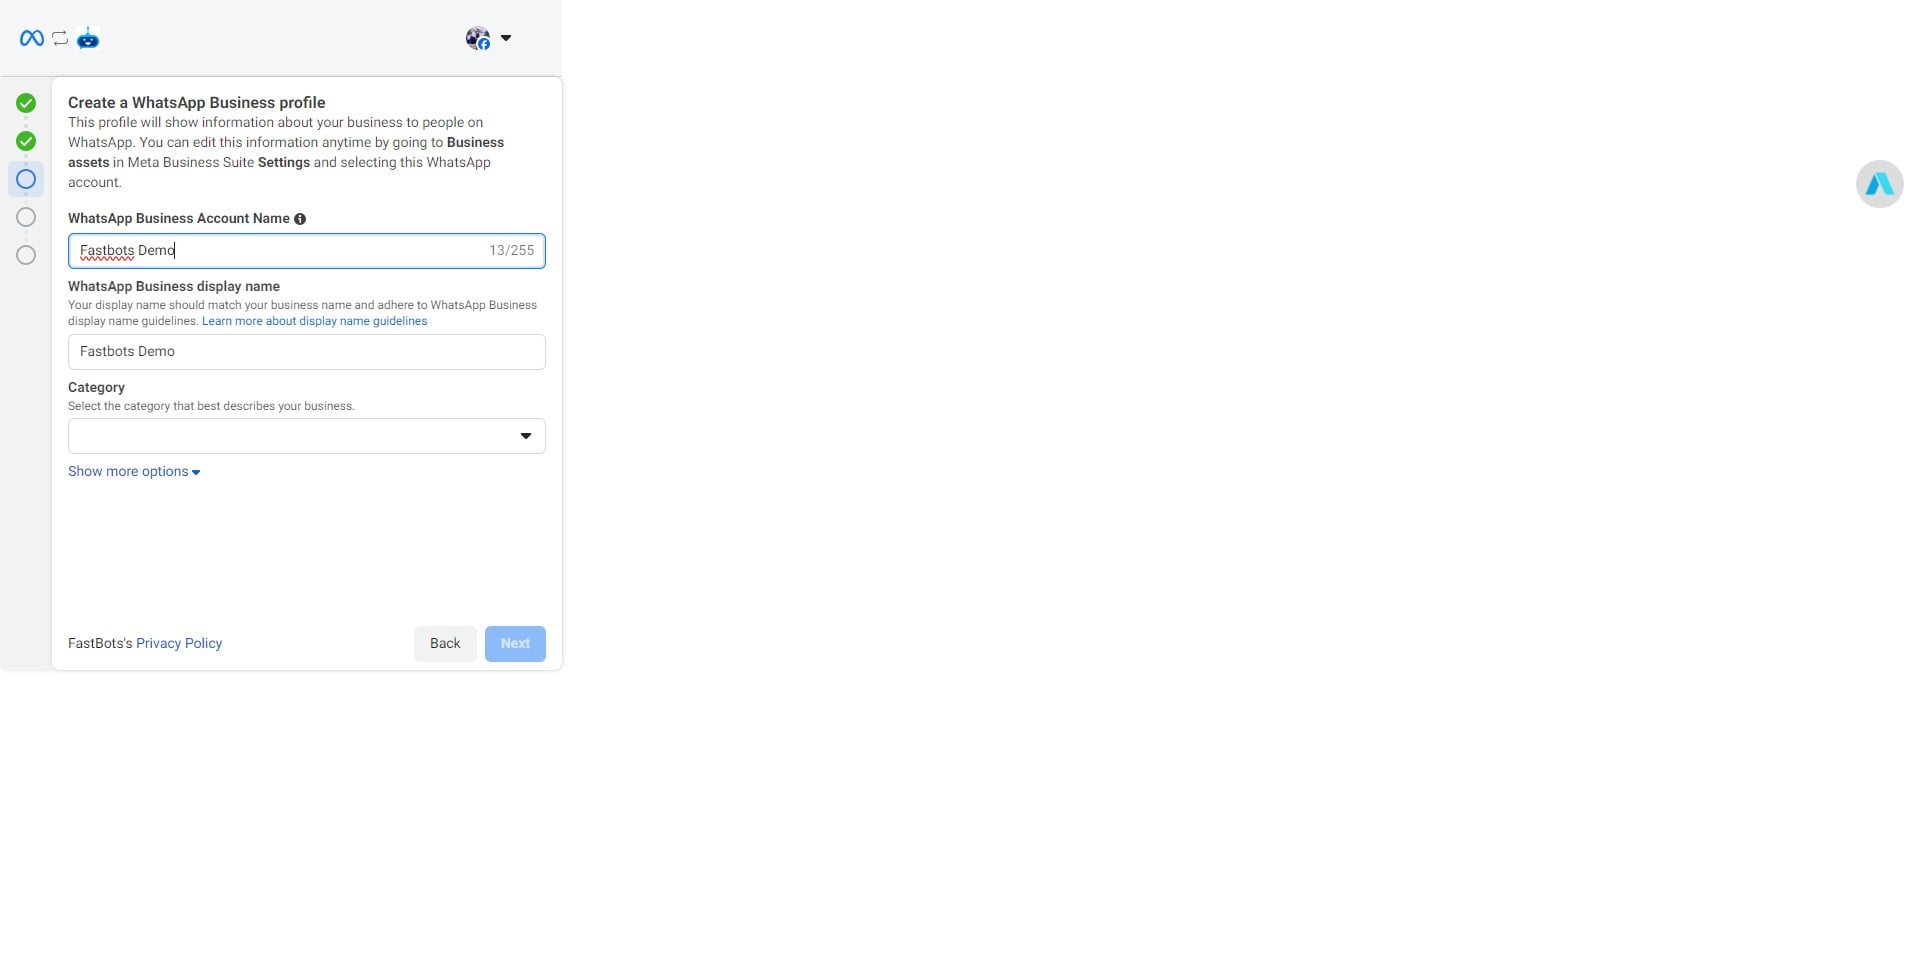
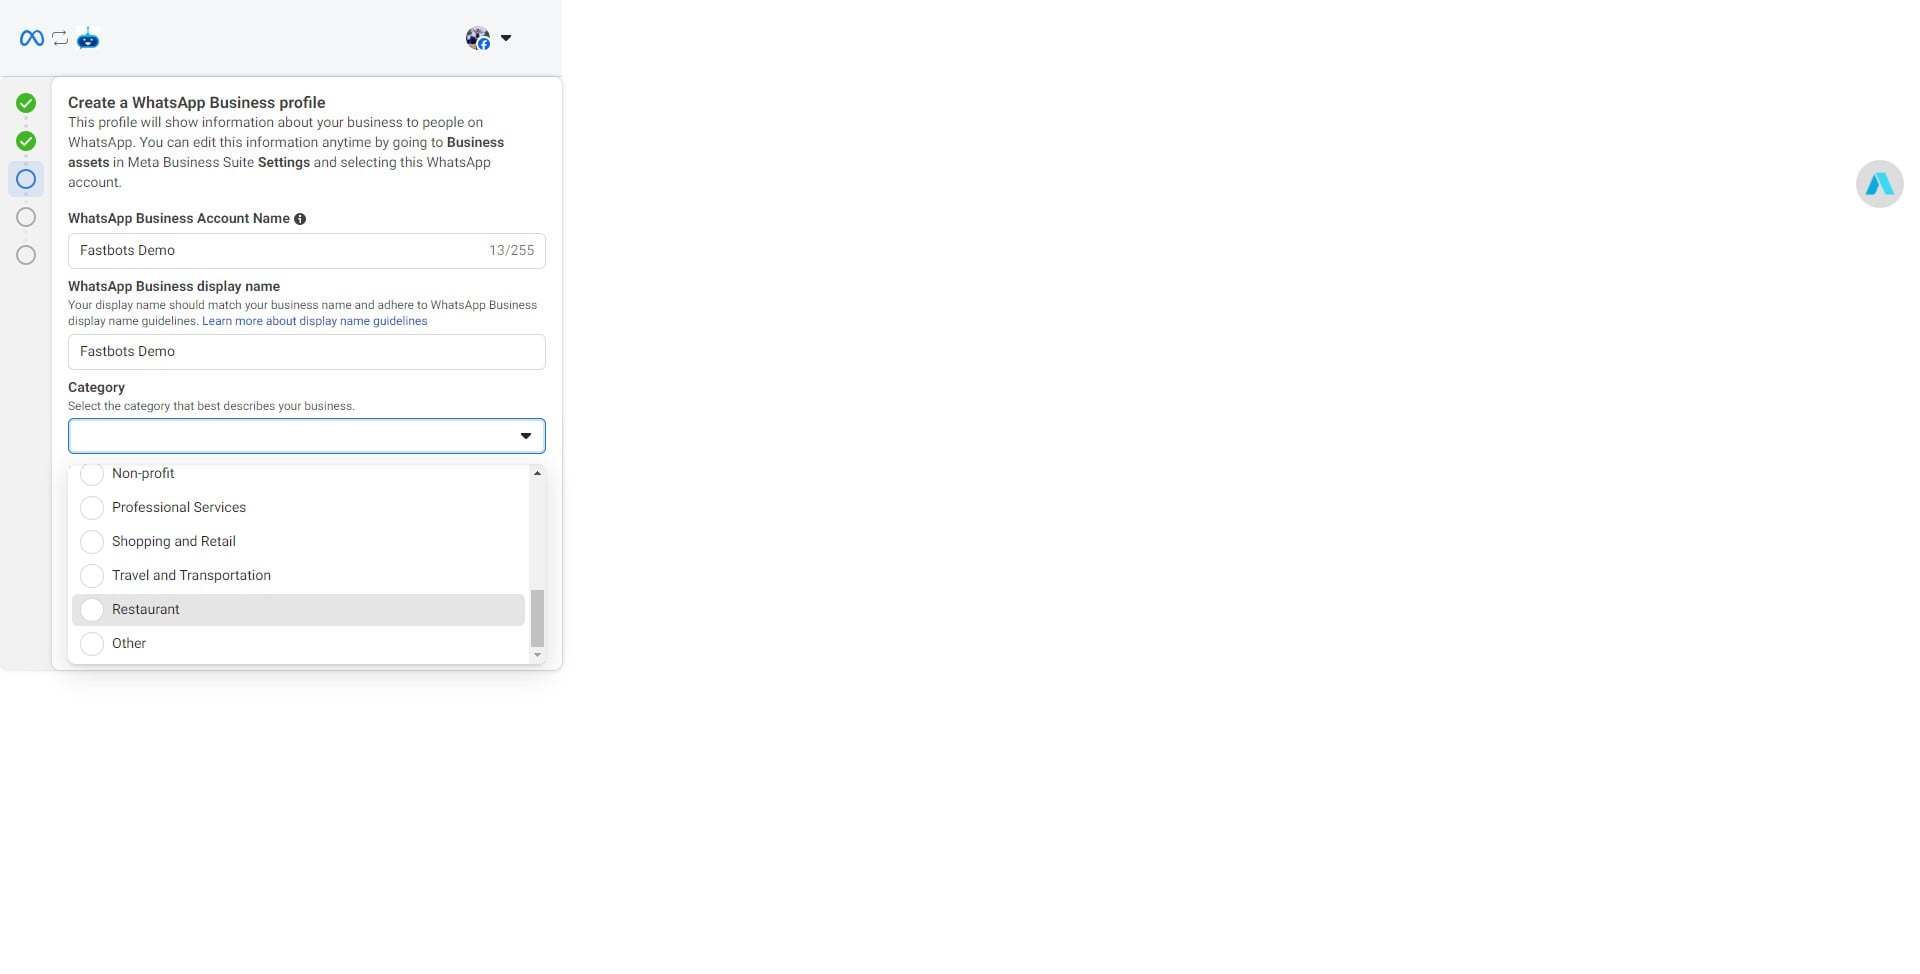
Select a category of your choice.
Click on "Next"
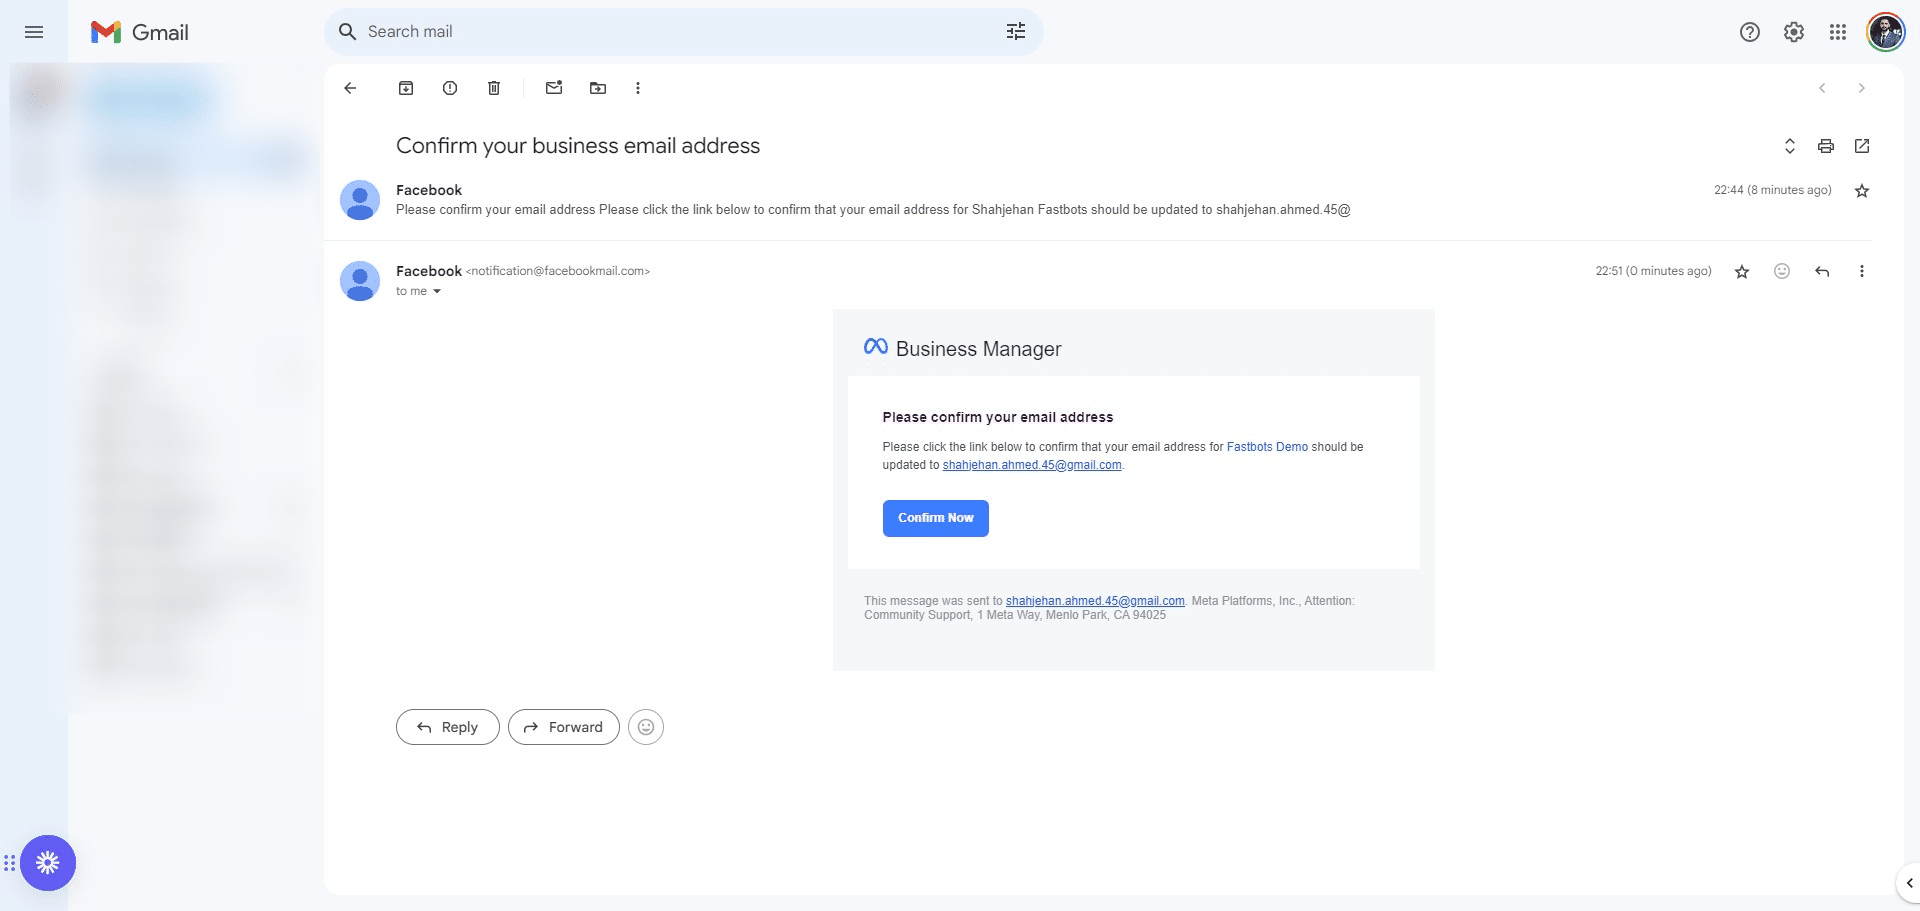
Check your email address for the confirmation email from Meta and click on "Confirm Now" button to complete the verification.
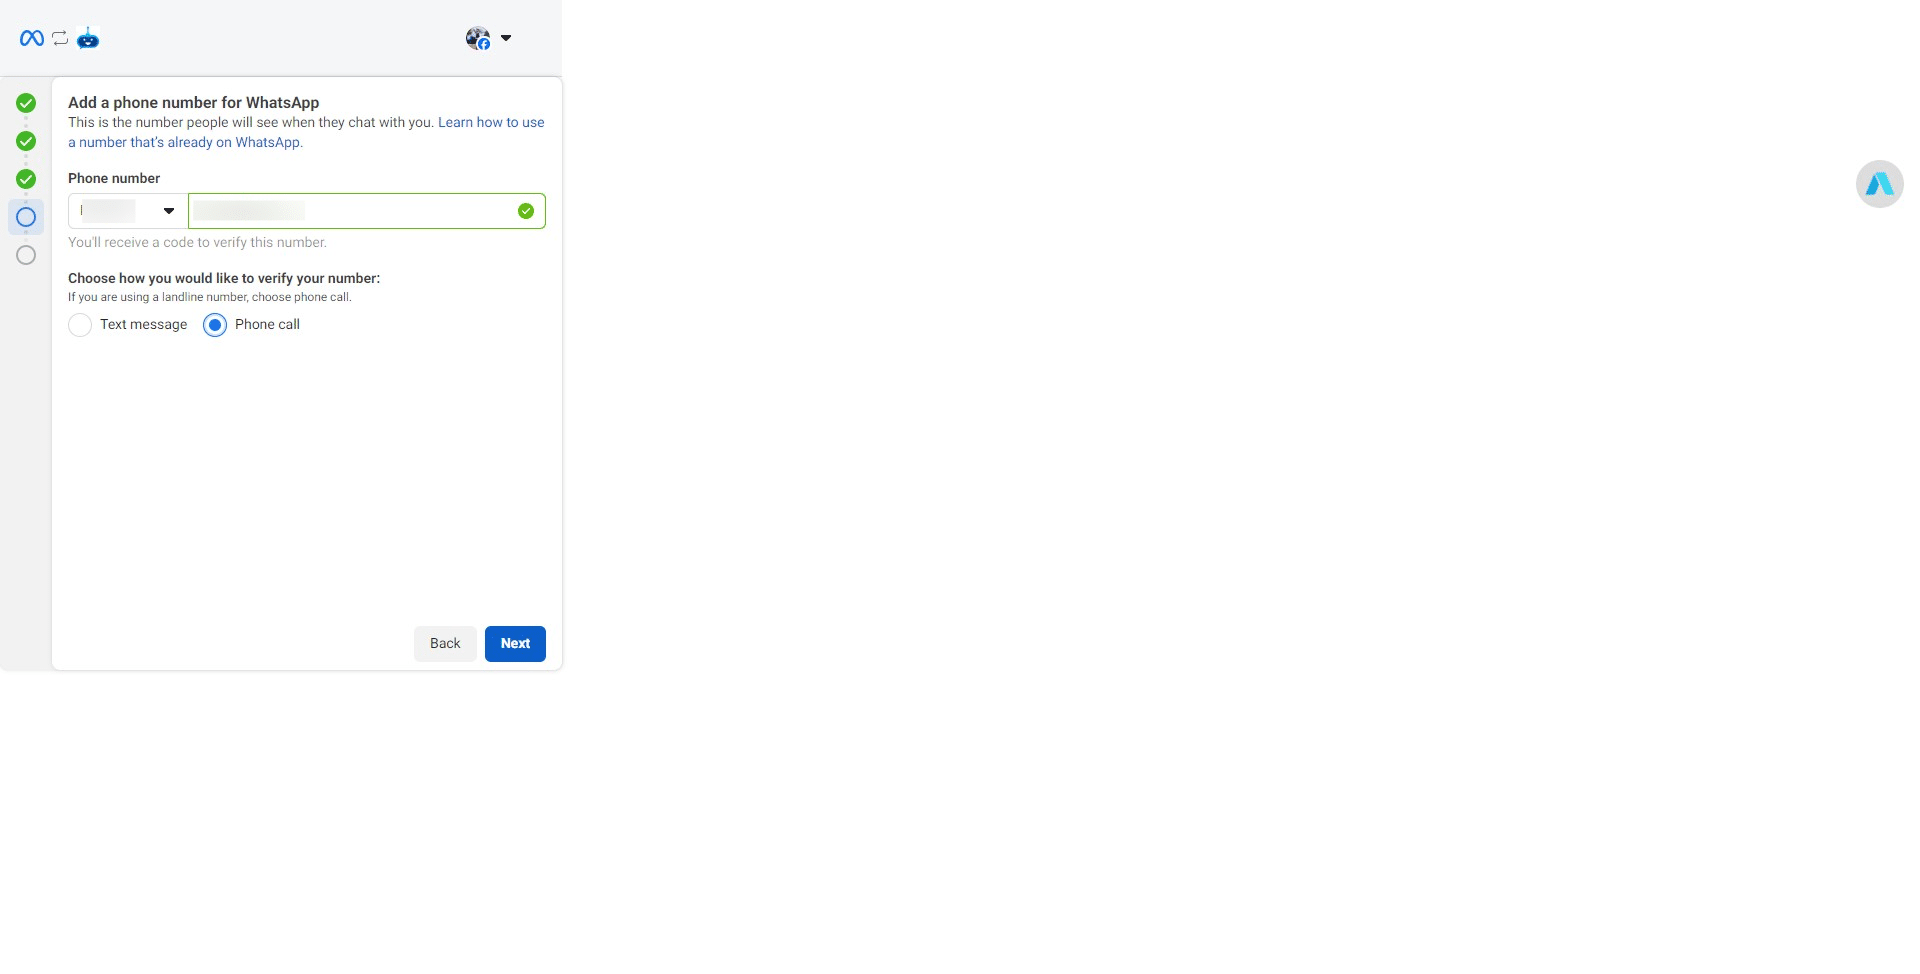
Enter your phone number, select the verification code and click on "Next"
After entering the verification code, click on "Continue"
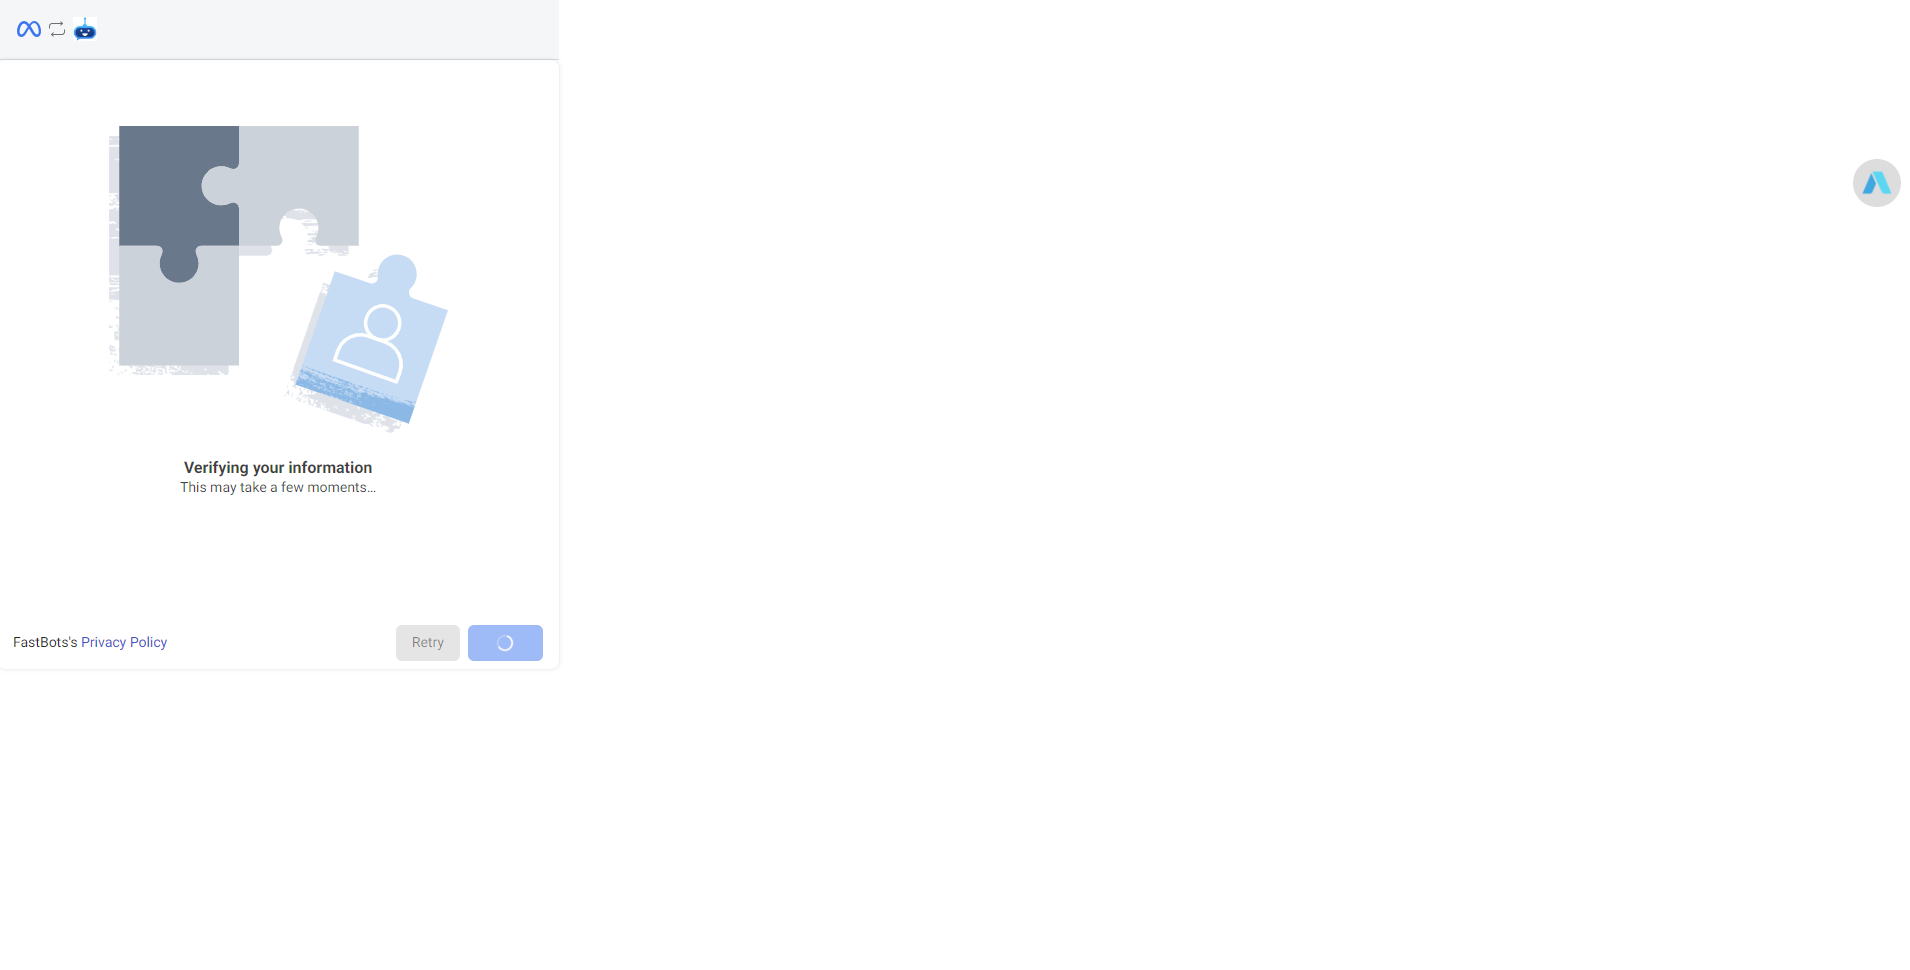
Wait for the verification to complete.
Click on "Finish"
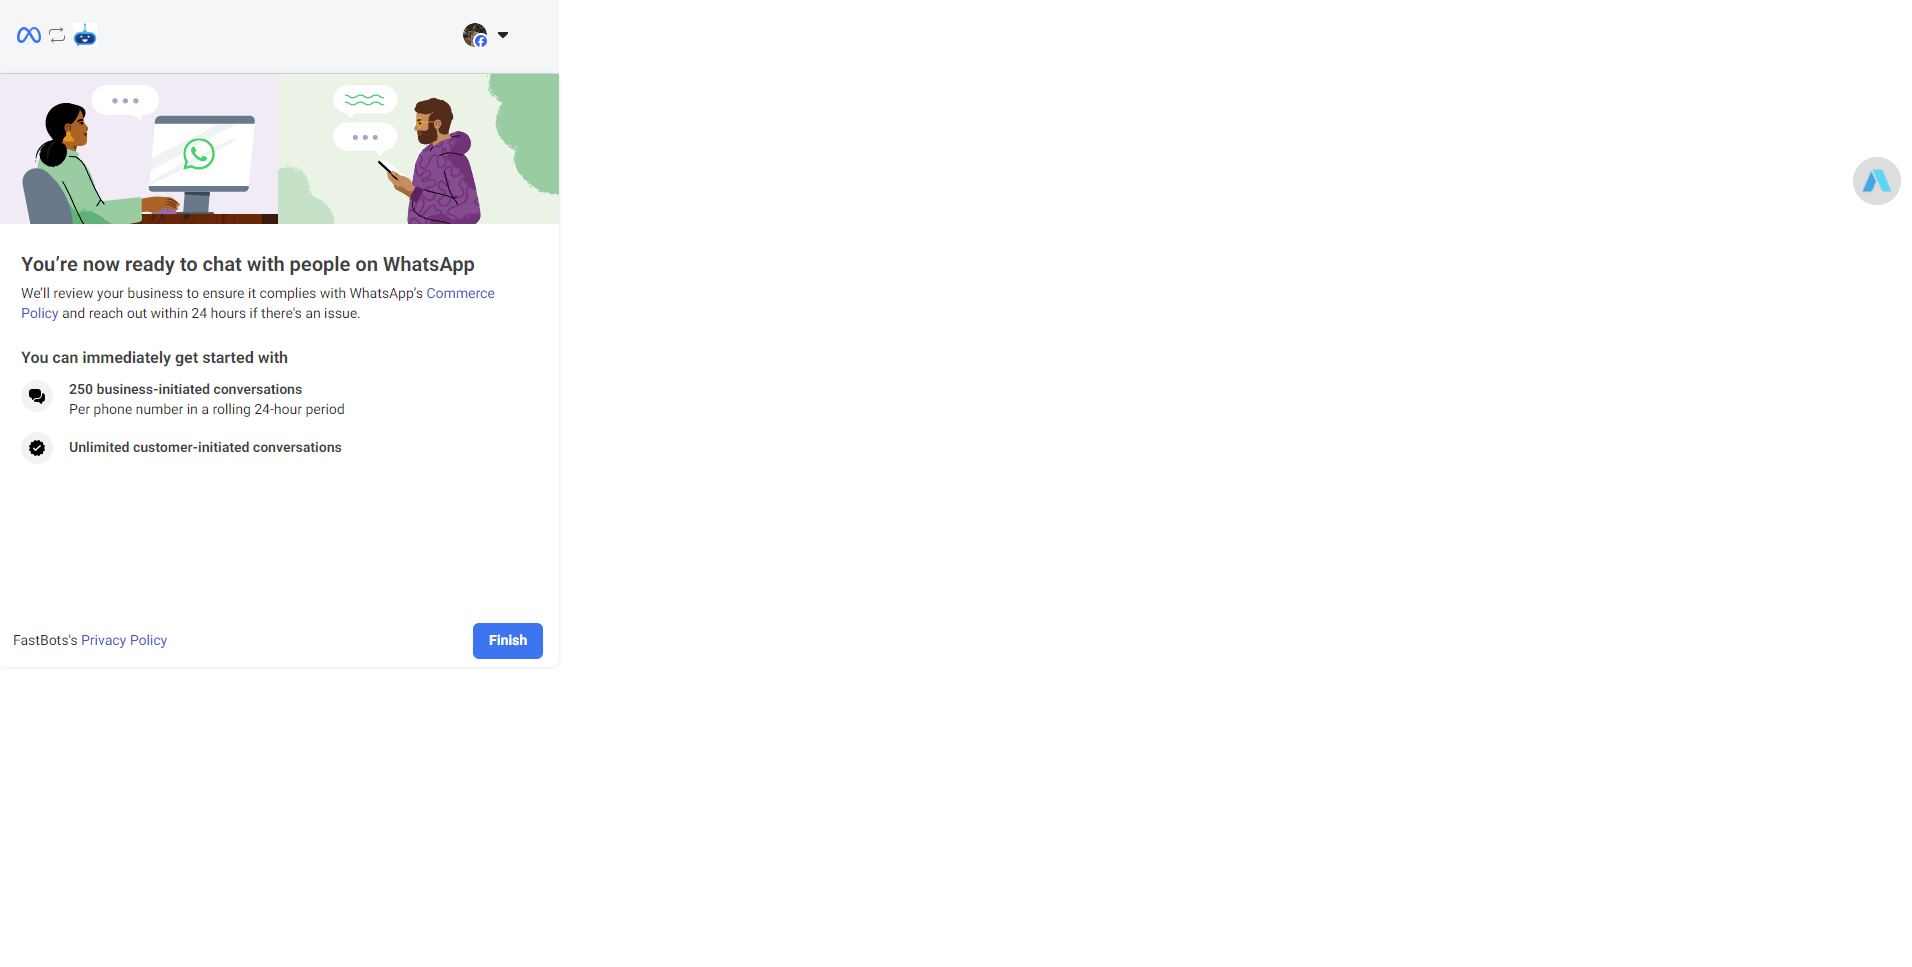
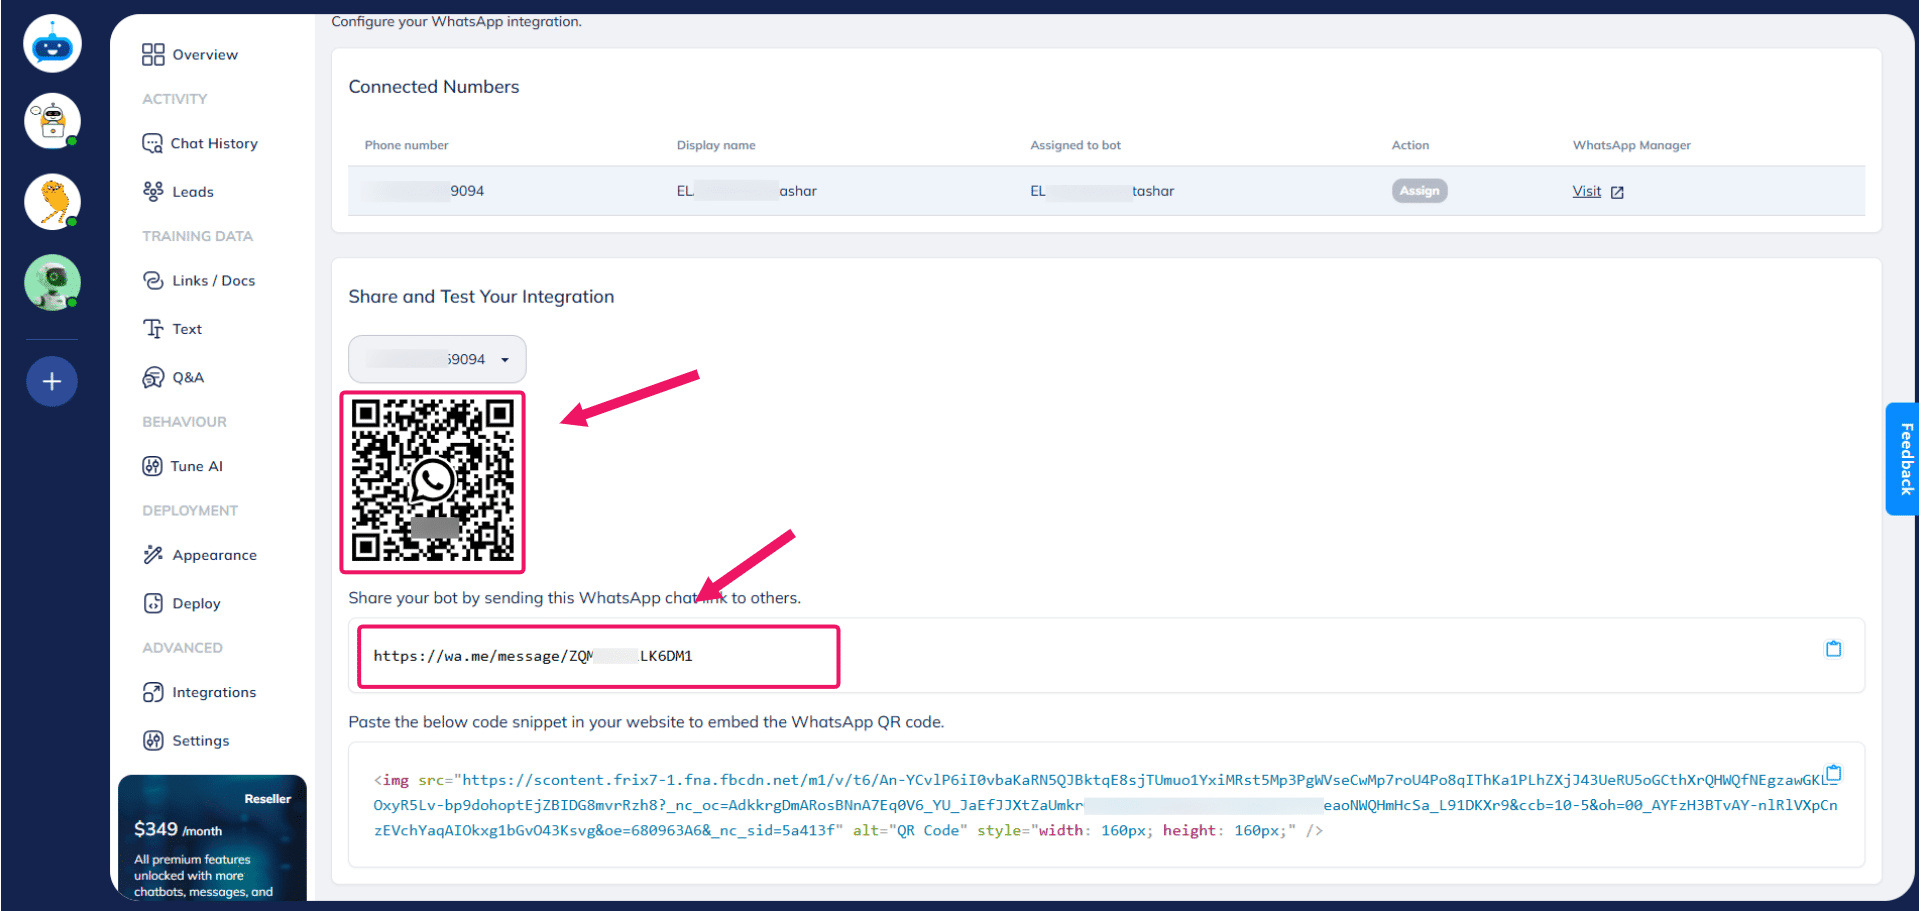
After clicking on Finish, the integration will be completed. You can check the connected WhatsApp number on the Integration page by clicking on the "Settings" icon.
On this page, you can see the details of the WhatsApp integration. You can see the phone number, the display name of the chatbot on WhatsApp.
Assigned to bot shows the name of the chatbot to which the WhatsApp is assigned. The "Assign" button under the "Action" column will be greyed out by default. It means the chatbot is successfully assigned to the chatbot.
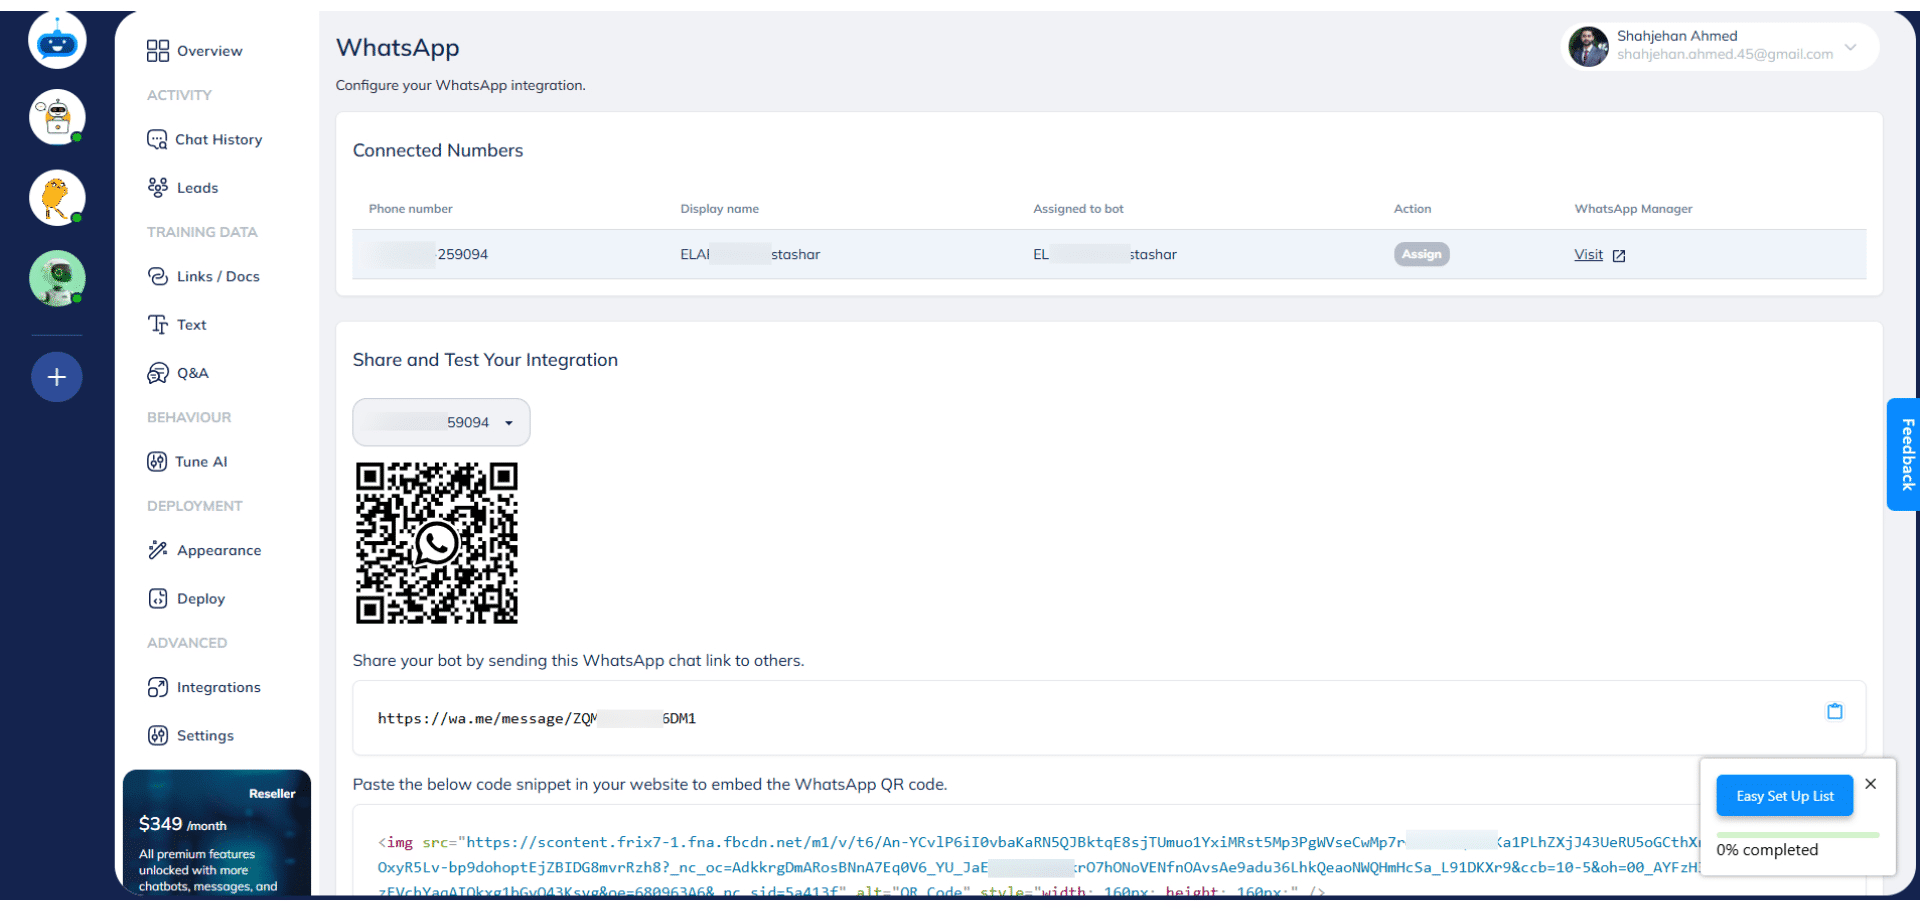
If the Assign button is Blue, it means the chatbot is not assigned to this phone number/WhatsApp. So, you have to click on the "Assign" button to connect the chatbot with the WhatsApp account.

If you want to install a WhatsApp chat icon on your website that takes the user directly to the WhatsApp chatbot so they can have a conversation with the chatbot, you can use this code snippet in your website to embed the WhatsApp QR code.
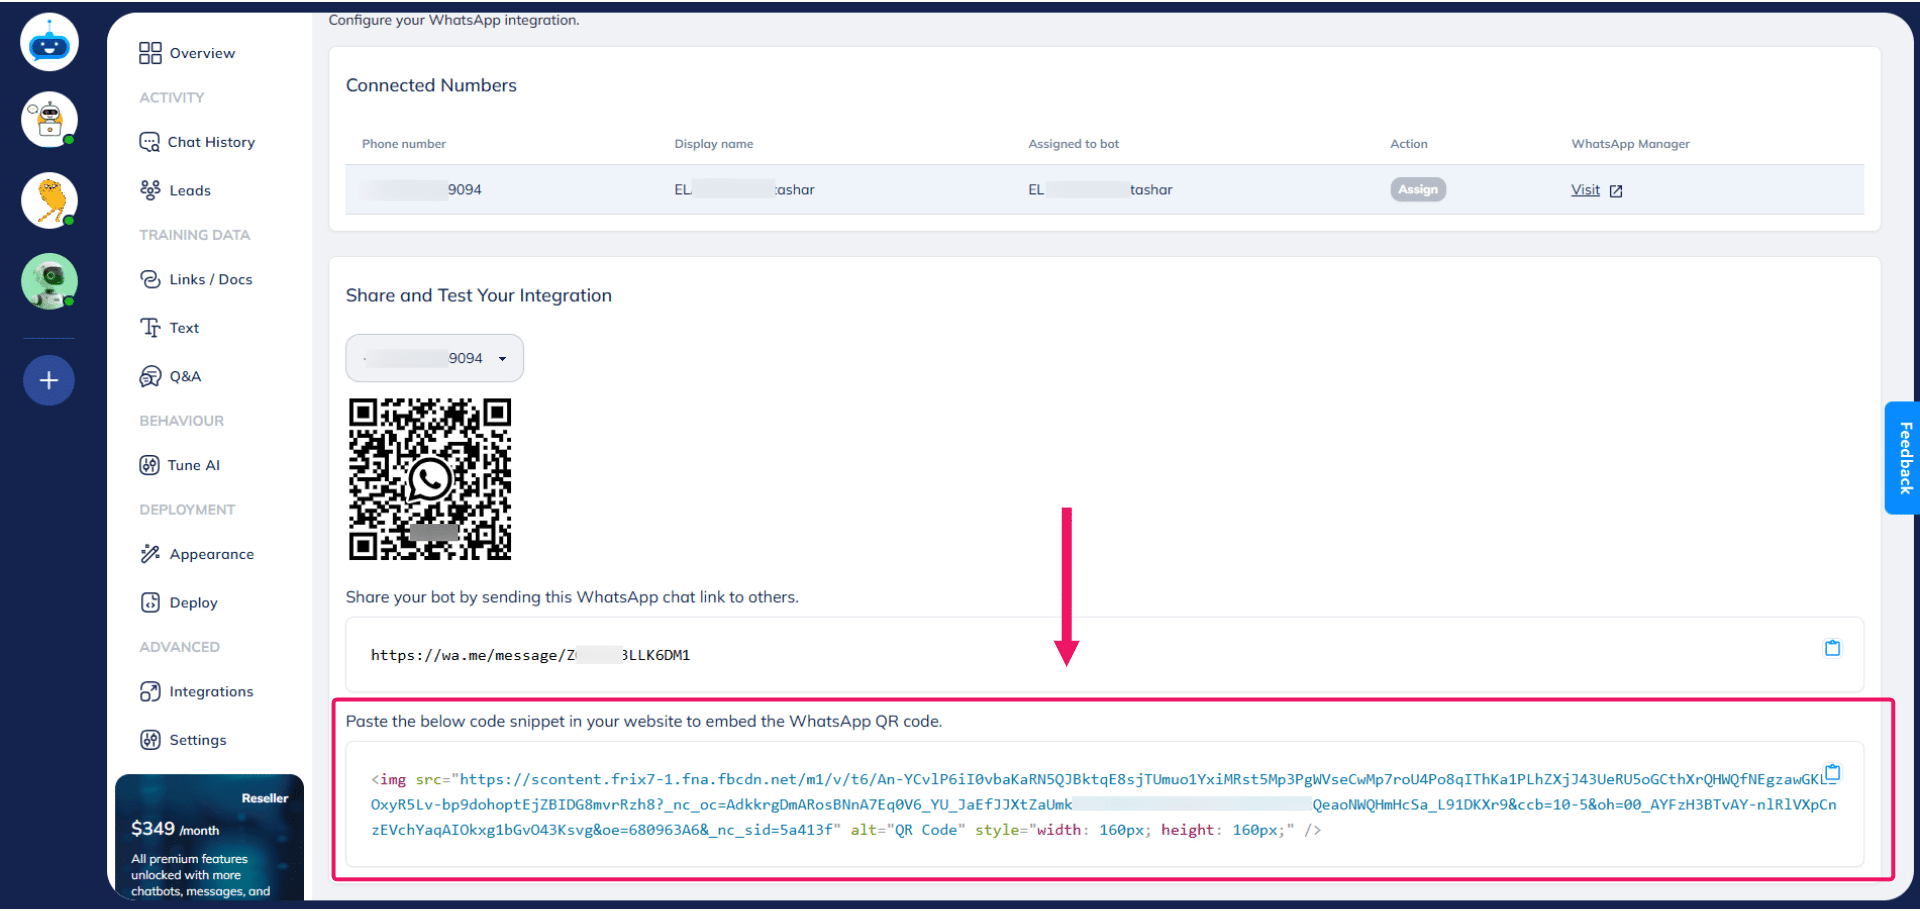
Once your WhatsApp account is successfully configured with your chatbot, you can share it by downloading the QR code or the WhatsApp link shown below.
You can simply copy your WhatsApp link, open it in a browser, or scan the QR code and have a conversation with the chatbot using WhatsApp. After opening the link, click on the "Continue to Chat" button.
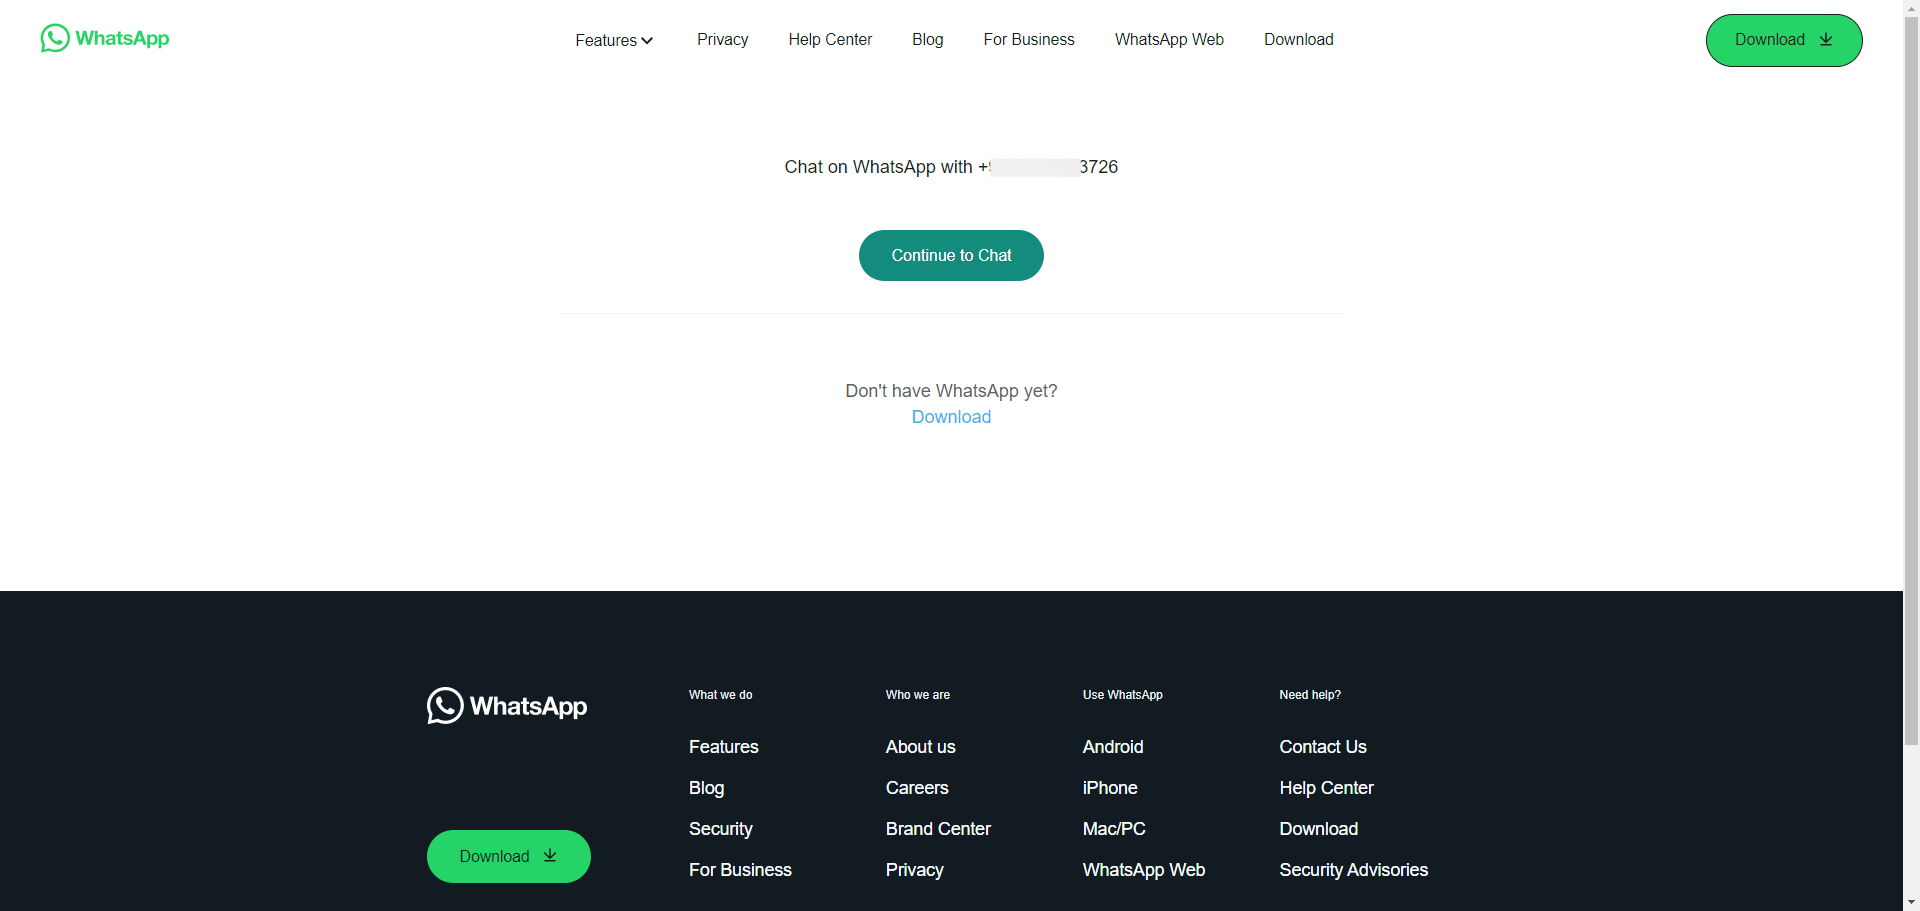
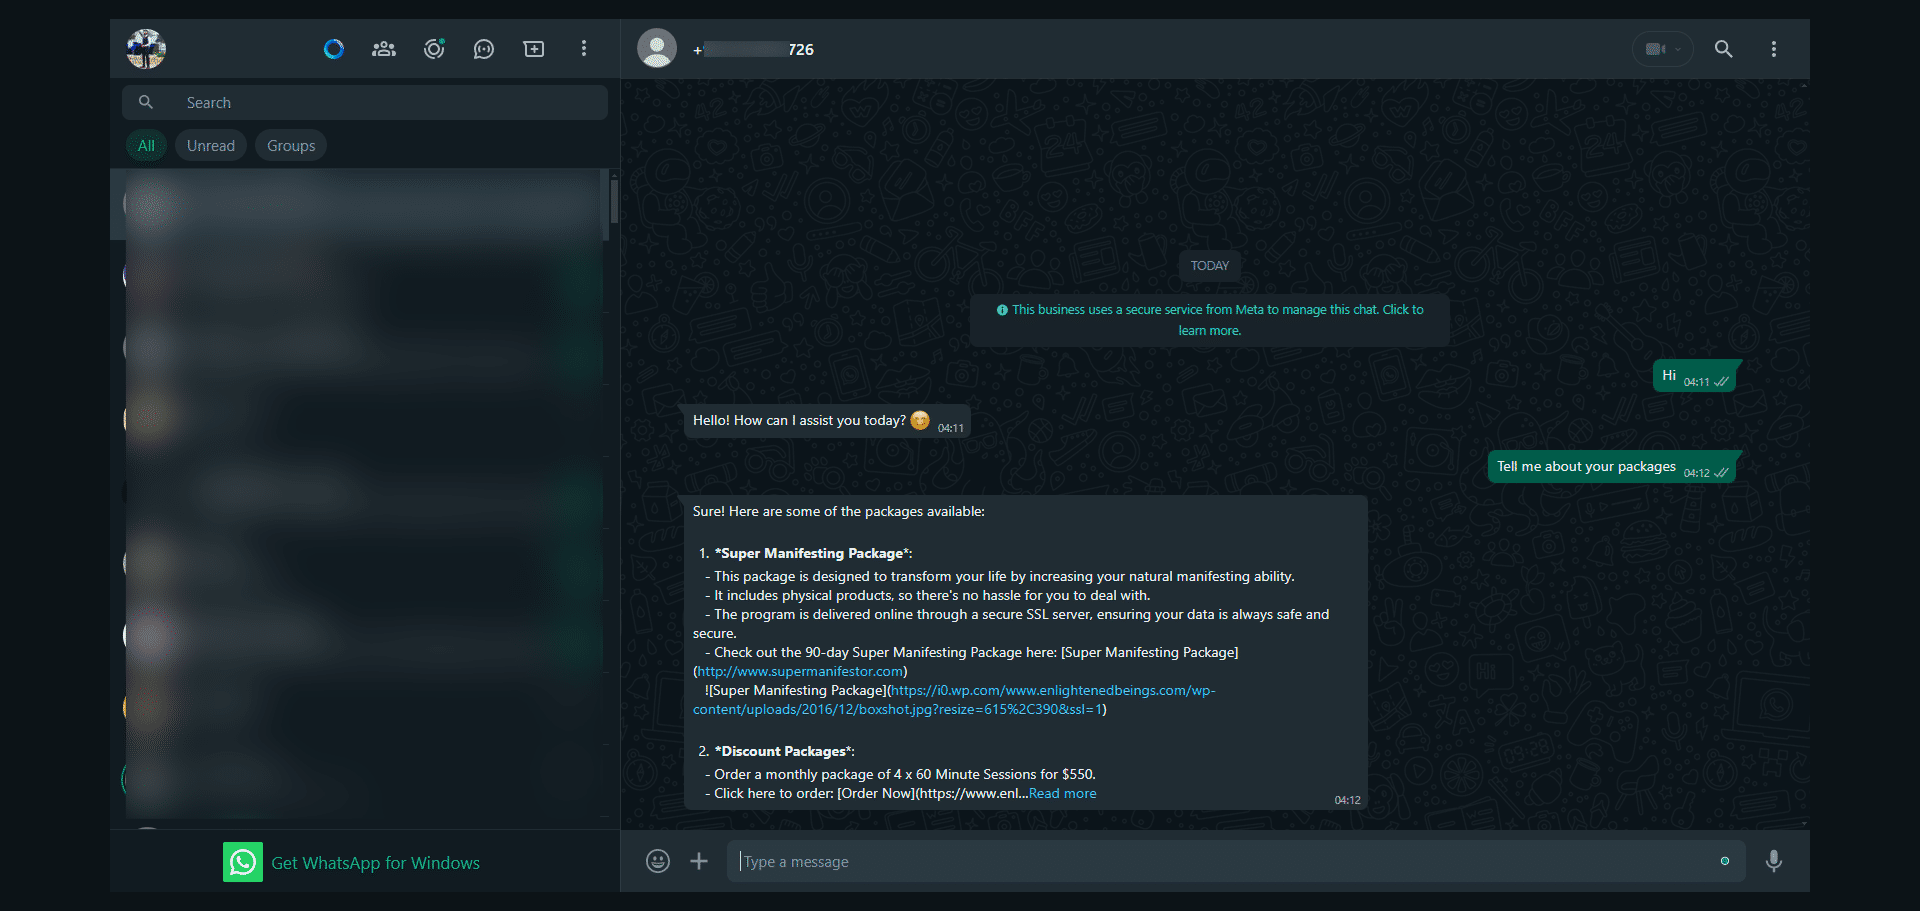
User can chat in their WhatsApp application using the above link and ask questions from the chatbot.
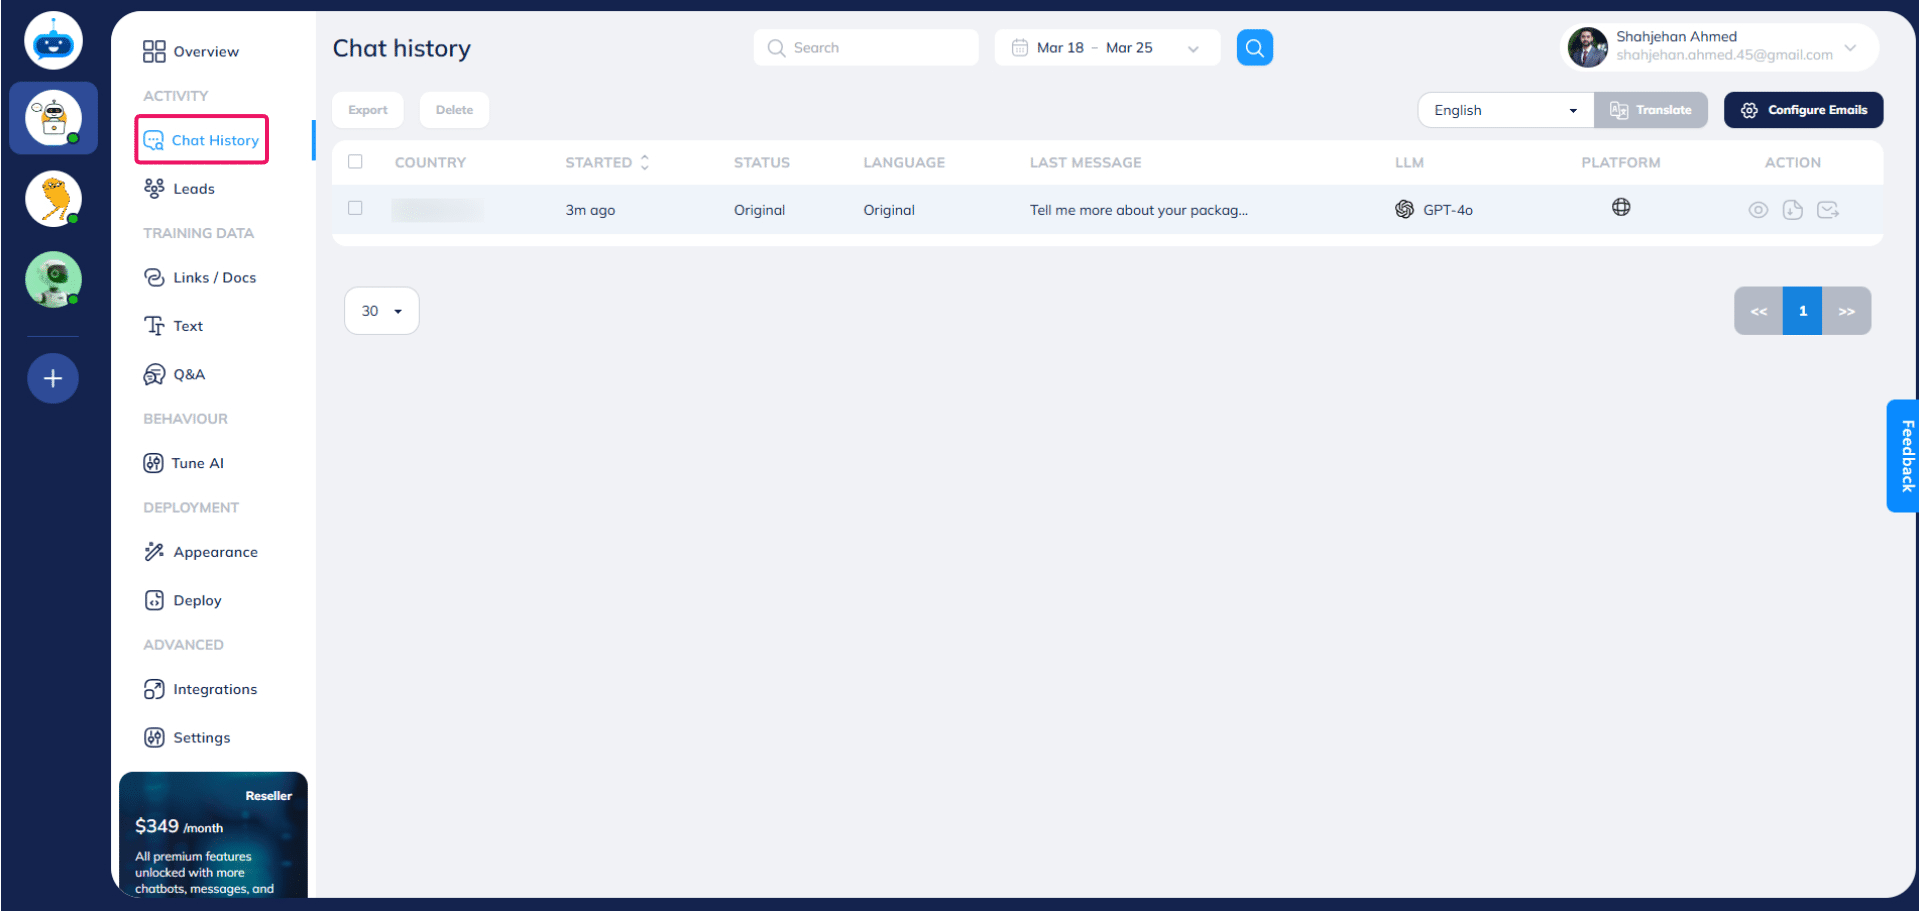
You can check all the conversations in your chatbot on the "Chat History" page.
Done 🚀 You have successfully integrated your WhatsApp account with Fastbots.