

How to Install Fastbots on Shopify Store
This tutorial will provide you a step by step process on how to add the Fastbots on Shopify Store.
Navigate to https://admin.shopify.com/store and login to your store.
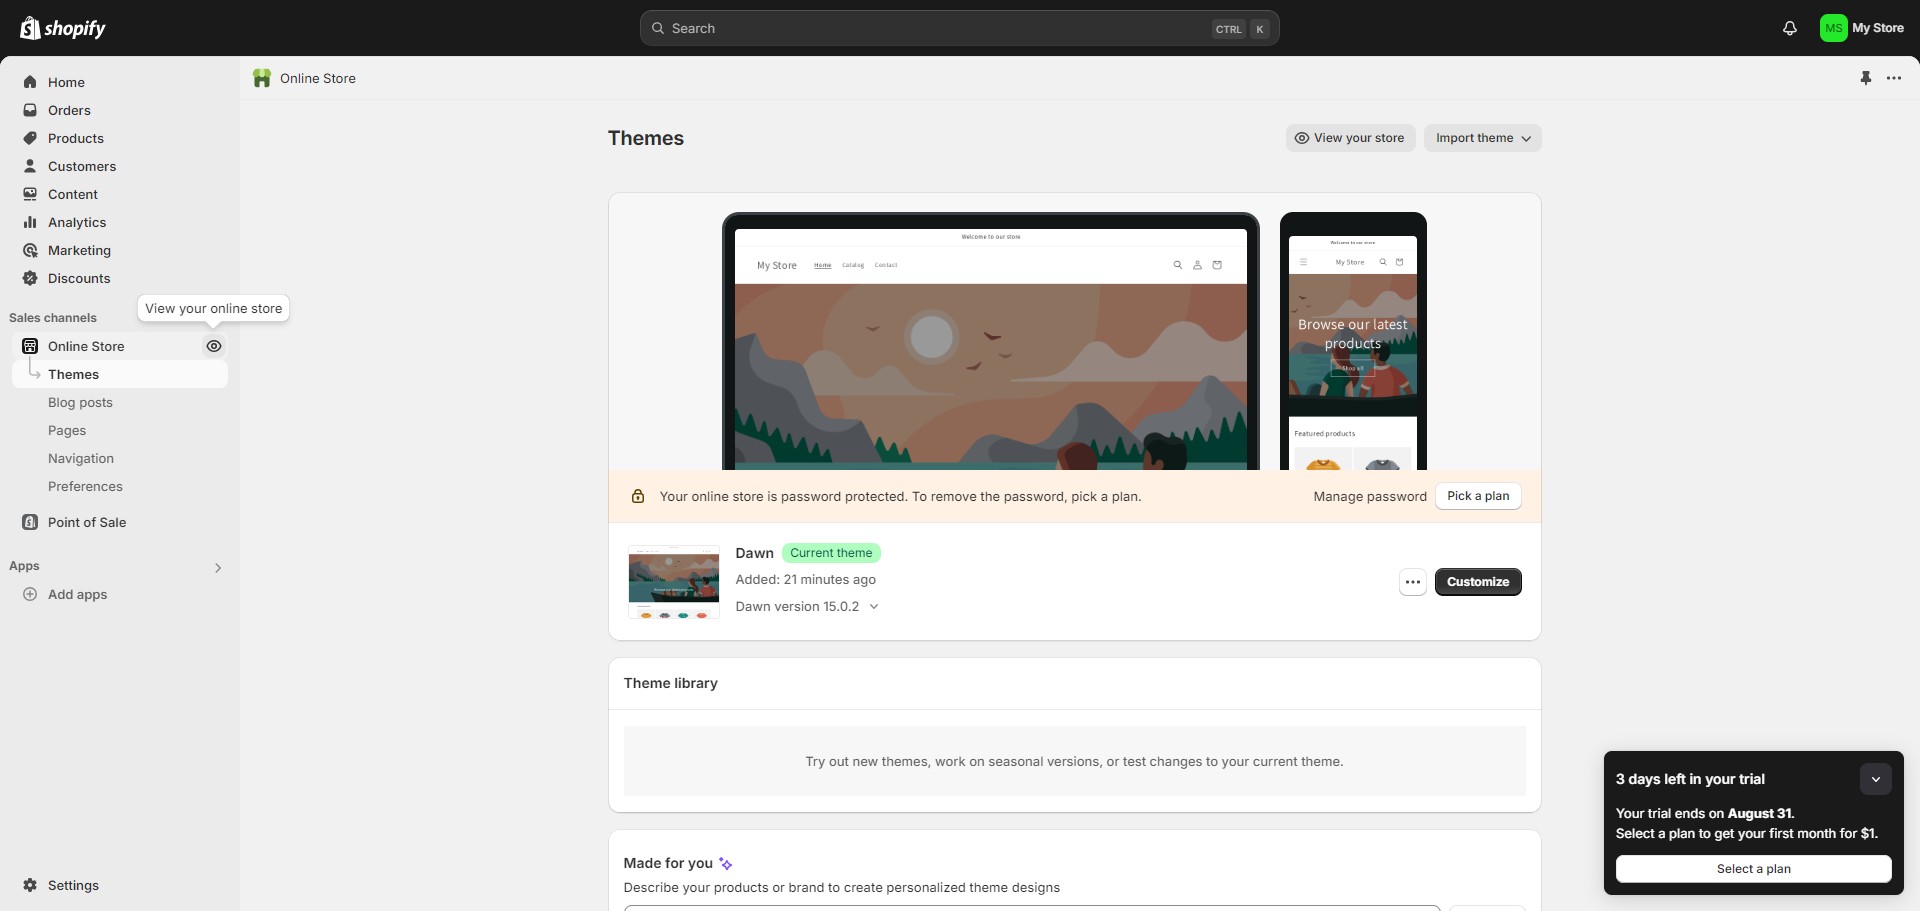
Click on the "Online Store" option.
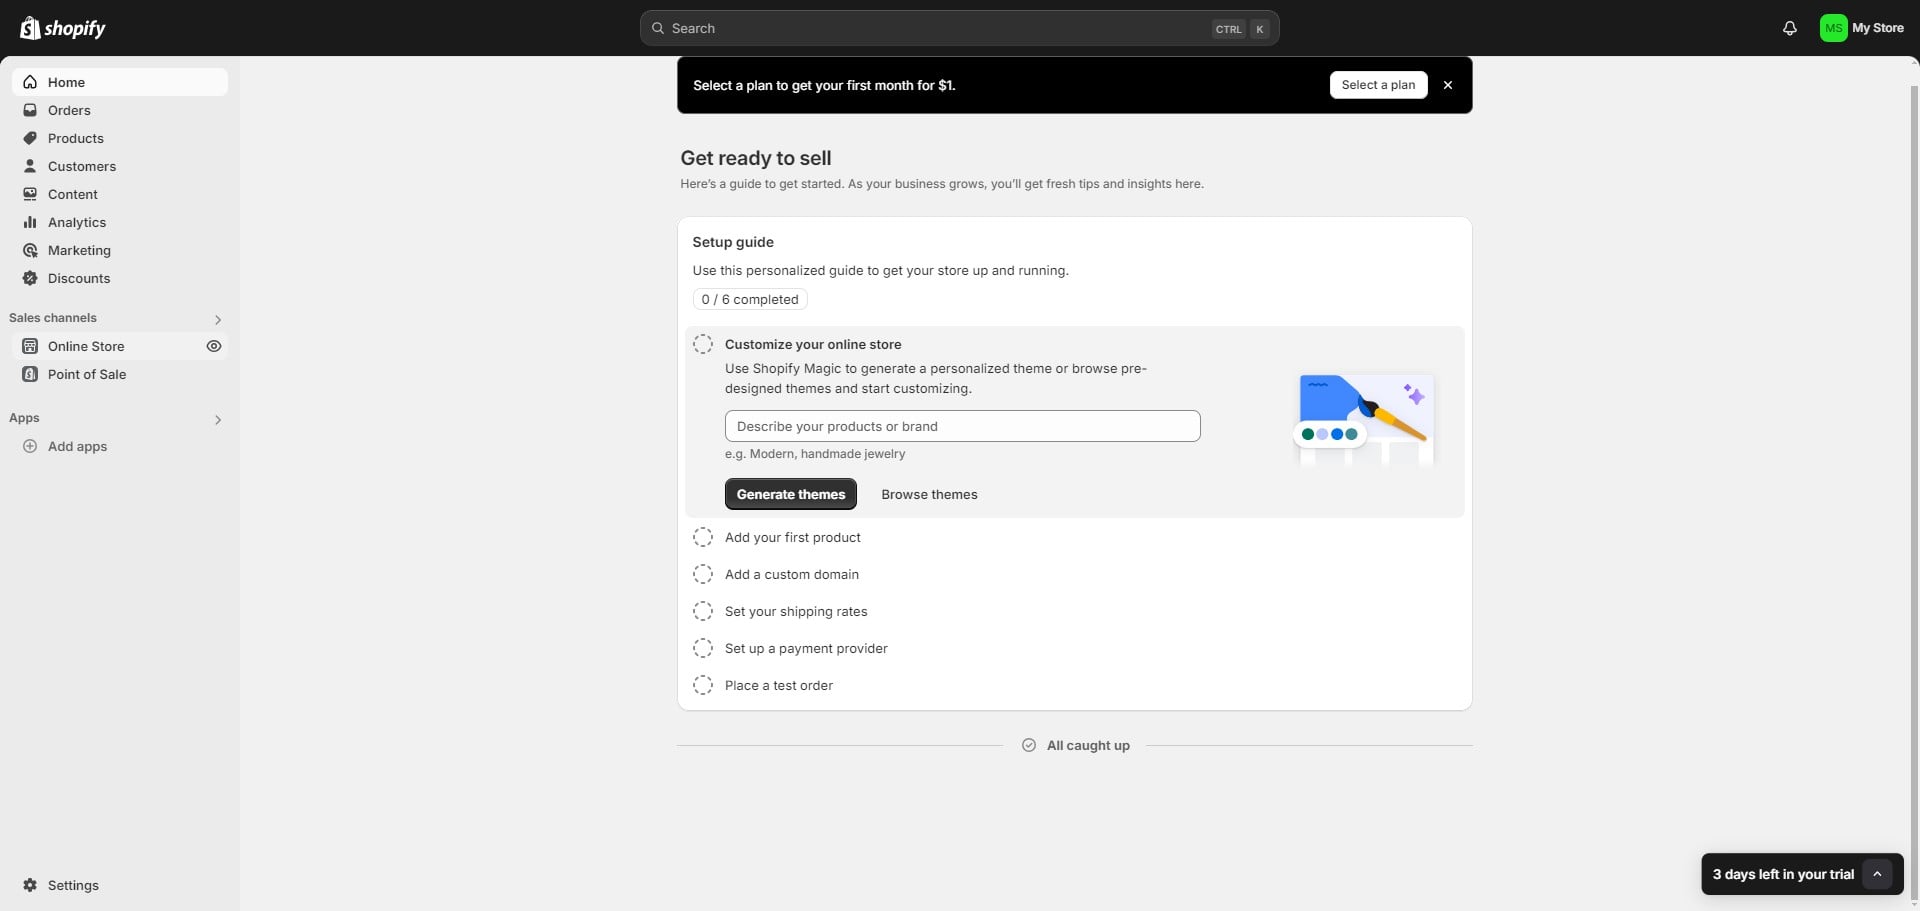

Click on the "Themes" button.
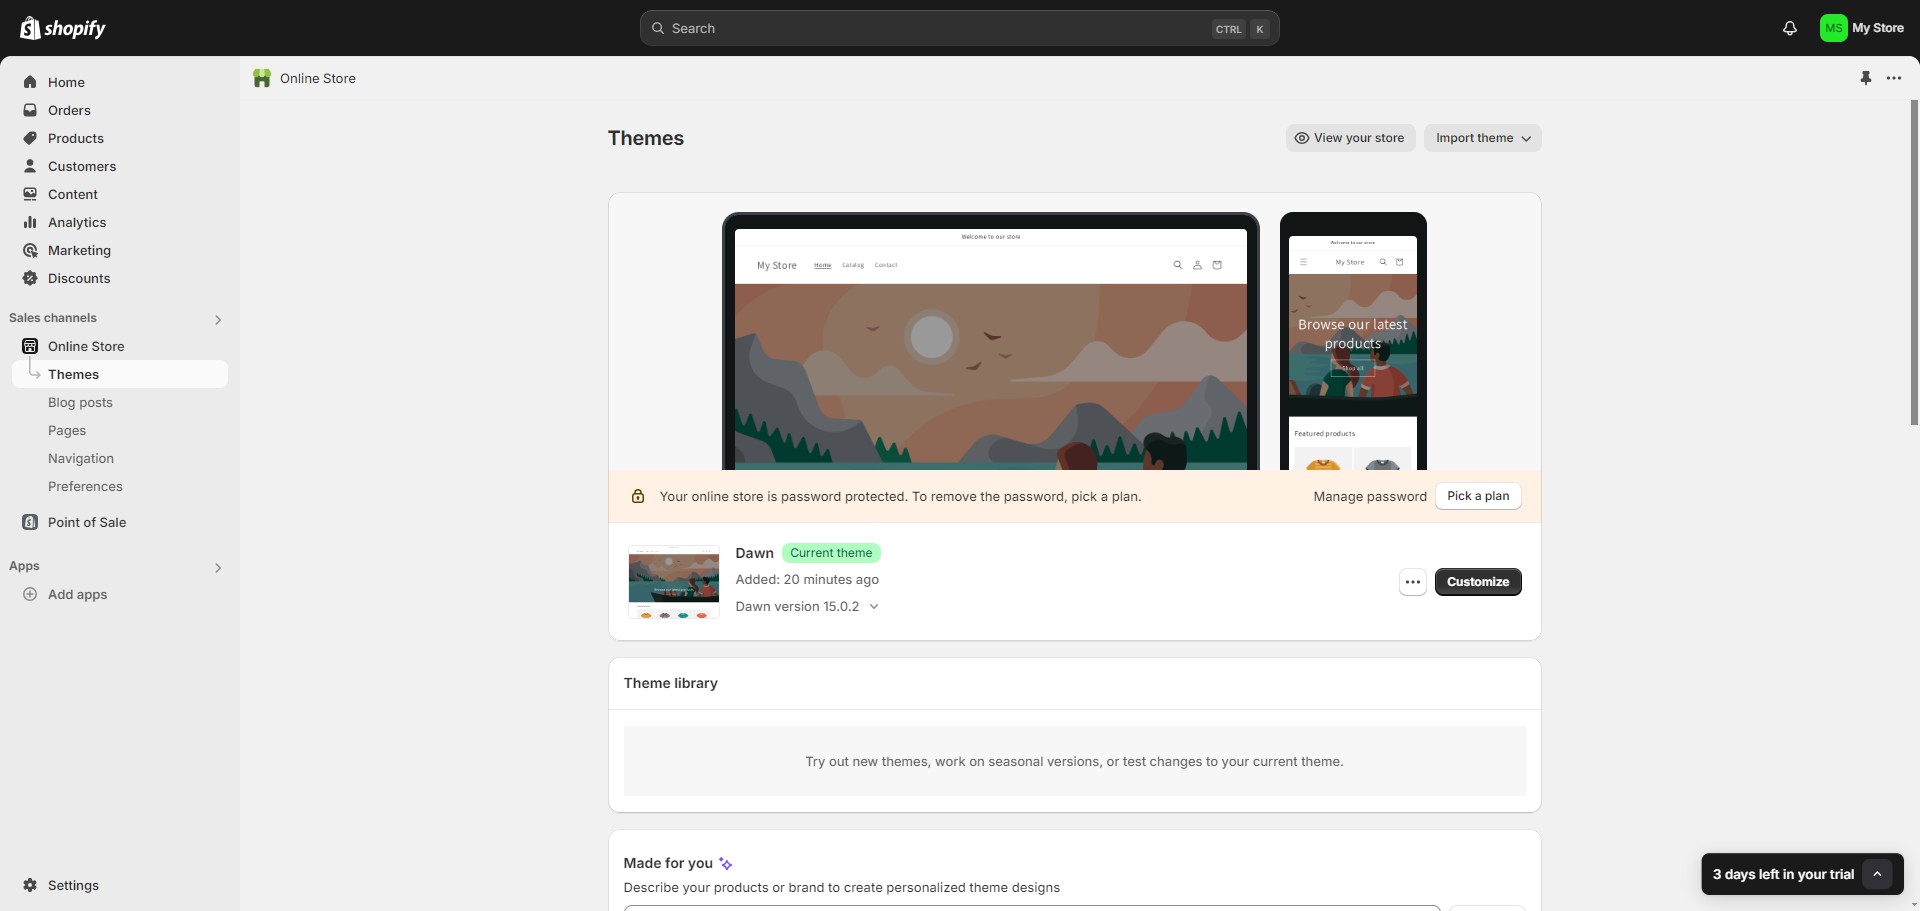
Click the "Three Dots" icon
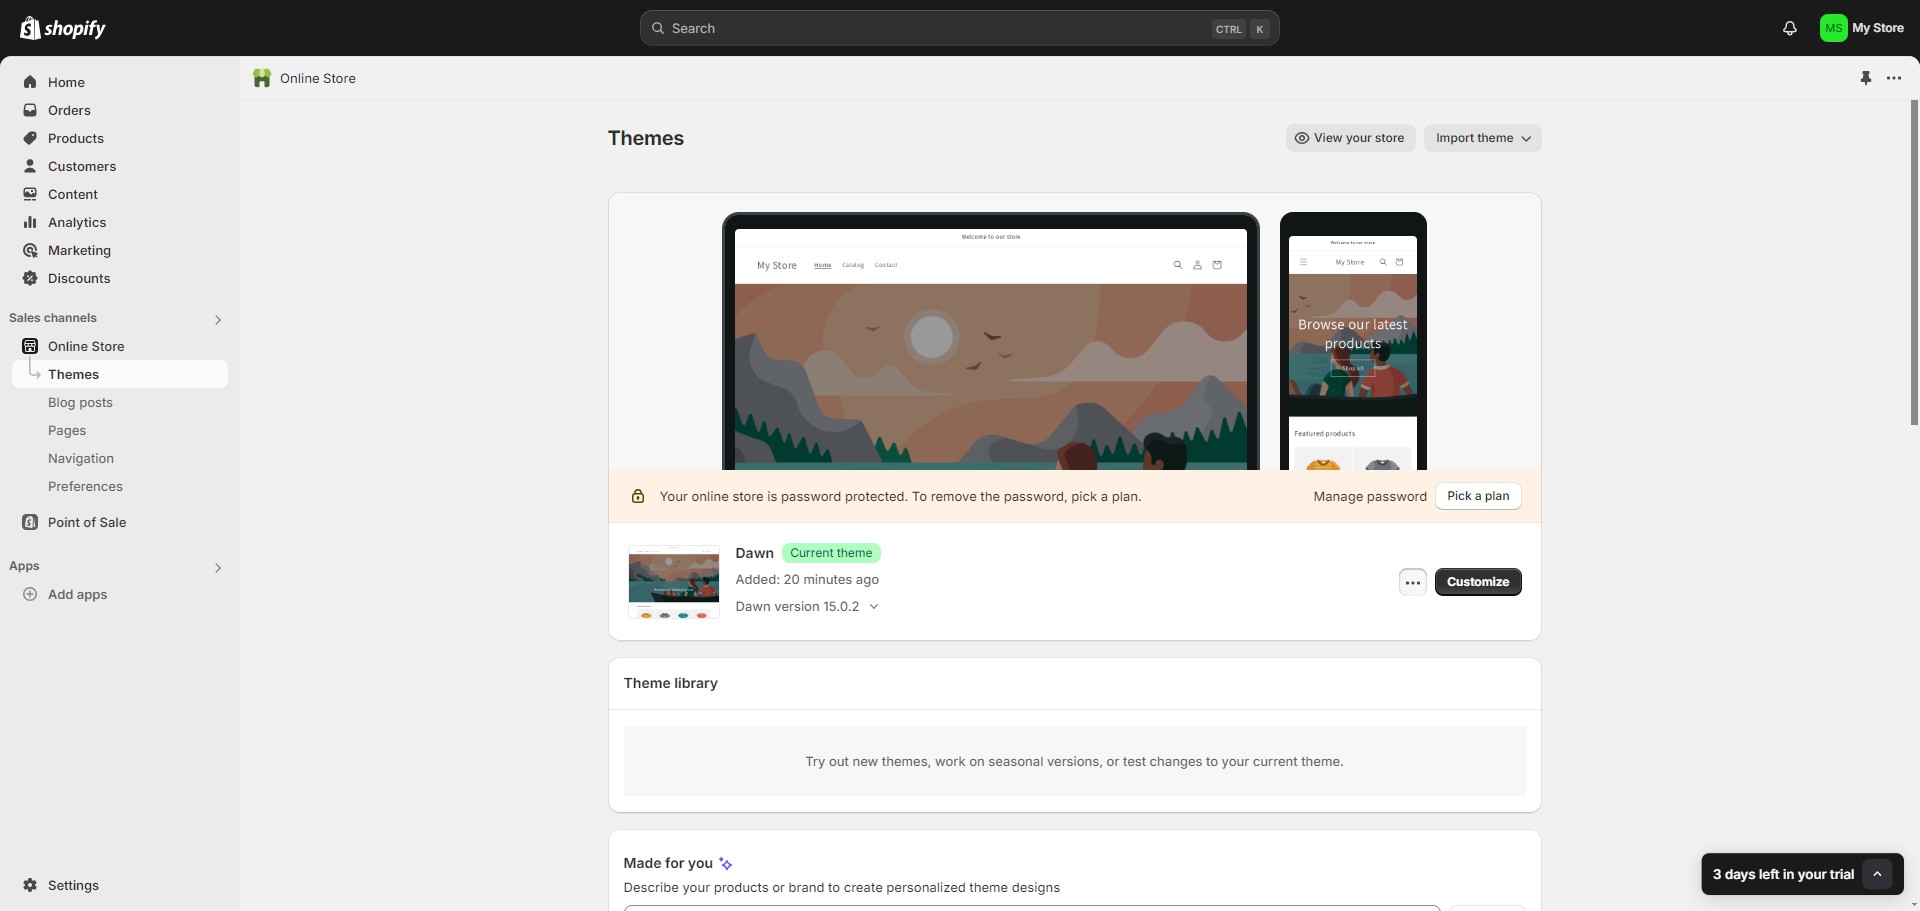
Click on "Edit code"
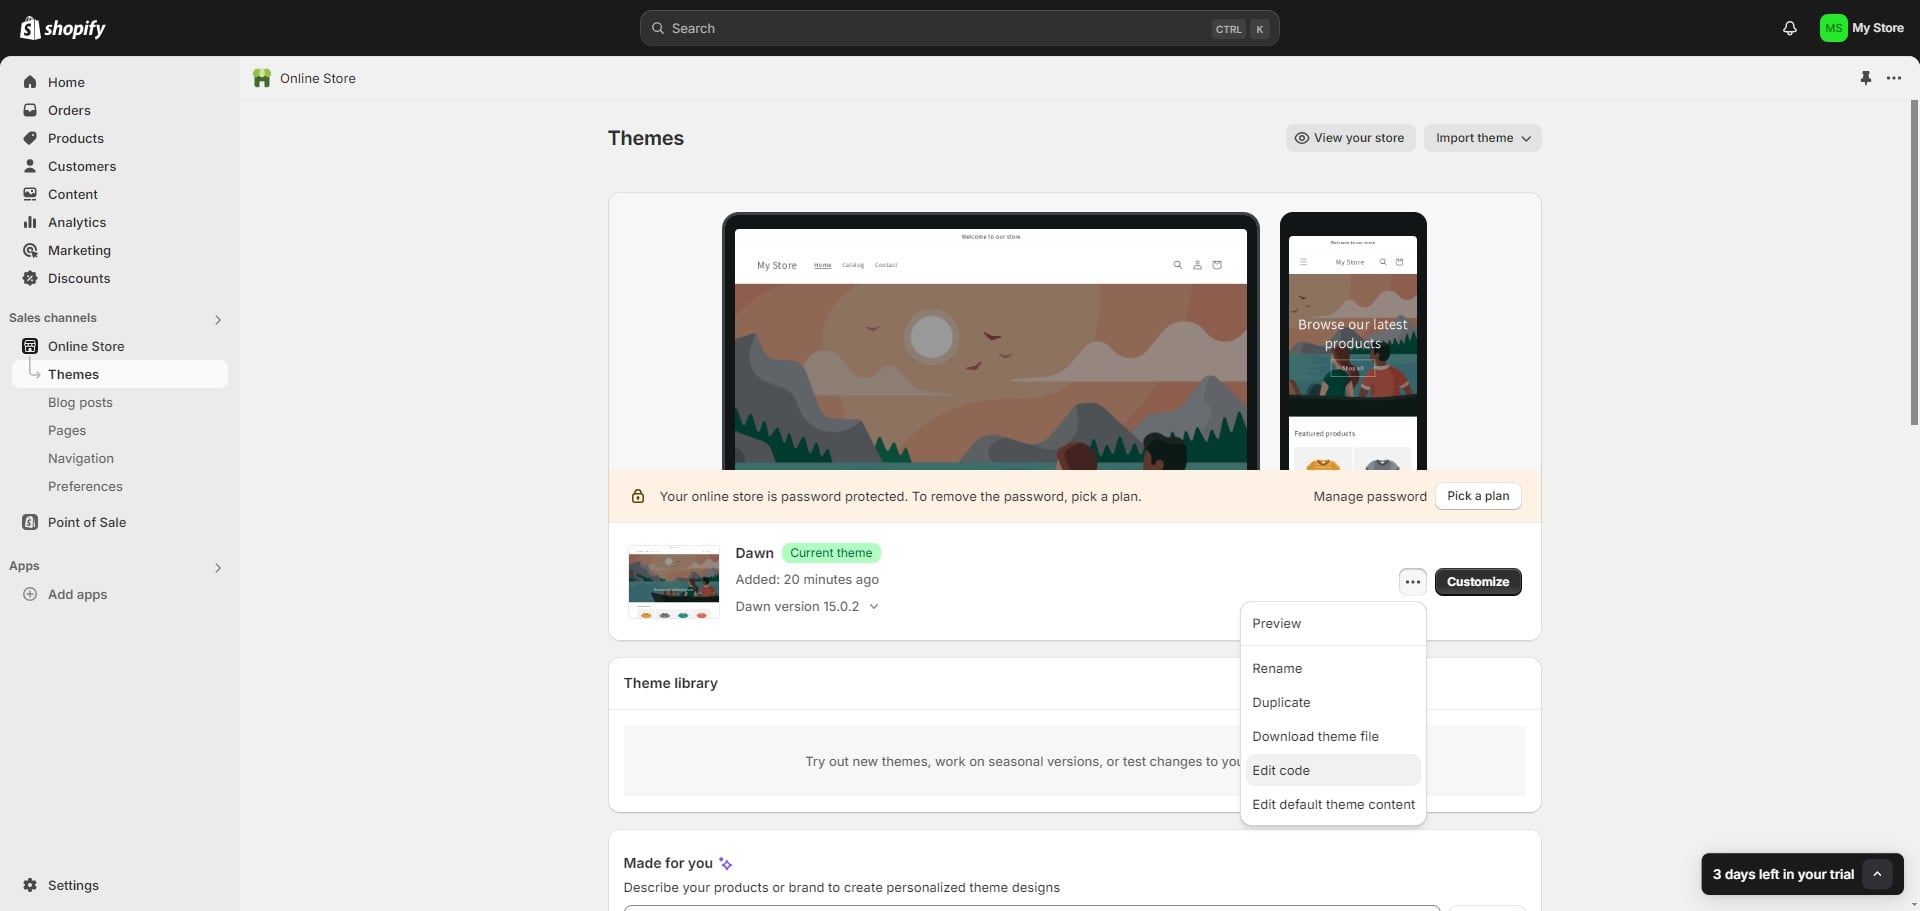
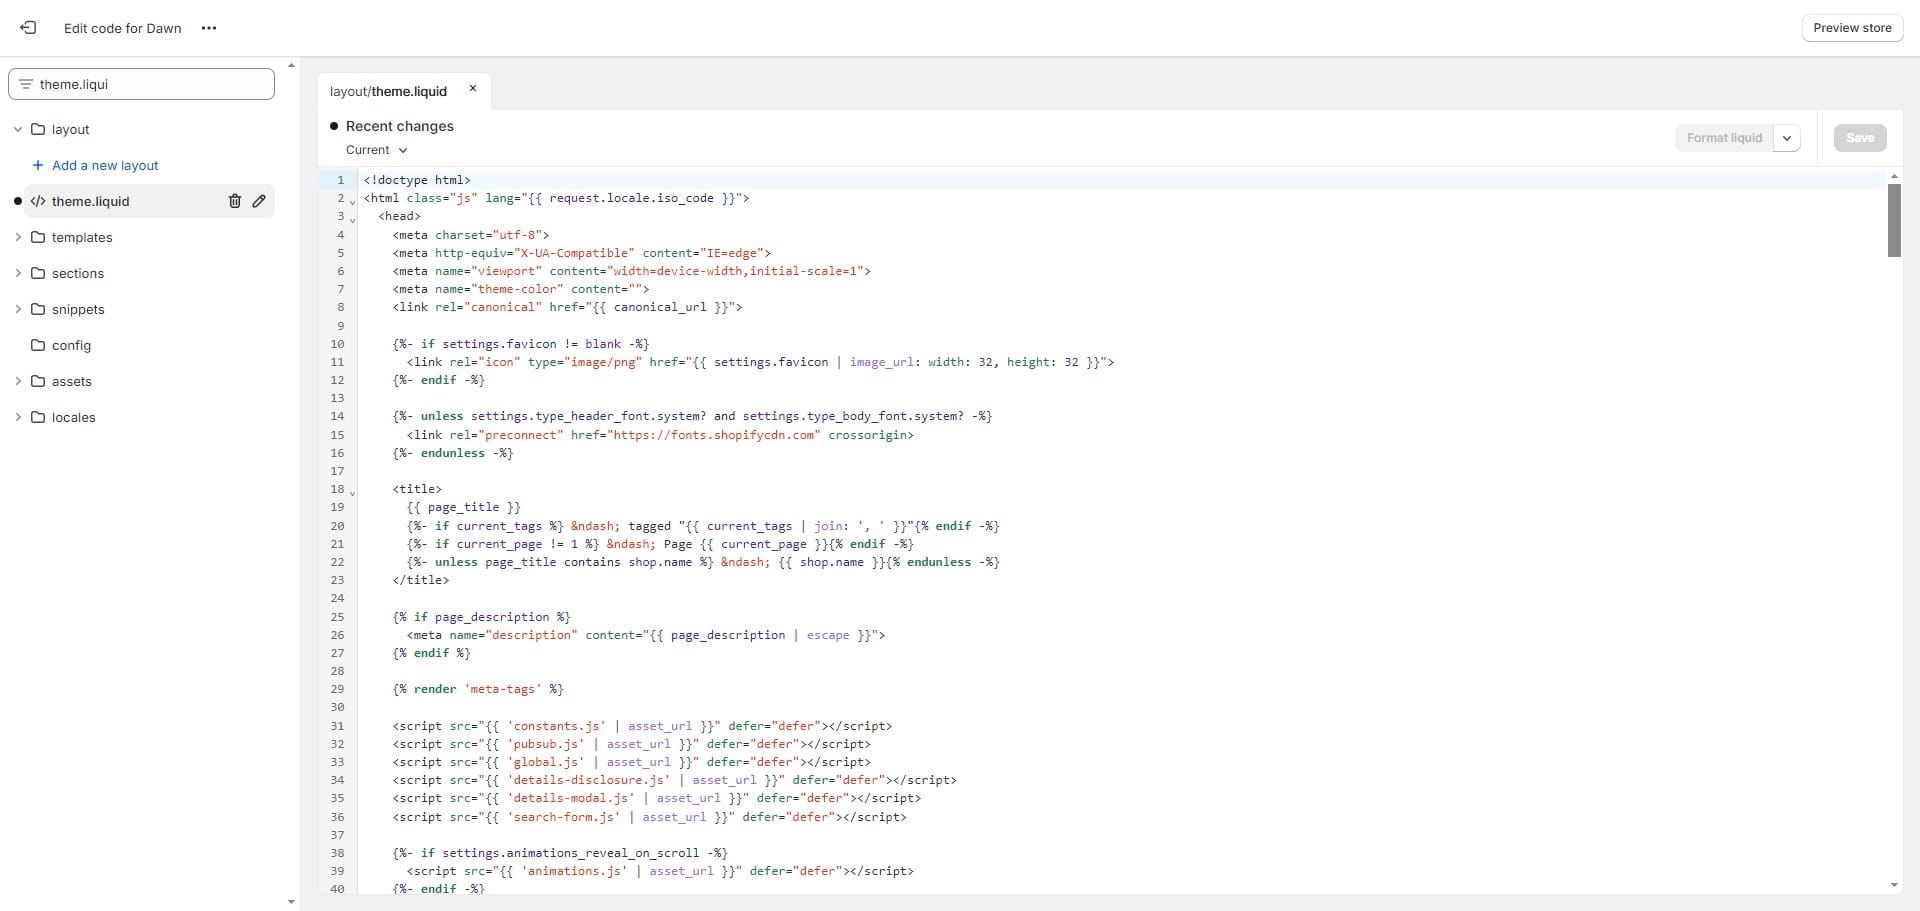
In the search bar, type "theme.liquid"
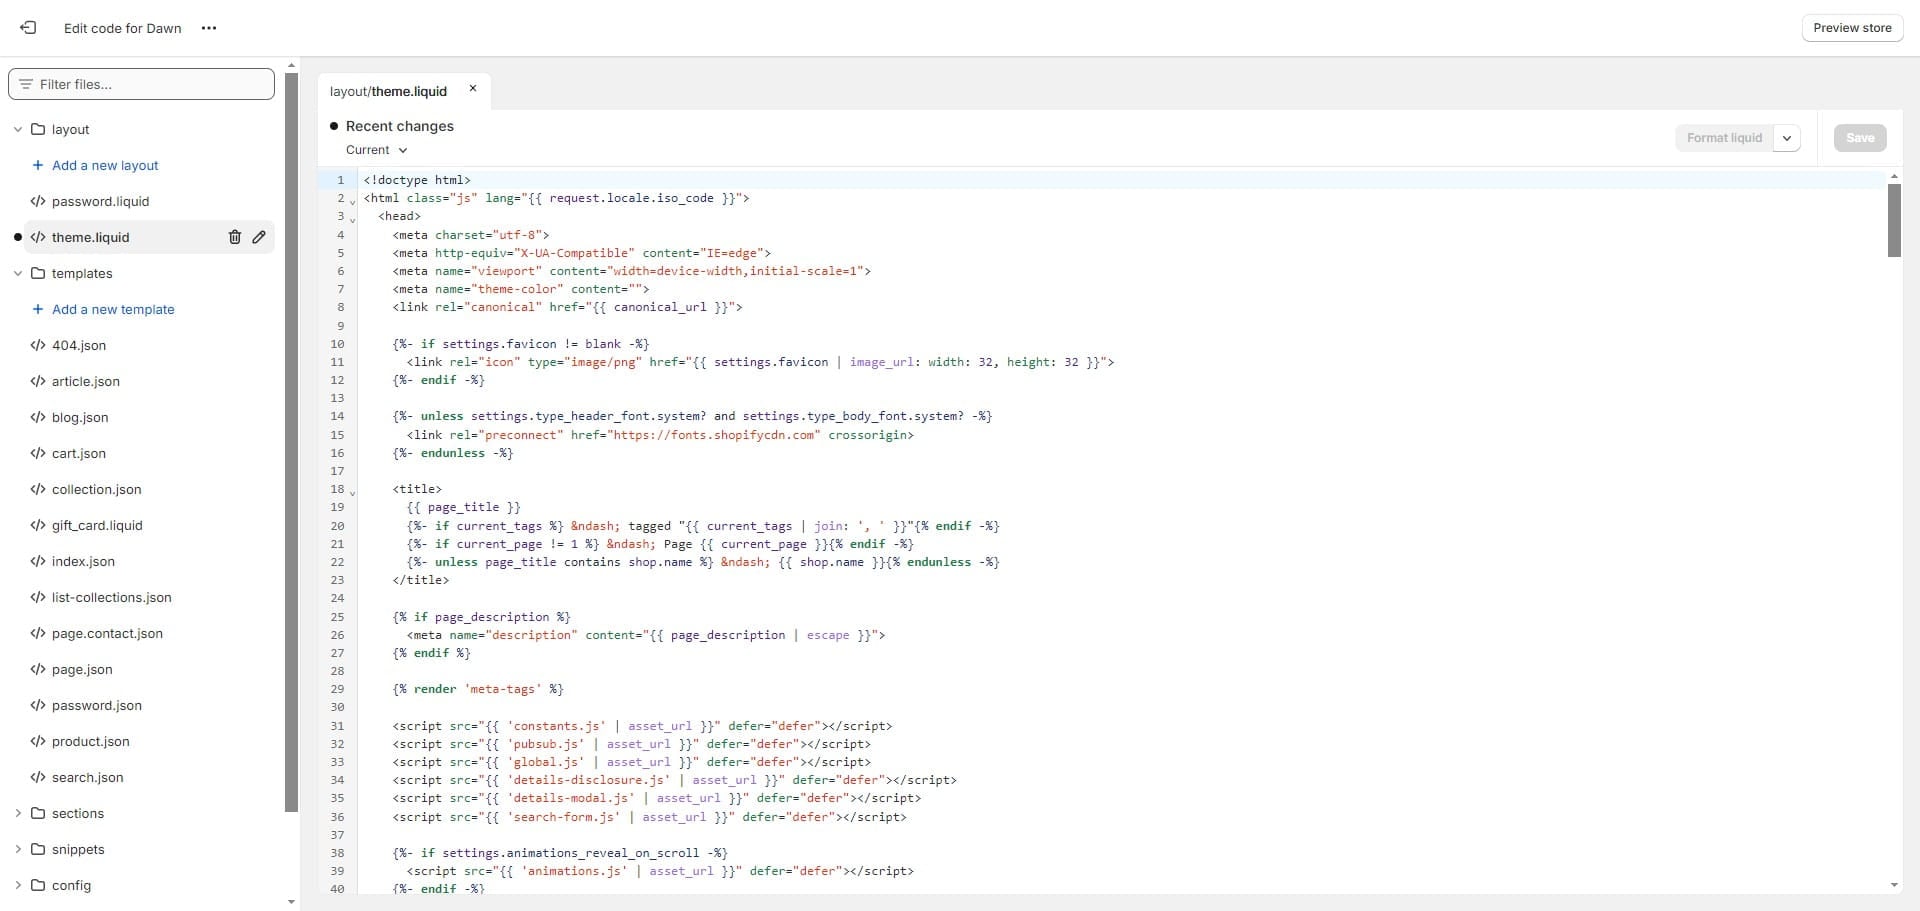
Select the theme.liquid layout.
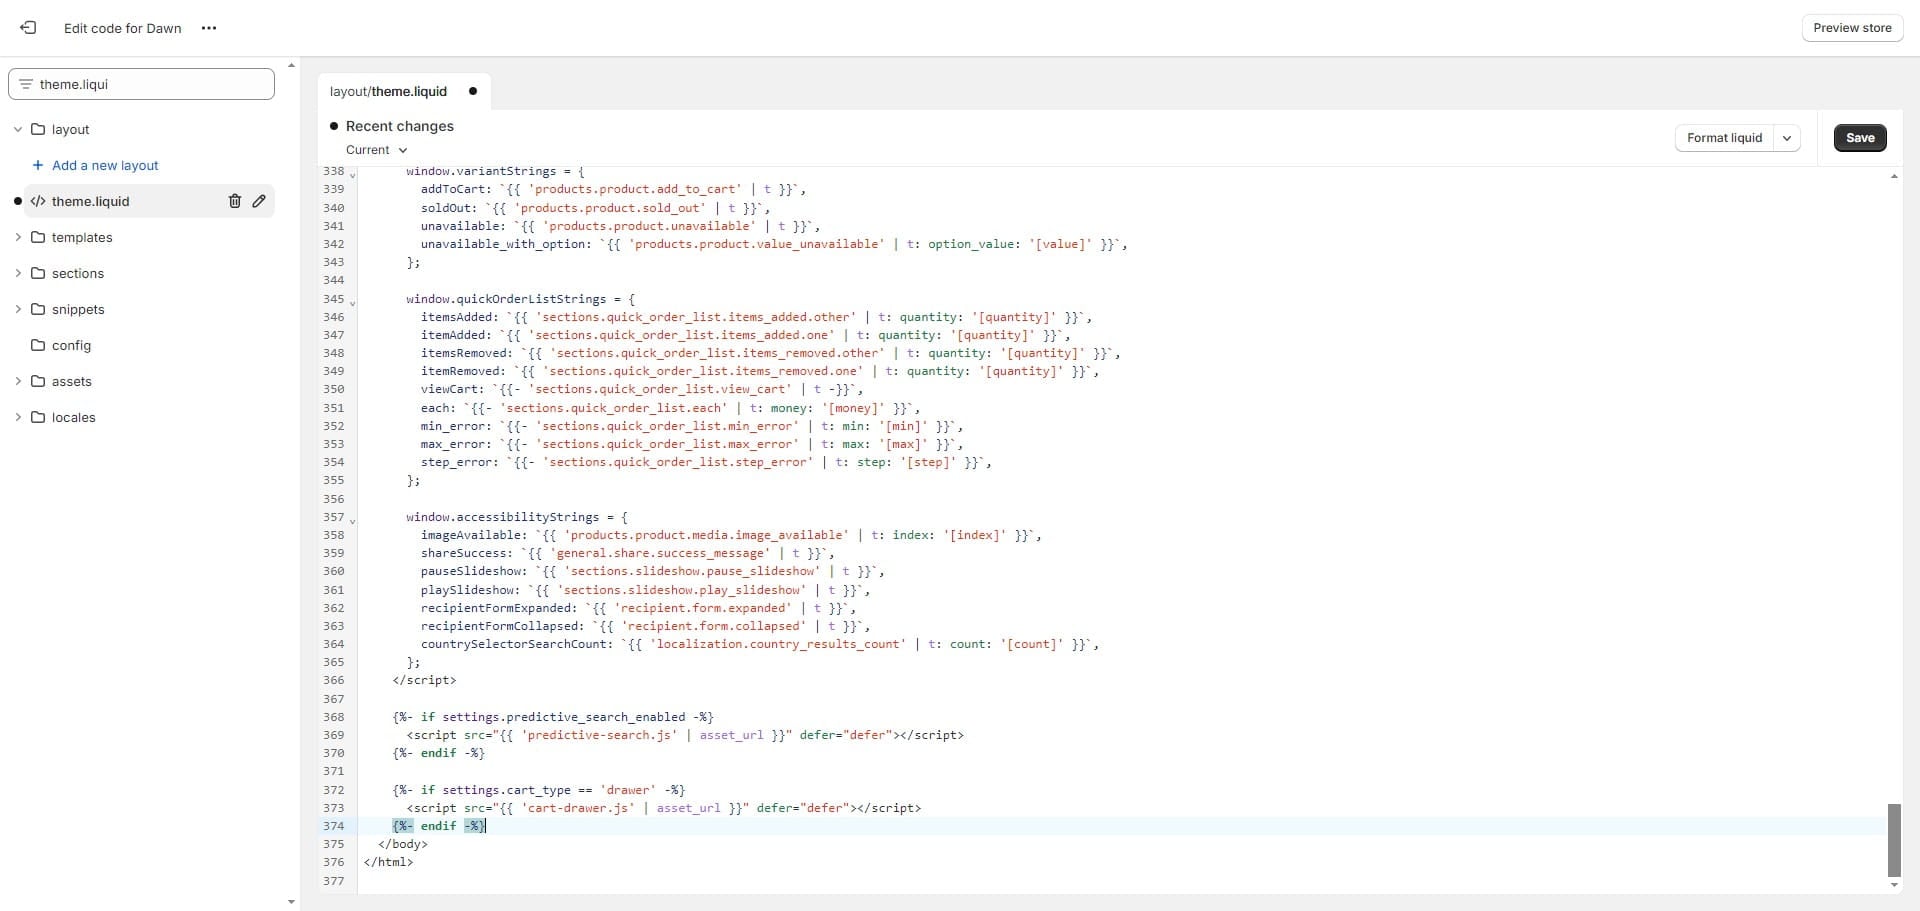
Scroll to the bottom of the editor panel until you see </body> and above it you need to paste the chatbot embed script code.
Open your chatbot and click on the "Deploy" button to open this page.
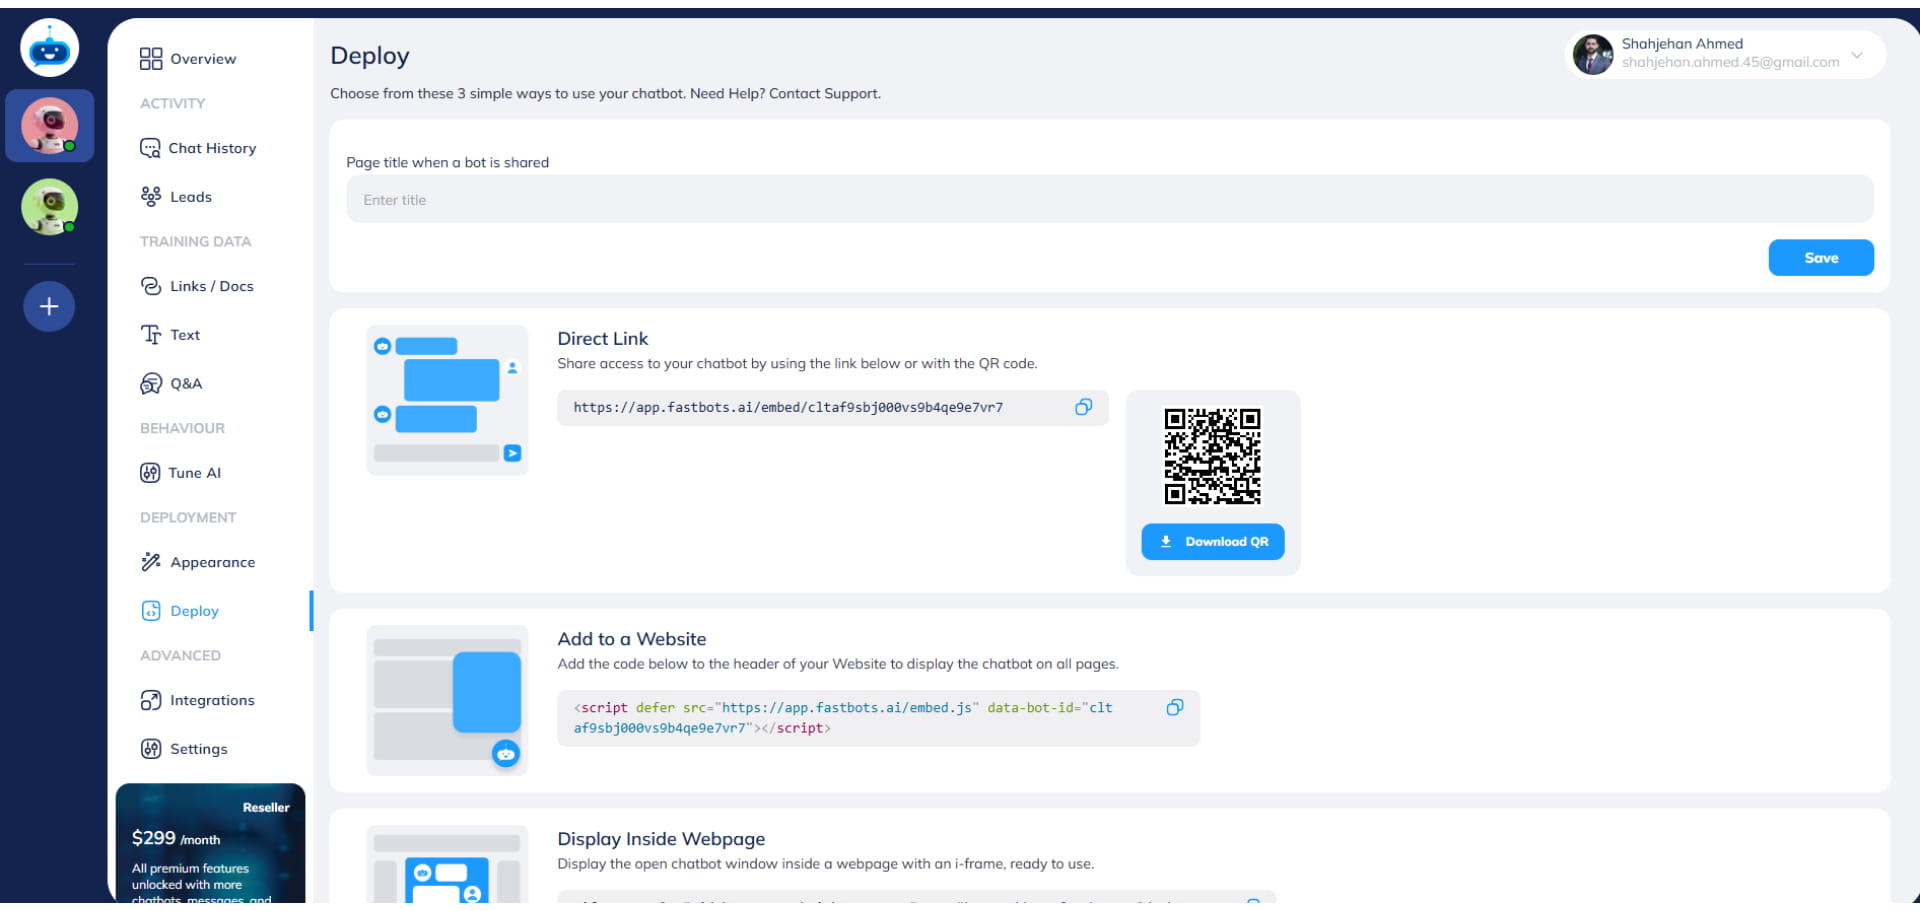
Copy the "Add to a Website" script code.
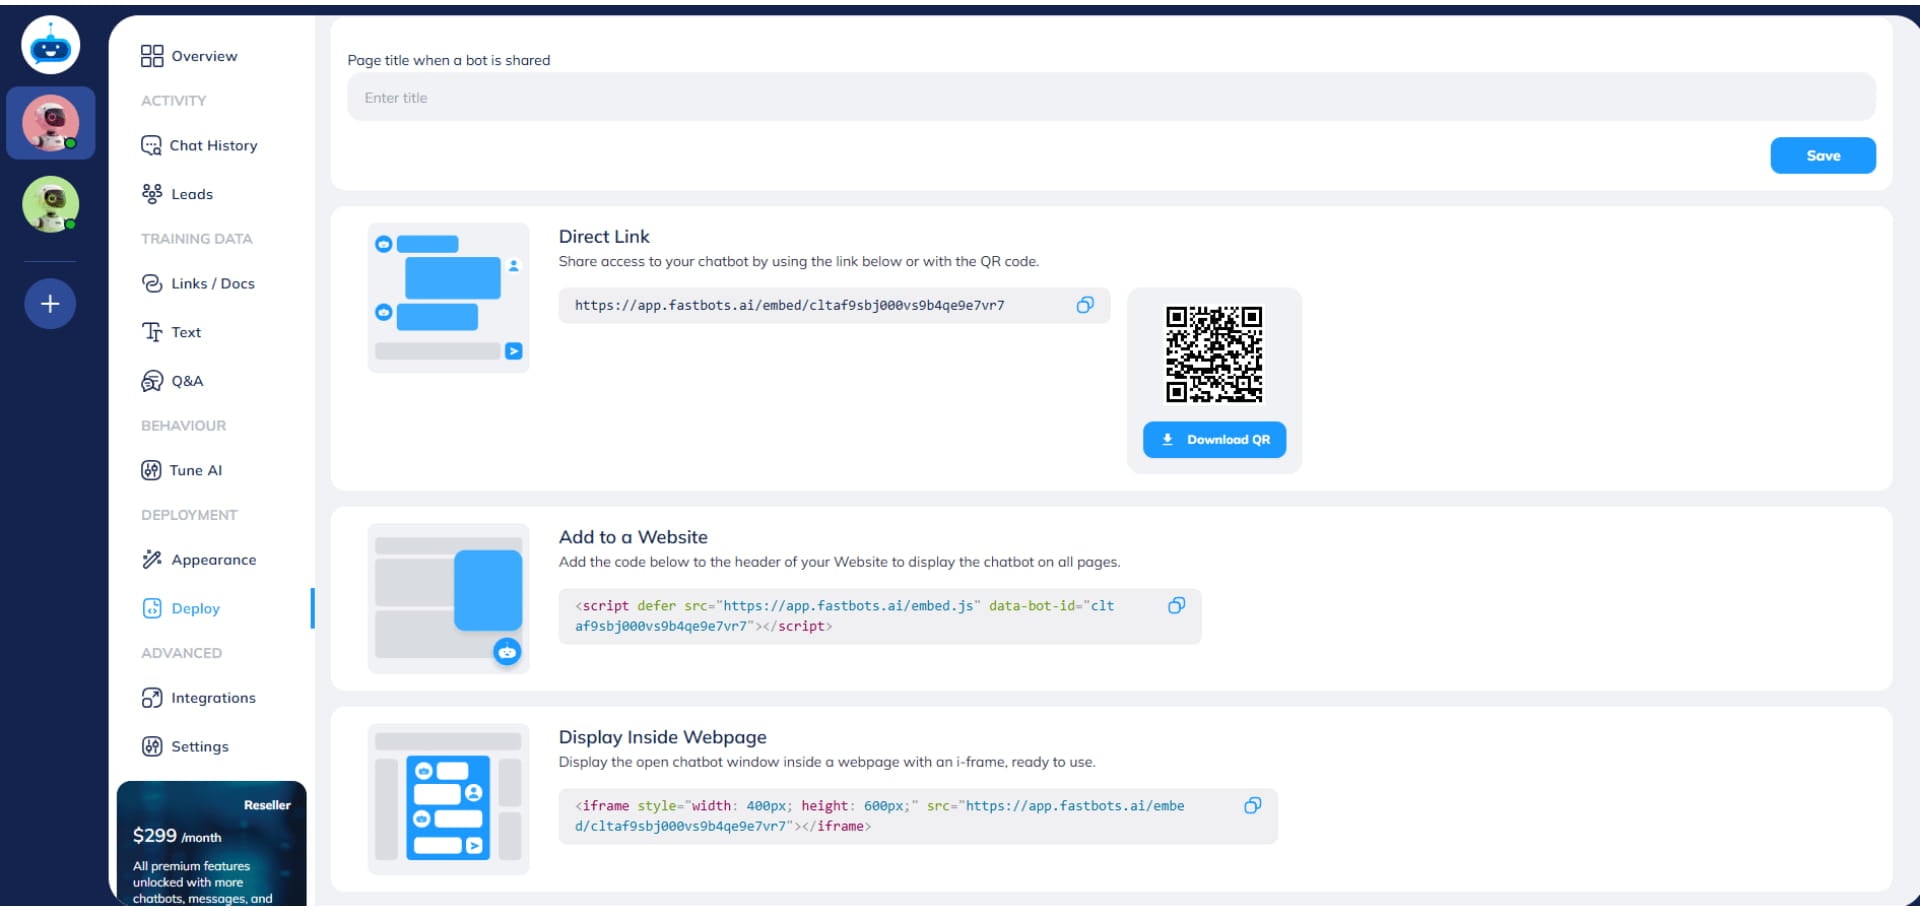
Add the embed script code above </body> in the editor panel.
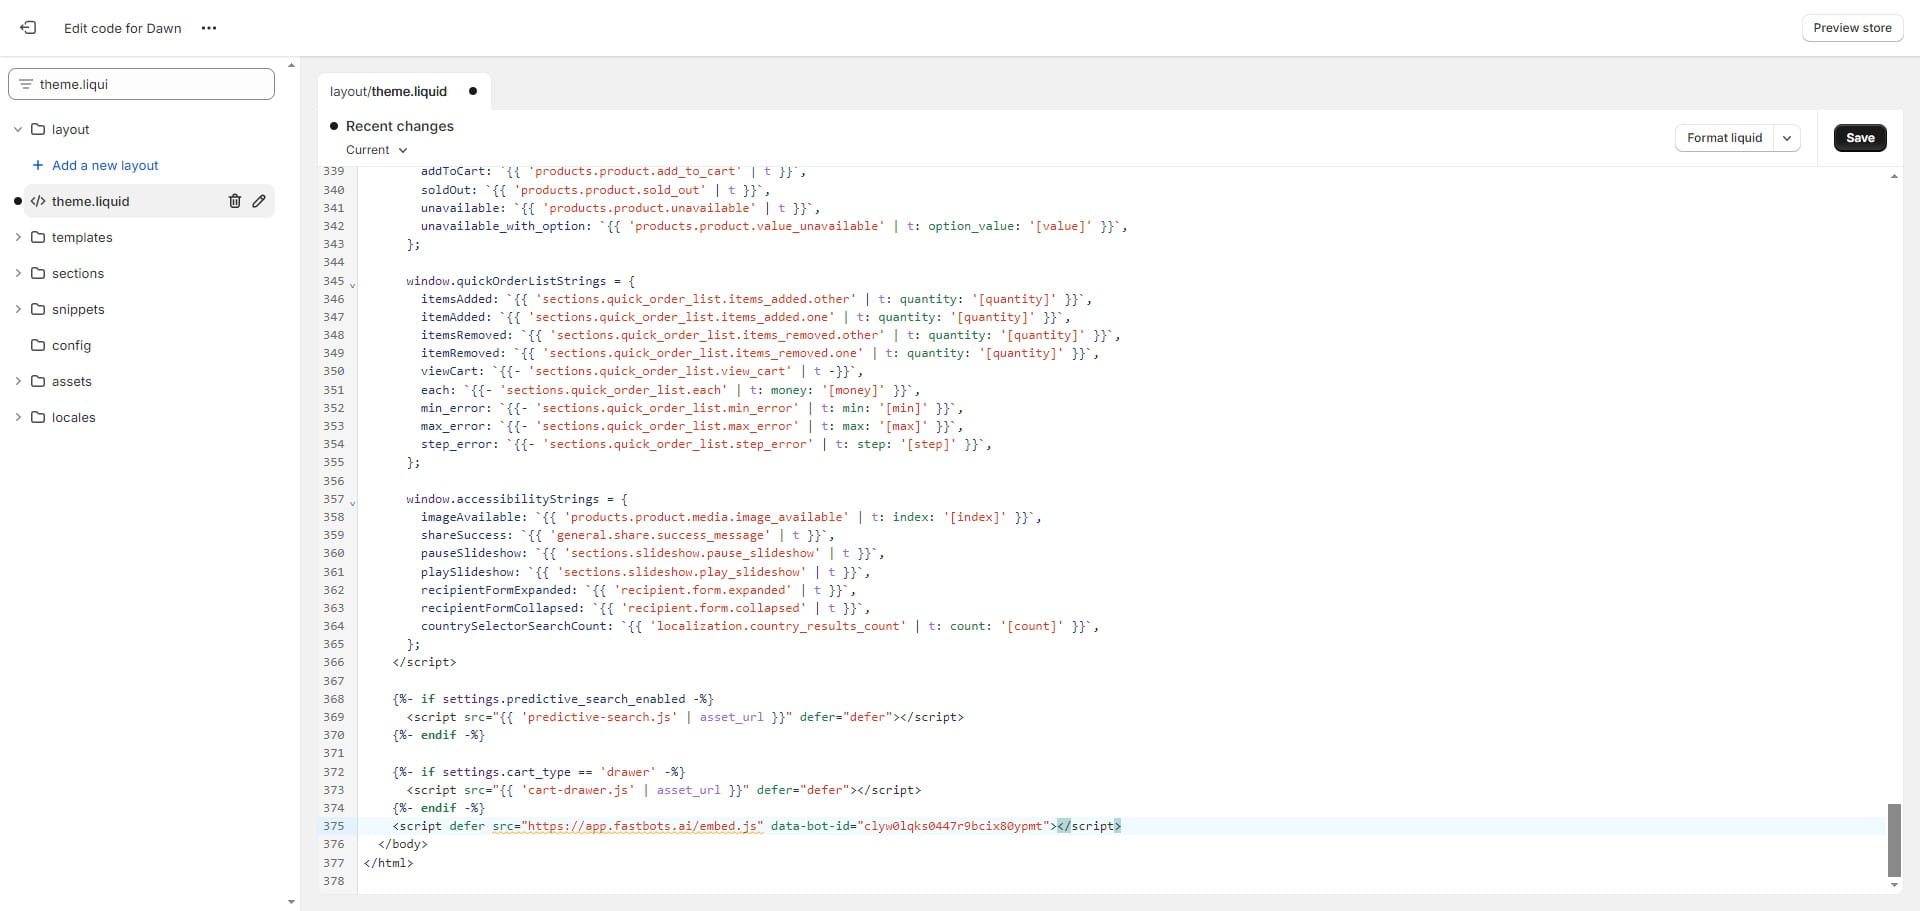
Click on the "Save" button.
You will receive the "Asset saved" notification once the changes are successfully saved.
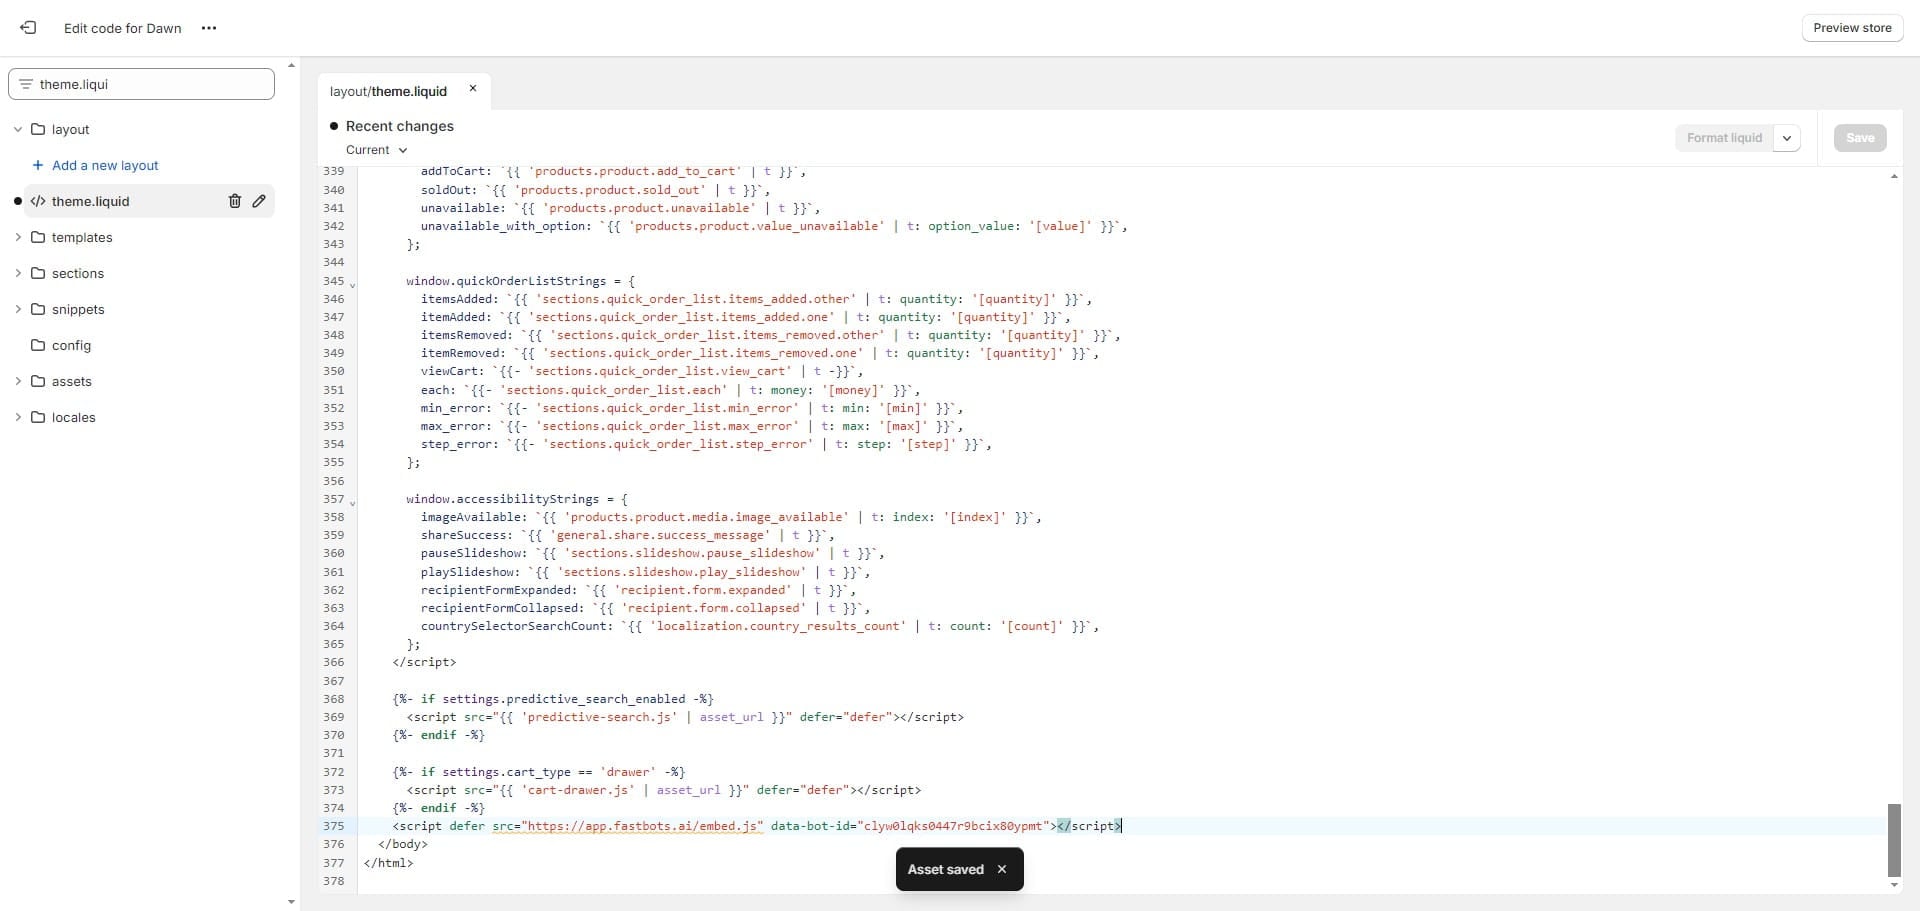
Click this icon to exit this screen.
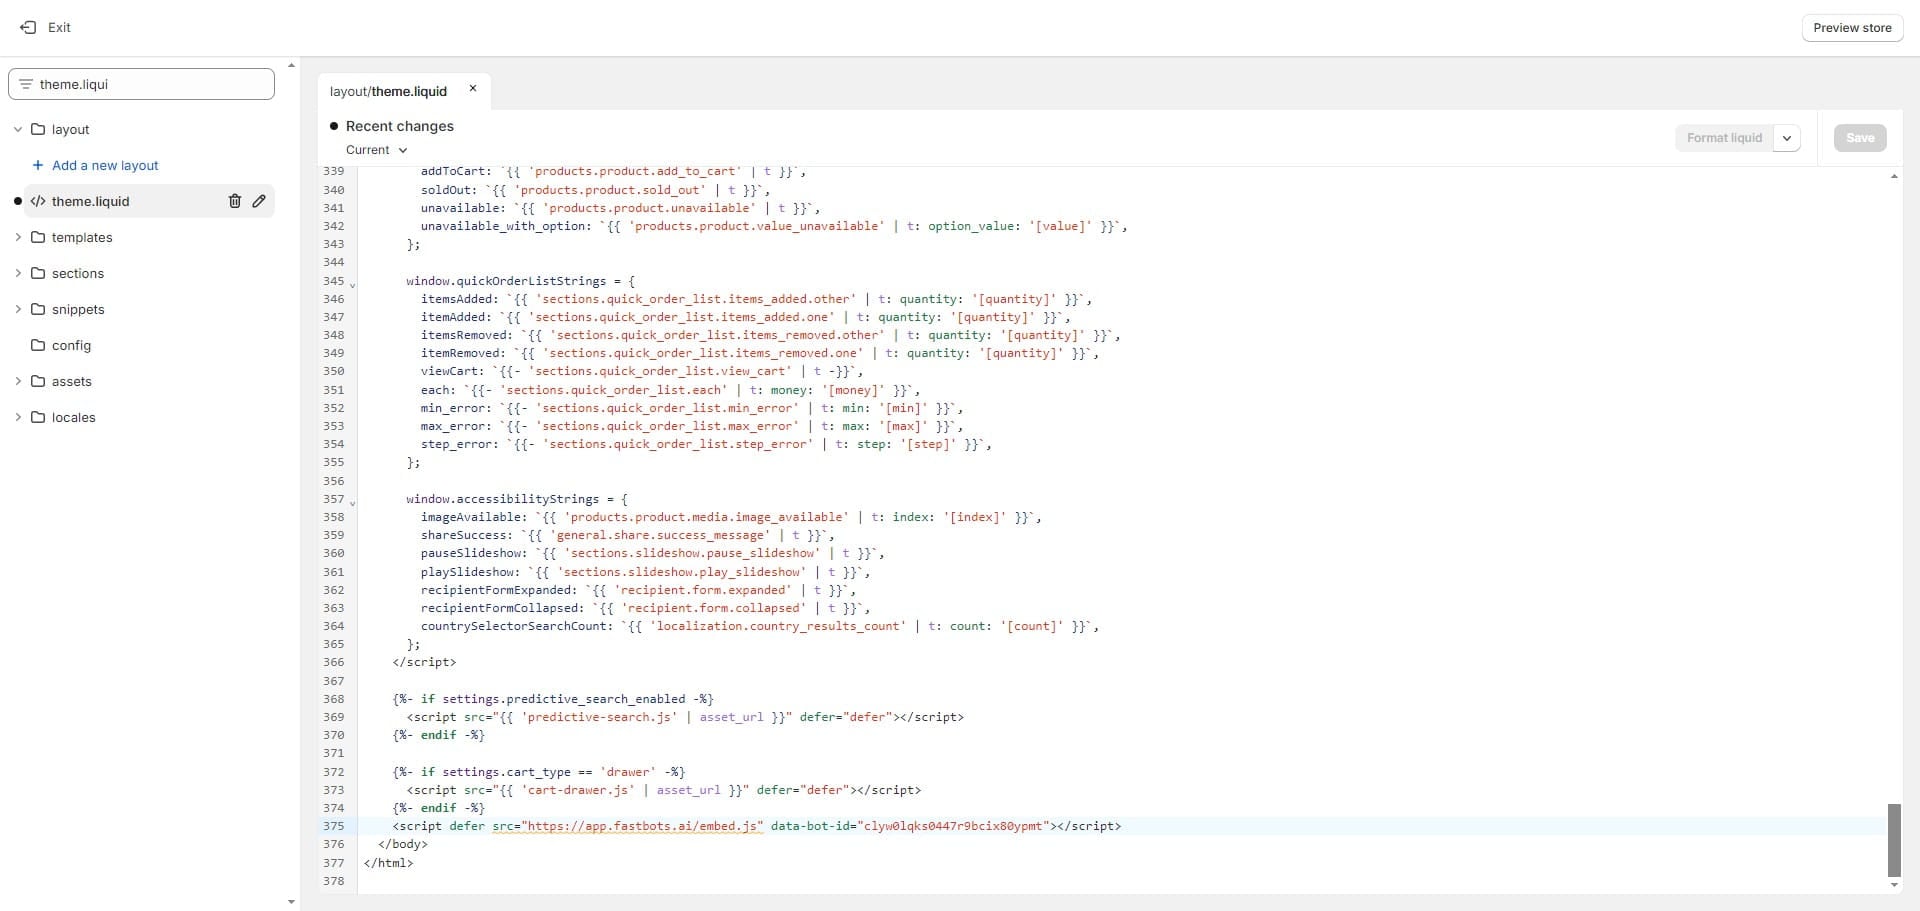
Click this icon to view your online store in real time.
You should be able to see the chatbot on your website now. If the chat does not appear immediately on your website then try refreshing your website (F5).
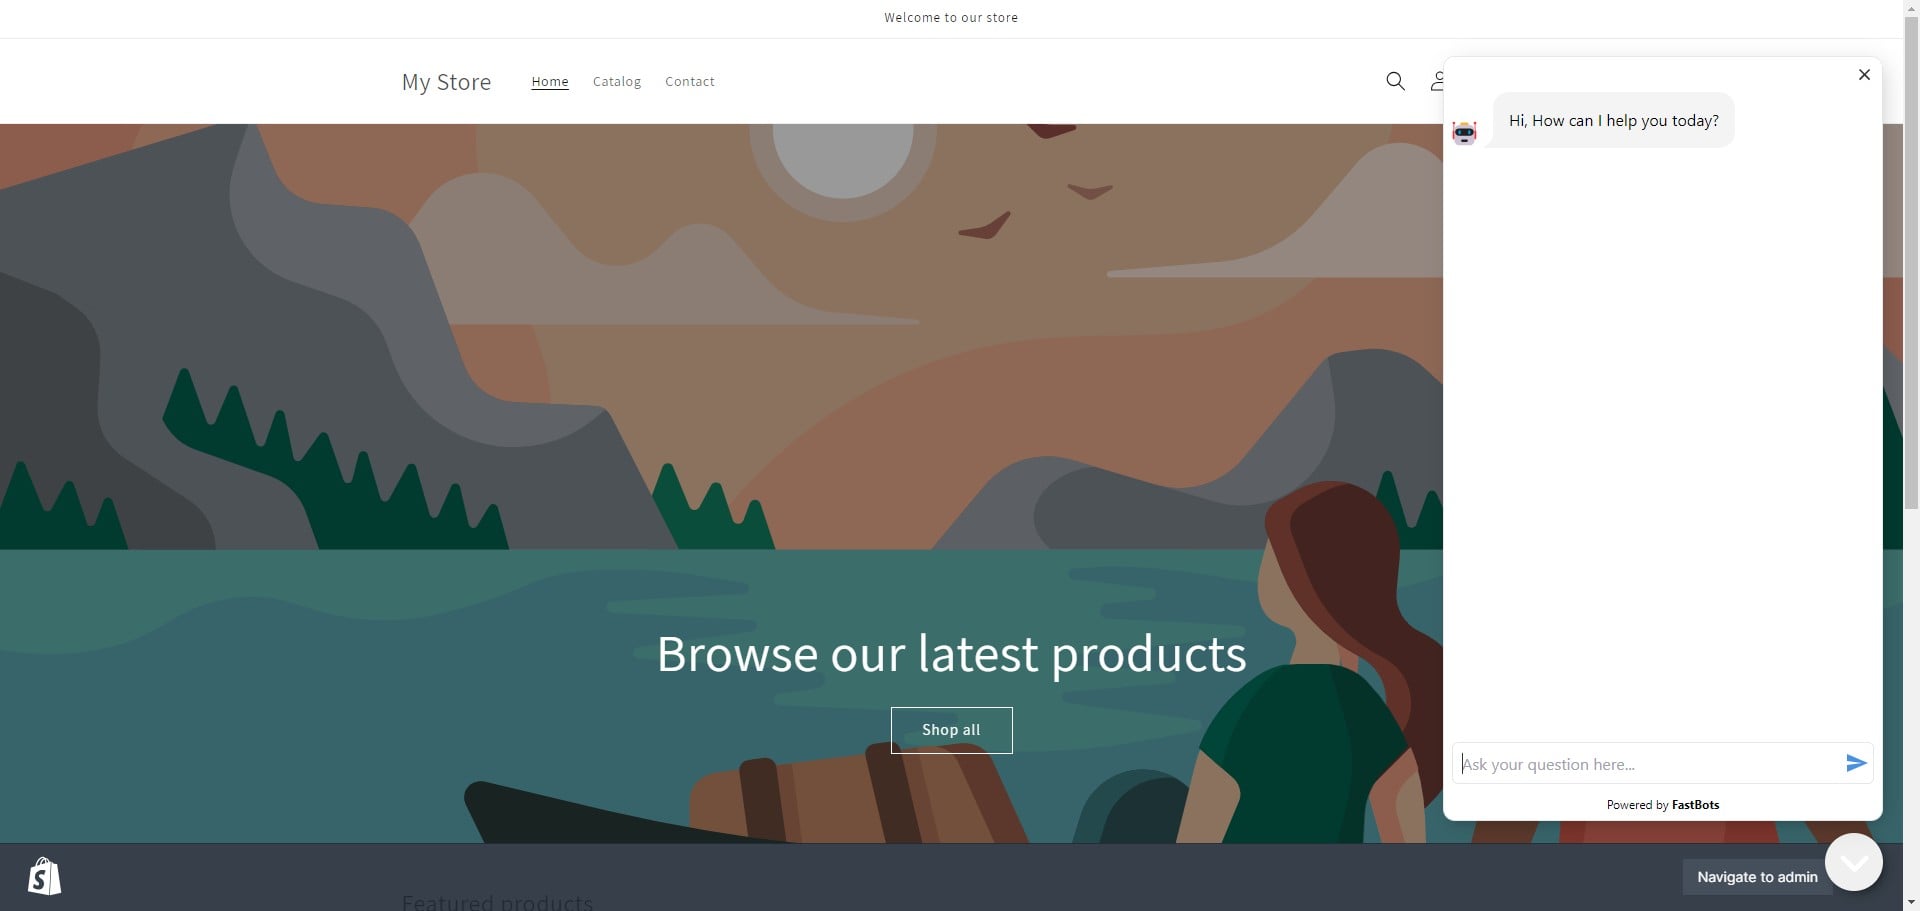
Done 🚀 You've successfully installed the chatbot on your Shopify store. Enable and test voice In FastBots, open Deployment → Chat Widget → Conversation Options. Choose Text and Voice or Voice Only, configure your voice settings and select Save Changes. After installation, open your website or shared chatbot link as a visitor. Start a voice conversation, allow microphone access and check that you can hear a reply. If you enabled text fallback, check Type instead too. Voice tests consume message credits. See the Chat Widget and Voice guide for the full setup. The setup wizard still creates a text chatbot; voice is enabled afterwards.
 for the full setup. The setup wizard still creates a text chatbot; voice is enabled afterwards.](https://assets.guidejar.com/uploads/d0271748-1da8-40ac-871d-d3bb07b6a2d6/EWaUlLbQzcRPZ6mZqBZ6GyhoWZy2/141c6d88-da05-4207-a35e-1f38464c8cb0/1724803326555.jpeg)