

Quick Chatbot Setup Guide
Learn how to create a new chatbot.
This video demonstrates the earlier text-chat setup. Follow the written steps below for the updated Chat Widget settings. The setup wizard currently creates a text chatbot. Enable voice afterwards under Deployment → Chat Widget → Conversation Options.
Navigate to https://app.fastbots.ai/bots/new
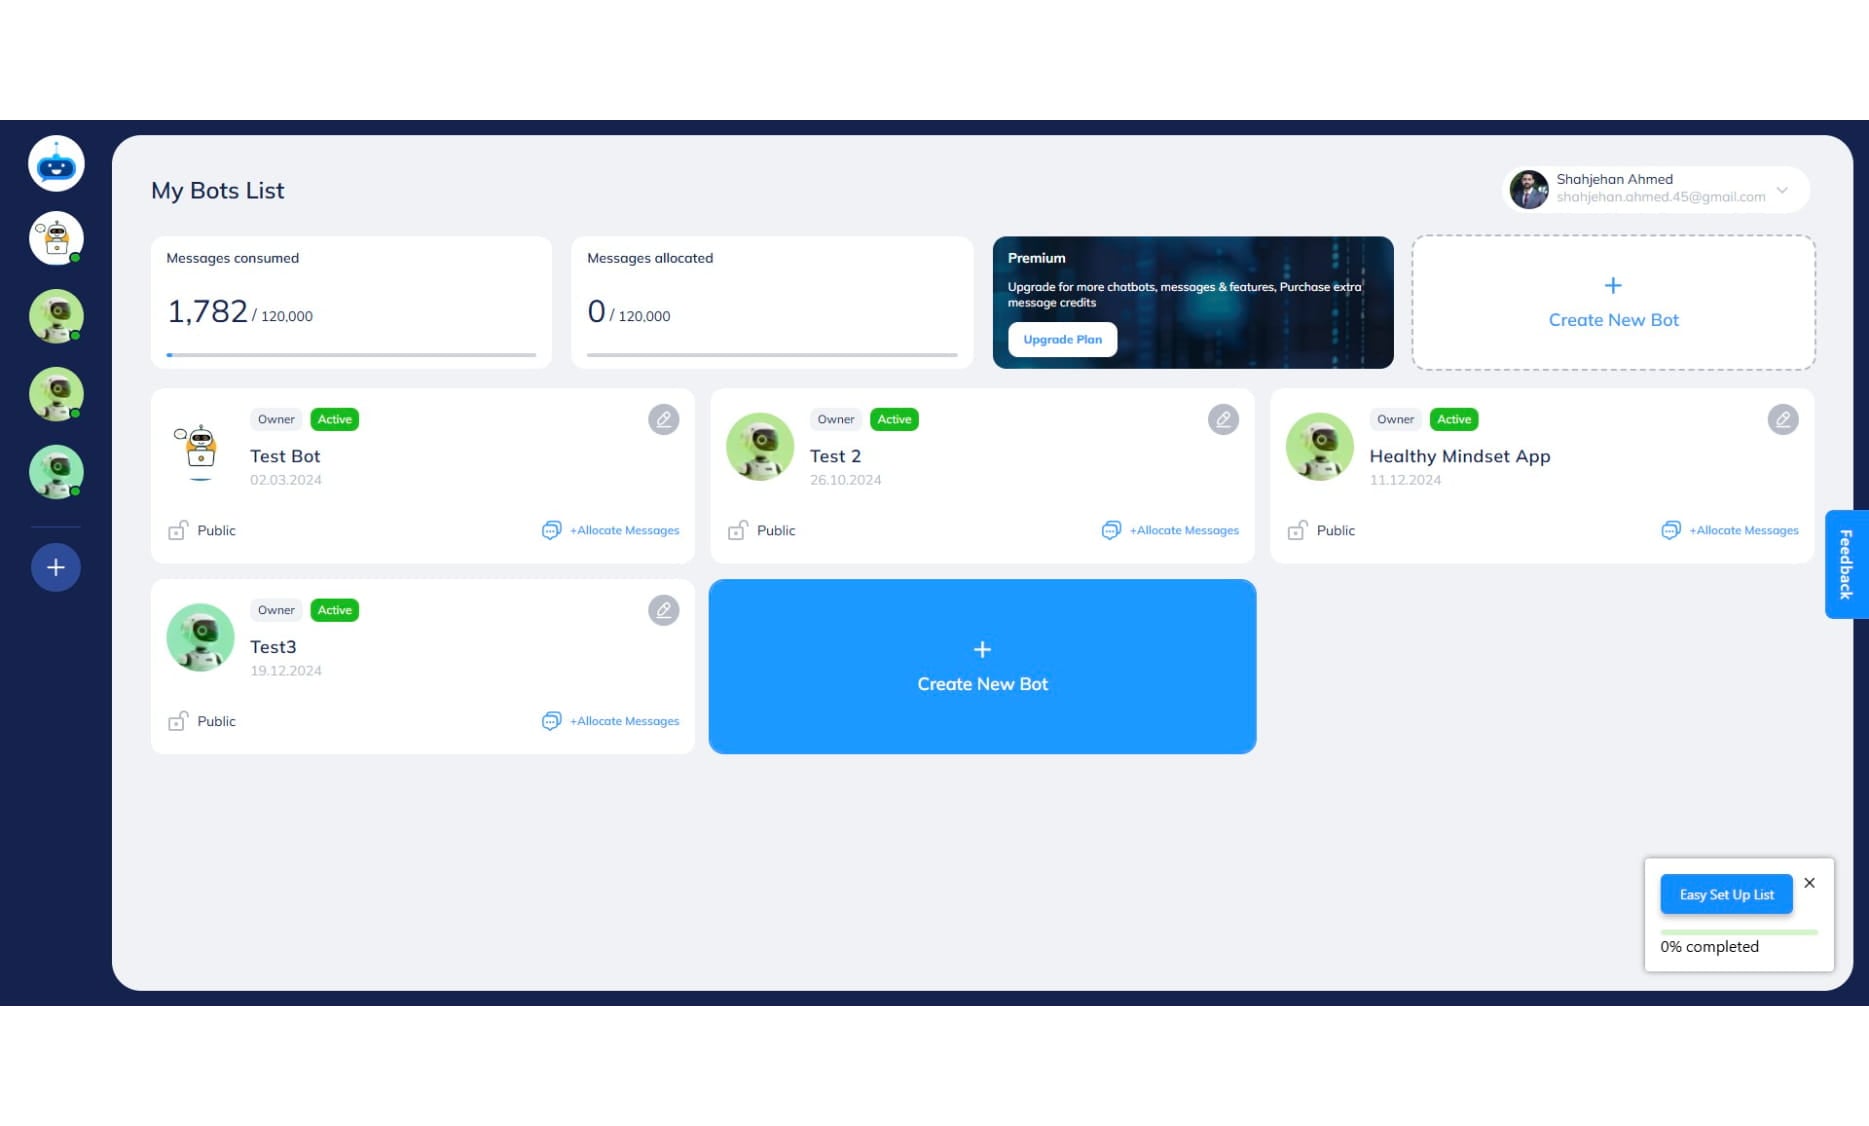
Click on "Create New Bot"

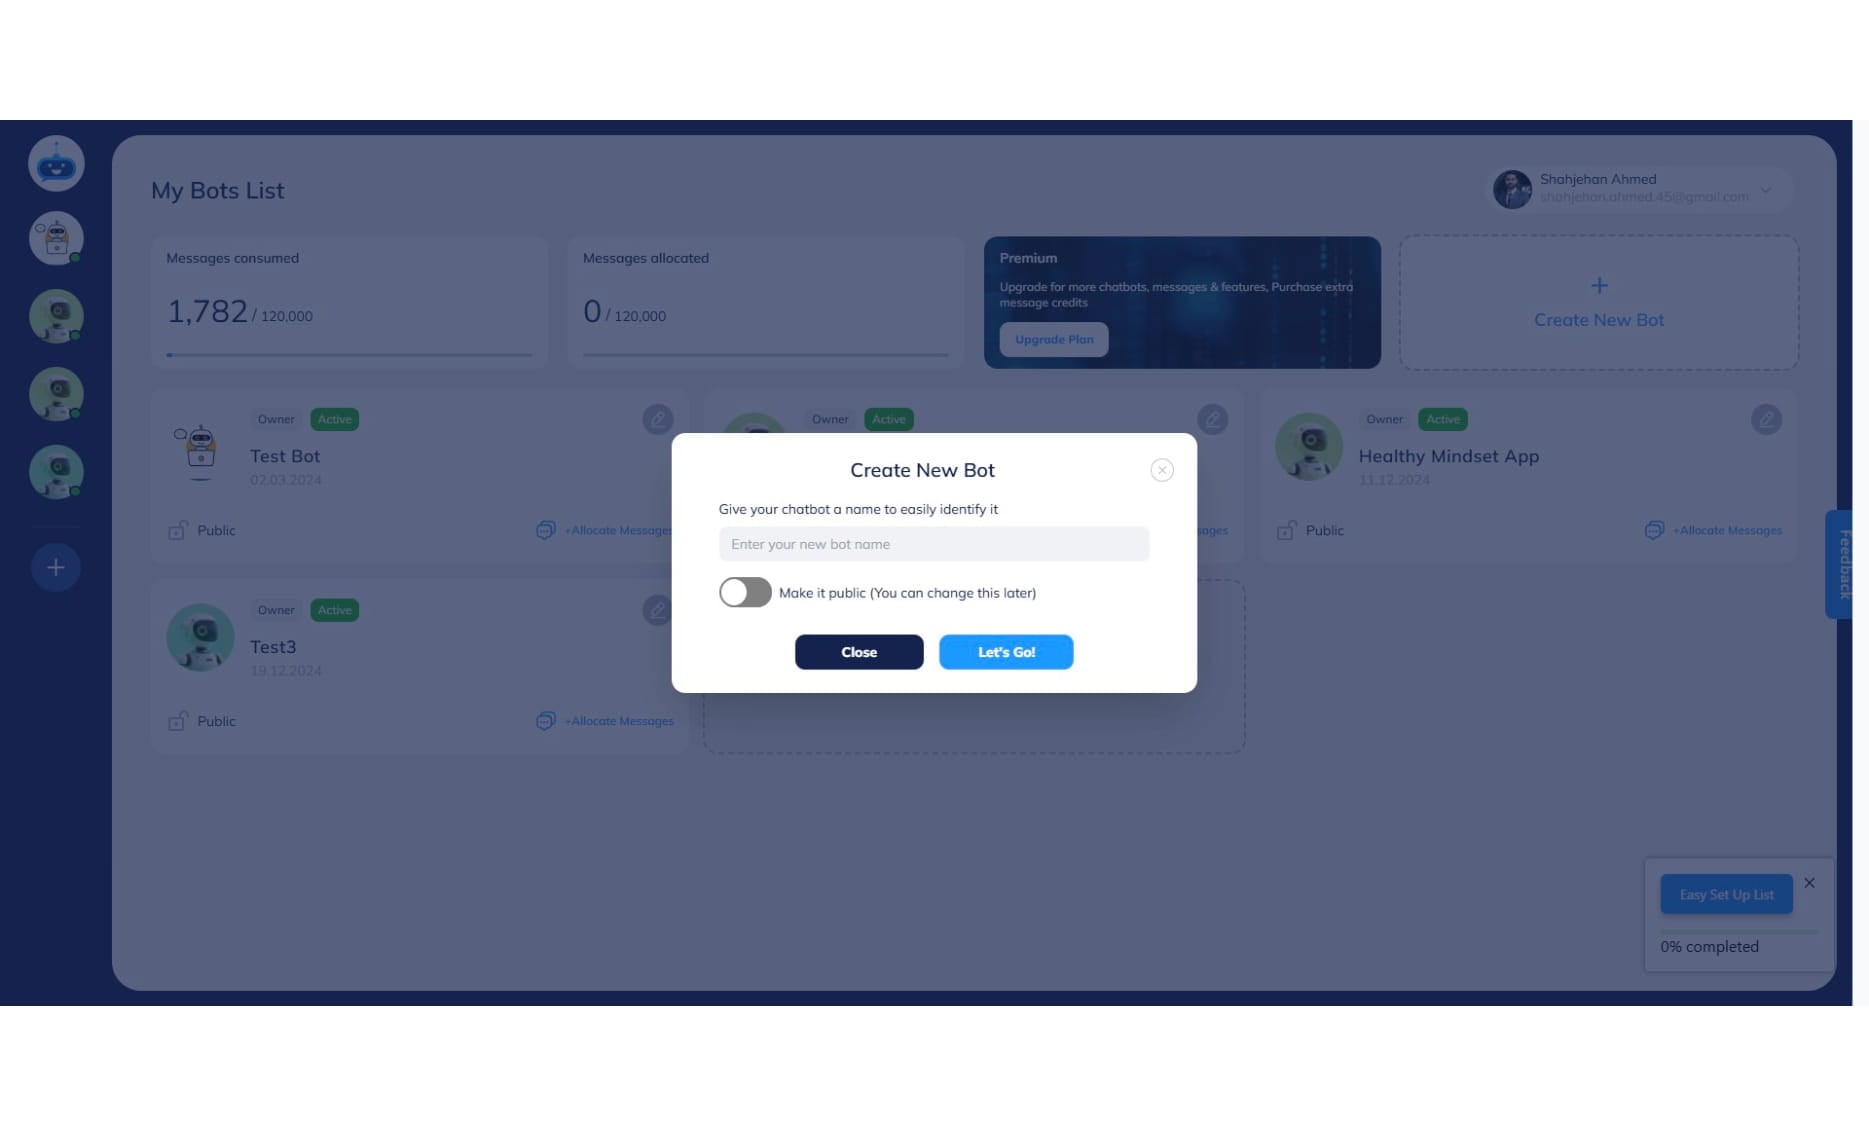
Give your chatbot a name.
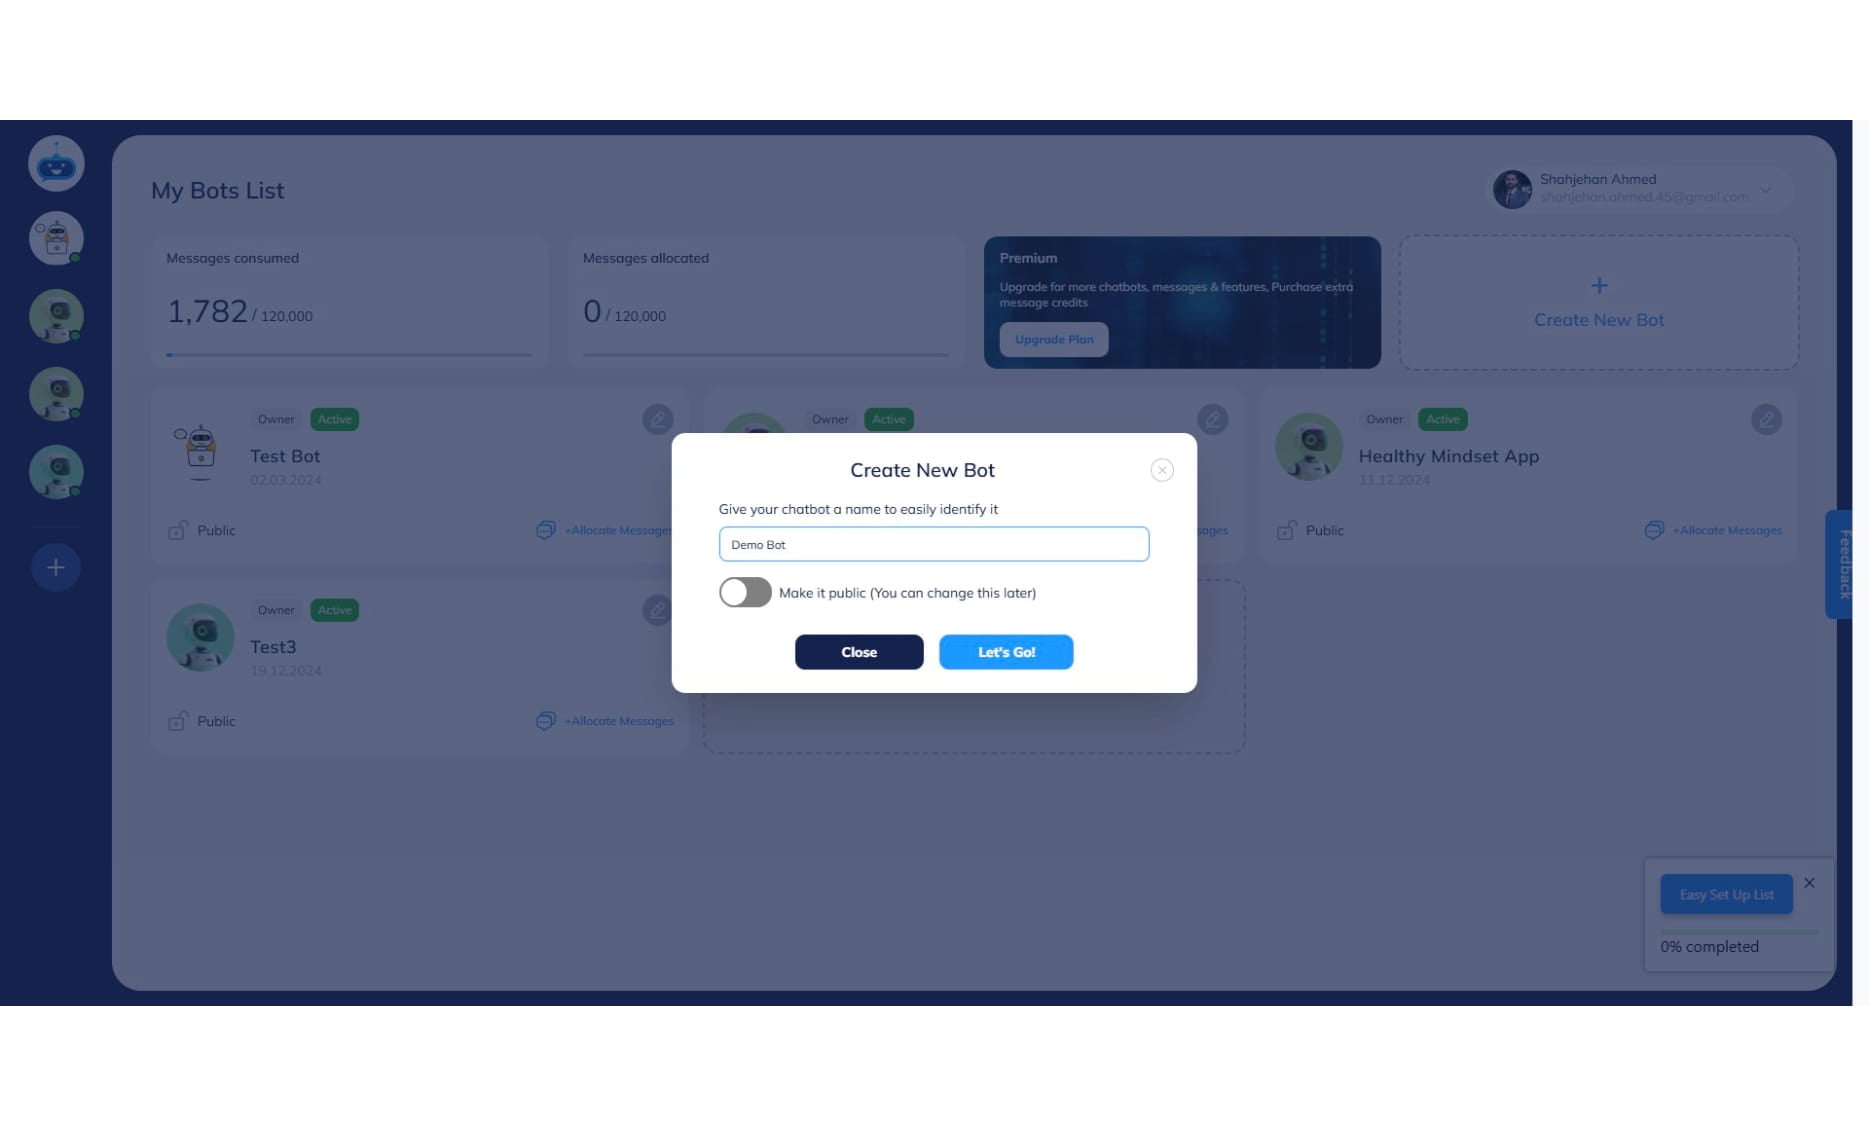
Choose if you are going to make the chatbot available to the public (ie. on your website)
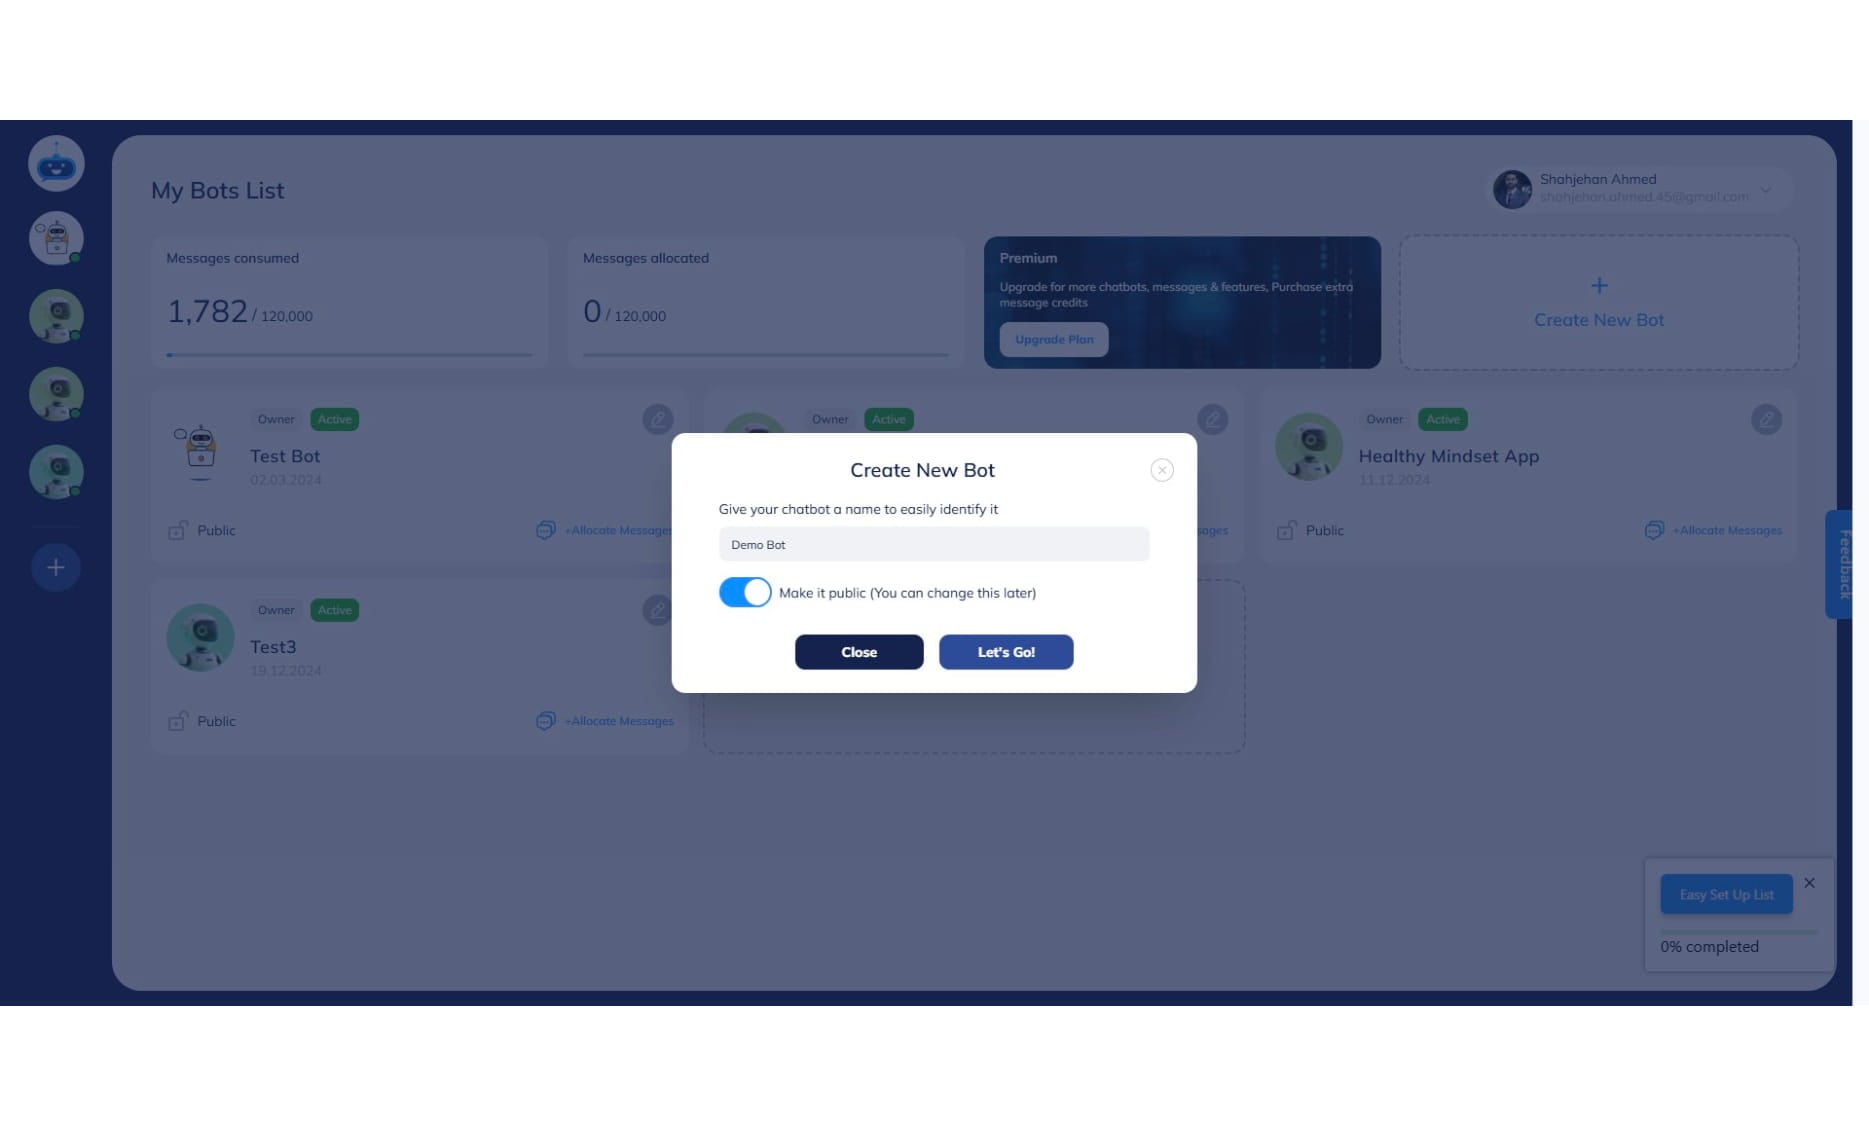
Click on "Let's Go!"
Choose the data you want to import into the chatbot to train it with. You can train the chatbot using different documents or websites.
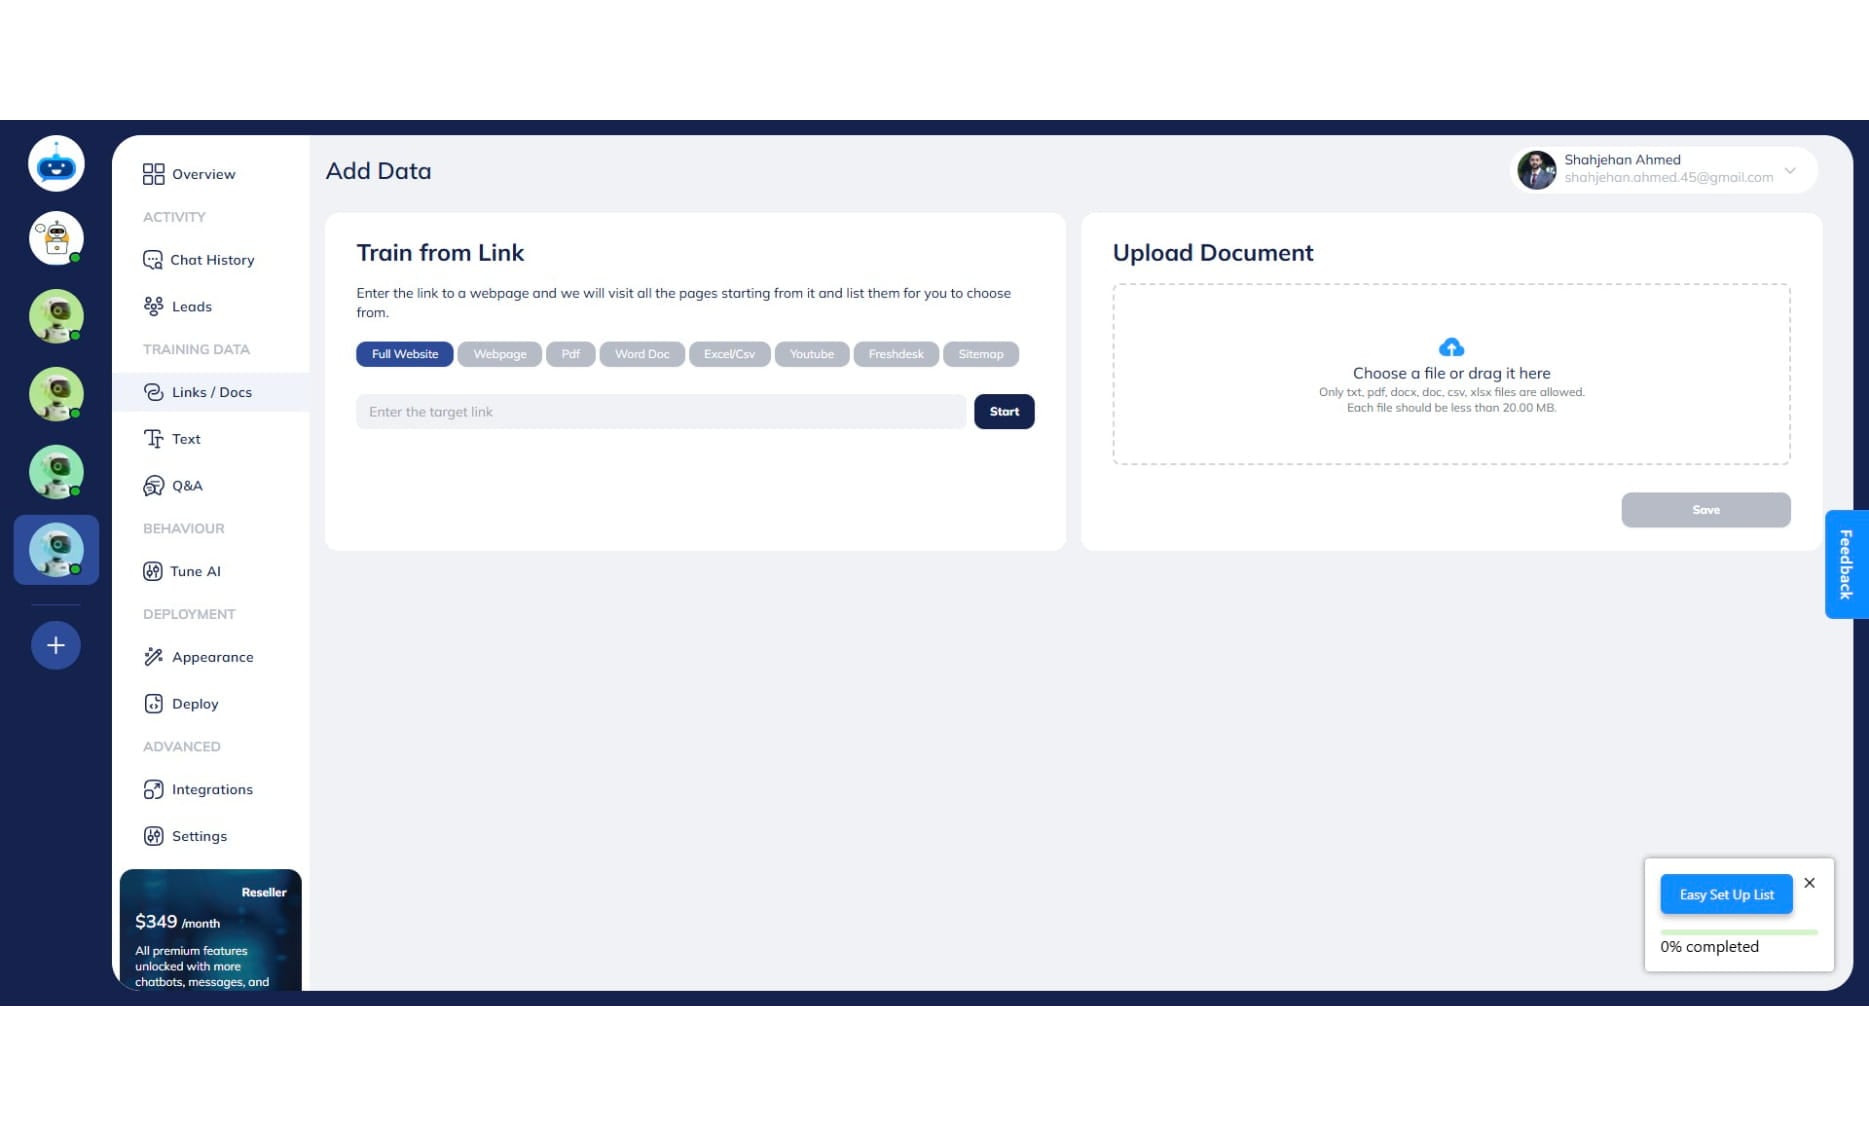
After adding the website URL, click on "Start" button.
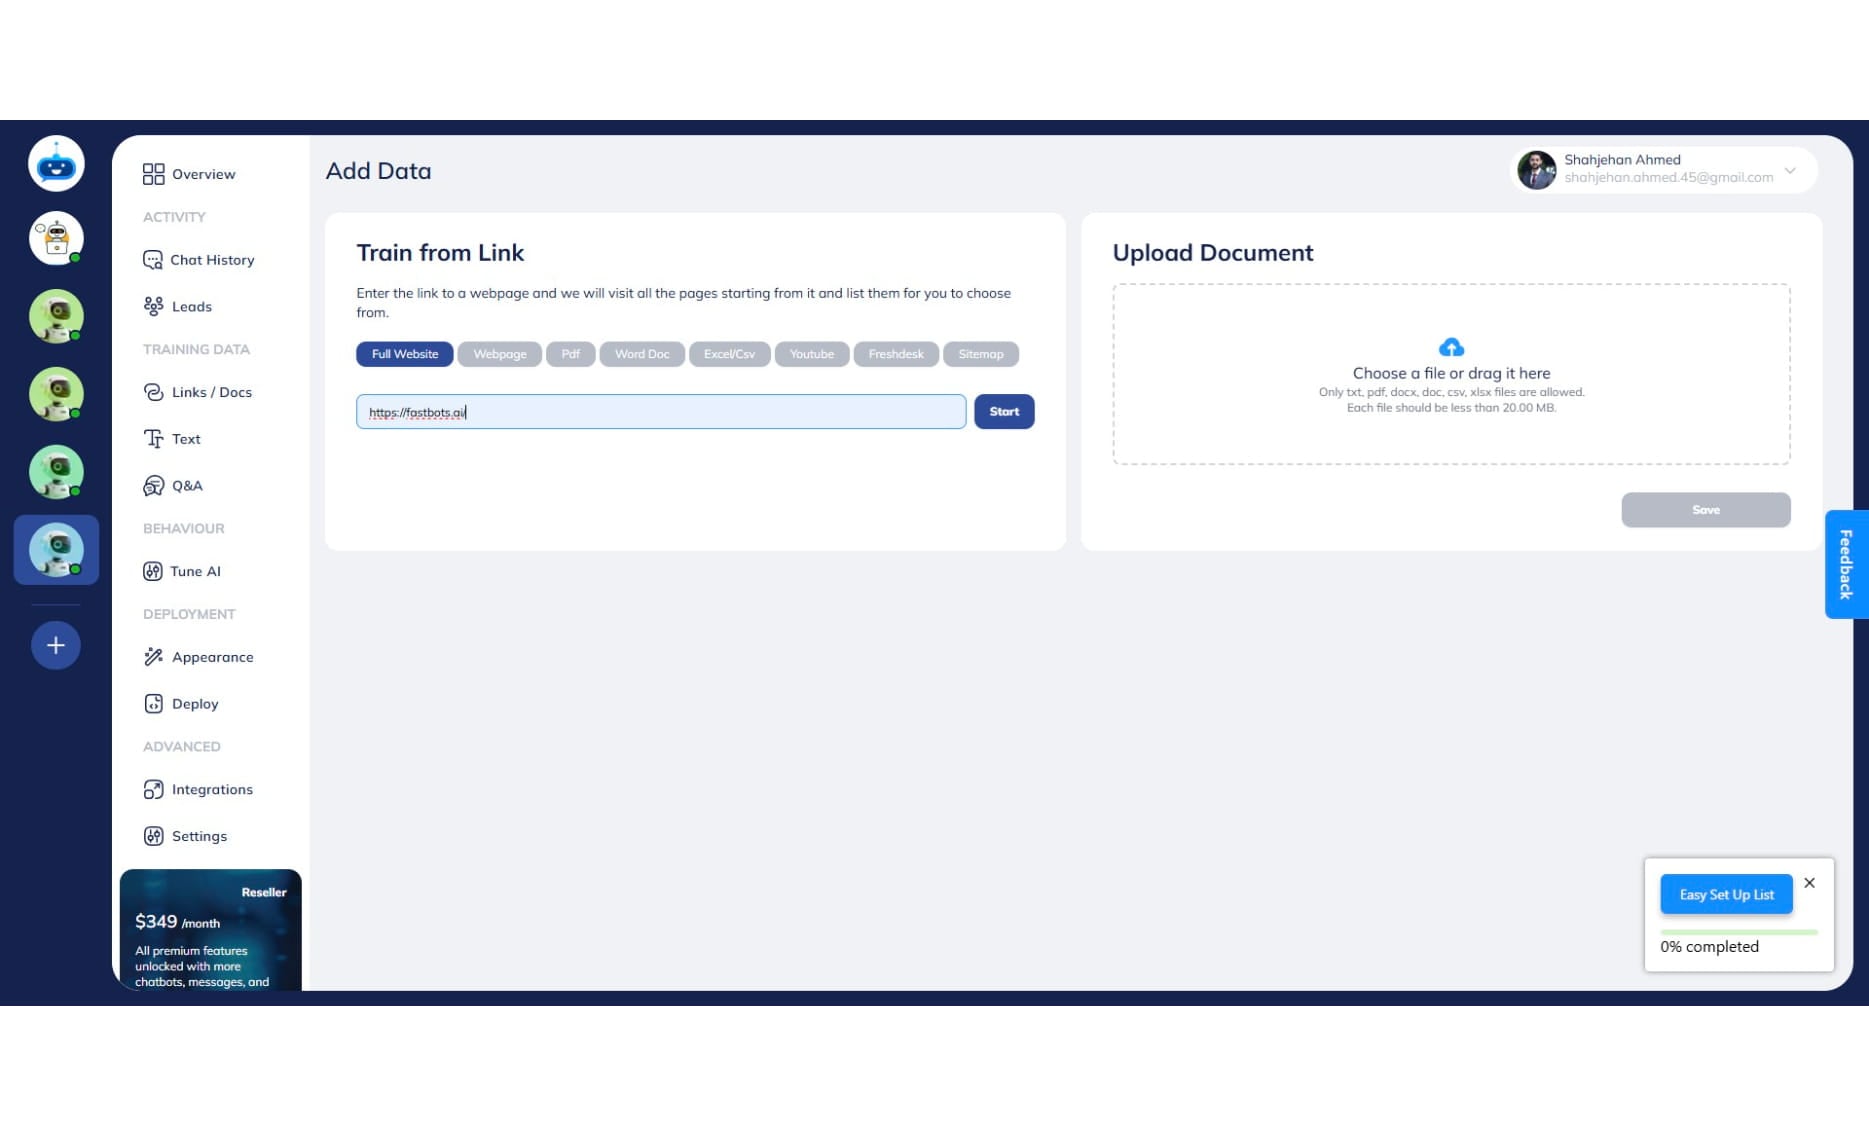
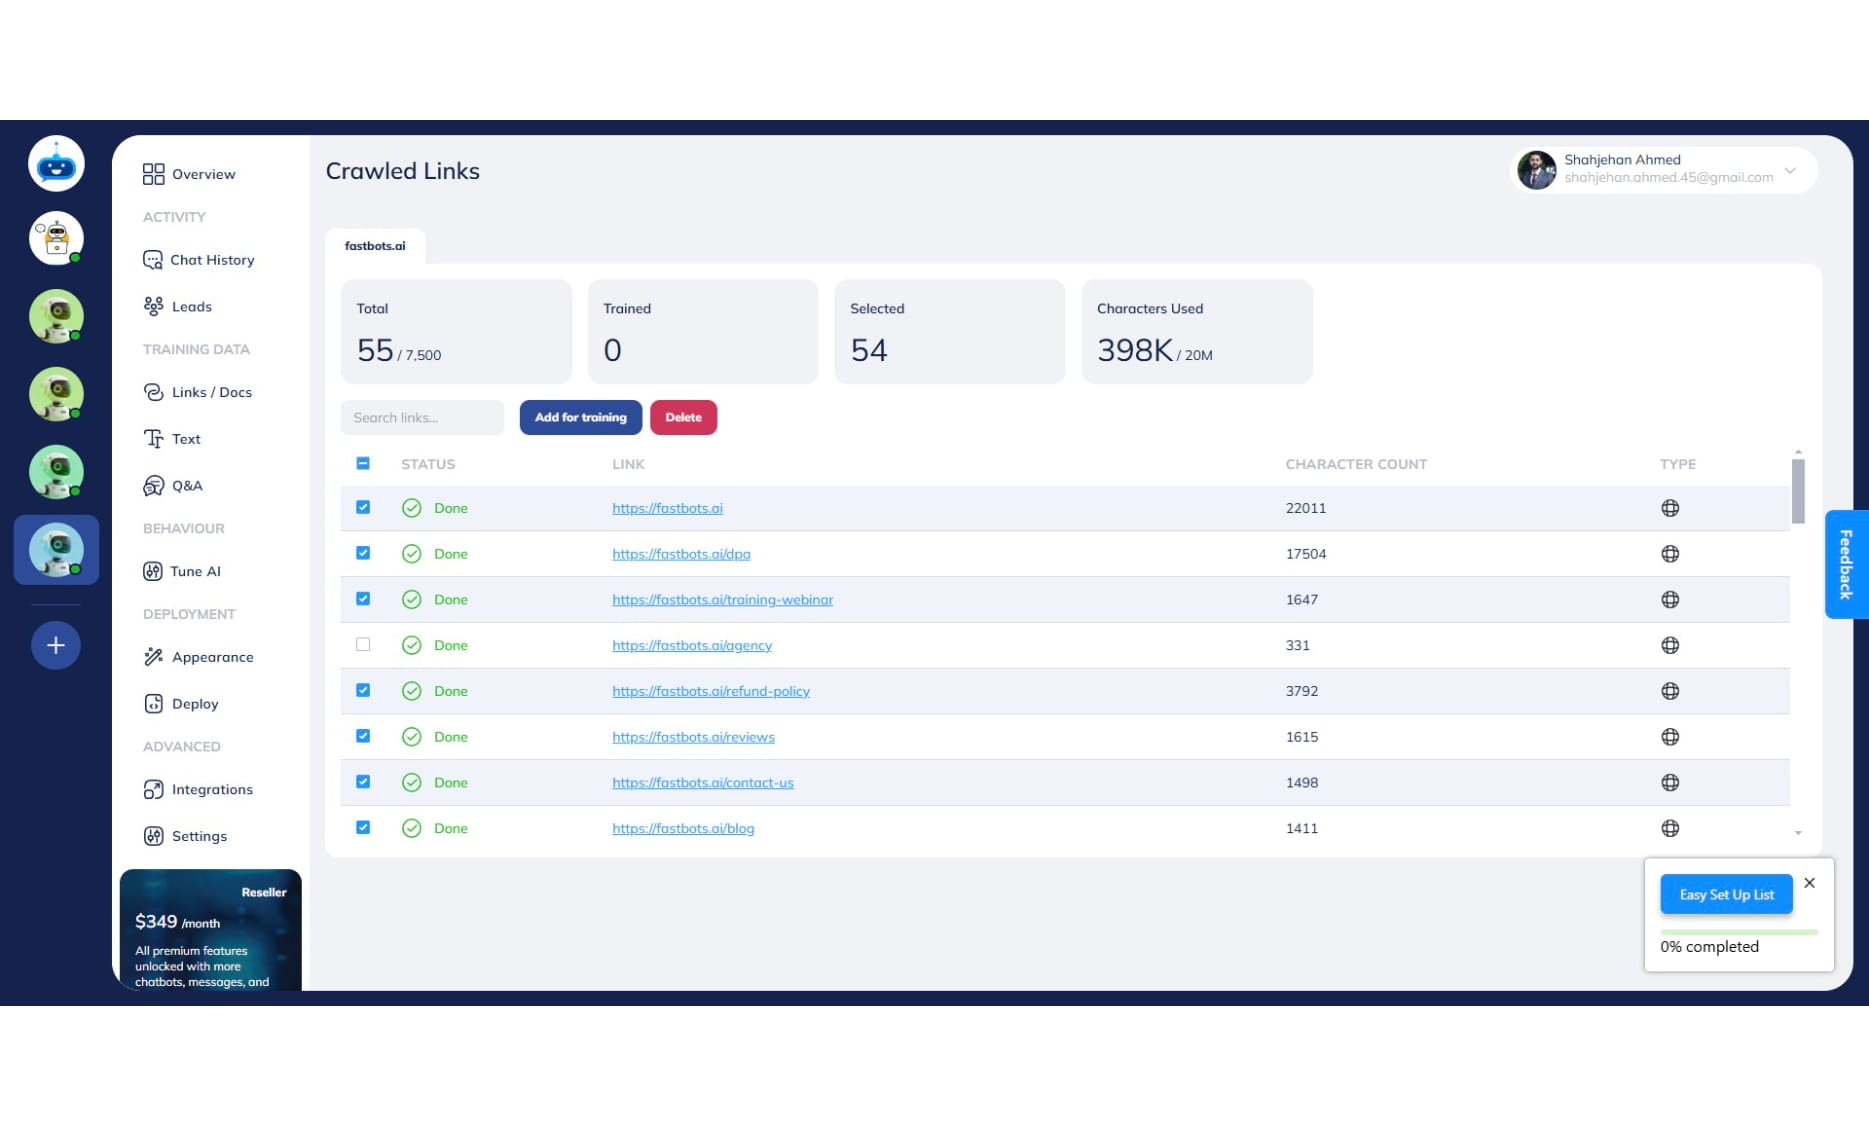
It will crawl the whole website and show all the URLs. You can select all the links by clicking on this box.
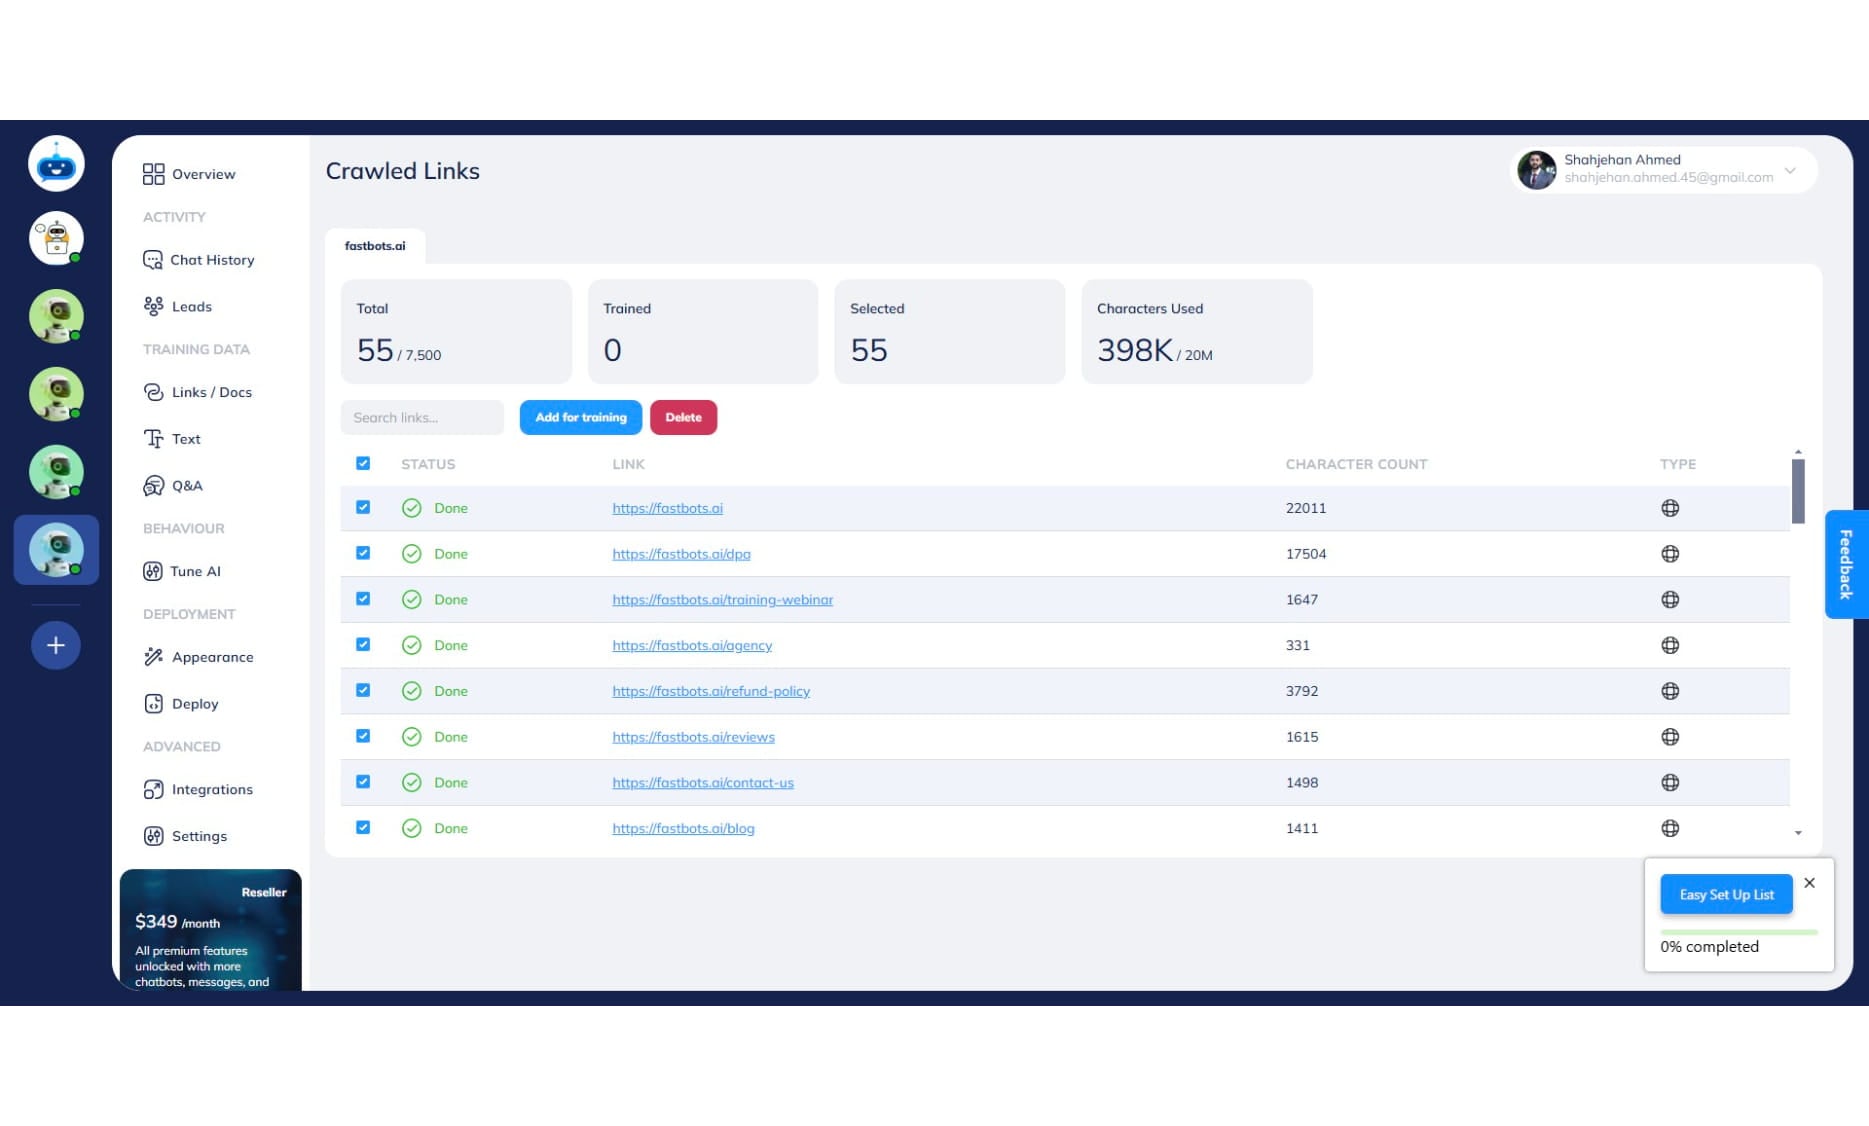
Deselect any links you don't need to be imported inot the chtabots data source.
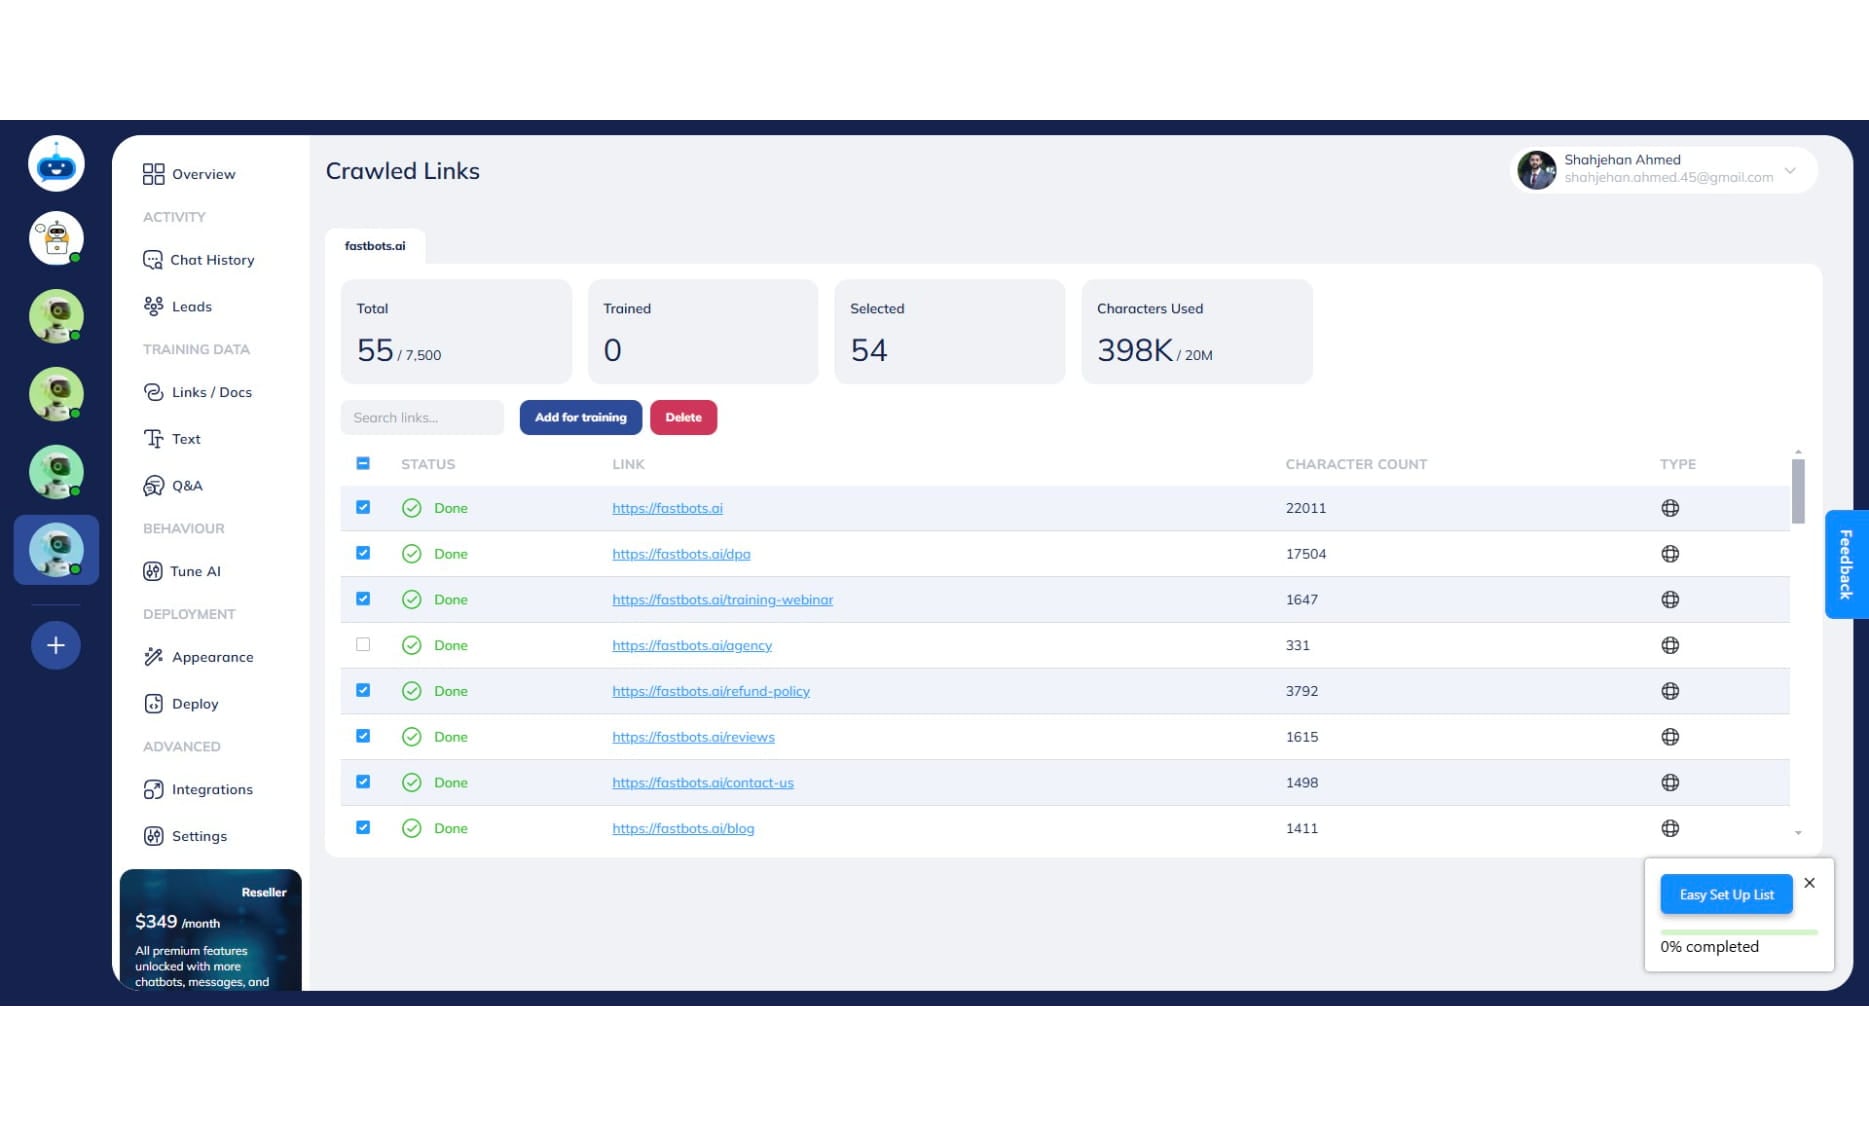
Click on "Add for training"
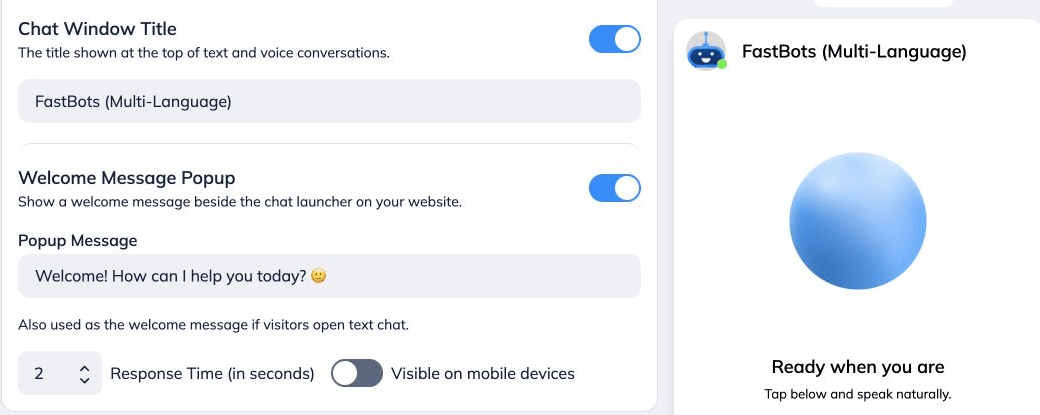
Open Deployment → Chat Widget → Chat Content and enter the Chat Window Title.
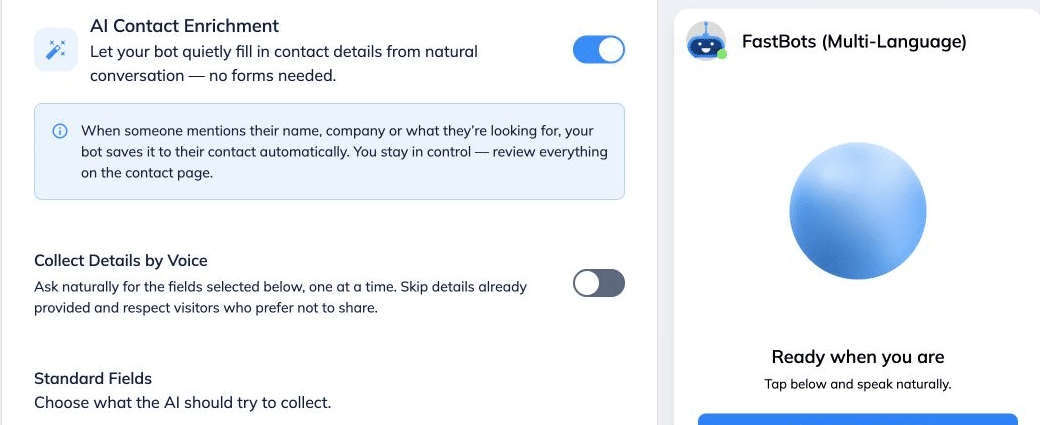
Open Lead Collection → Lead Form to choose whether visitors should complete a form.
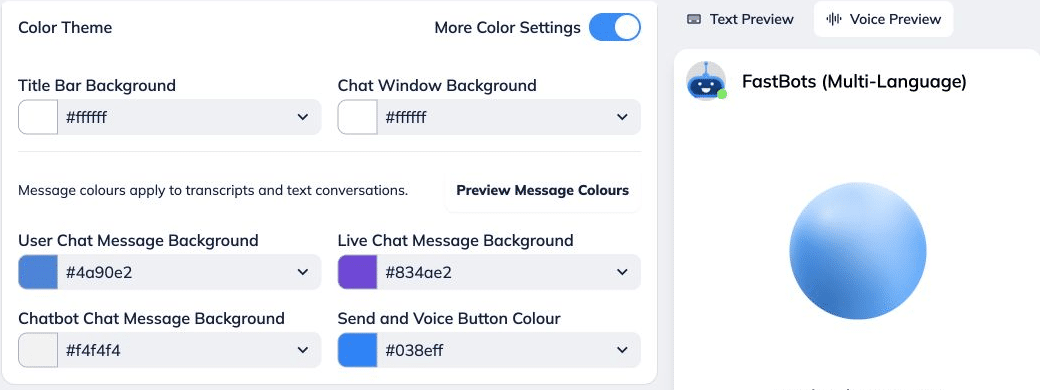
Open Branding and adjust the colour theme to match your brand.
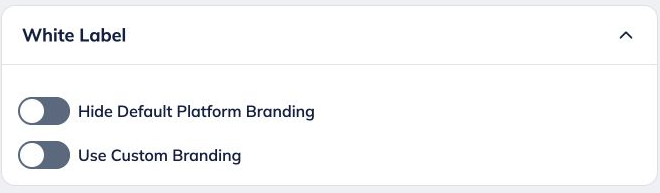
Open White Label to review the branding controls available on your account.
Click on "Save Changes" to finish.
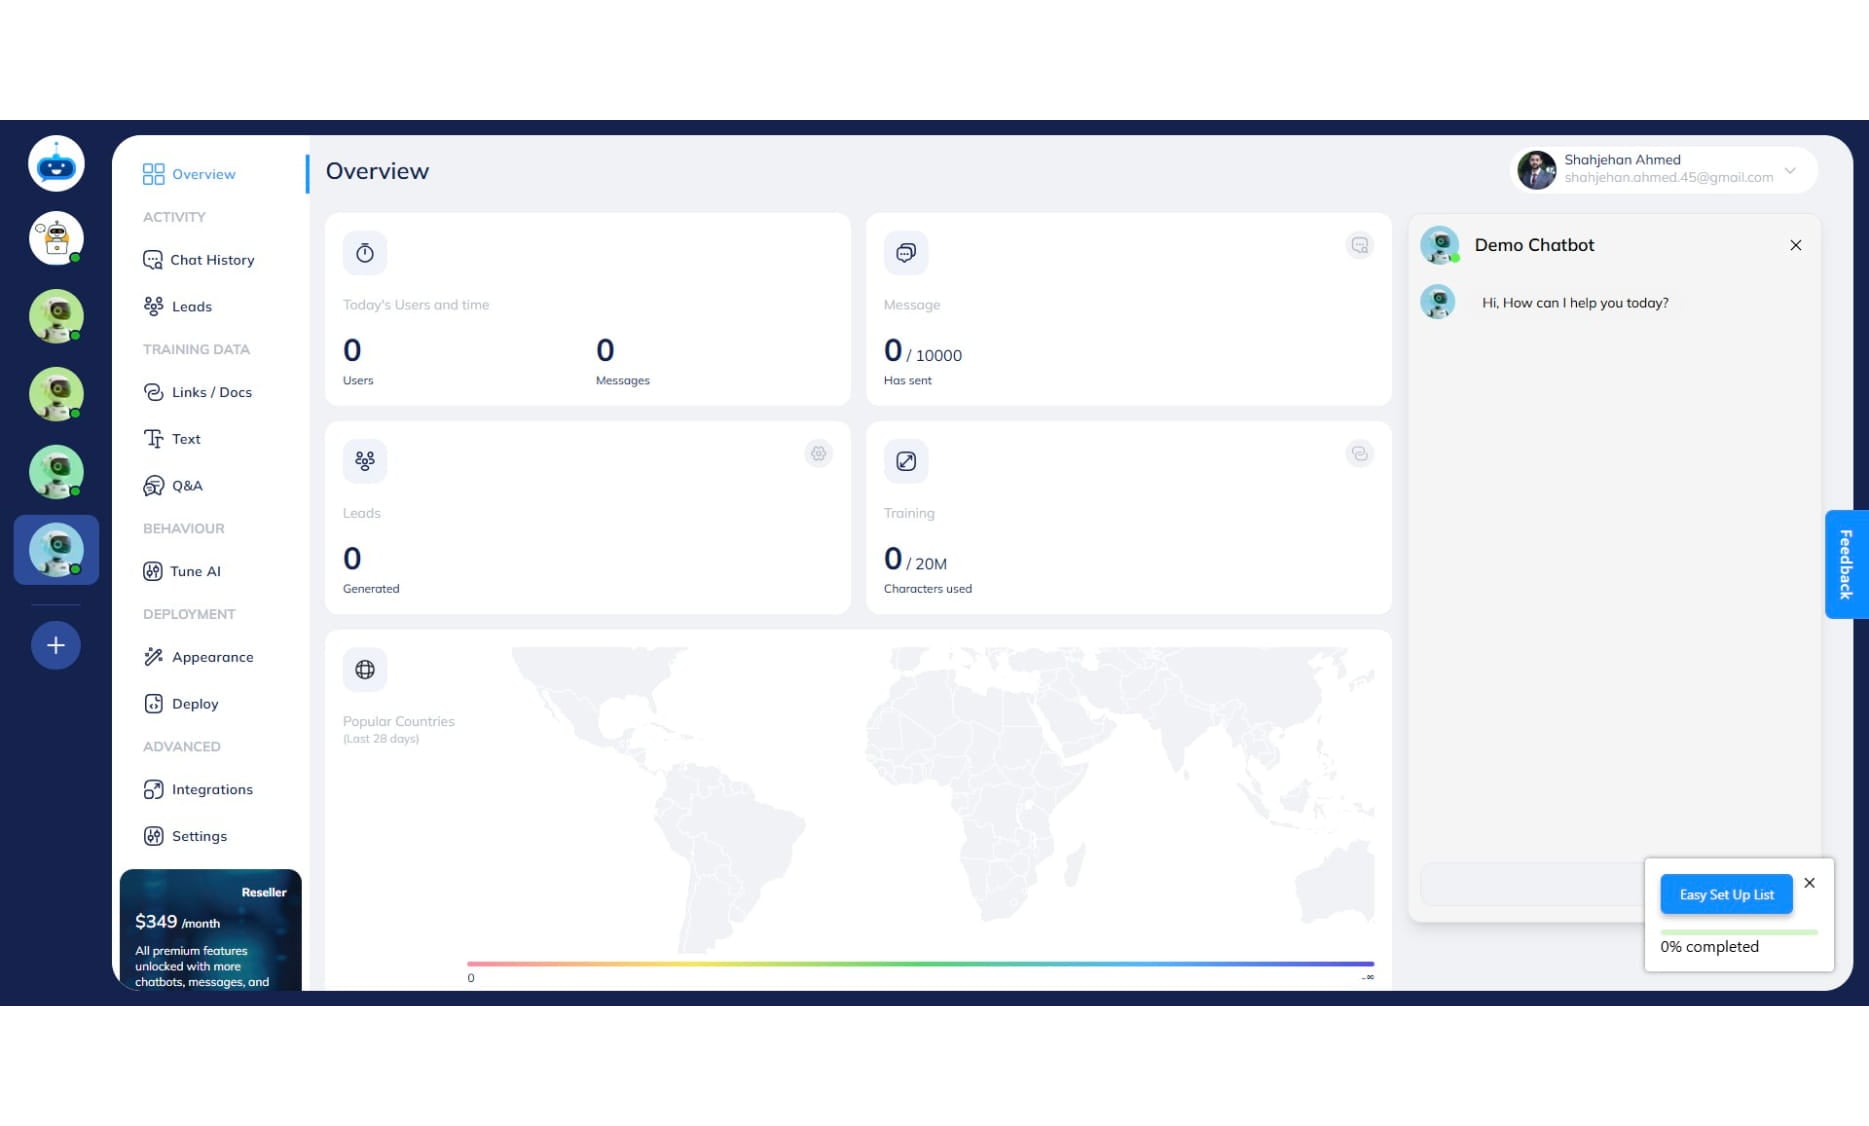
Test the text chatbot using Test Your Bot. To test spoken replies, use Voice Preview in Chat Widget.
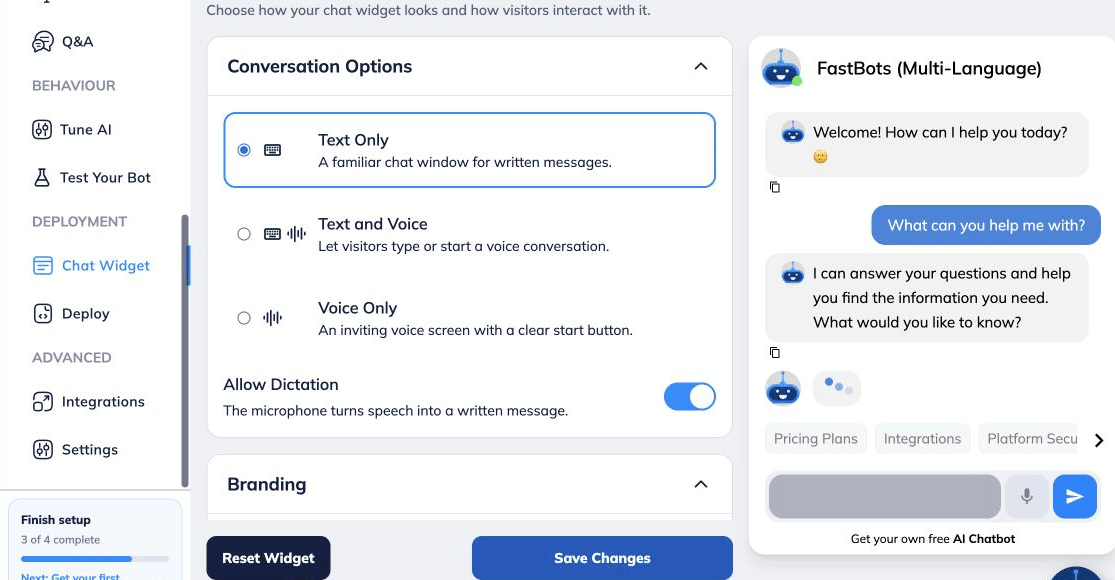
Want spoken conversations? After completing the text setup, open Deployment → Chat Widget. Under Conversation Options, choose Text and Voice or Voice Only. Configure voice settings, then select Save Changes. Follow our Chat Widget and Voice guide for screenshots and testing instructions.
 for screenshots and testing instructions.](https://assets.guidejar.com/uploads/flRZAvn924sz1iuwkpCz/EWaUlLbQzcRPZ6mZqBZ6GyhoWZy2/49e2de73-4e10-4ab8-9de3-e0de33f2f975/1736381709632.jpeg)